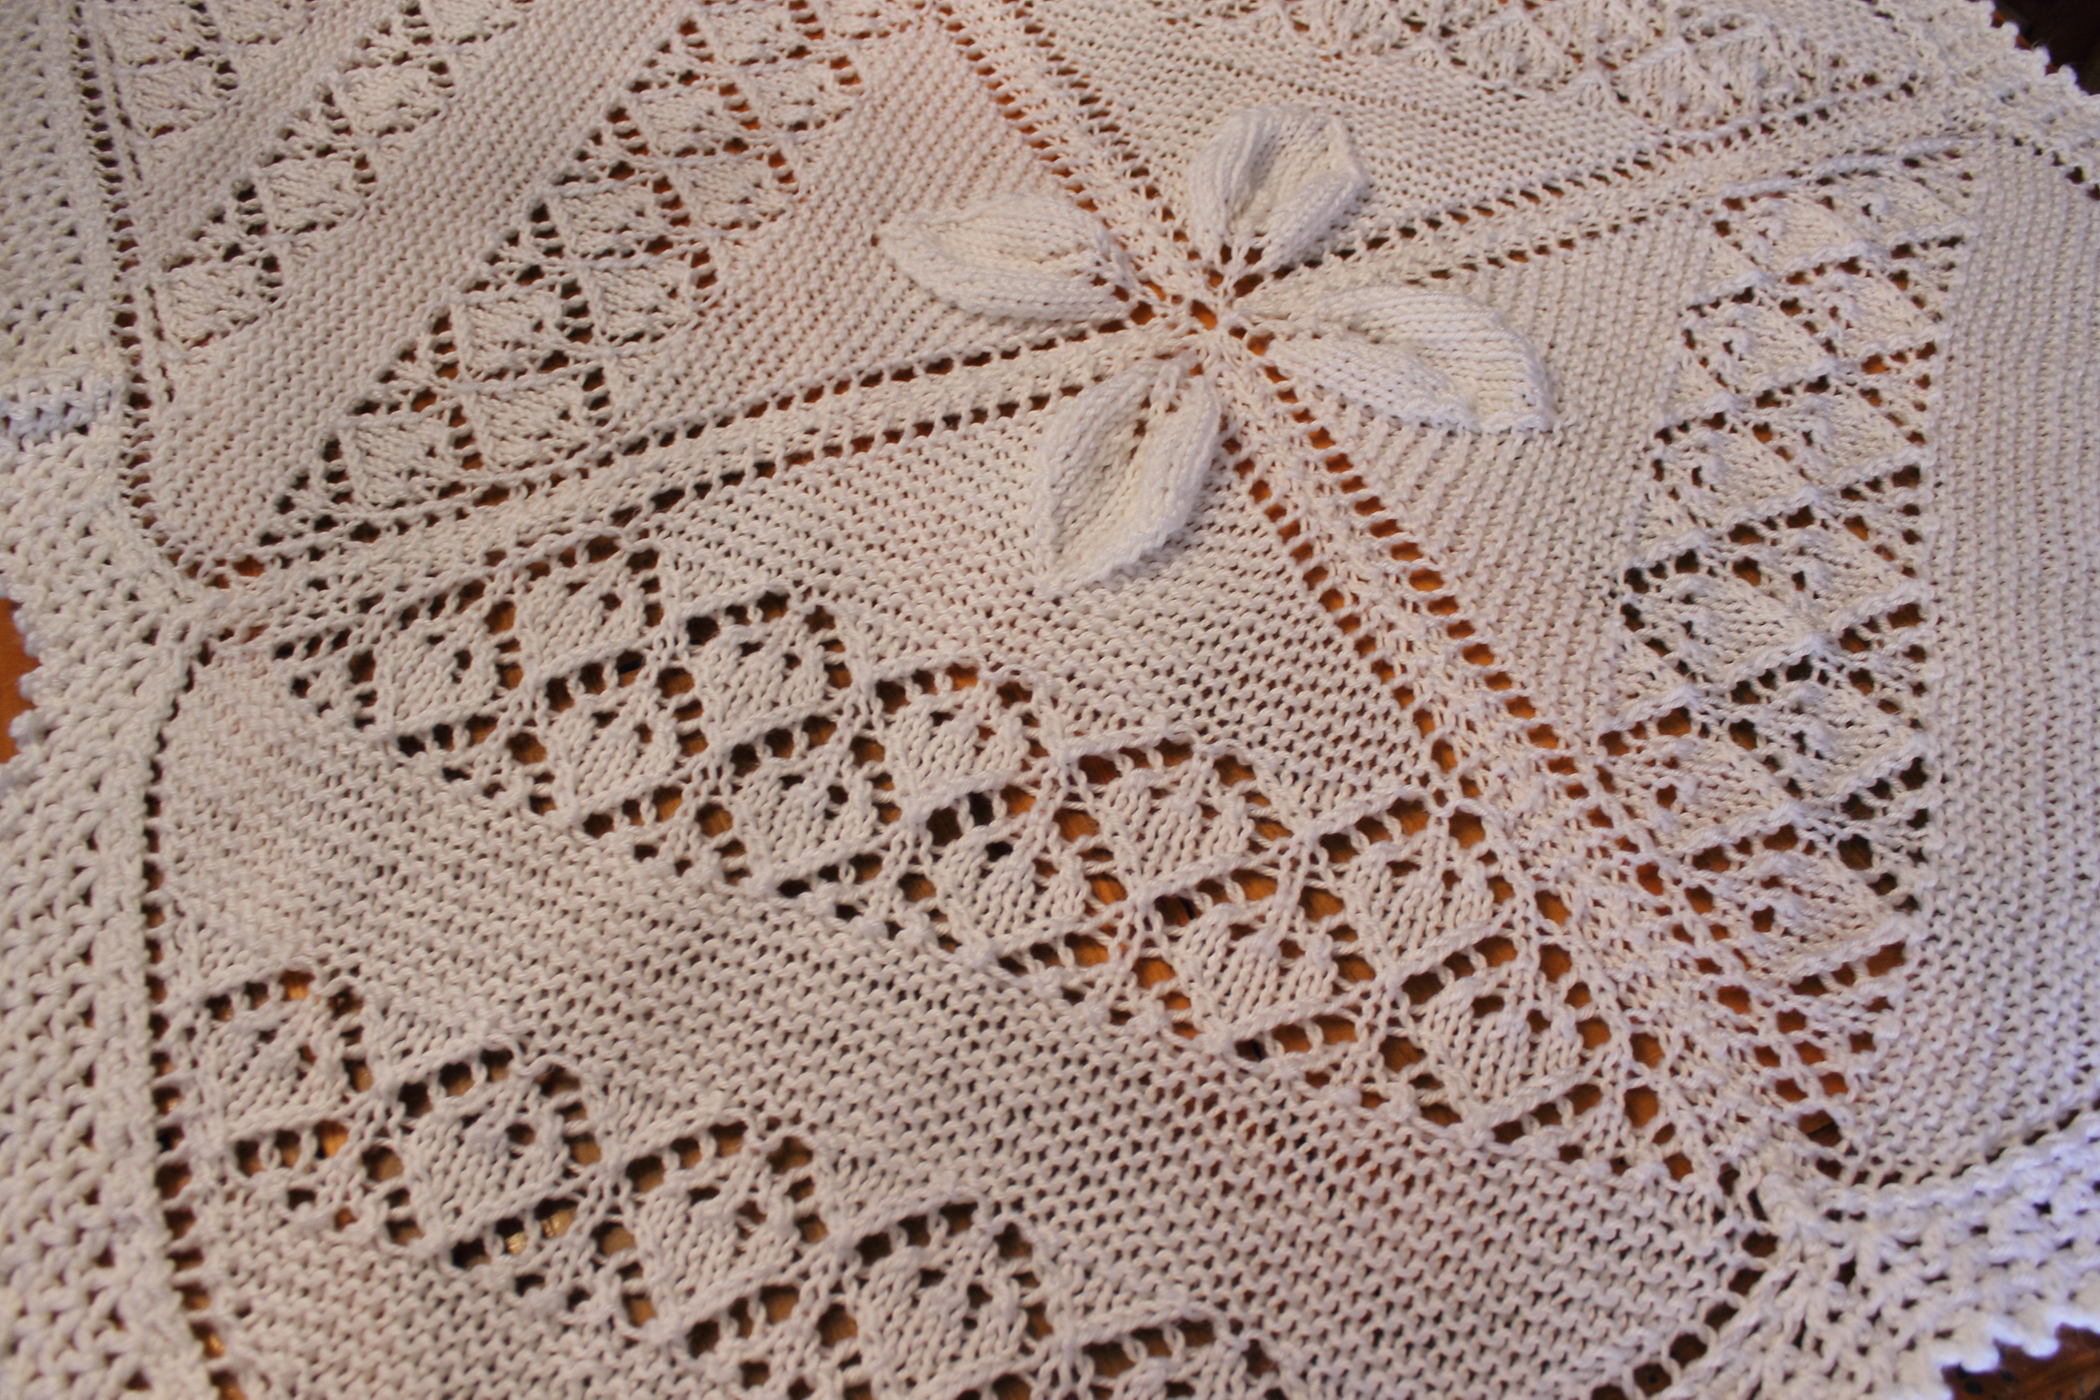
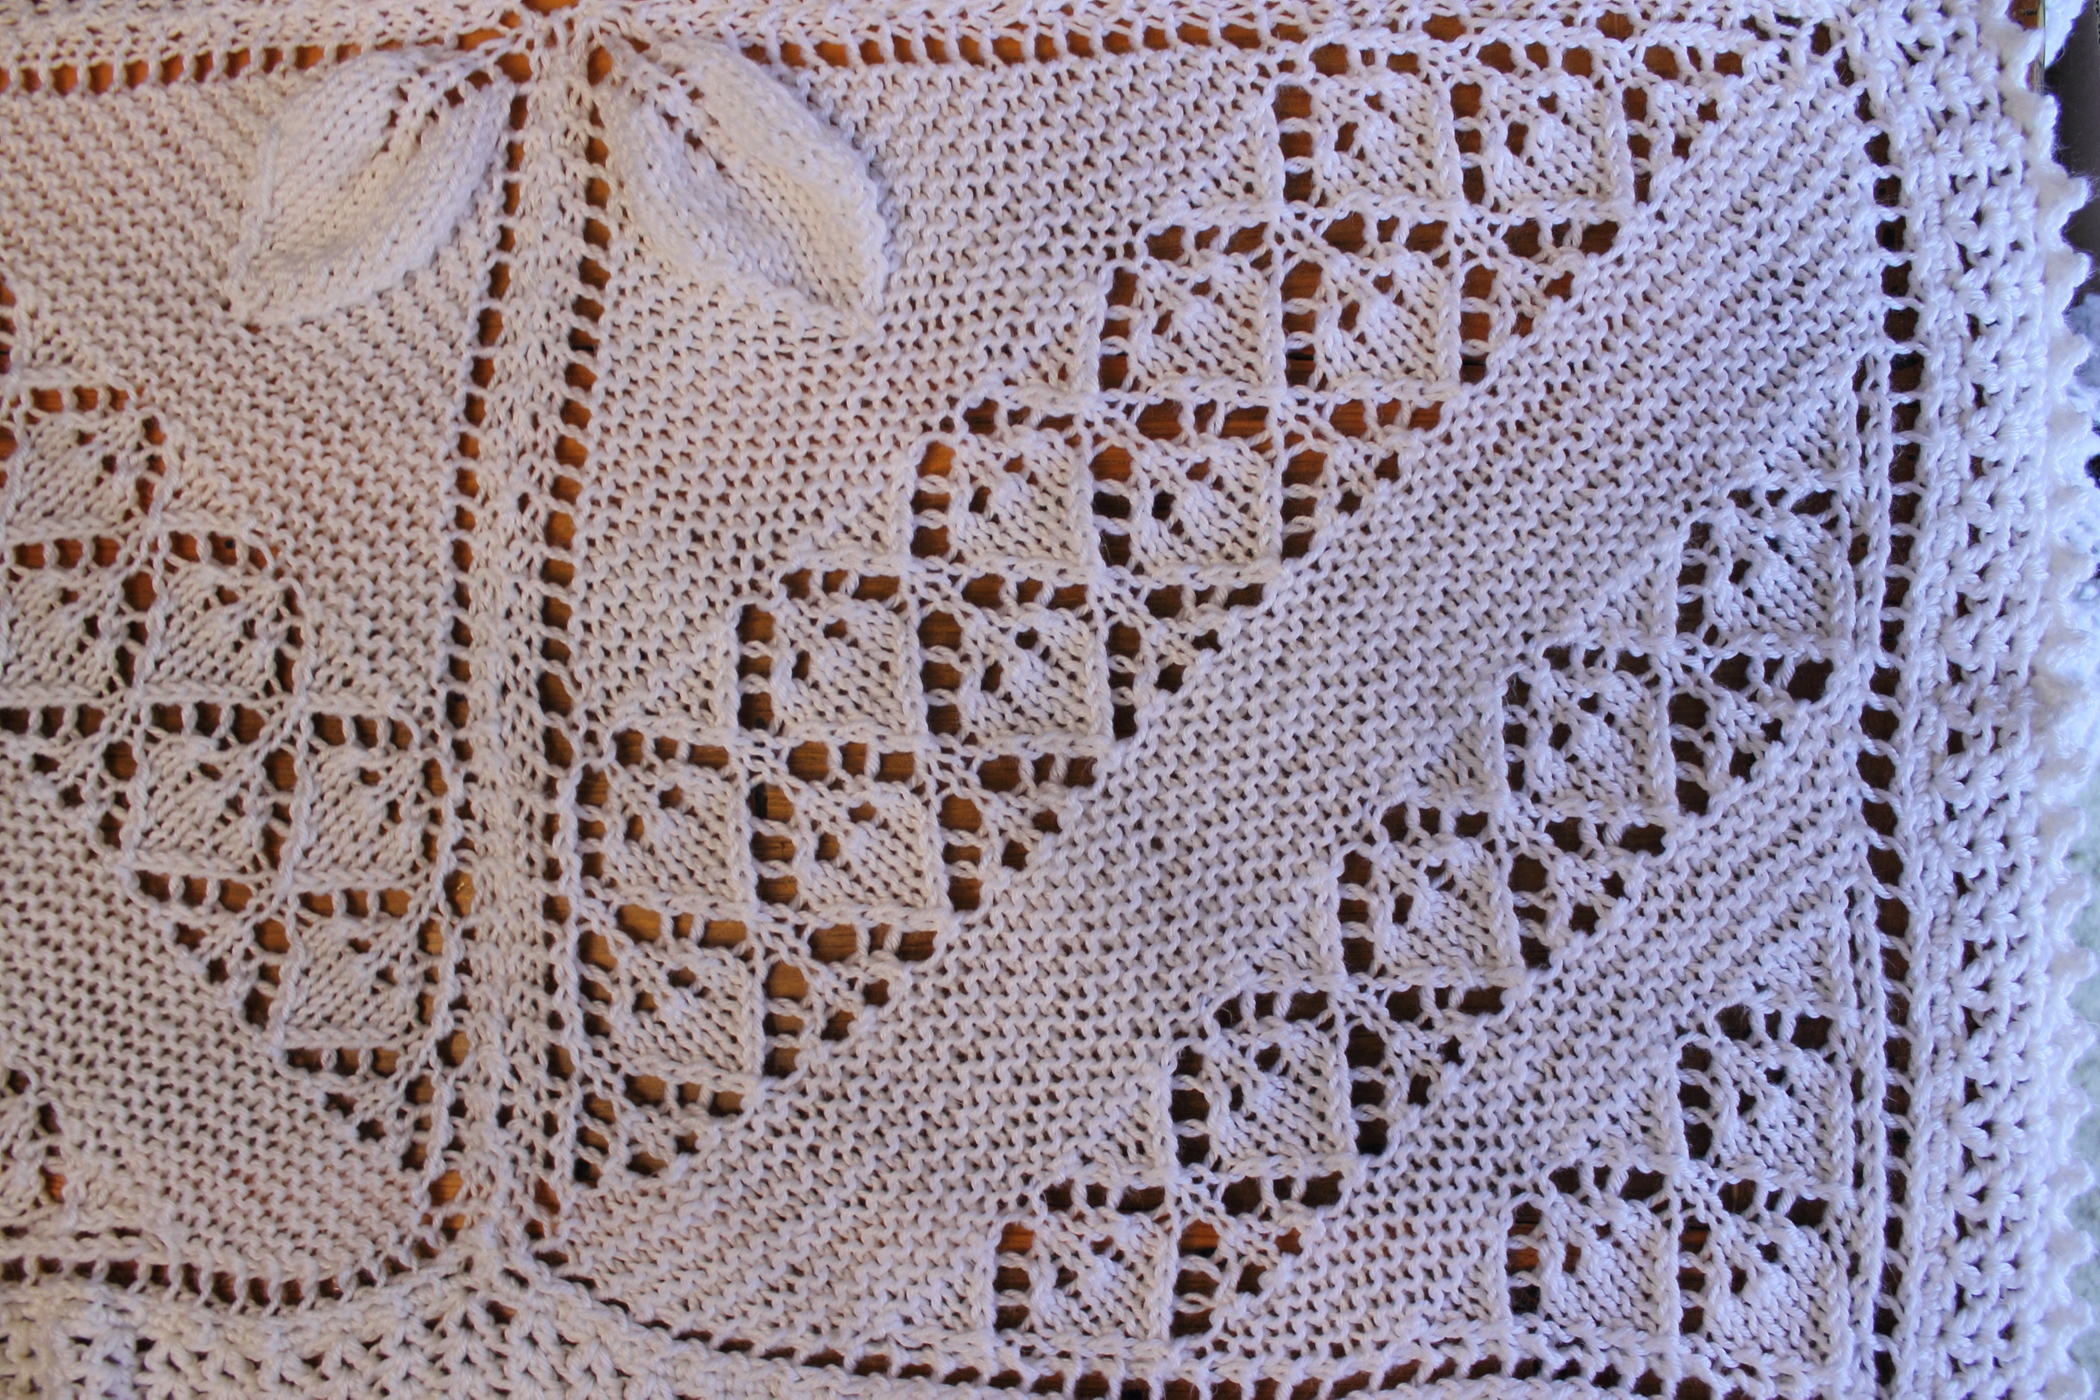
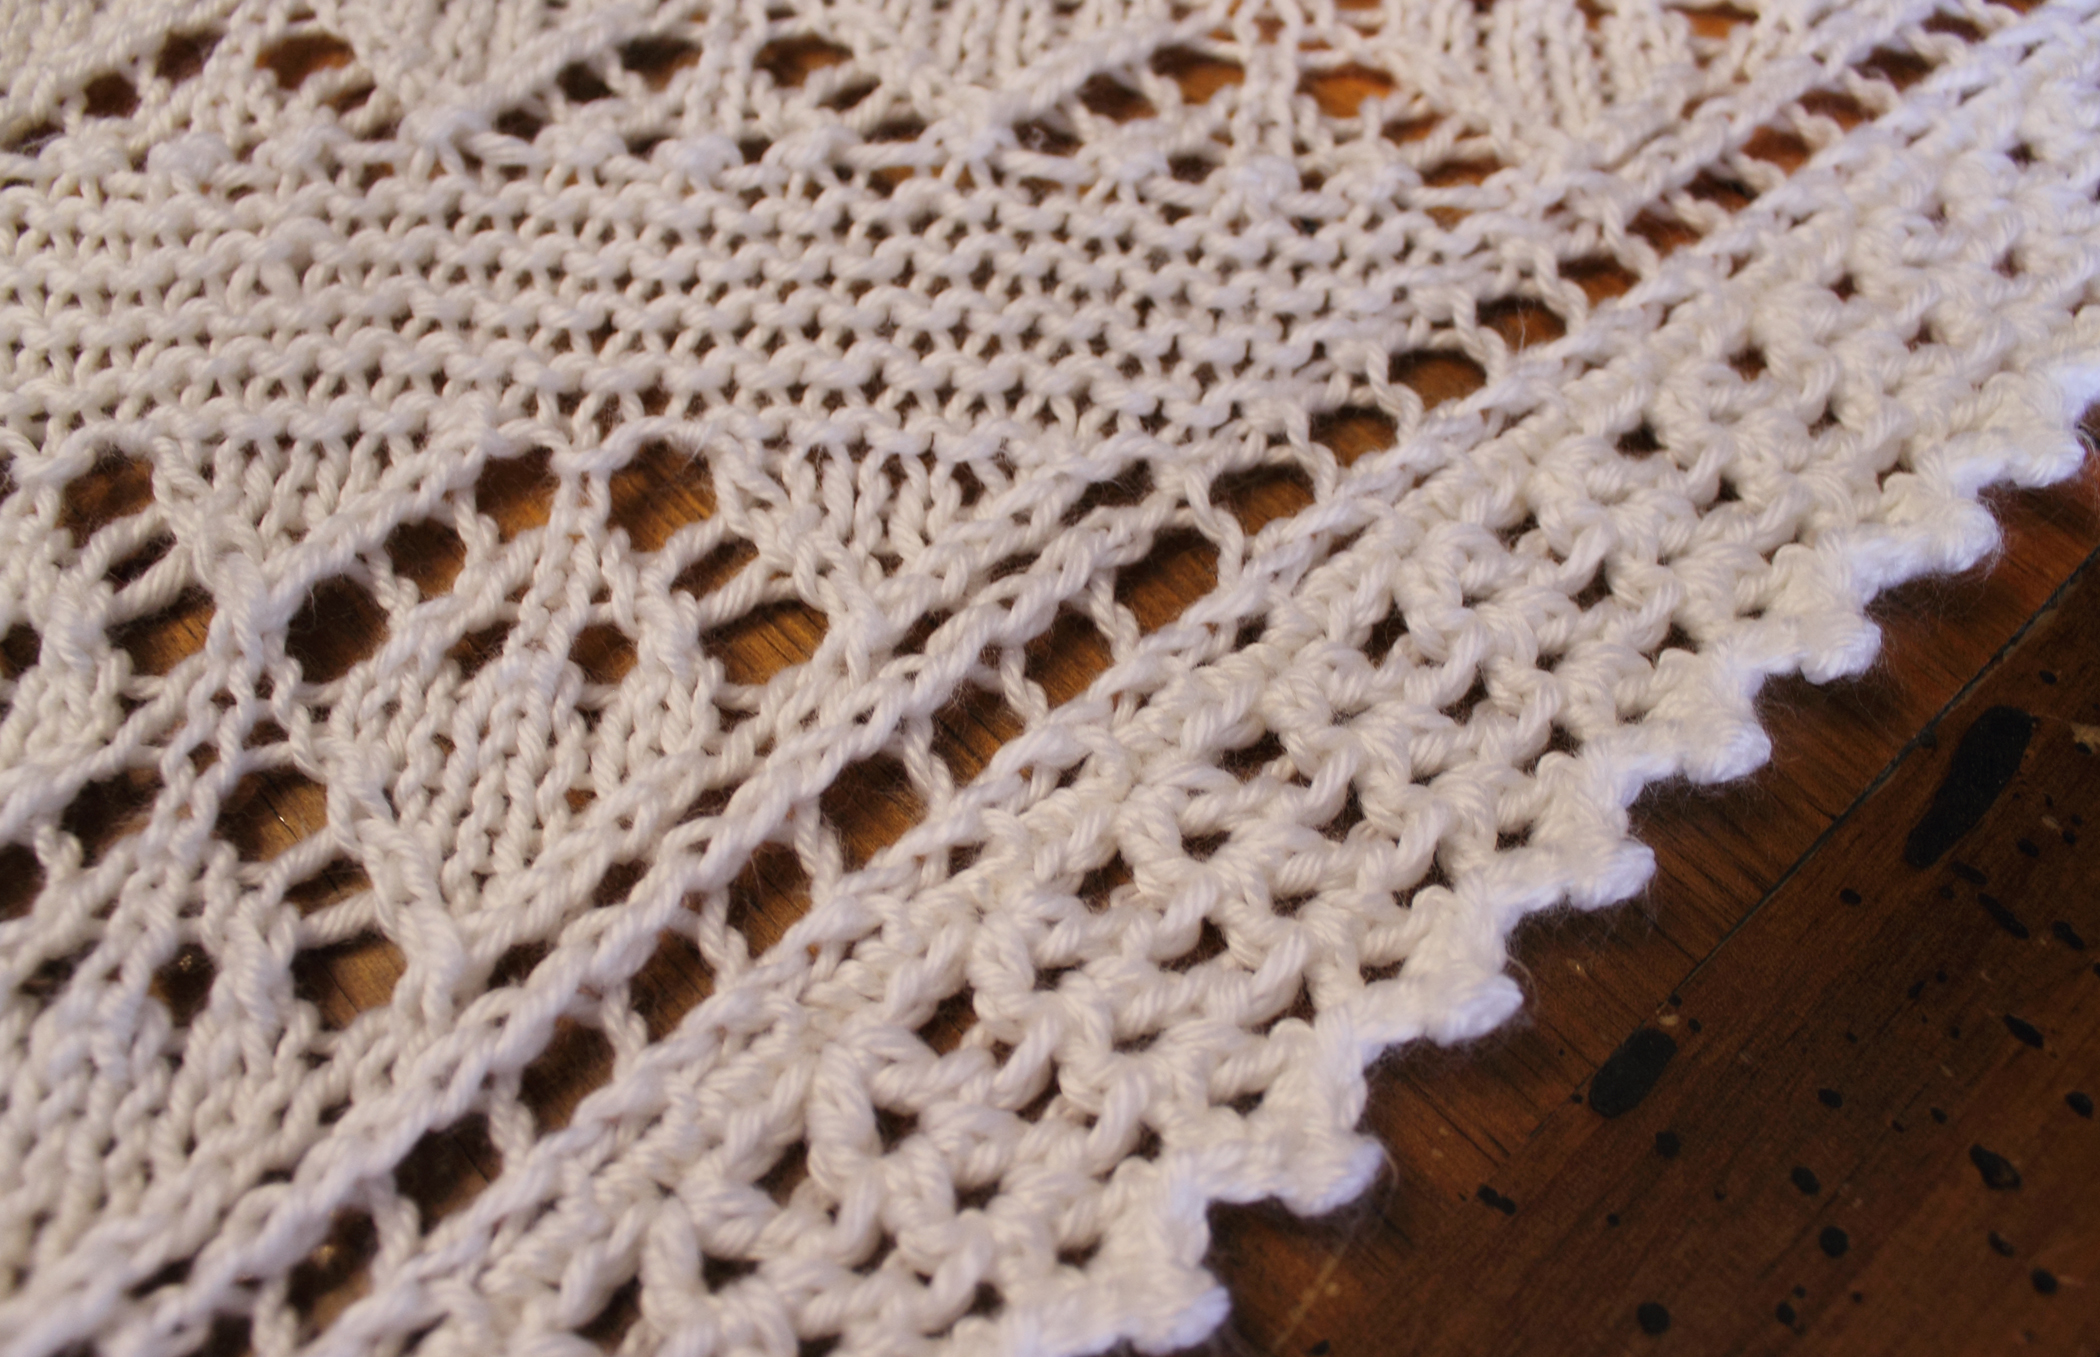
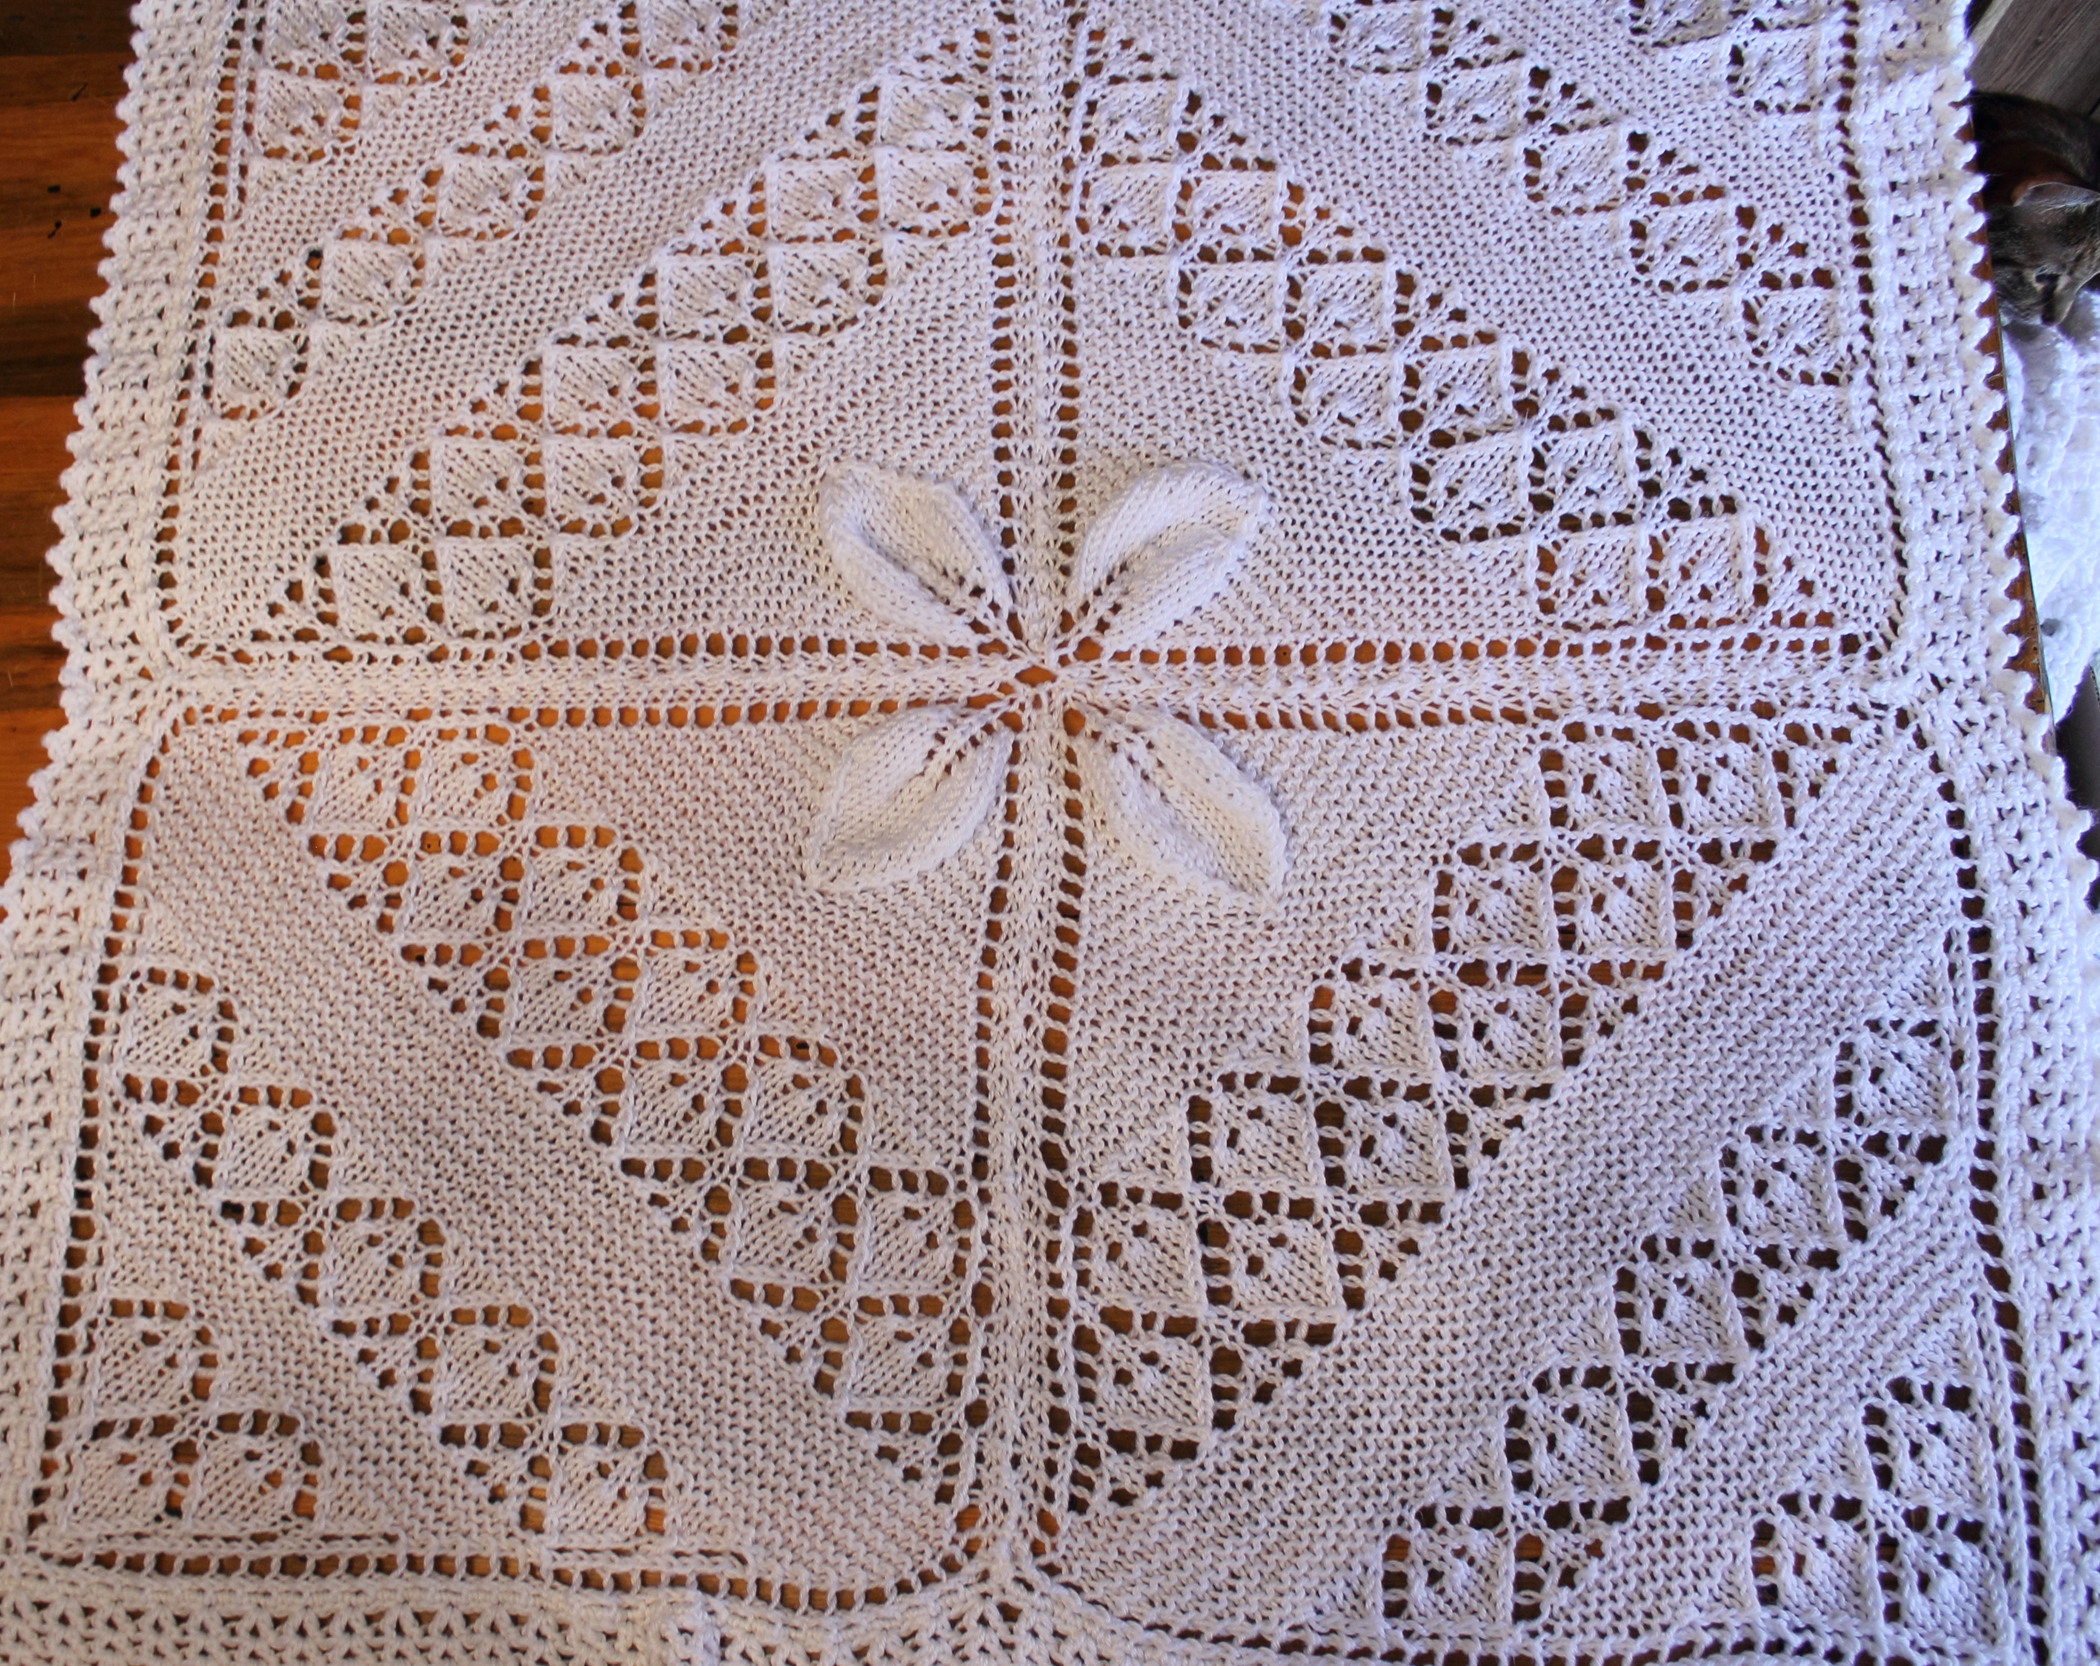
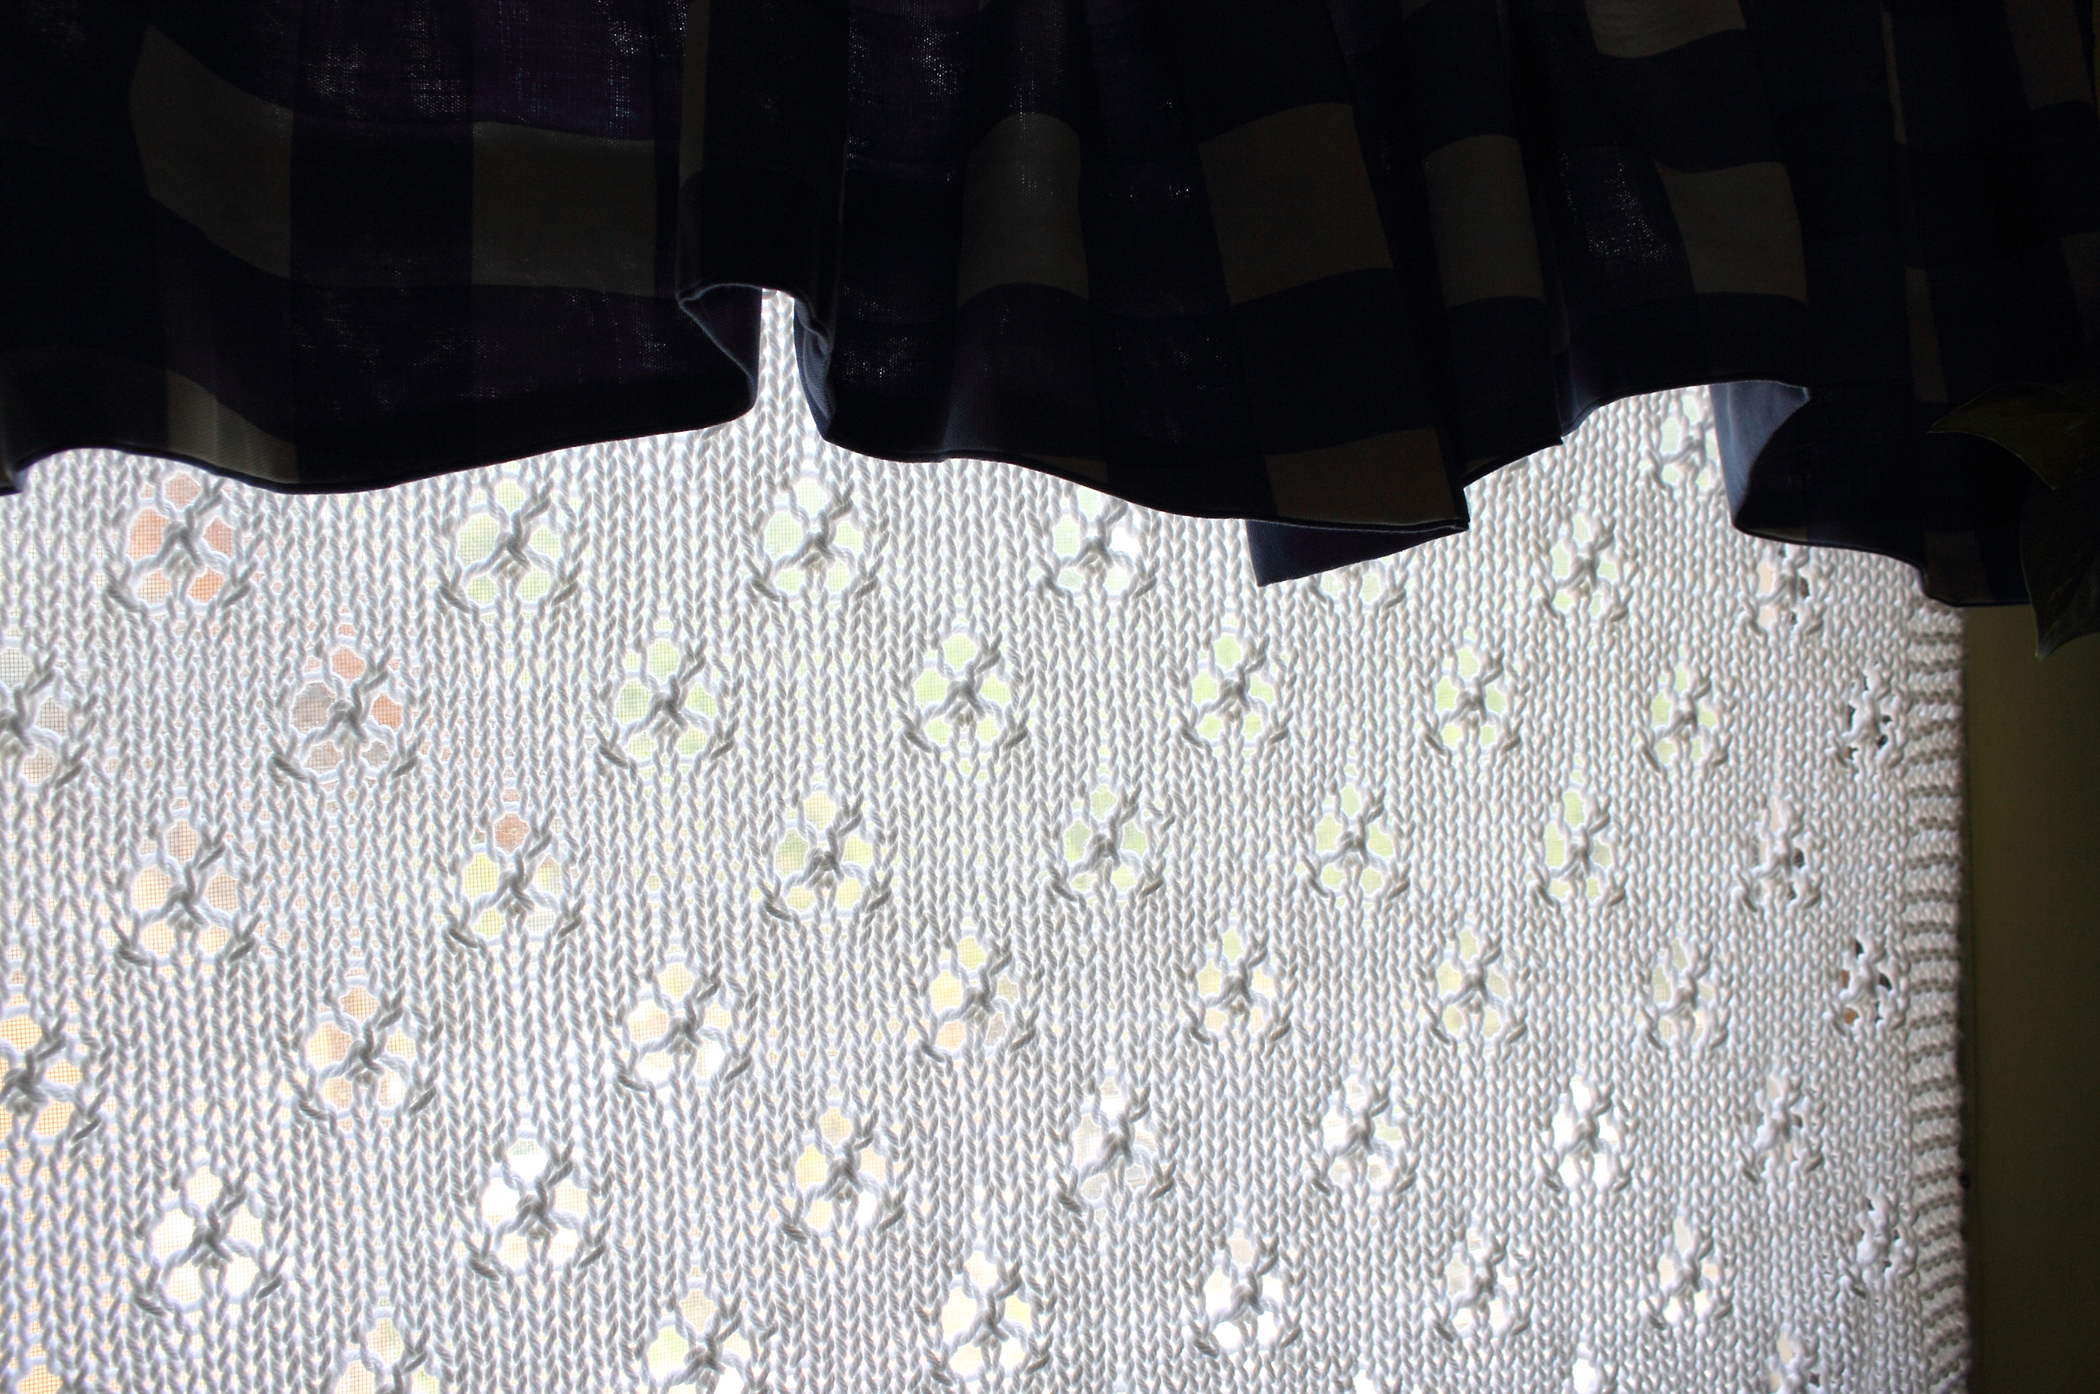
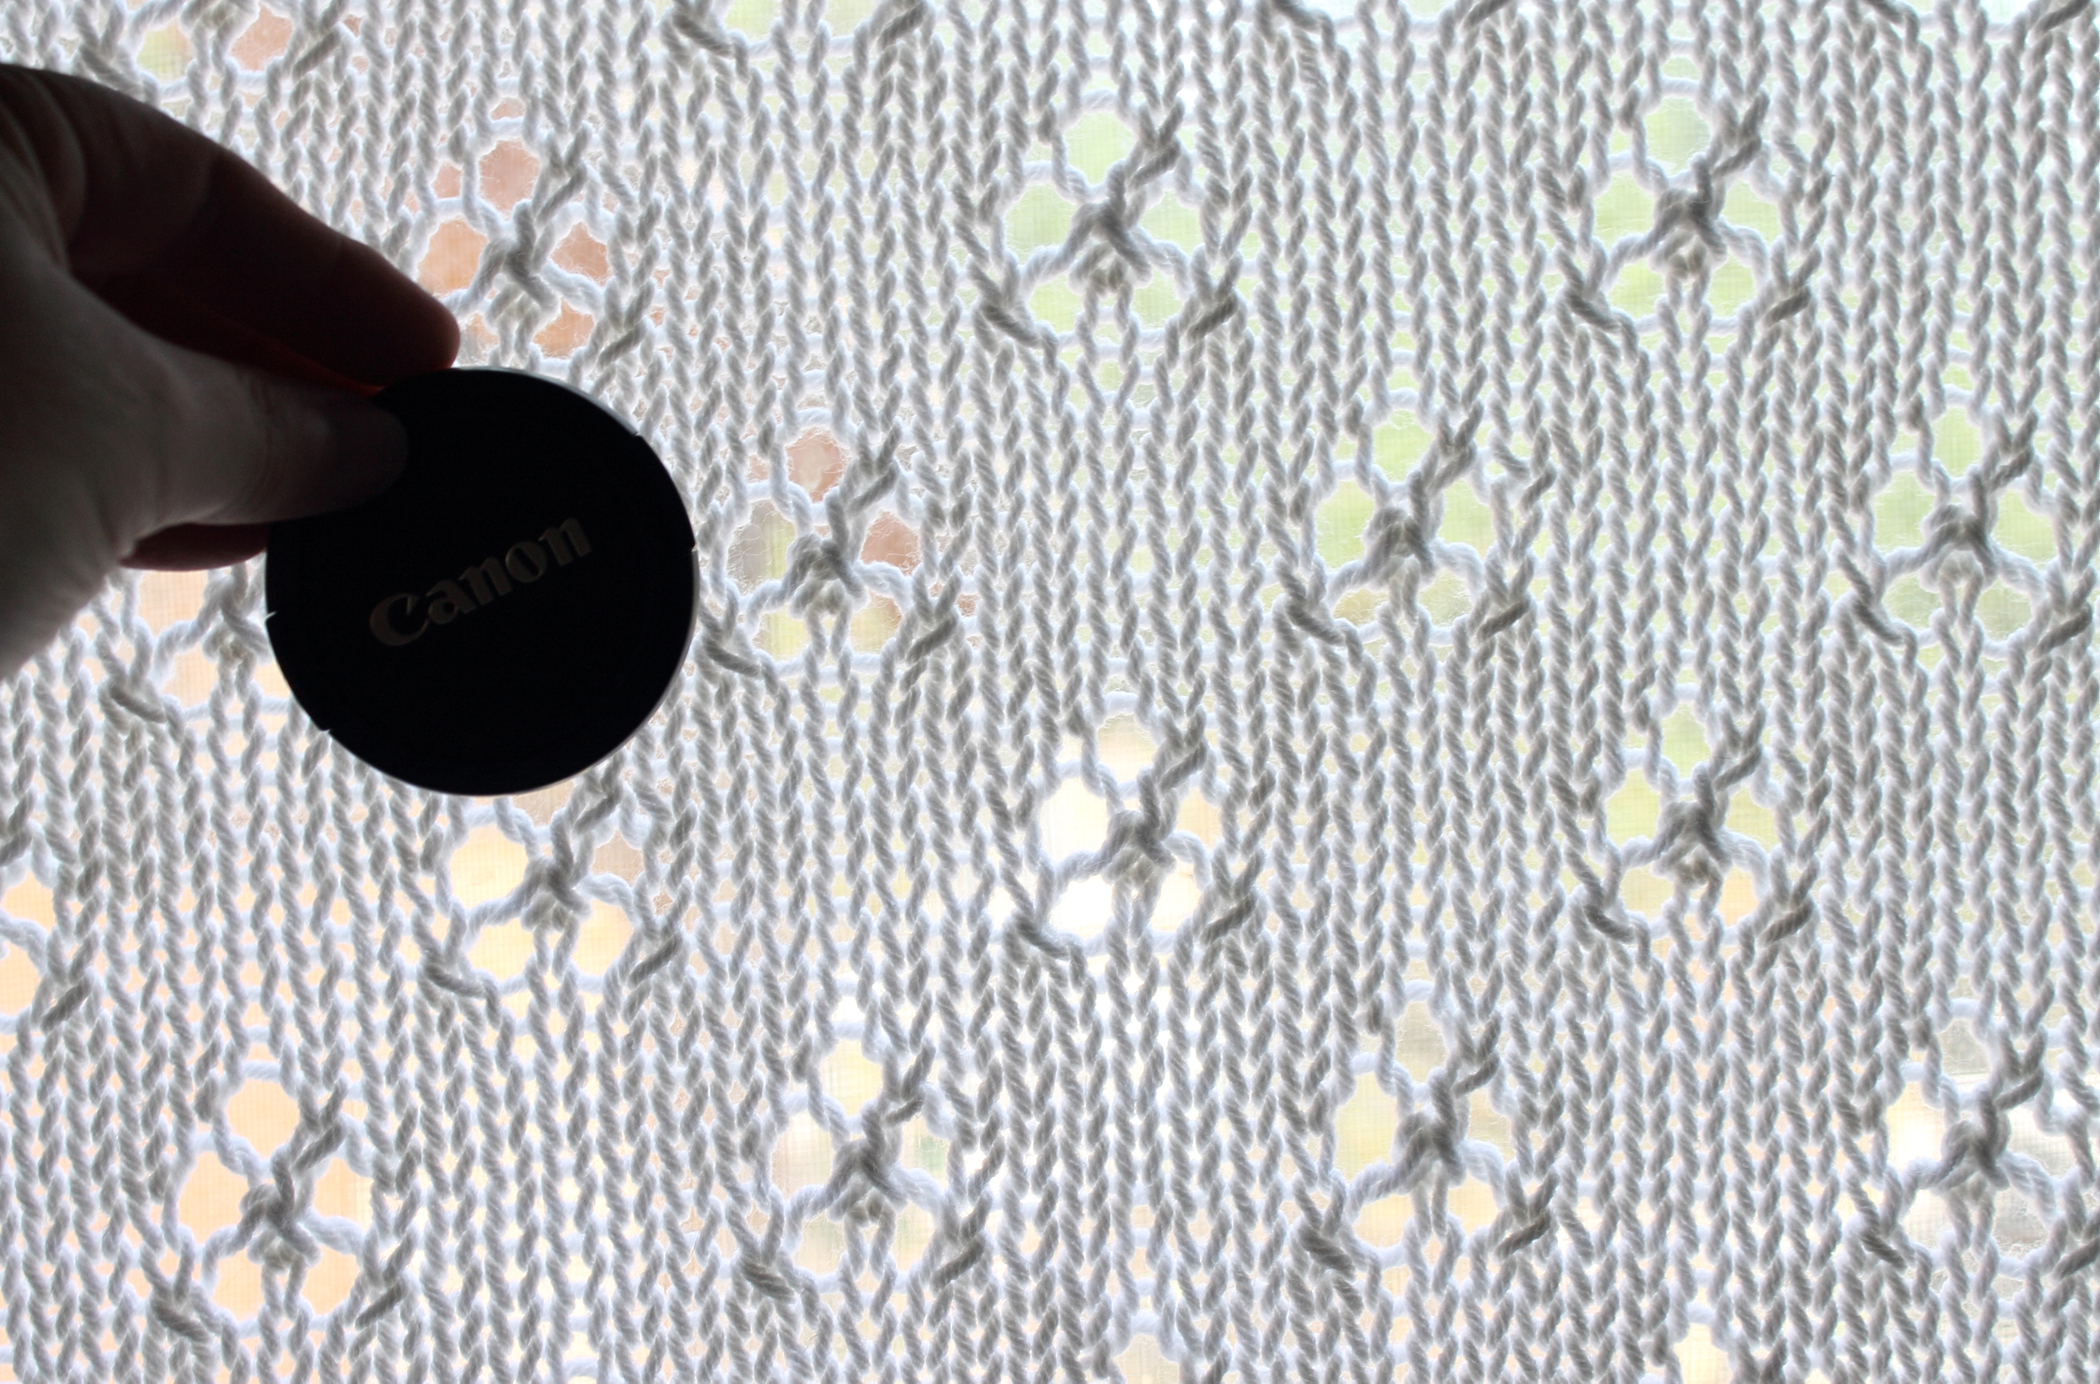
It took me the entire month of July to knit an eyelet curtain panel for my kitchen window. I had intended to make two. However, once finished, it was discovered that the one panel stretched across the length of the window.
I had used Red Heart Super Saver in white and my size I knook.
The pattern used was this one and I used the five-eyelet chart. I cast on 170 stitches, did 10 rows of garter on the bottom and 5 garter stitches on each side. The rod pocket was created by making 5 rows garter, 5 rows stockinette and another 5 rows garter I then sewed the last garter row to the first.
After hanging the curtain, it doesn’t perfectly fit across the width of the window. But, it’s good enough. I might make another one someday, but probably not for a while. It was a lot of work and pretty boring stuff.
All that white yarn made me want to work with some color. I joined a couple of knit-alongs and crochet-alongs on ravelry.
The first challenge was to make something related to the TV show Outlander. This show is based on some of my favorite books, which were written by Diana Gabaldon.
I decided to modify my MacLean Clan Tartan found here. I made a cowl. This was my first try at knitting with color and my first try using the Intarsia technique (for the vertical stripes). I made yarn butterflies to contain the lengths of yarn. It worked pretty well! I figured that since this was a Scottish clan tartan, it would qualify for the -along.
I cast on 65 stitches and used my size I knook.
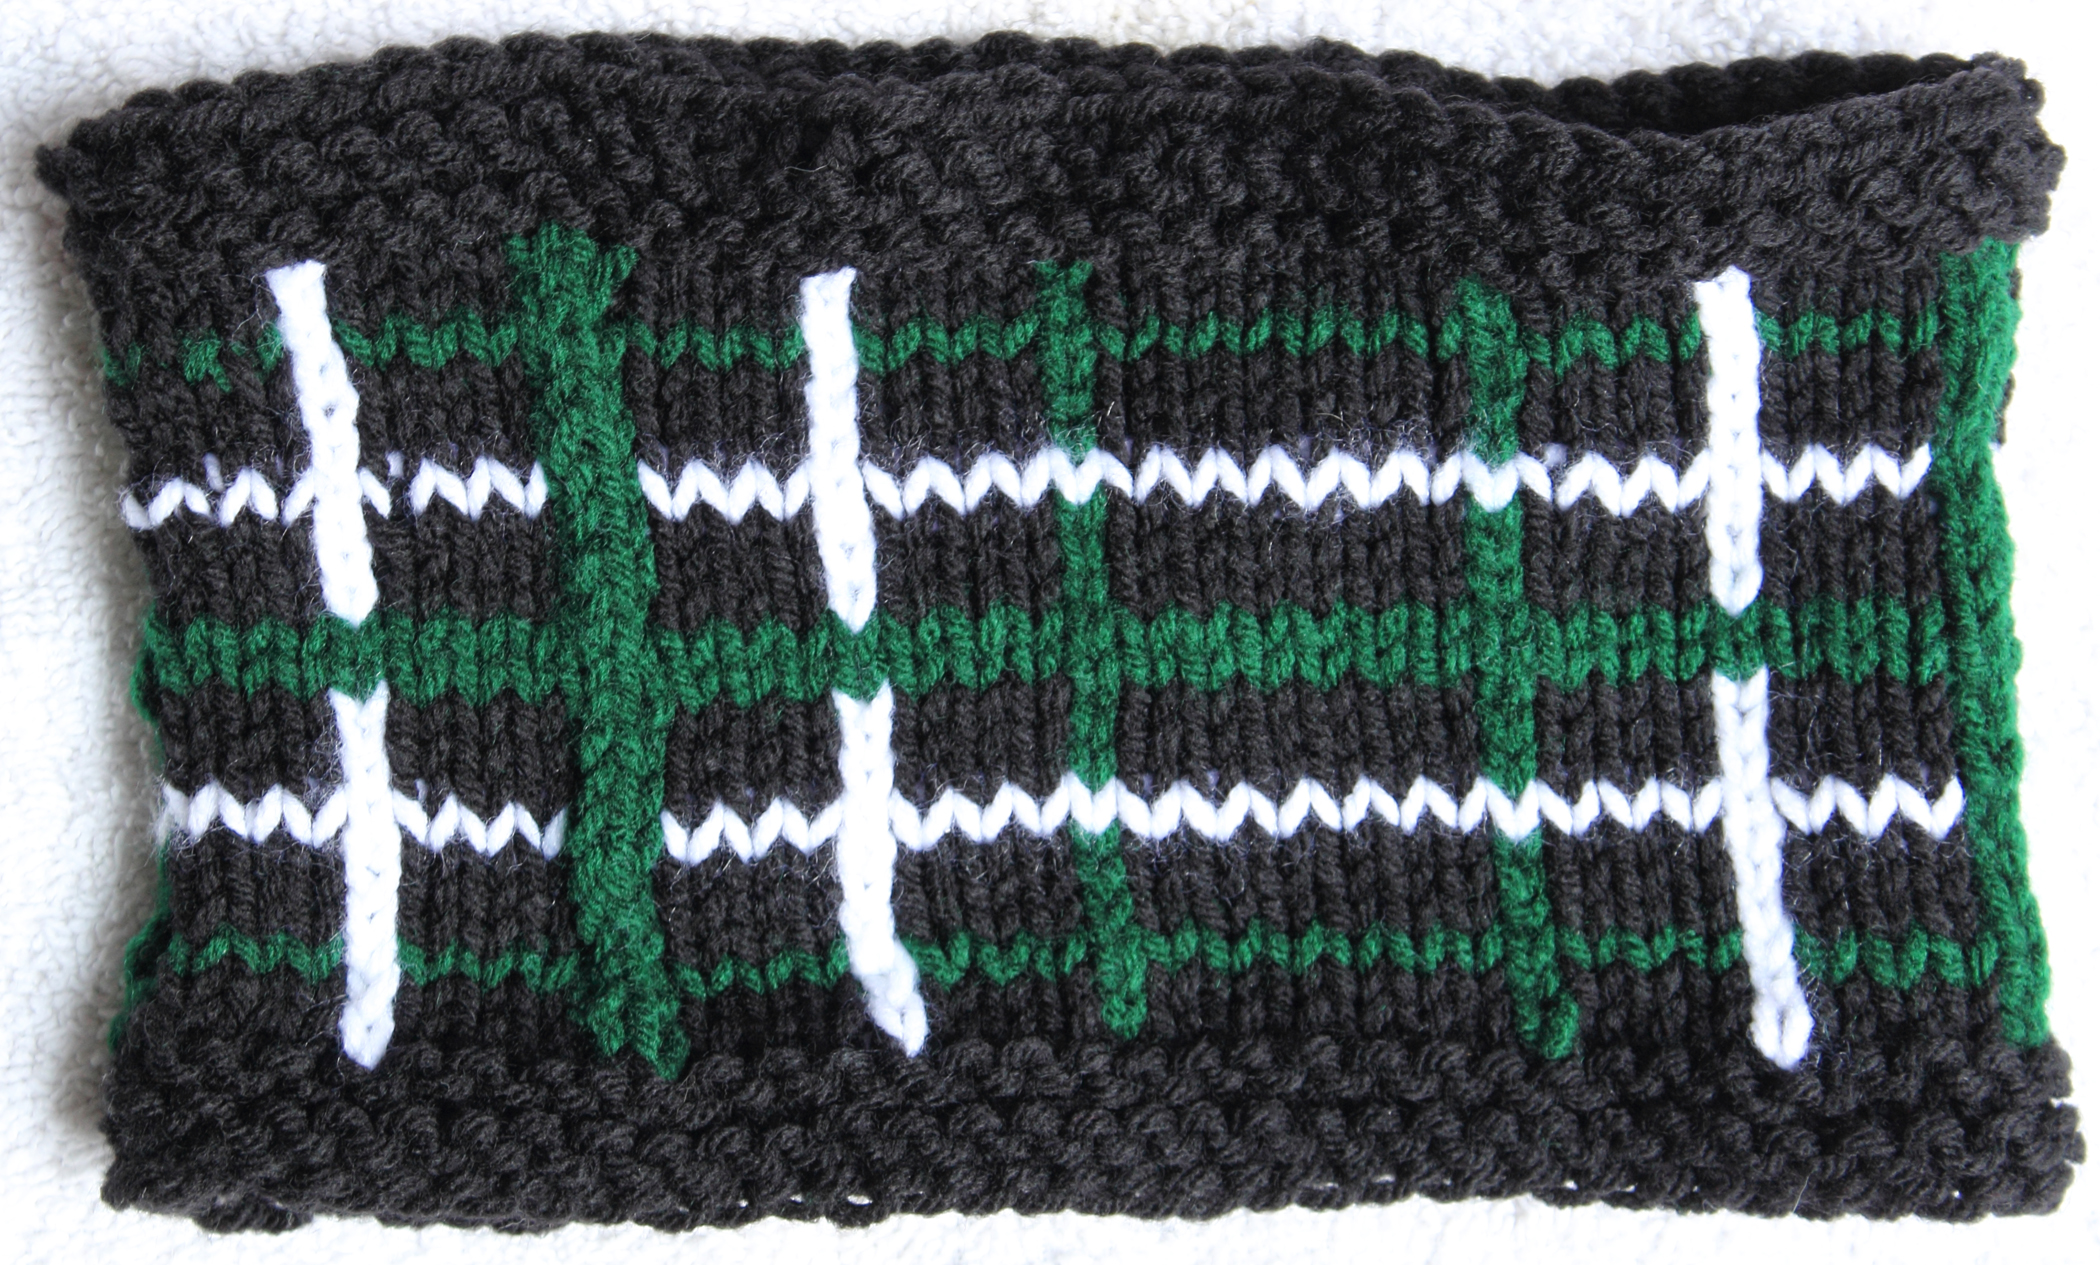
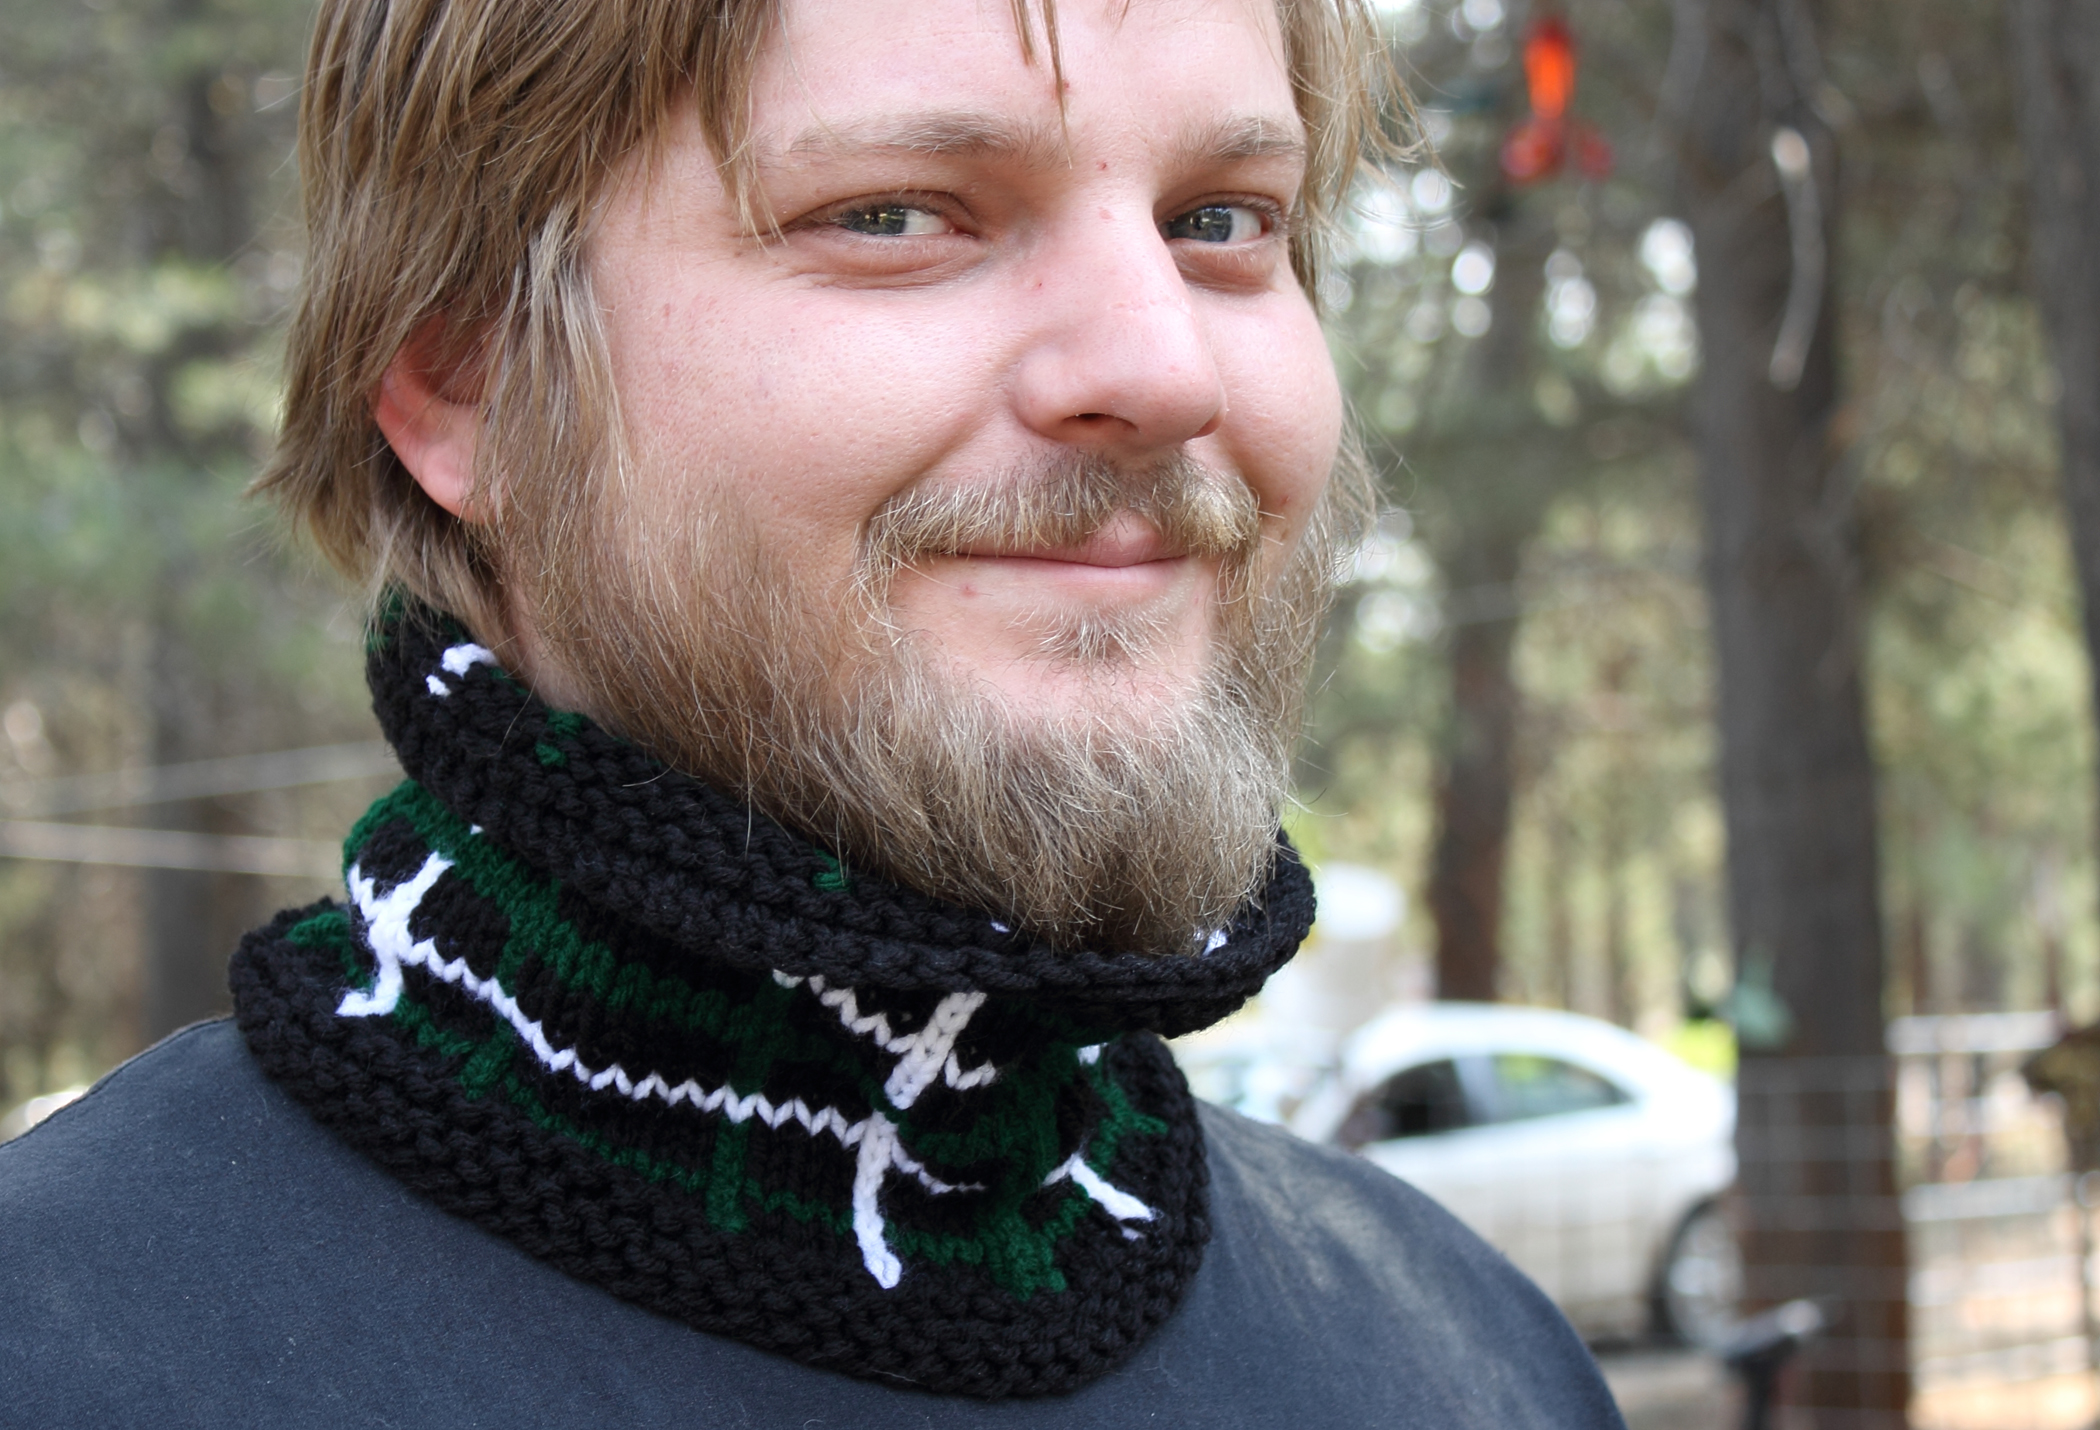
Handsome model is my son.
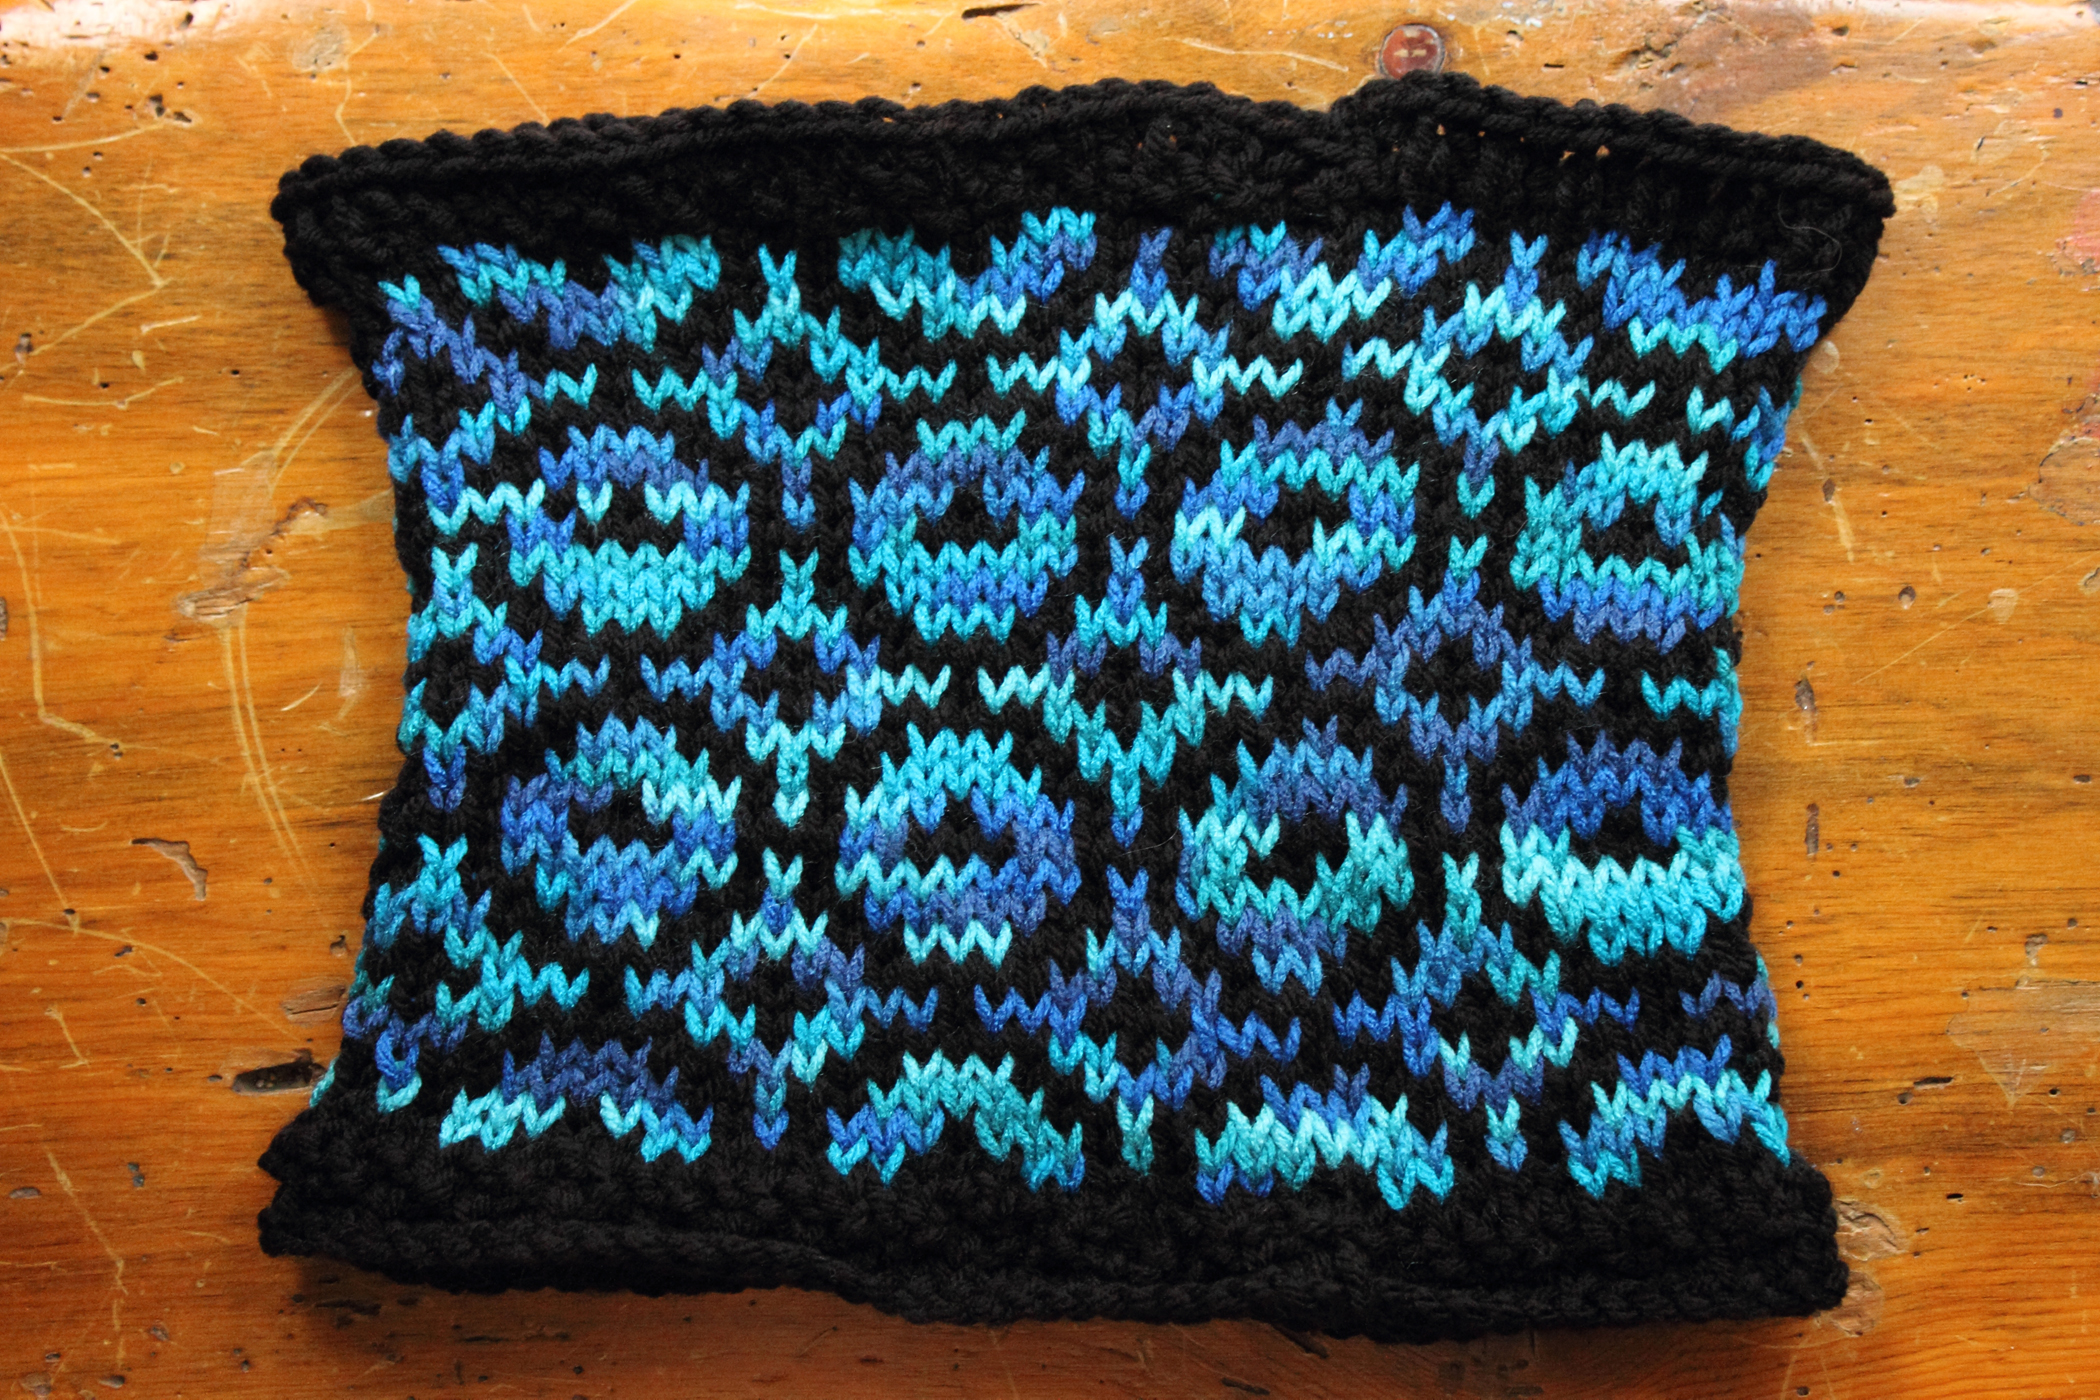
The next -along that I got into was the August challenge in the Cowls group on ravelry. This month’s challenge: color work. I found what looked like a cute and simple pattern called Alba, by Greta and the Fibers. I believe it would be considered a Fair Isle technique, as you are only doing a few stitches at a time in one color, with two colors per row. Just so you know, the website is in Spanish, it is an unsecured site and they require a LOT of personal information before you can download their free patterns.
It was a simple pattern and I really enjoyed the stranded technique (another first for me) – much more than the Intarsia. I made several mistakes (that I didn’t notice until I was finished). Despite the fact that it is terribly imperfect, I love this cowl. I absolutely adore the colors. I knew from crocheting another cowl that I liked these two colors together. But in this cowl, I like it even better.
The pattern is simple and charted. It’s a 10-stitch repeat. I cast on 80 stitches. I used Red Heart Super Saver in Black and Macaw. I did a seed stitch border, which I’m really not happy with. I think I much prefer the look of garter borders.
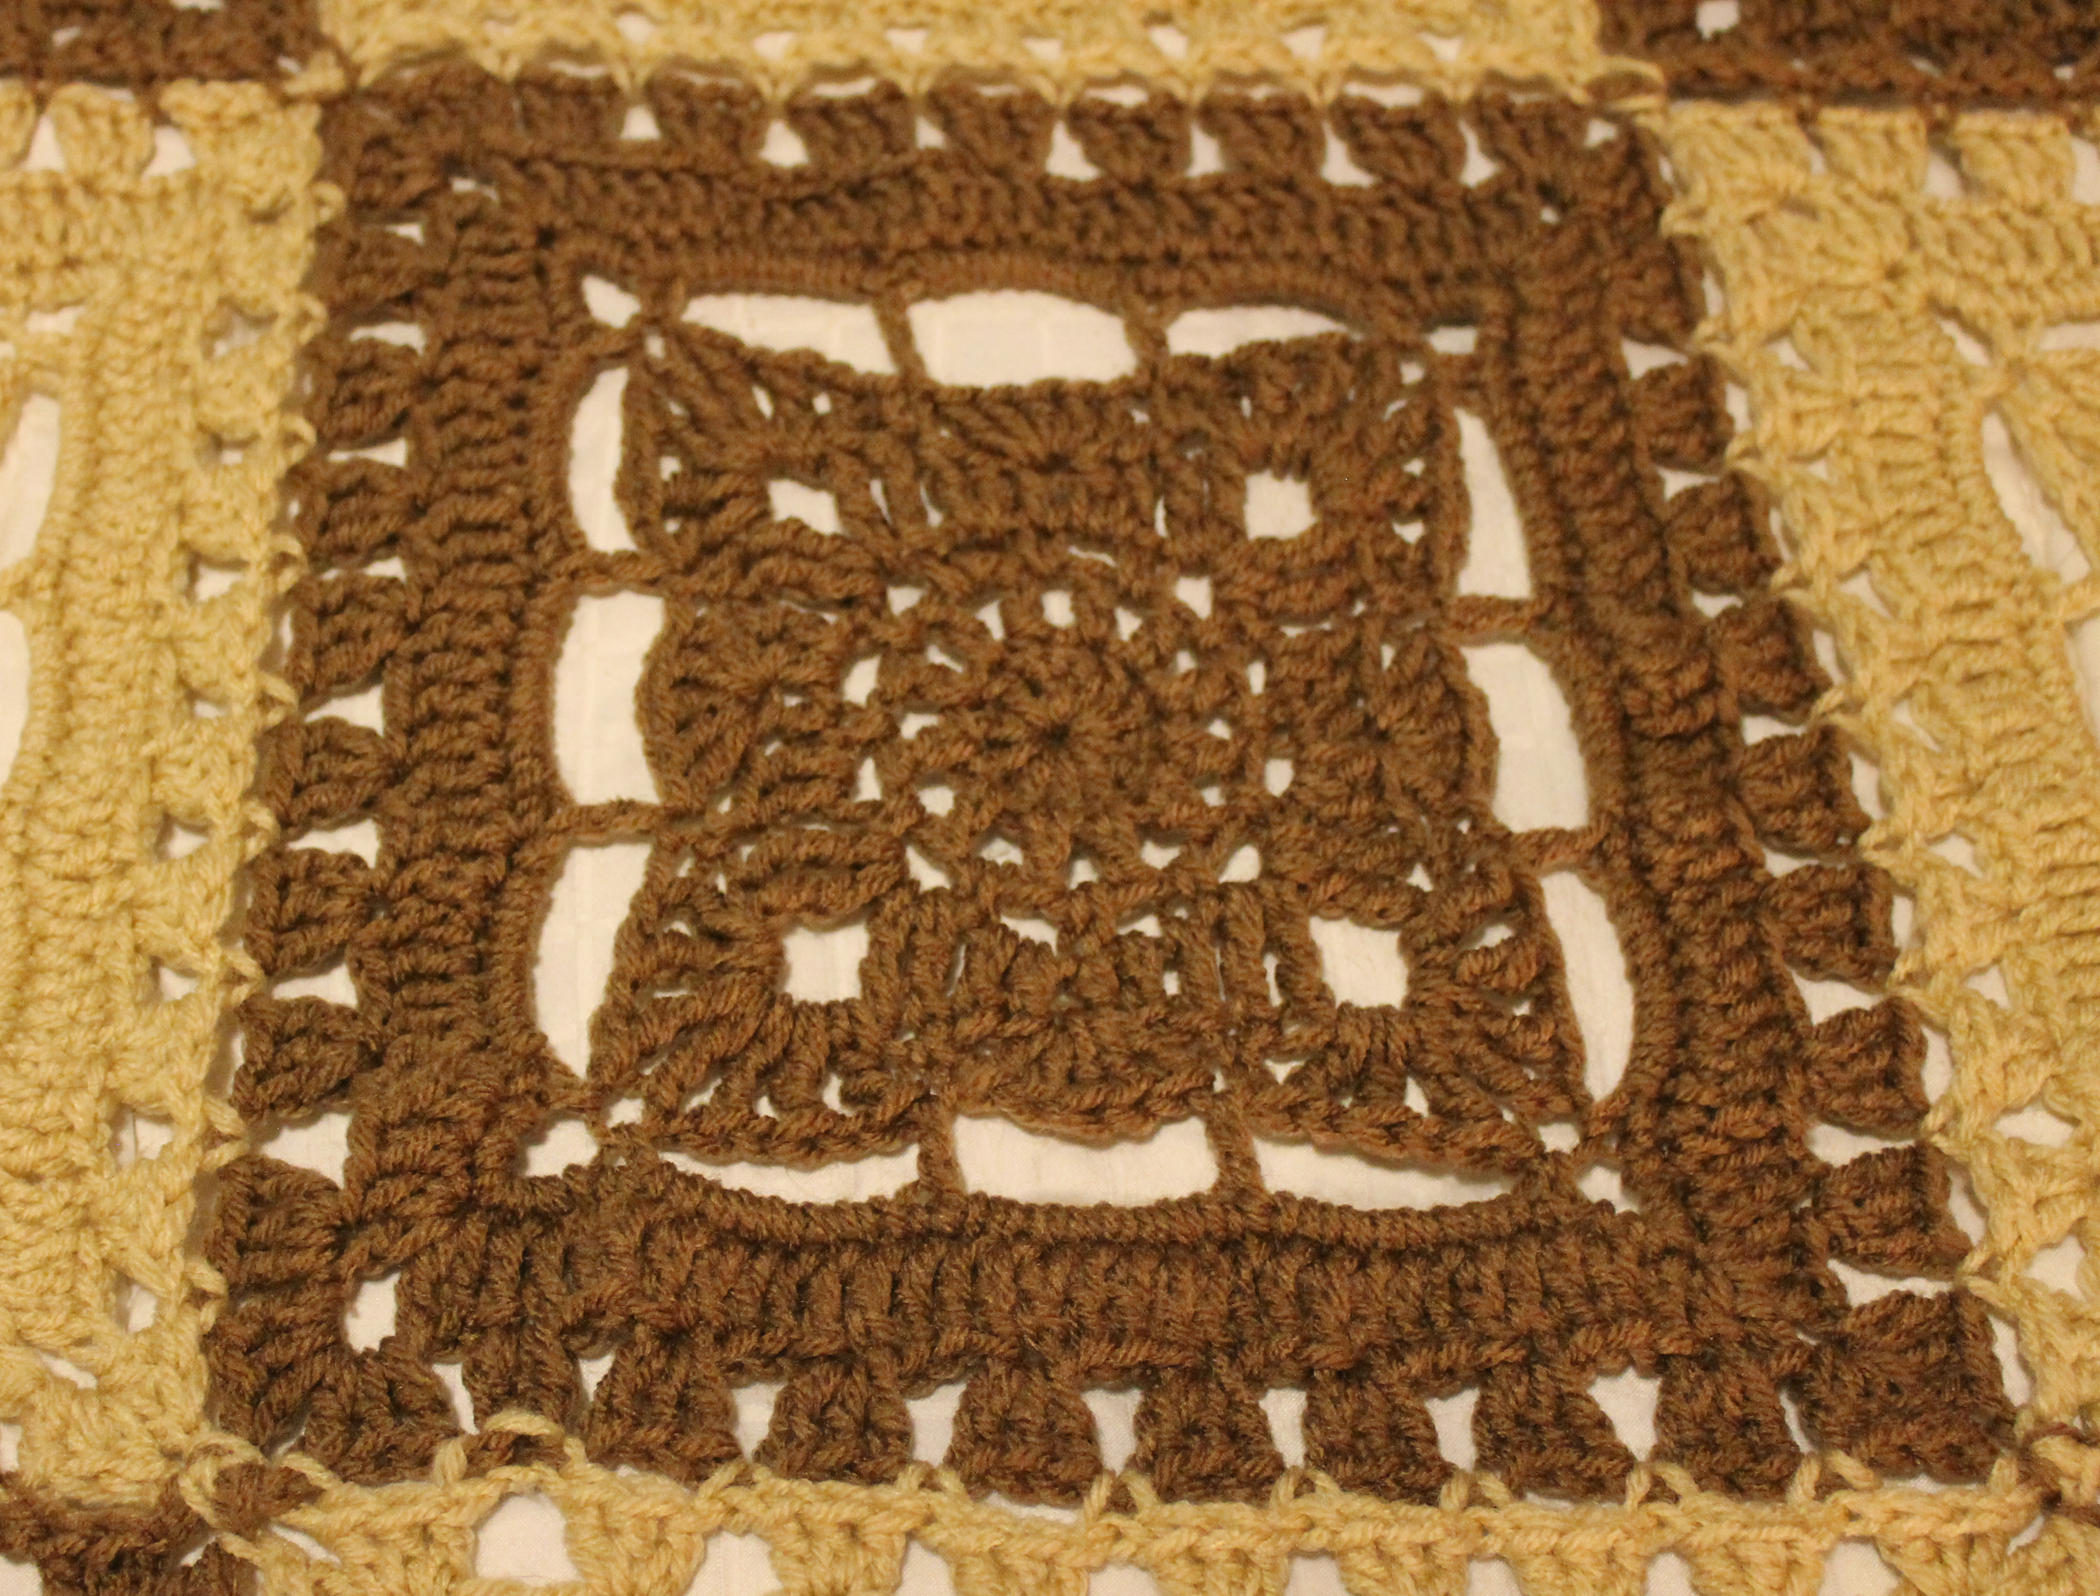
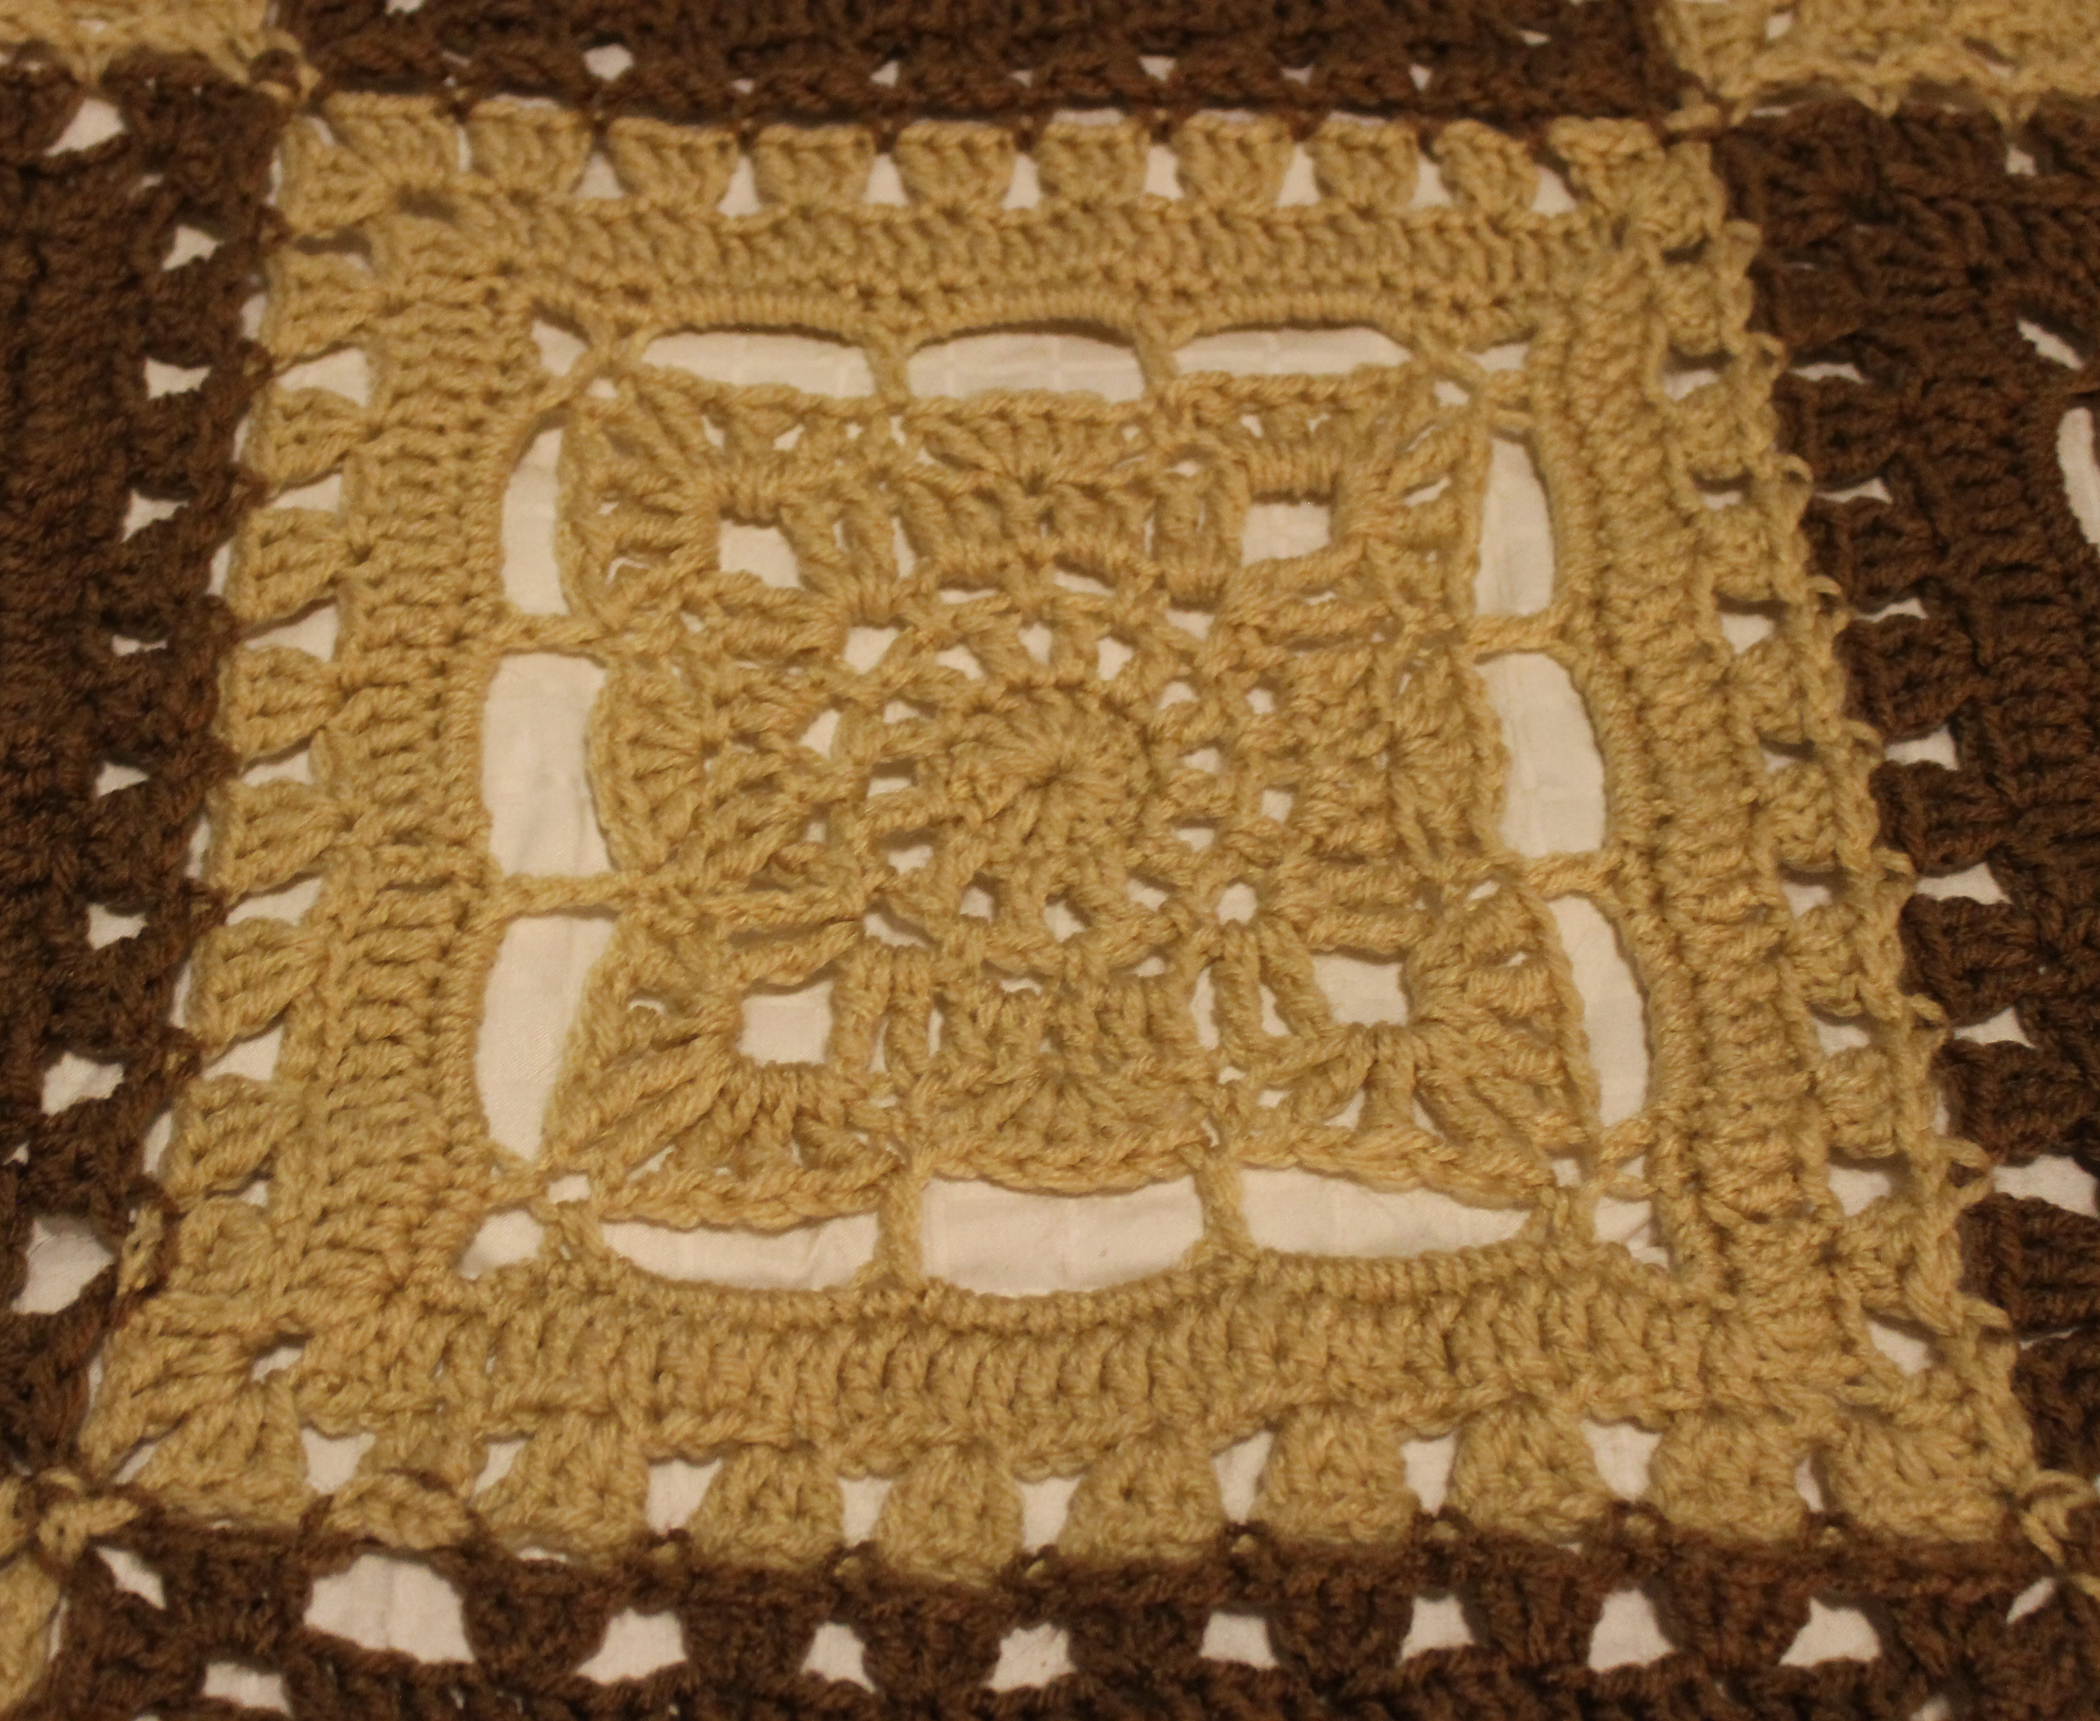
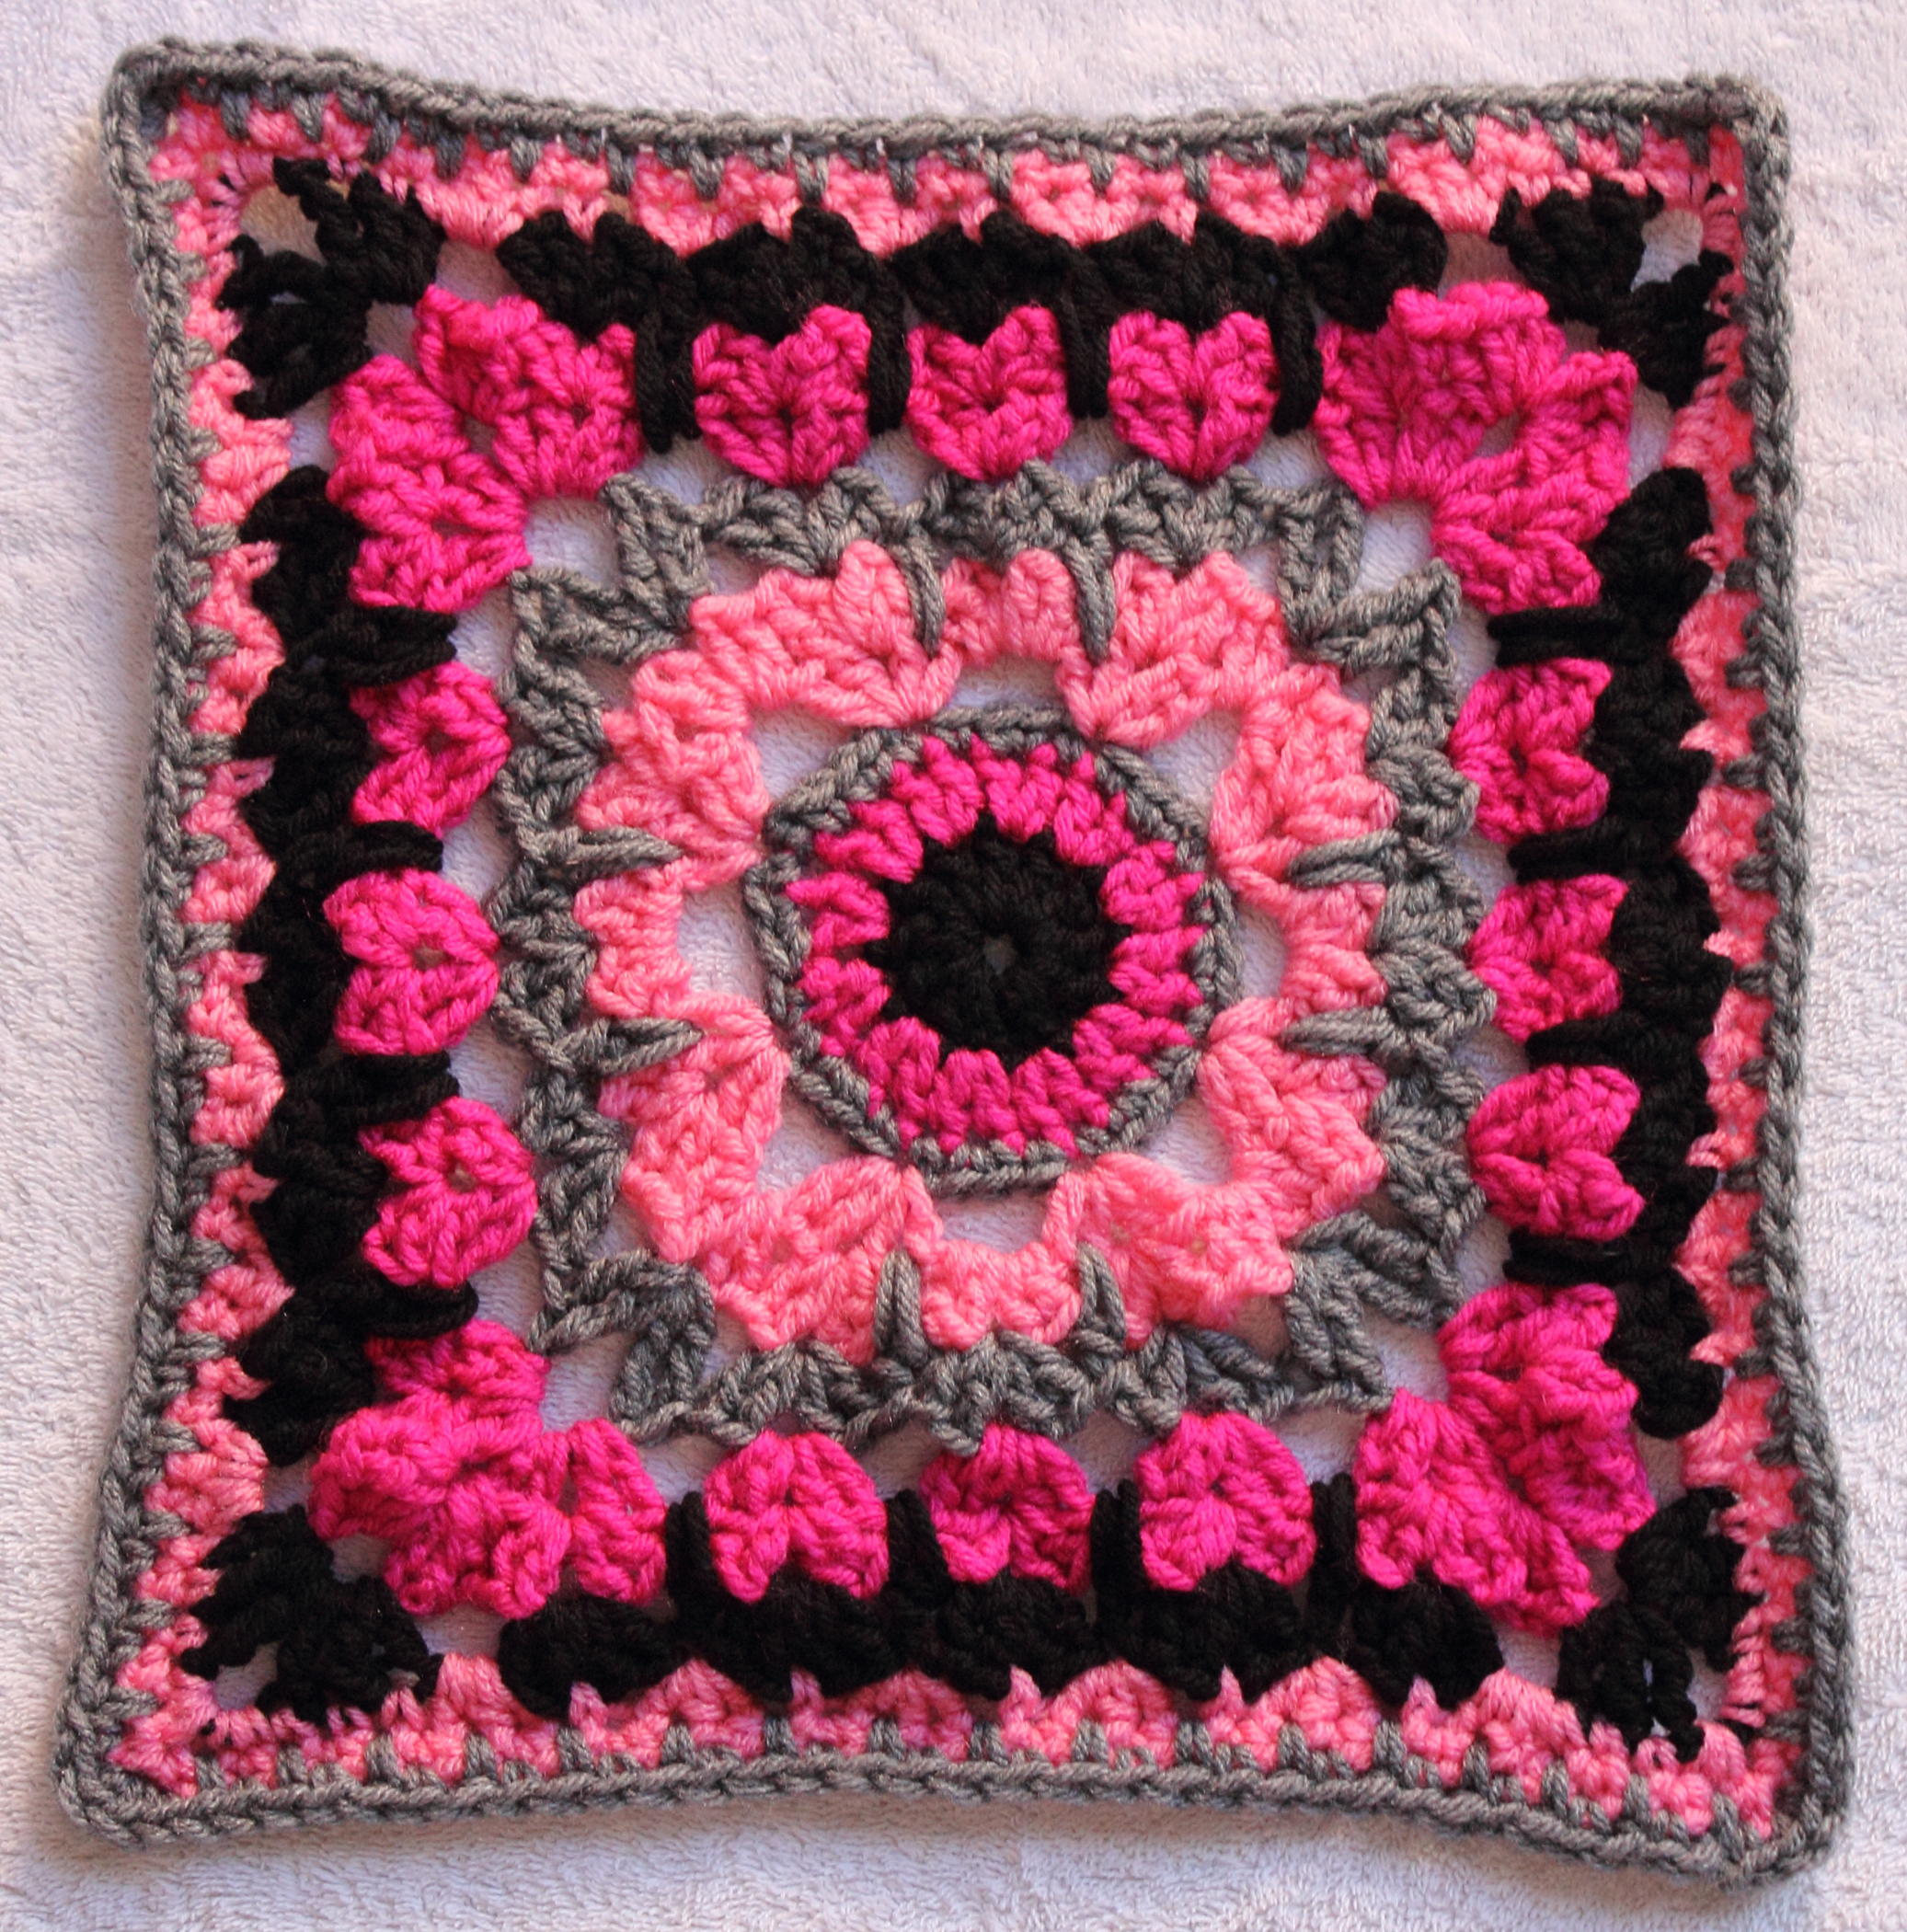
The next -along I was involved in was on the Red Heart Lovers group on ravelry. It was the August Square of the Month. I followed the crochet pattern. It made a 12-inch afghan block. I used a K hook and Red Heart Super Saver in Shocking Pink, Perfect Pink (I think), Gray Heather and Black. It is the pattern See How They Run, pattern found here.
The Alba cowl inspired me to work on another stranded knitting project. I downloaded the Spirit Cat chart a long time ago and had intended to work it up as a filet crochet project. I never got around to doing that. So, I decided to knit it in the same colorway as my Alba cowl. I’m about halfway done, at this point. To be continued…