Long Time No See!!!

Sweetie has been doing a small kitchen remodel. He’s taking out the L-shaped wall that separates the kitchen from the living area and replacing it with an island. I joke that the only way he can get rid of the yellow walls (which he truly hates, BTW) is to tear them down. But, half of the kitchen walls are still intact. Haha!

Kitchen Demo

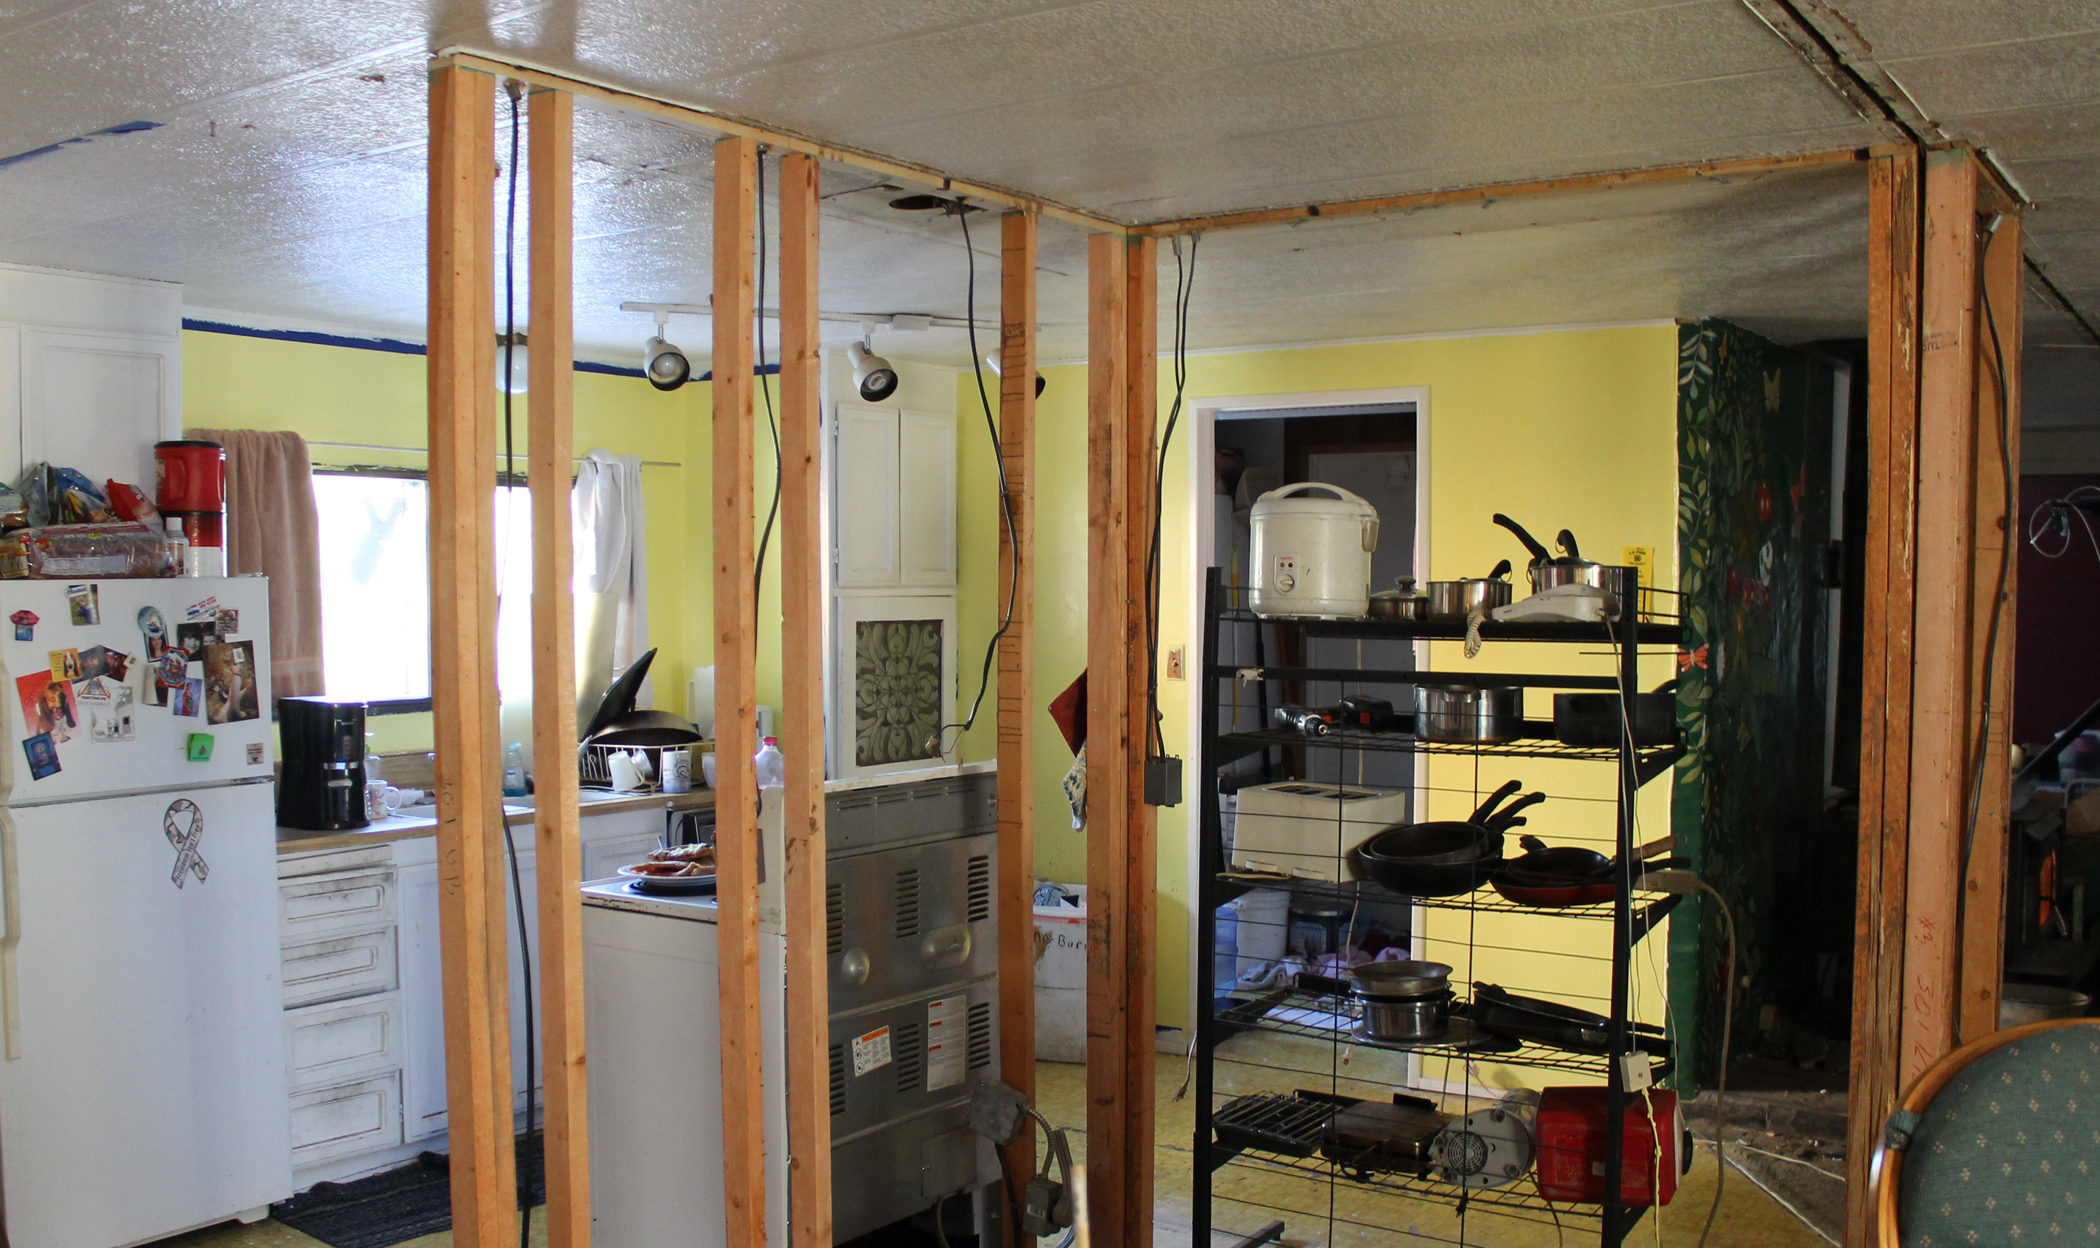
The studs on the left are now gone. My father has the plywood and is building the island’s shell, as I type this. Once we get the shell in – probably next week sometime – we will face it with some blue and buggy that was salvaged from James’ grandparent’s house when it burned down. We are going to use the classic white-and-gray marble floor tiles for the top. And the countertop’s trim will be cobalt-blue ceramic.

After the island is in, we’ll update the floor with vinyl tile. We already bought some for the project, but now I’m rethinking the pattern. We may end up going with something else and using the tiles that we’ve purchased elsewhere.

I still haven’t done the second coat of white paint on everything (or the first coat on the drawers). I should probably get on that…

On the crafting side of things…

I’ve been kind of obsessed with cowls, lately. They are great projects for me… They work up quickly (great for one such as myself who has startitis). They are quite useful in our area. And they don’t use a whole lot of yarn.

Cowl

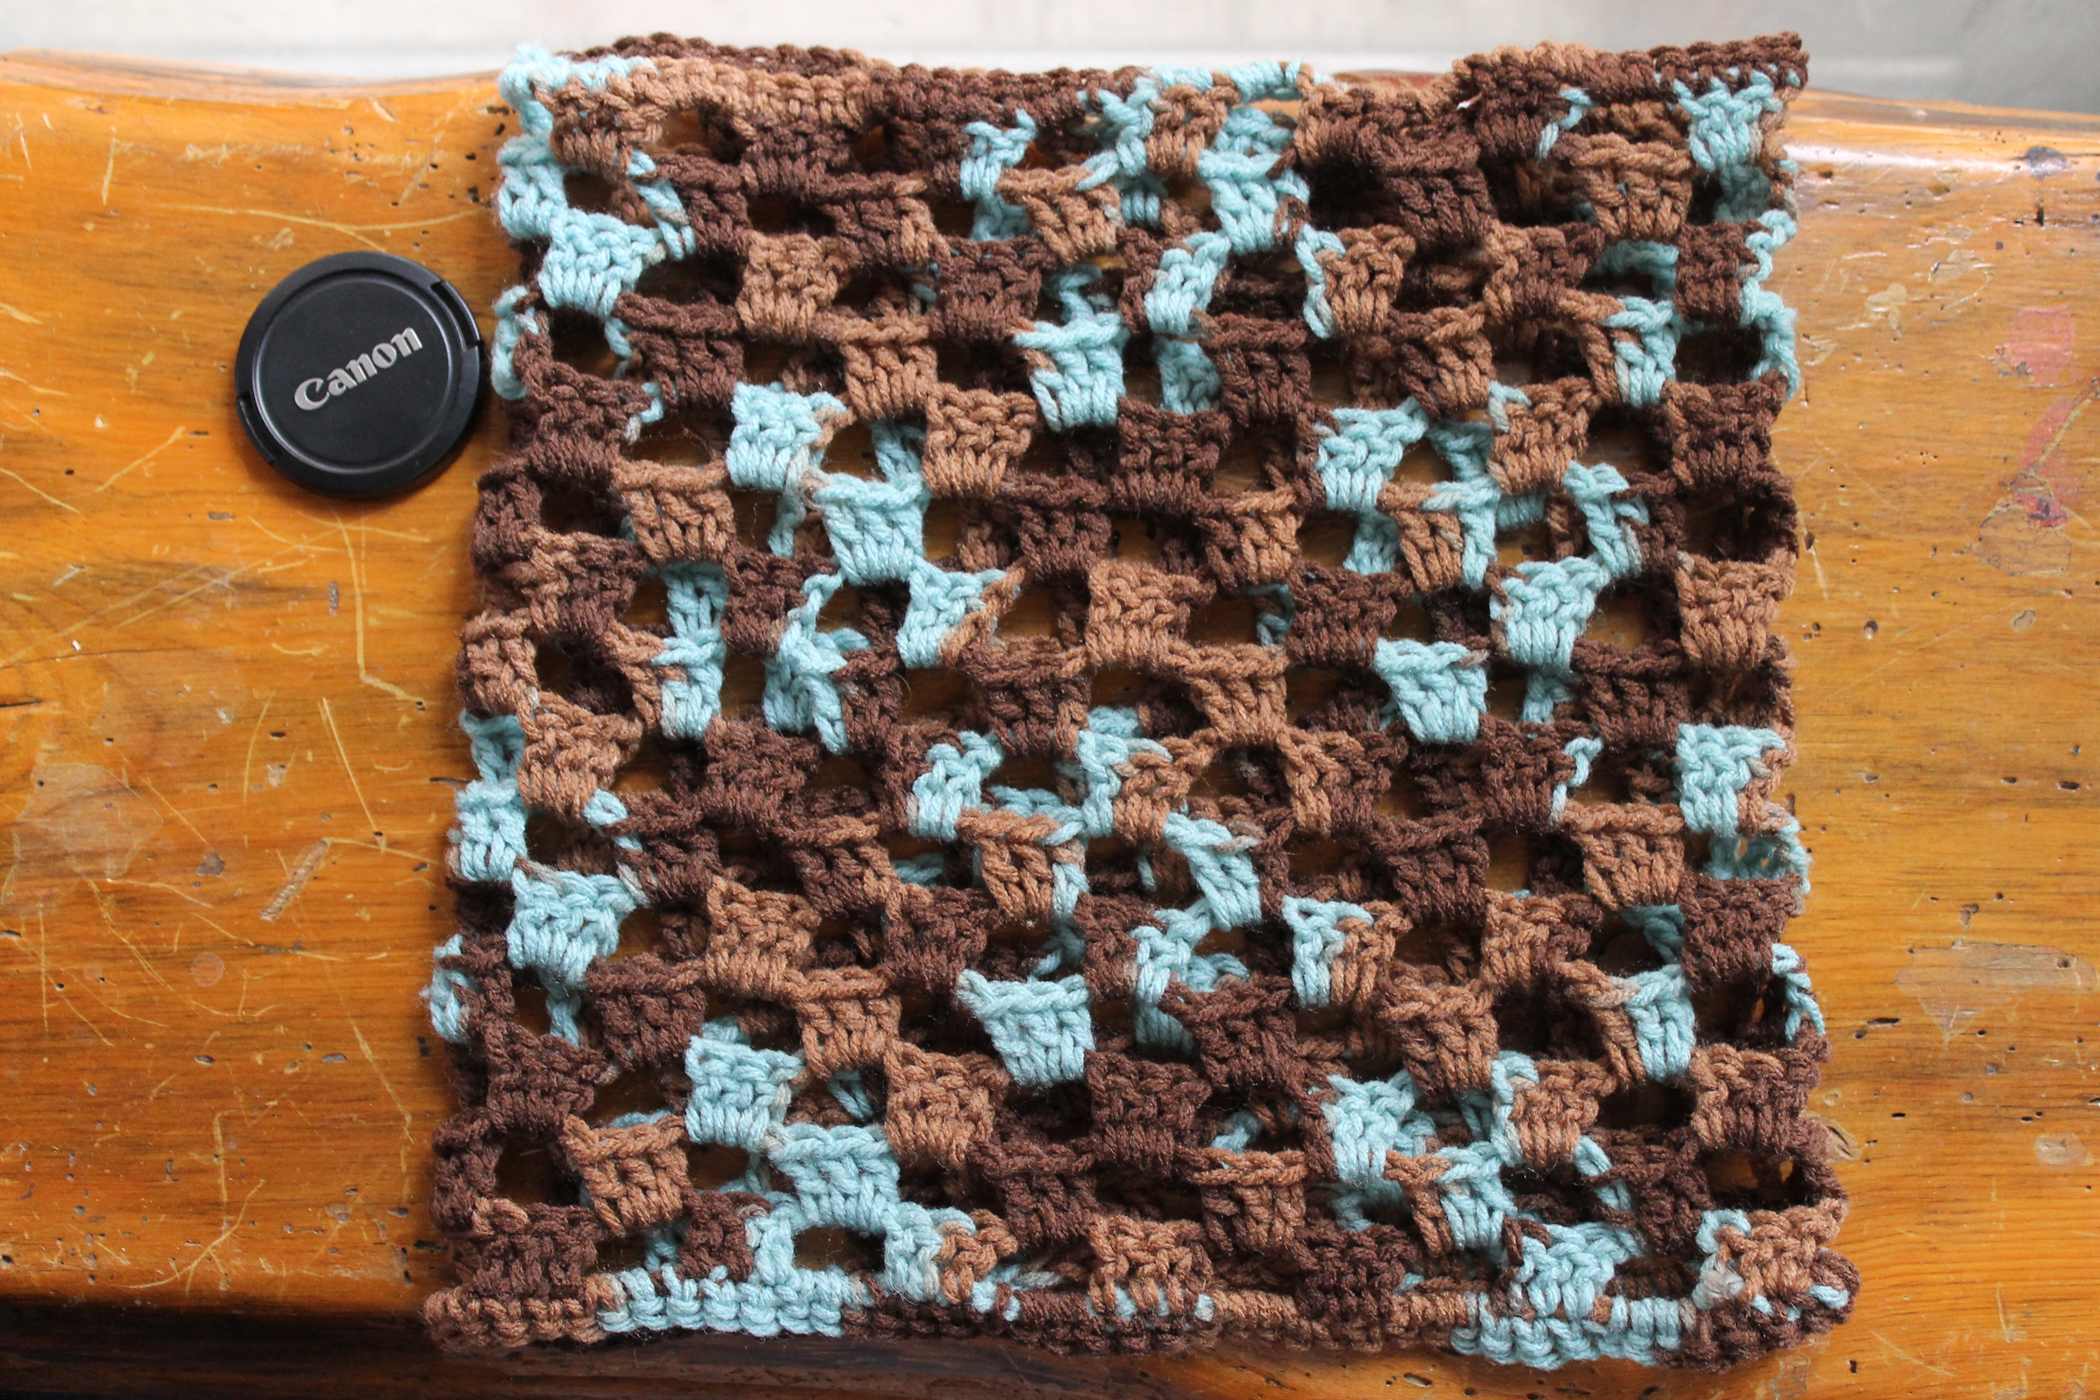
This was fun to make. I like the front-post stitches. I used Cotton-Ease yarn, which is a mixture of cotton and acrylic. It’s my new favorite yarn. I made simple one out of this yarn for sweetie, but I didn’t take pictures. The pattern for this cowl can be found here. This cowl turned out a bit too long for my taste. It wasn’t long enough to wrap twice and it was too long to do much good. I ended up giving it to my niece.

Granny Stripe Cowl

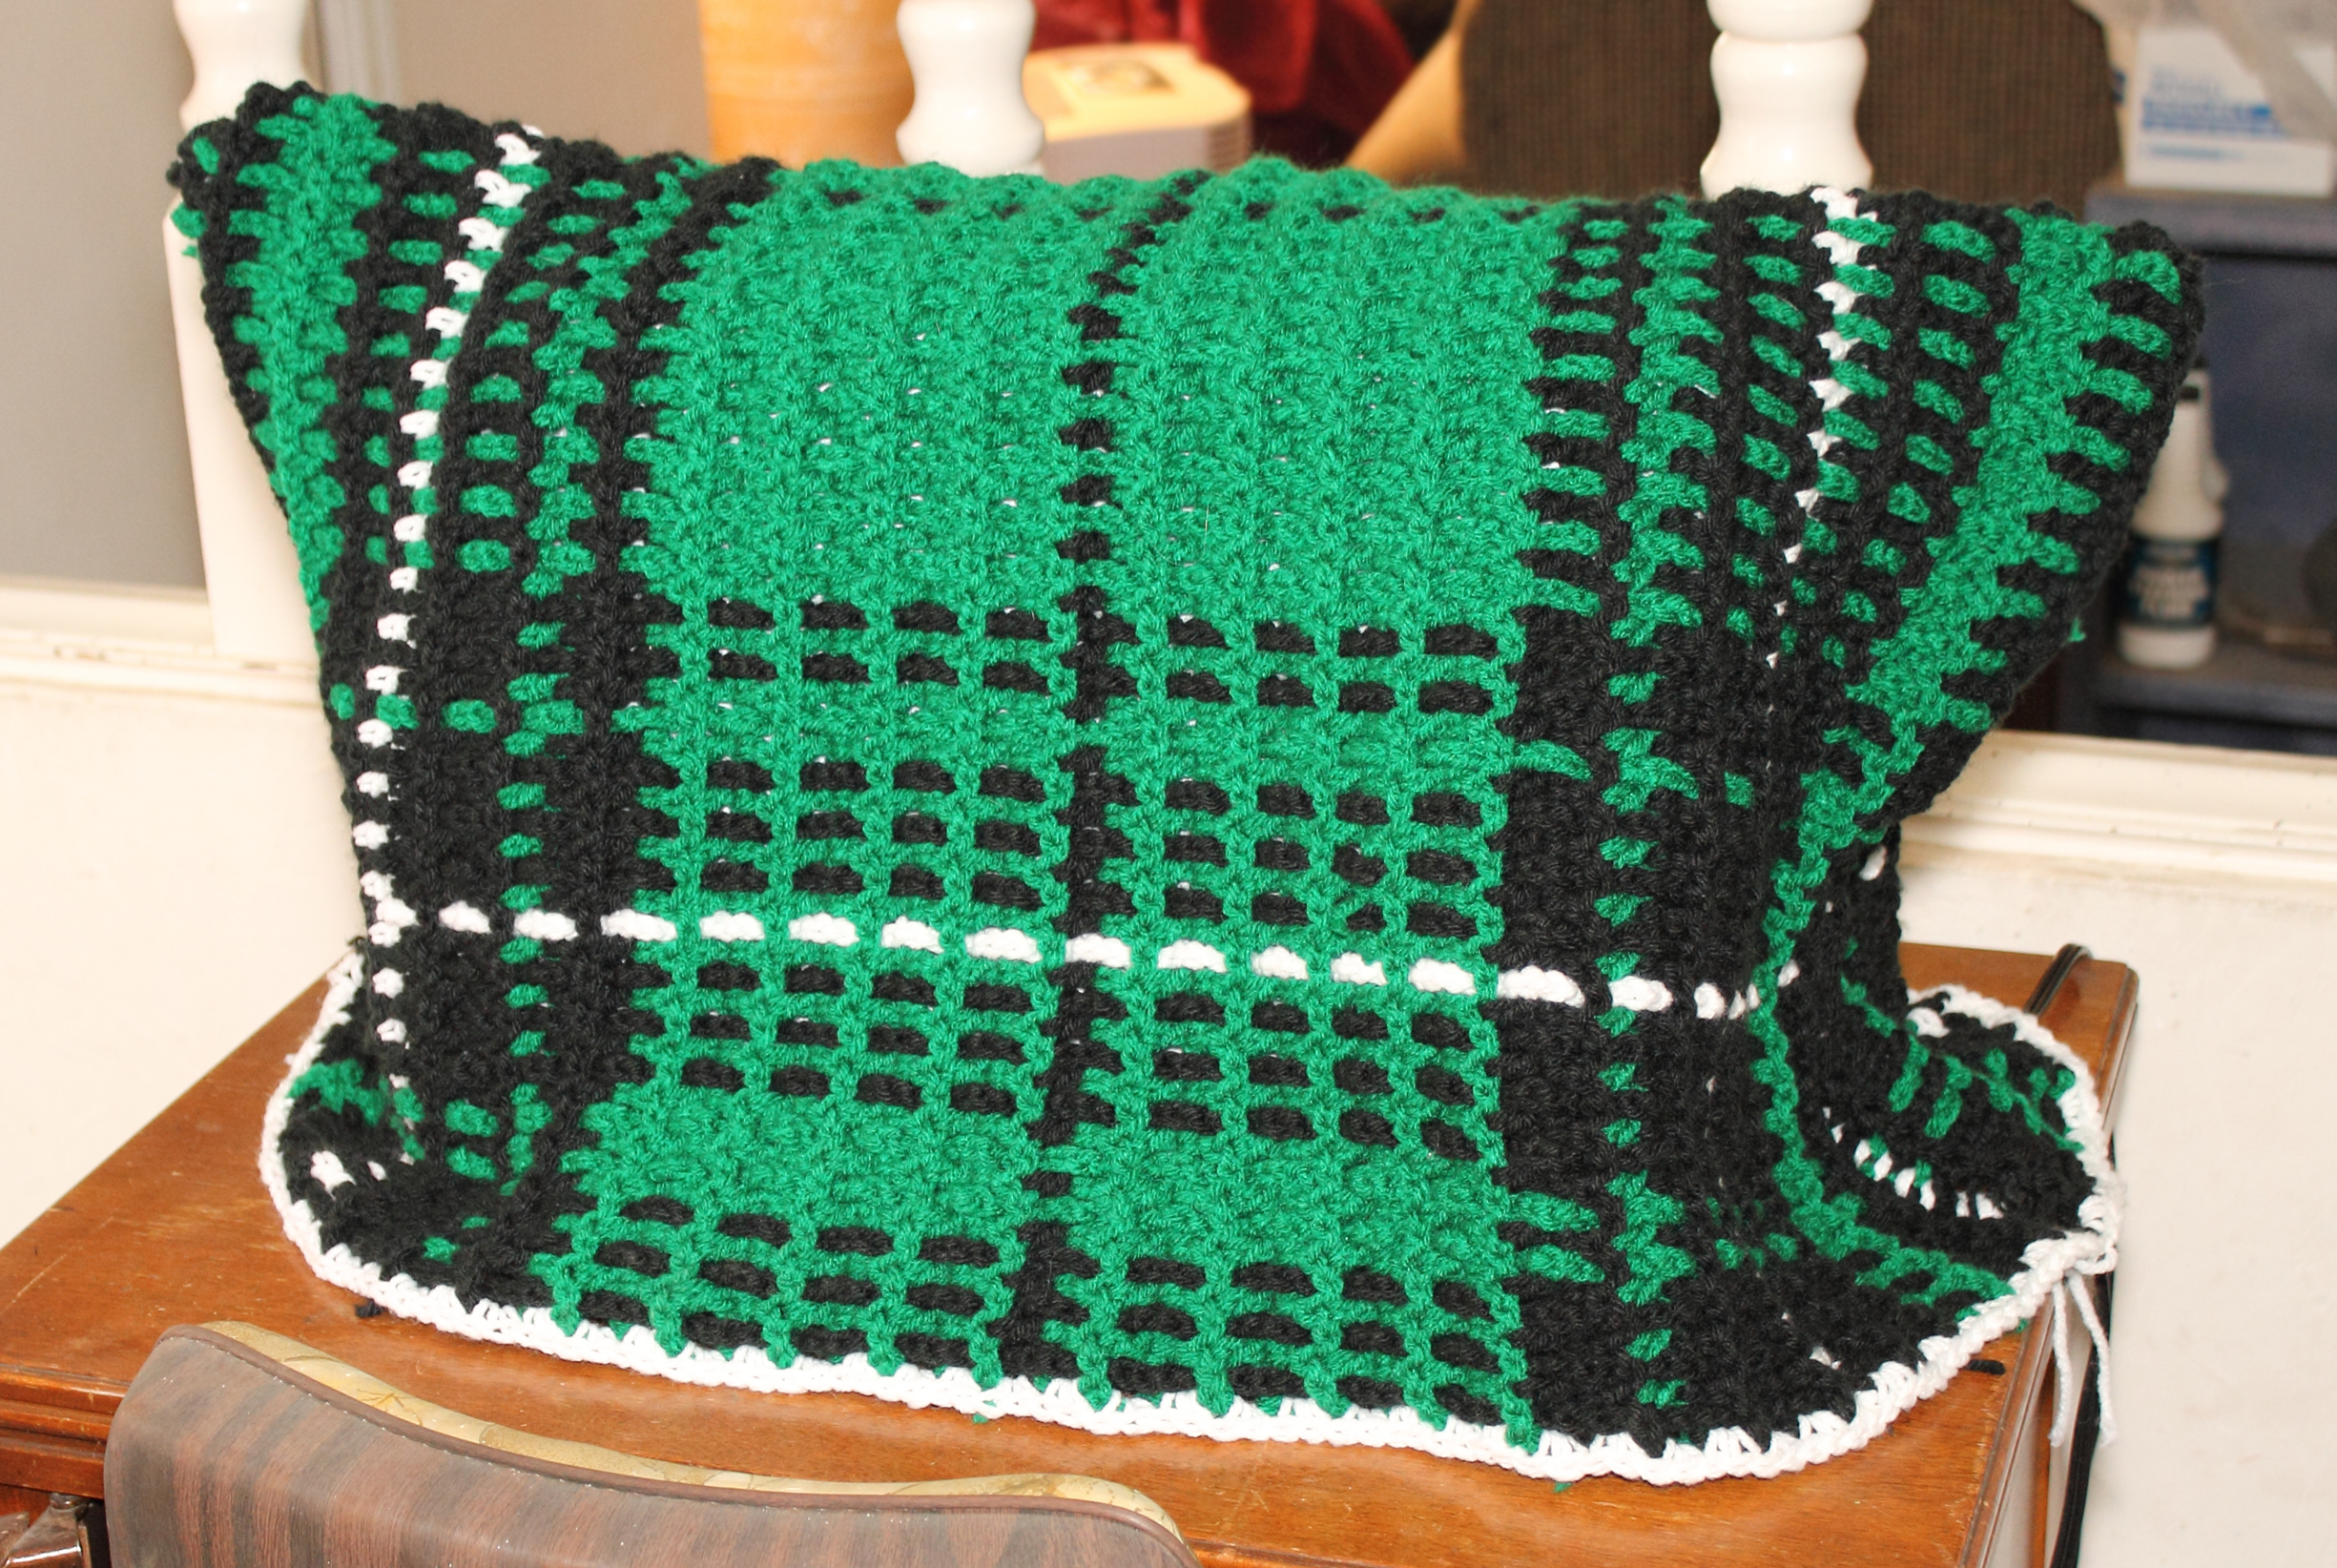
This was just a simple granny stripes cowl using Red Heart Earth and Sky yarn. No pattern involved. I really like it, but unfortunately I have to pull it on over my head. Since I usually wear my hair up, this can be a bit of an issue. I made one of these in the Red Heart Pink Camo colorway, but it wasn’t tall enough. I gave it to my niece, too.

Cowl Cap

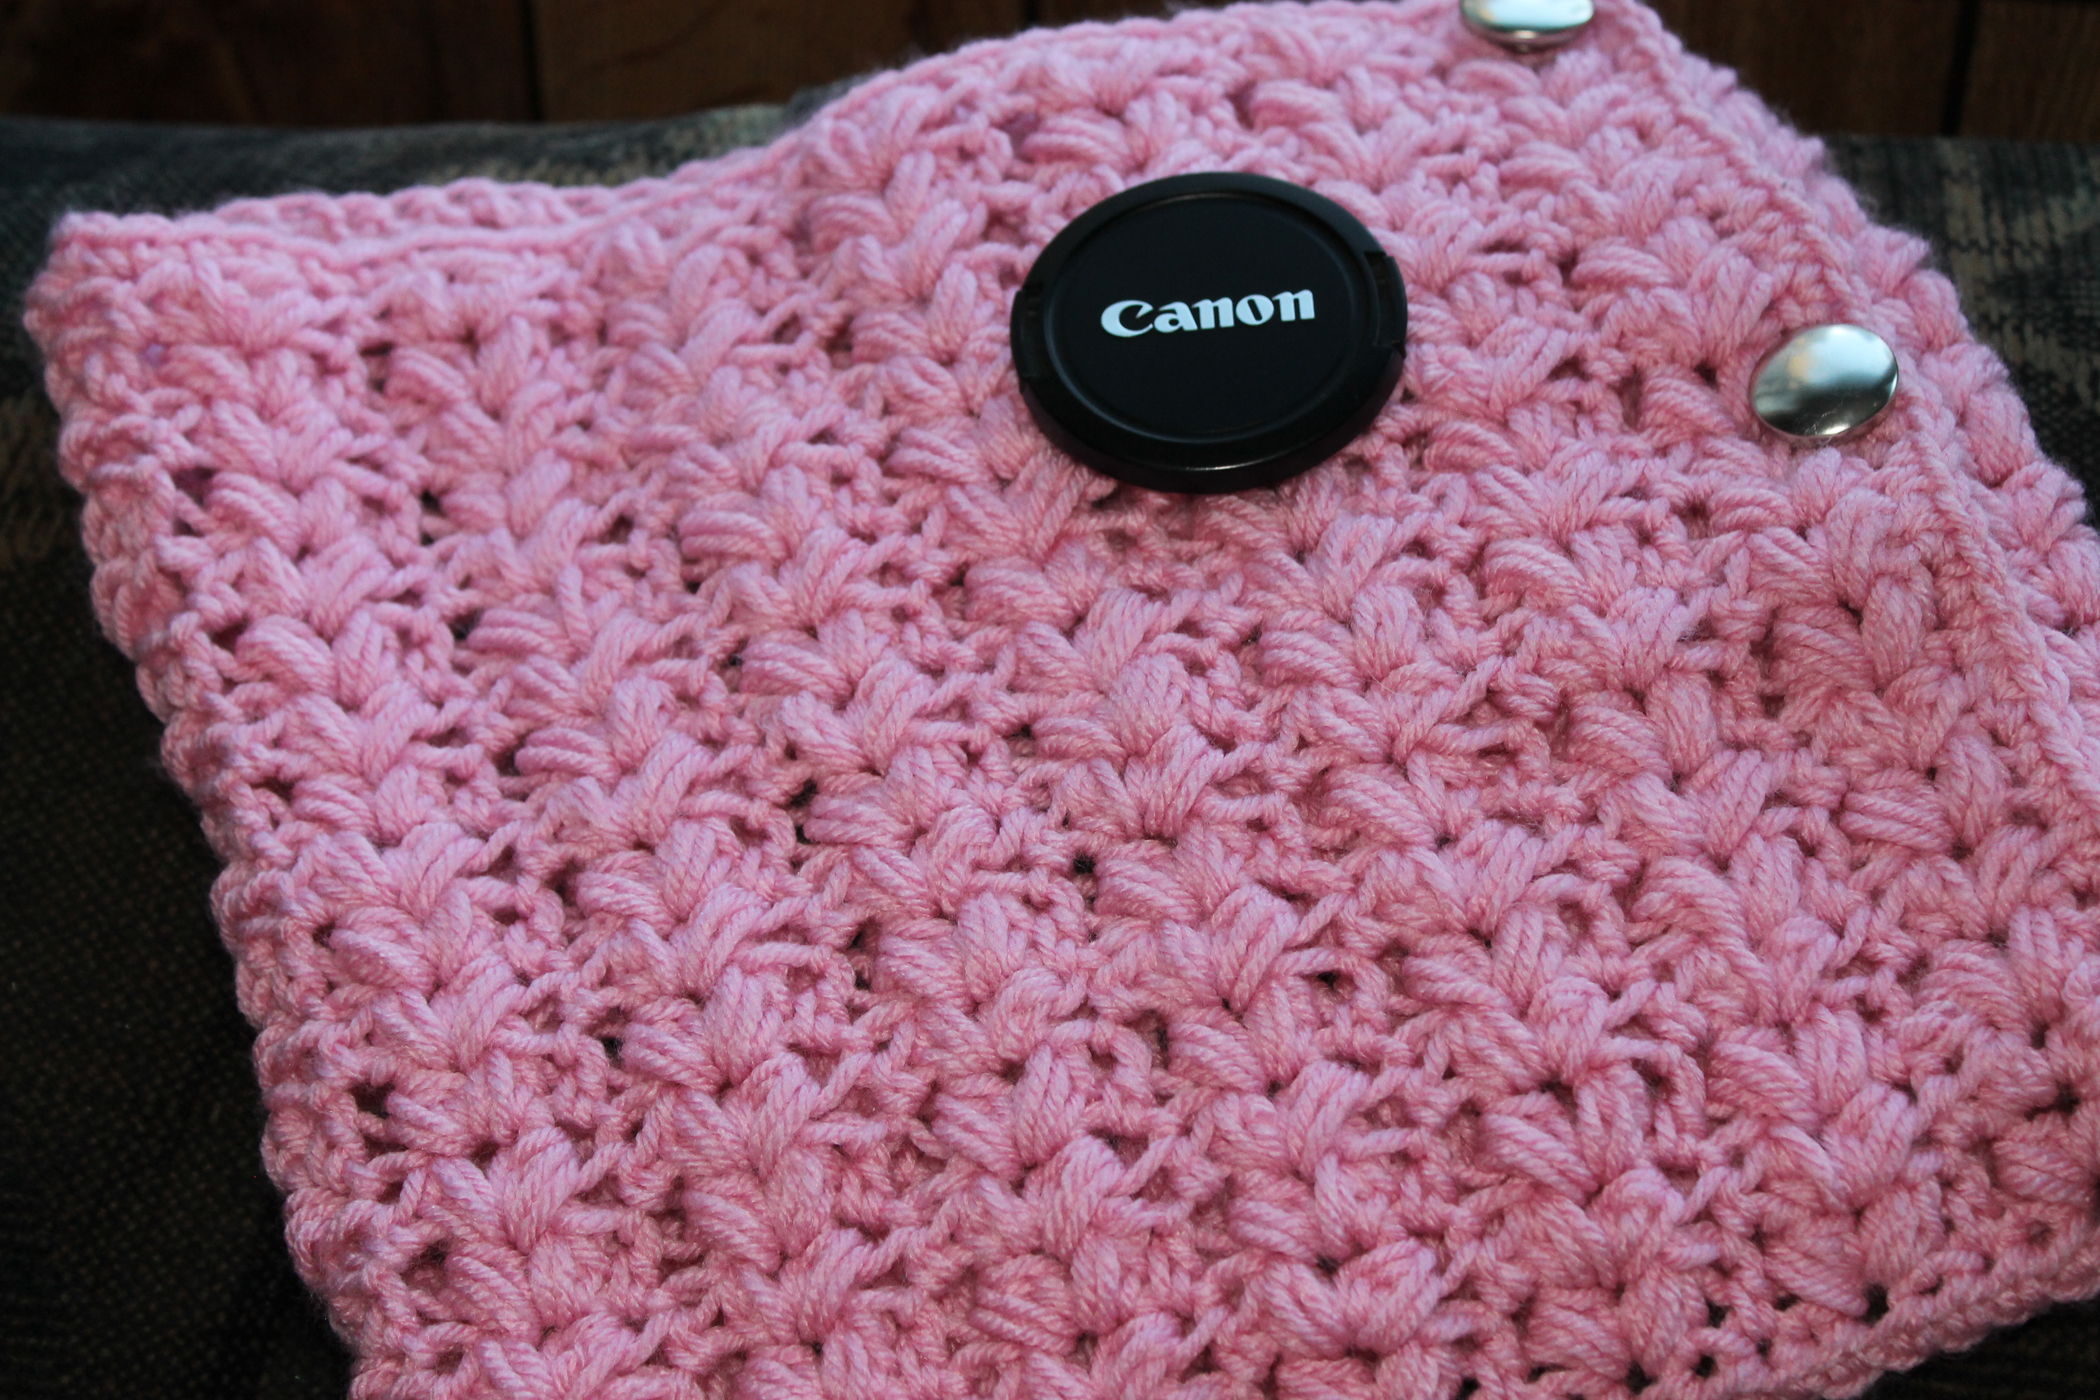
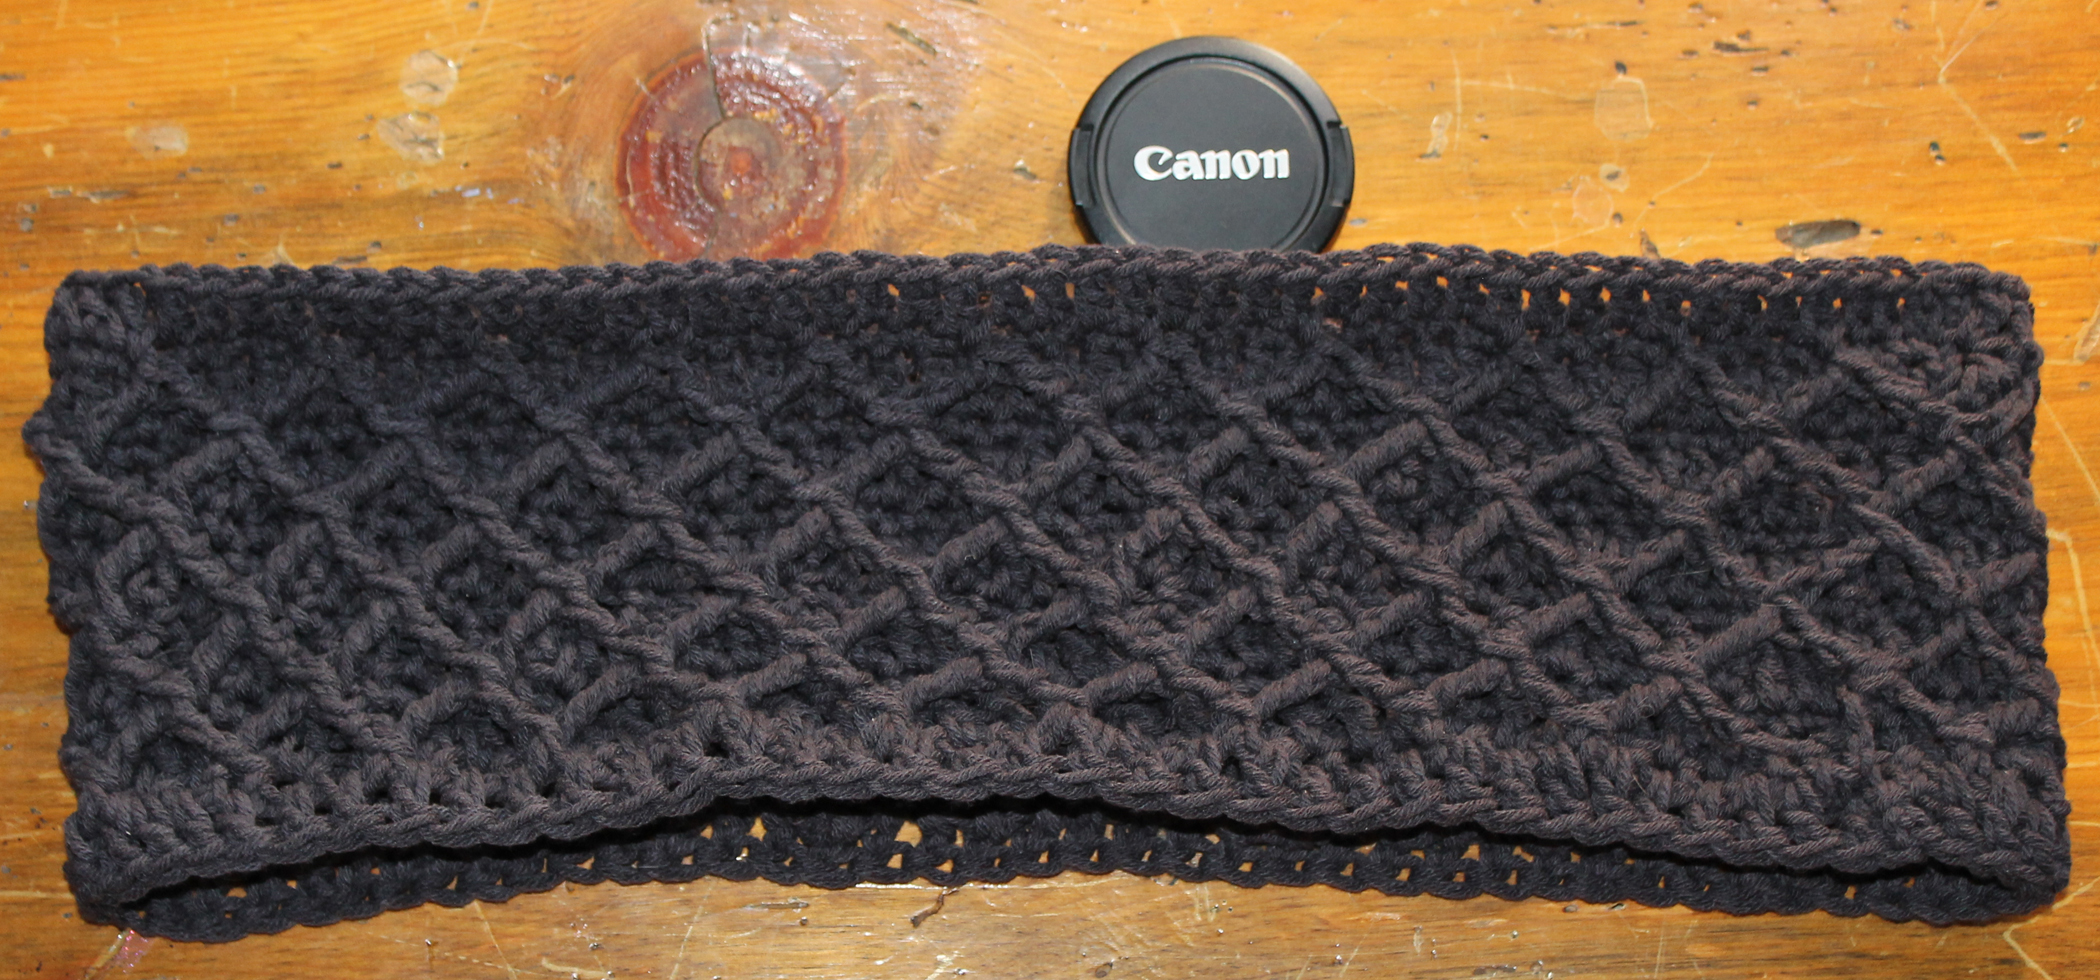
I found the pattern for this button-up cowl to wear when my hair is up and I don’t want to pull something over my head. It’s really cute, but I need to move the buttons; they are too close to the edge and as such gaps are created.

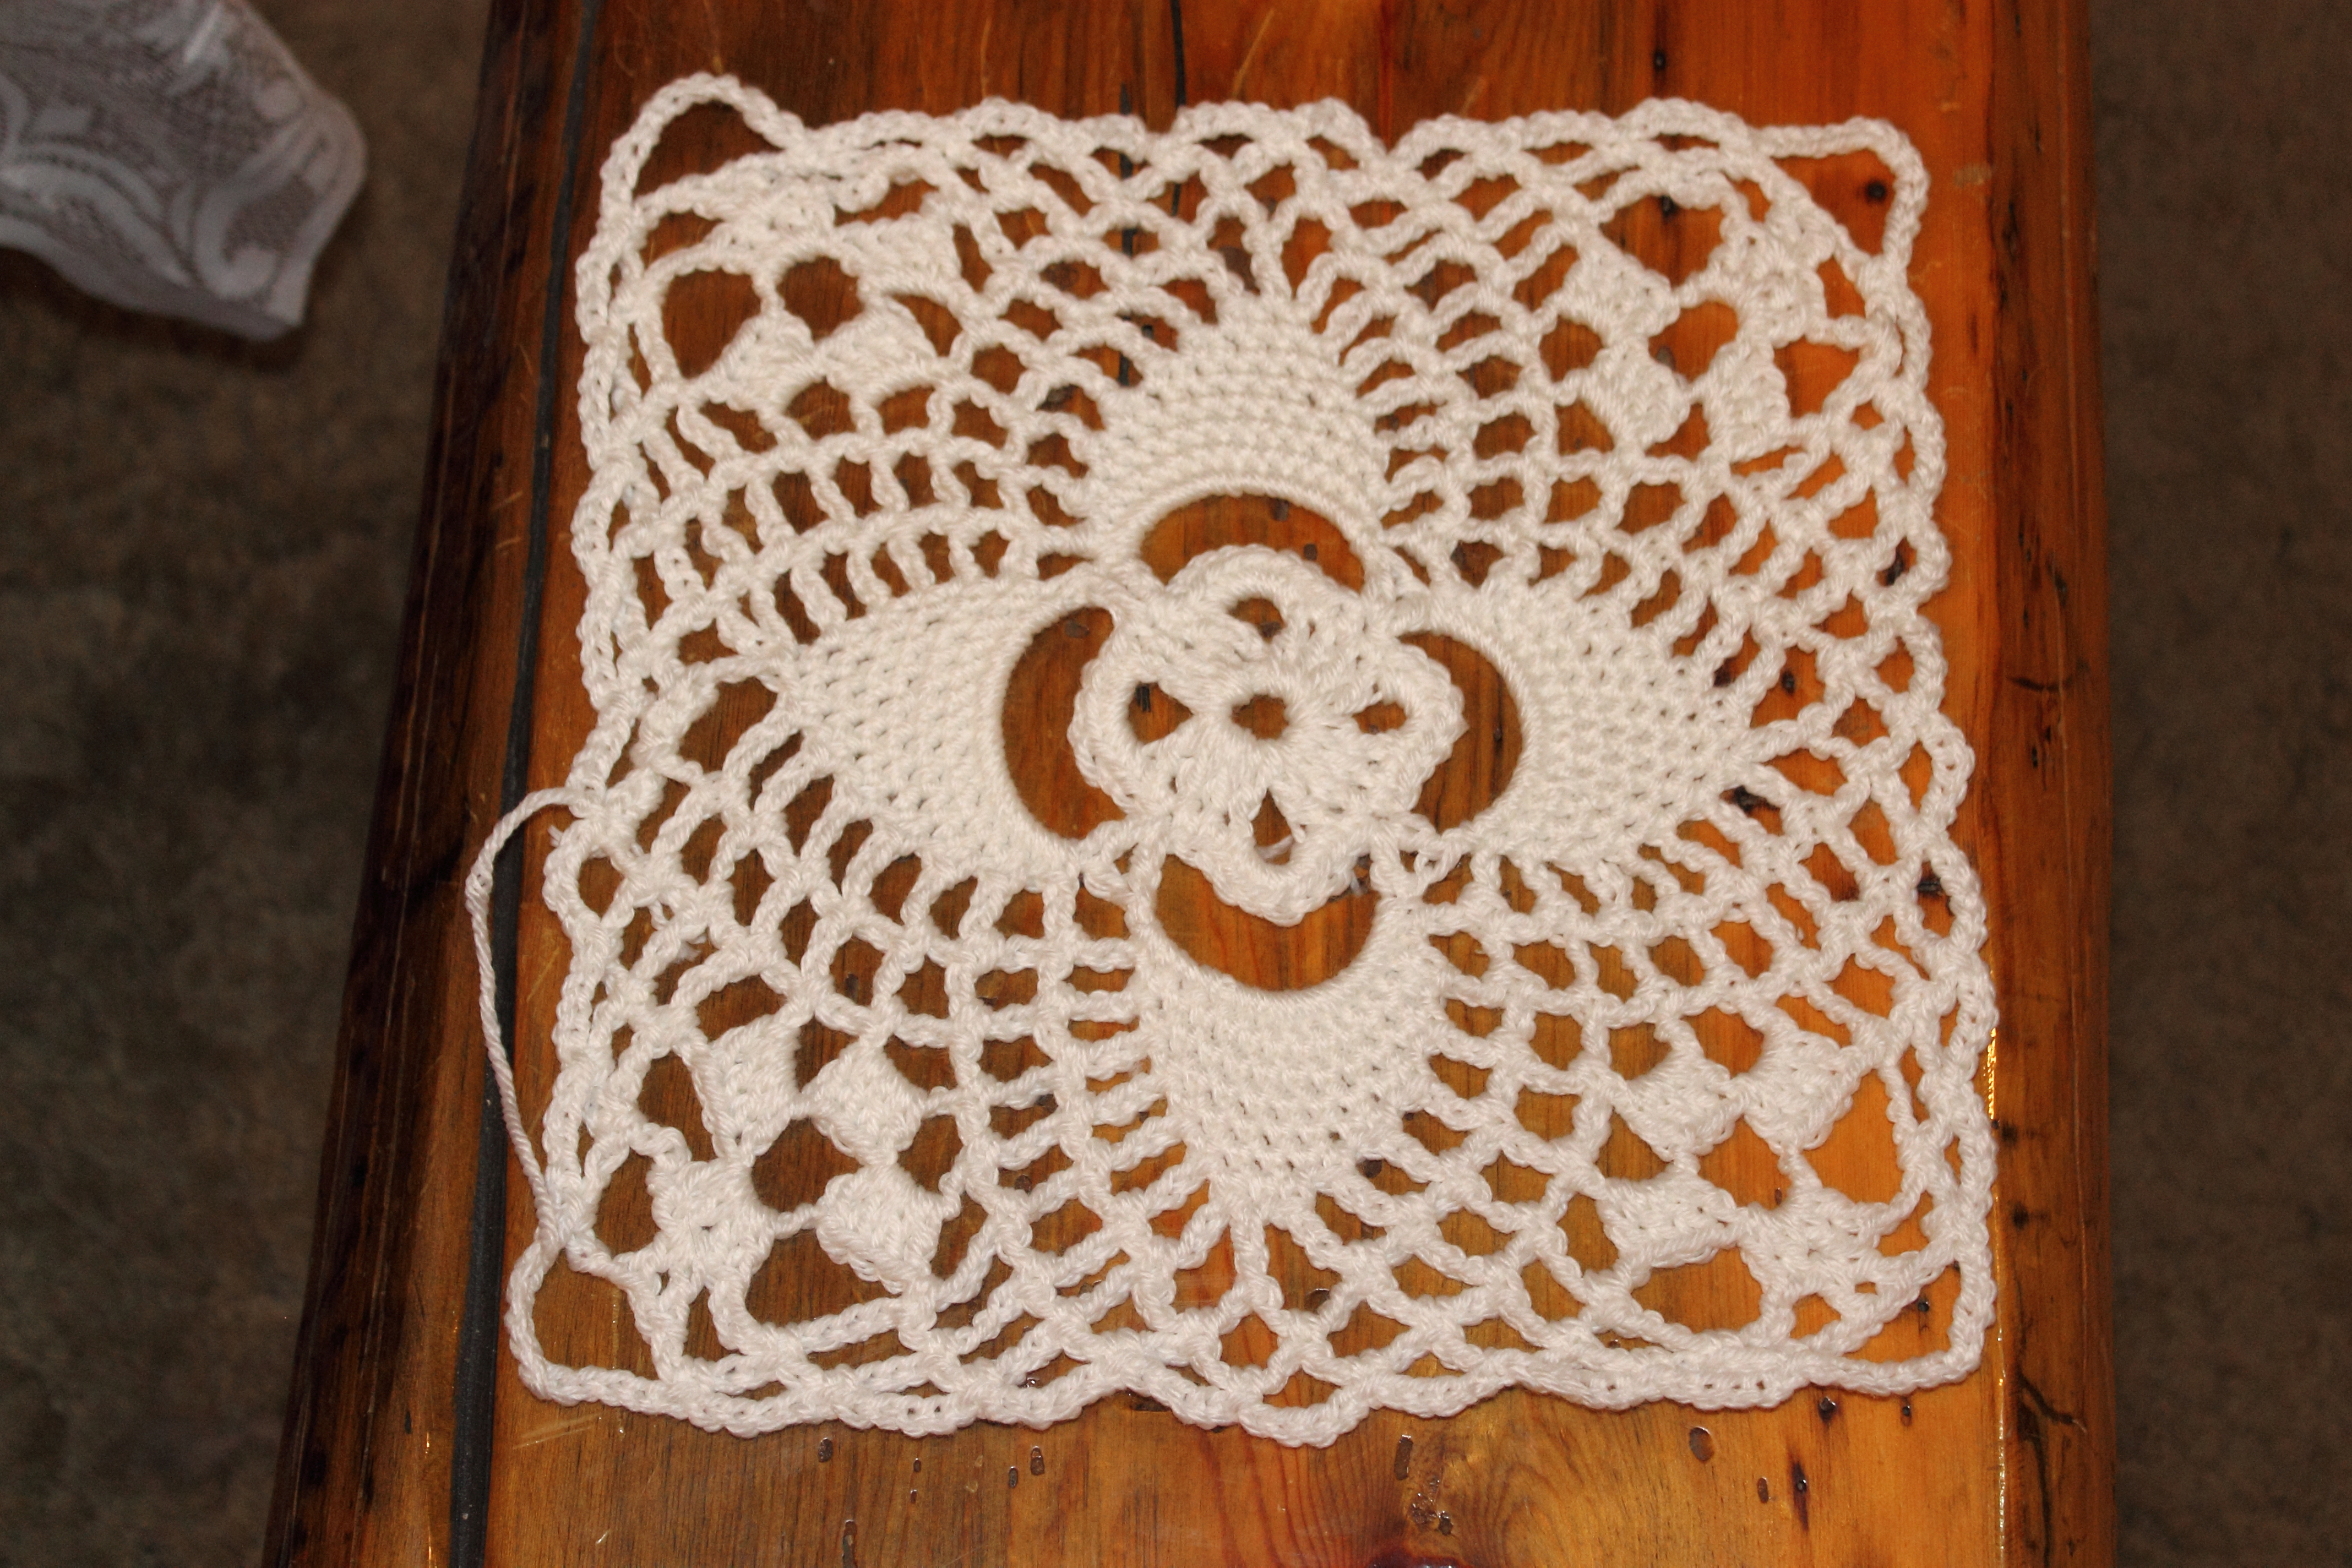
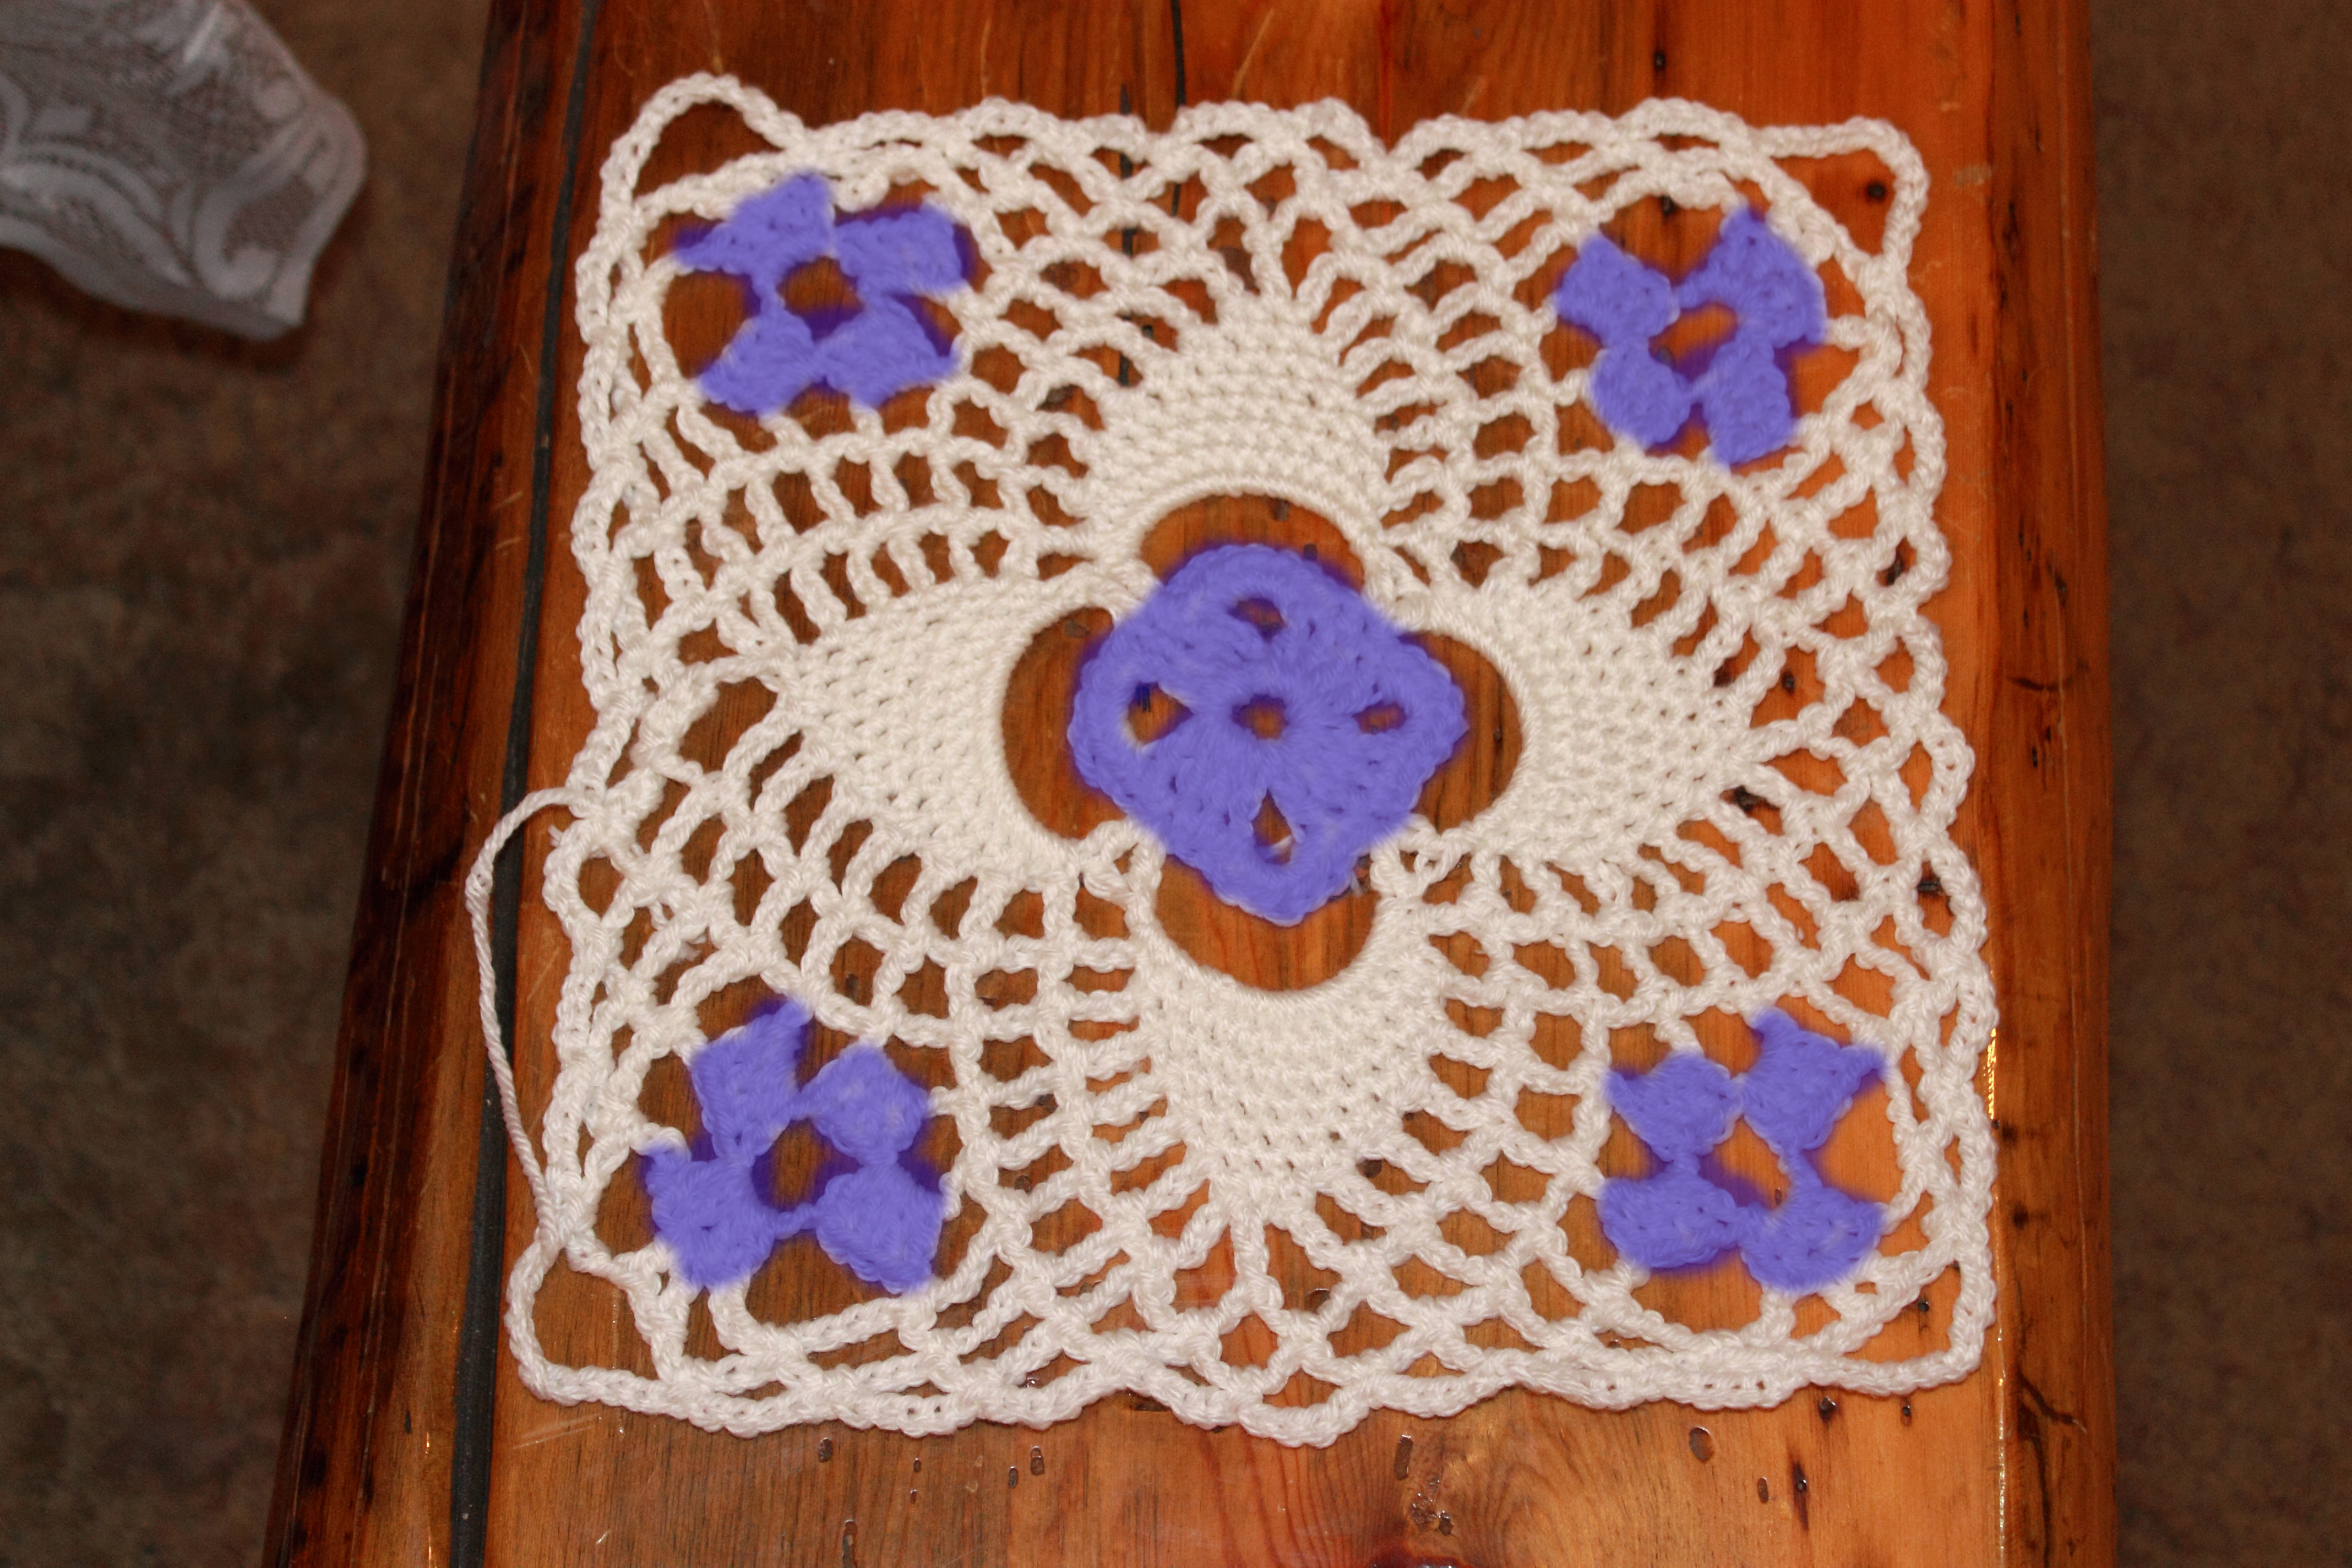
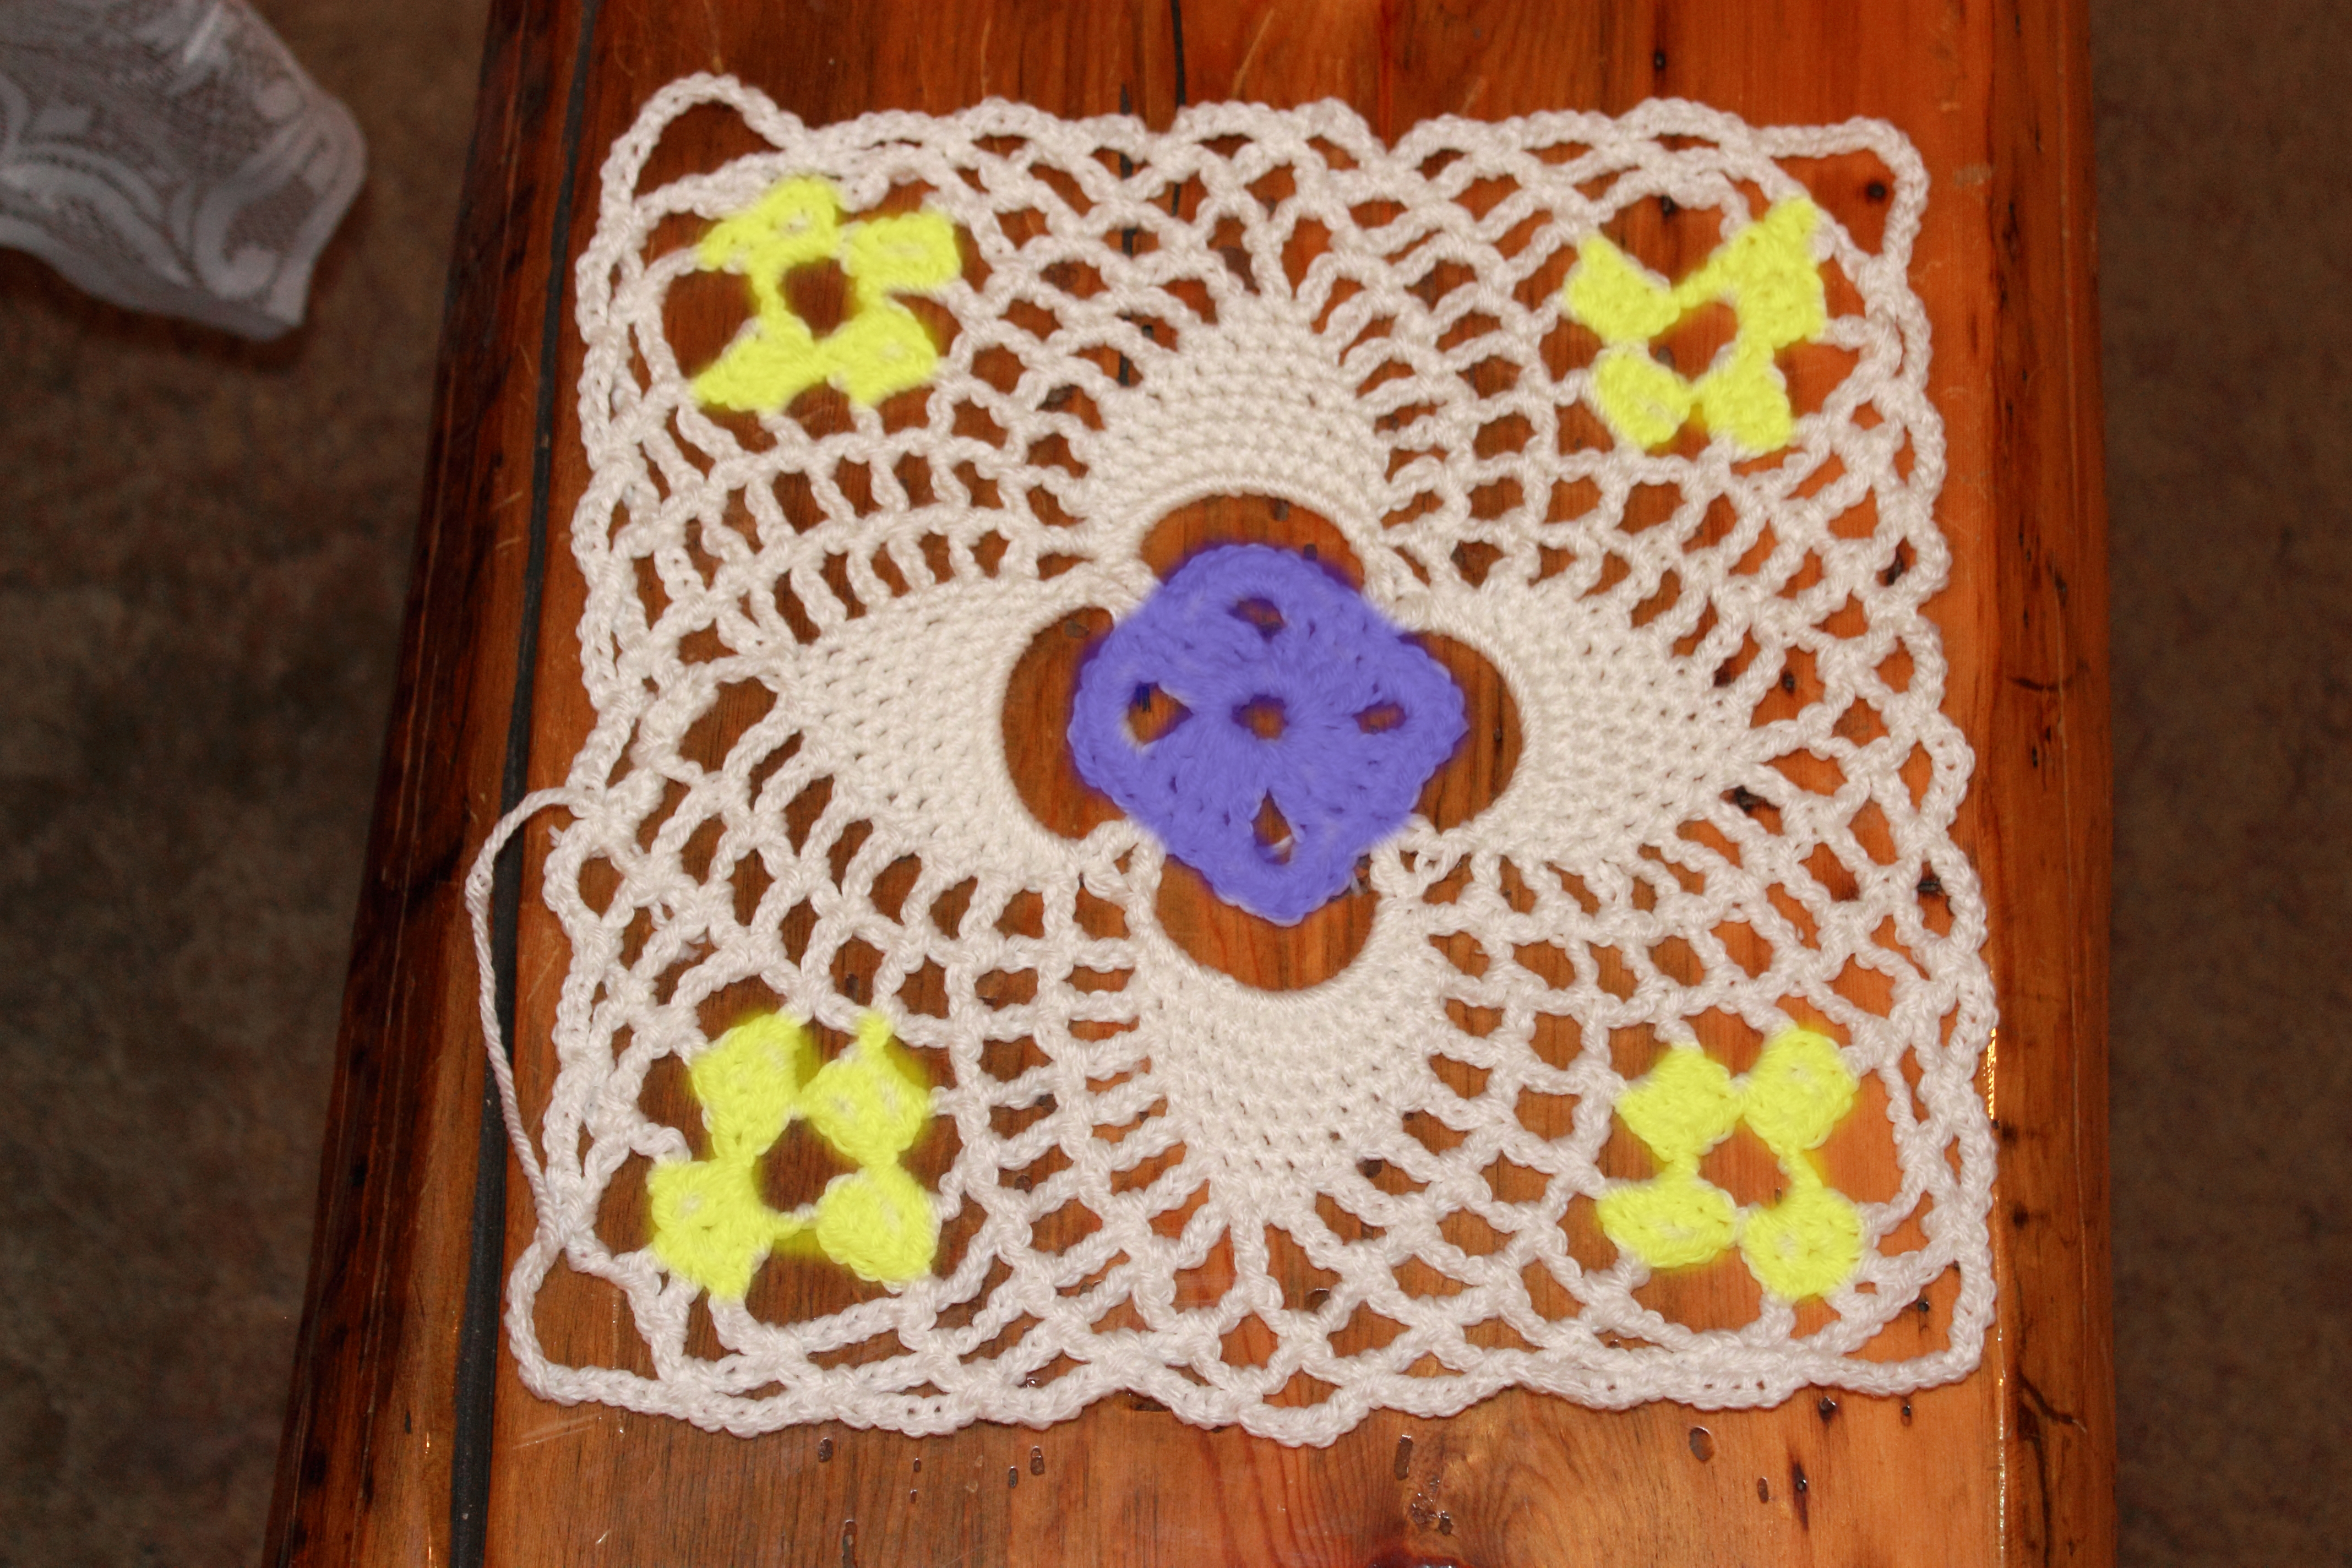
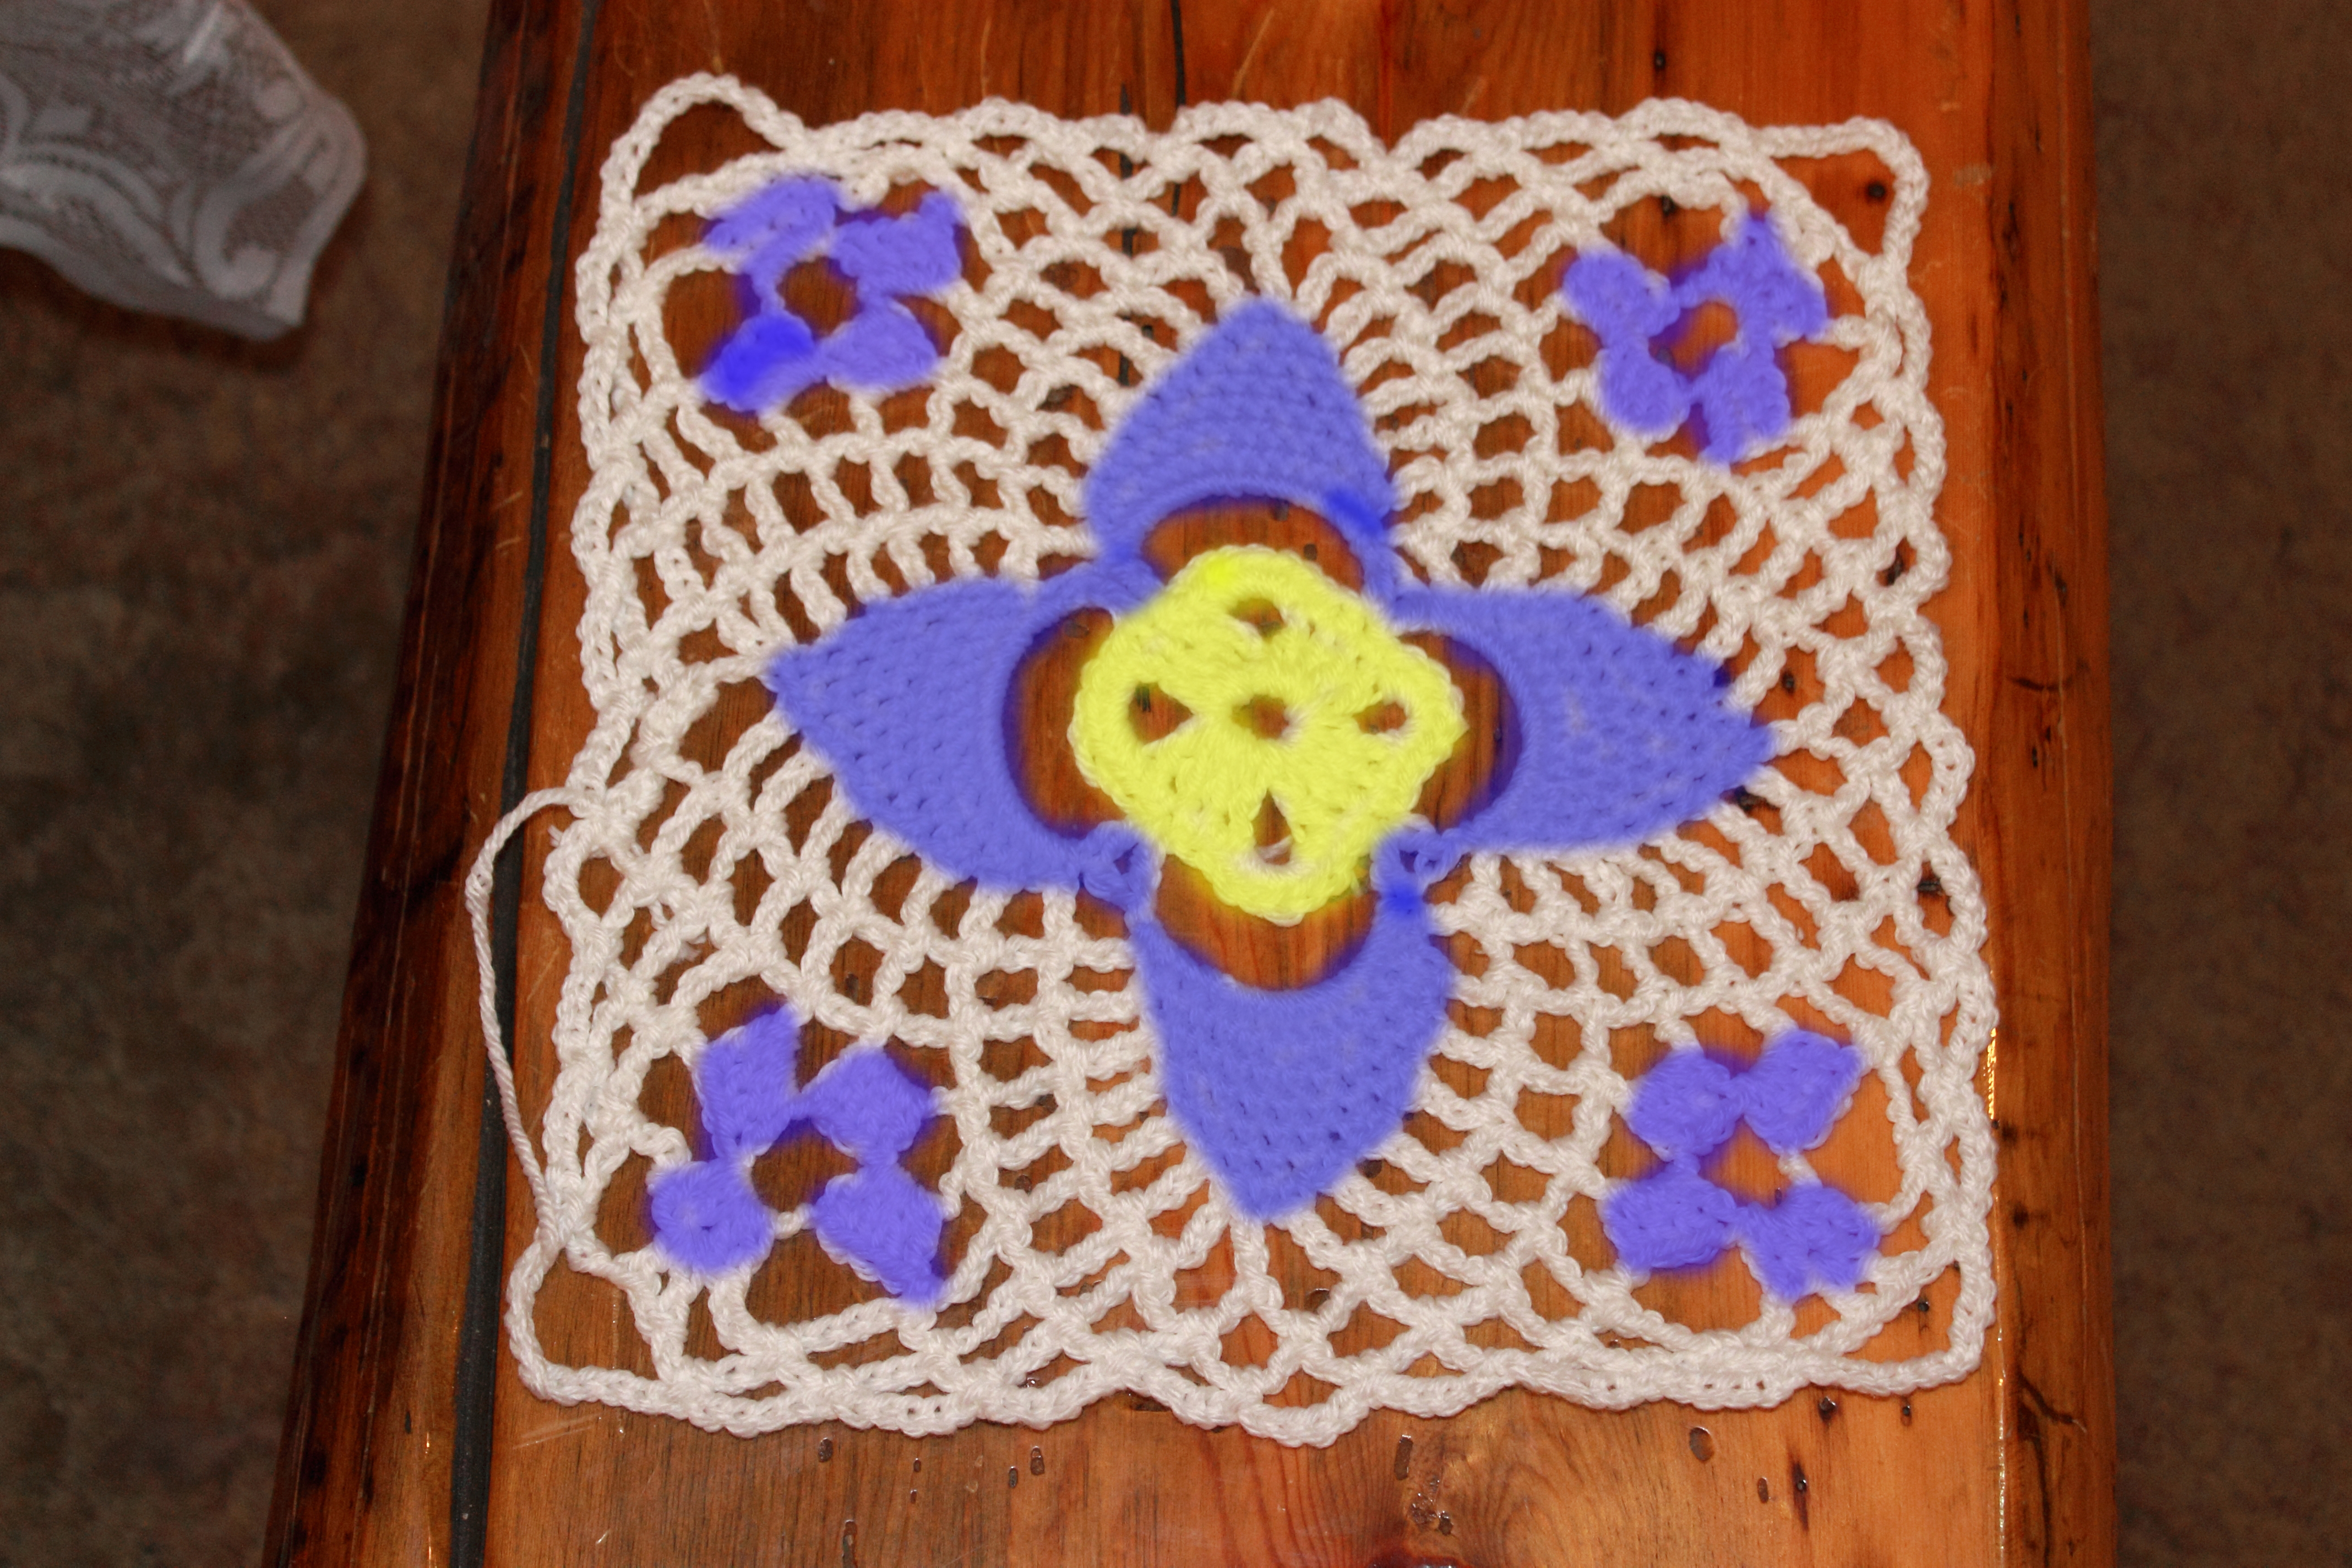
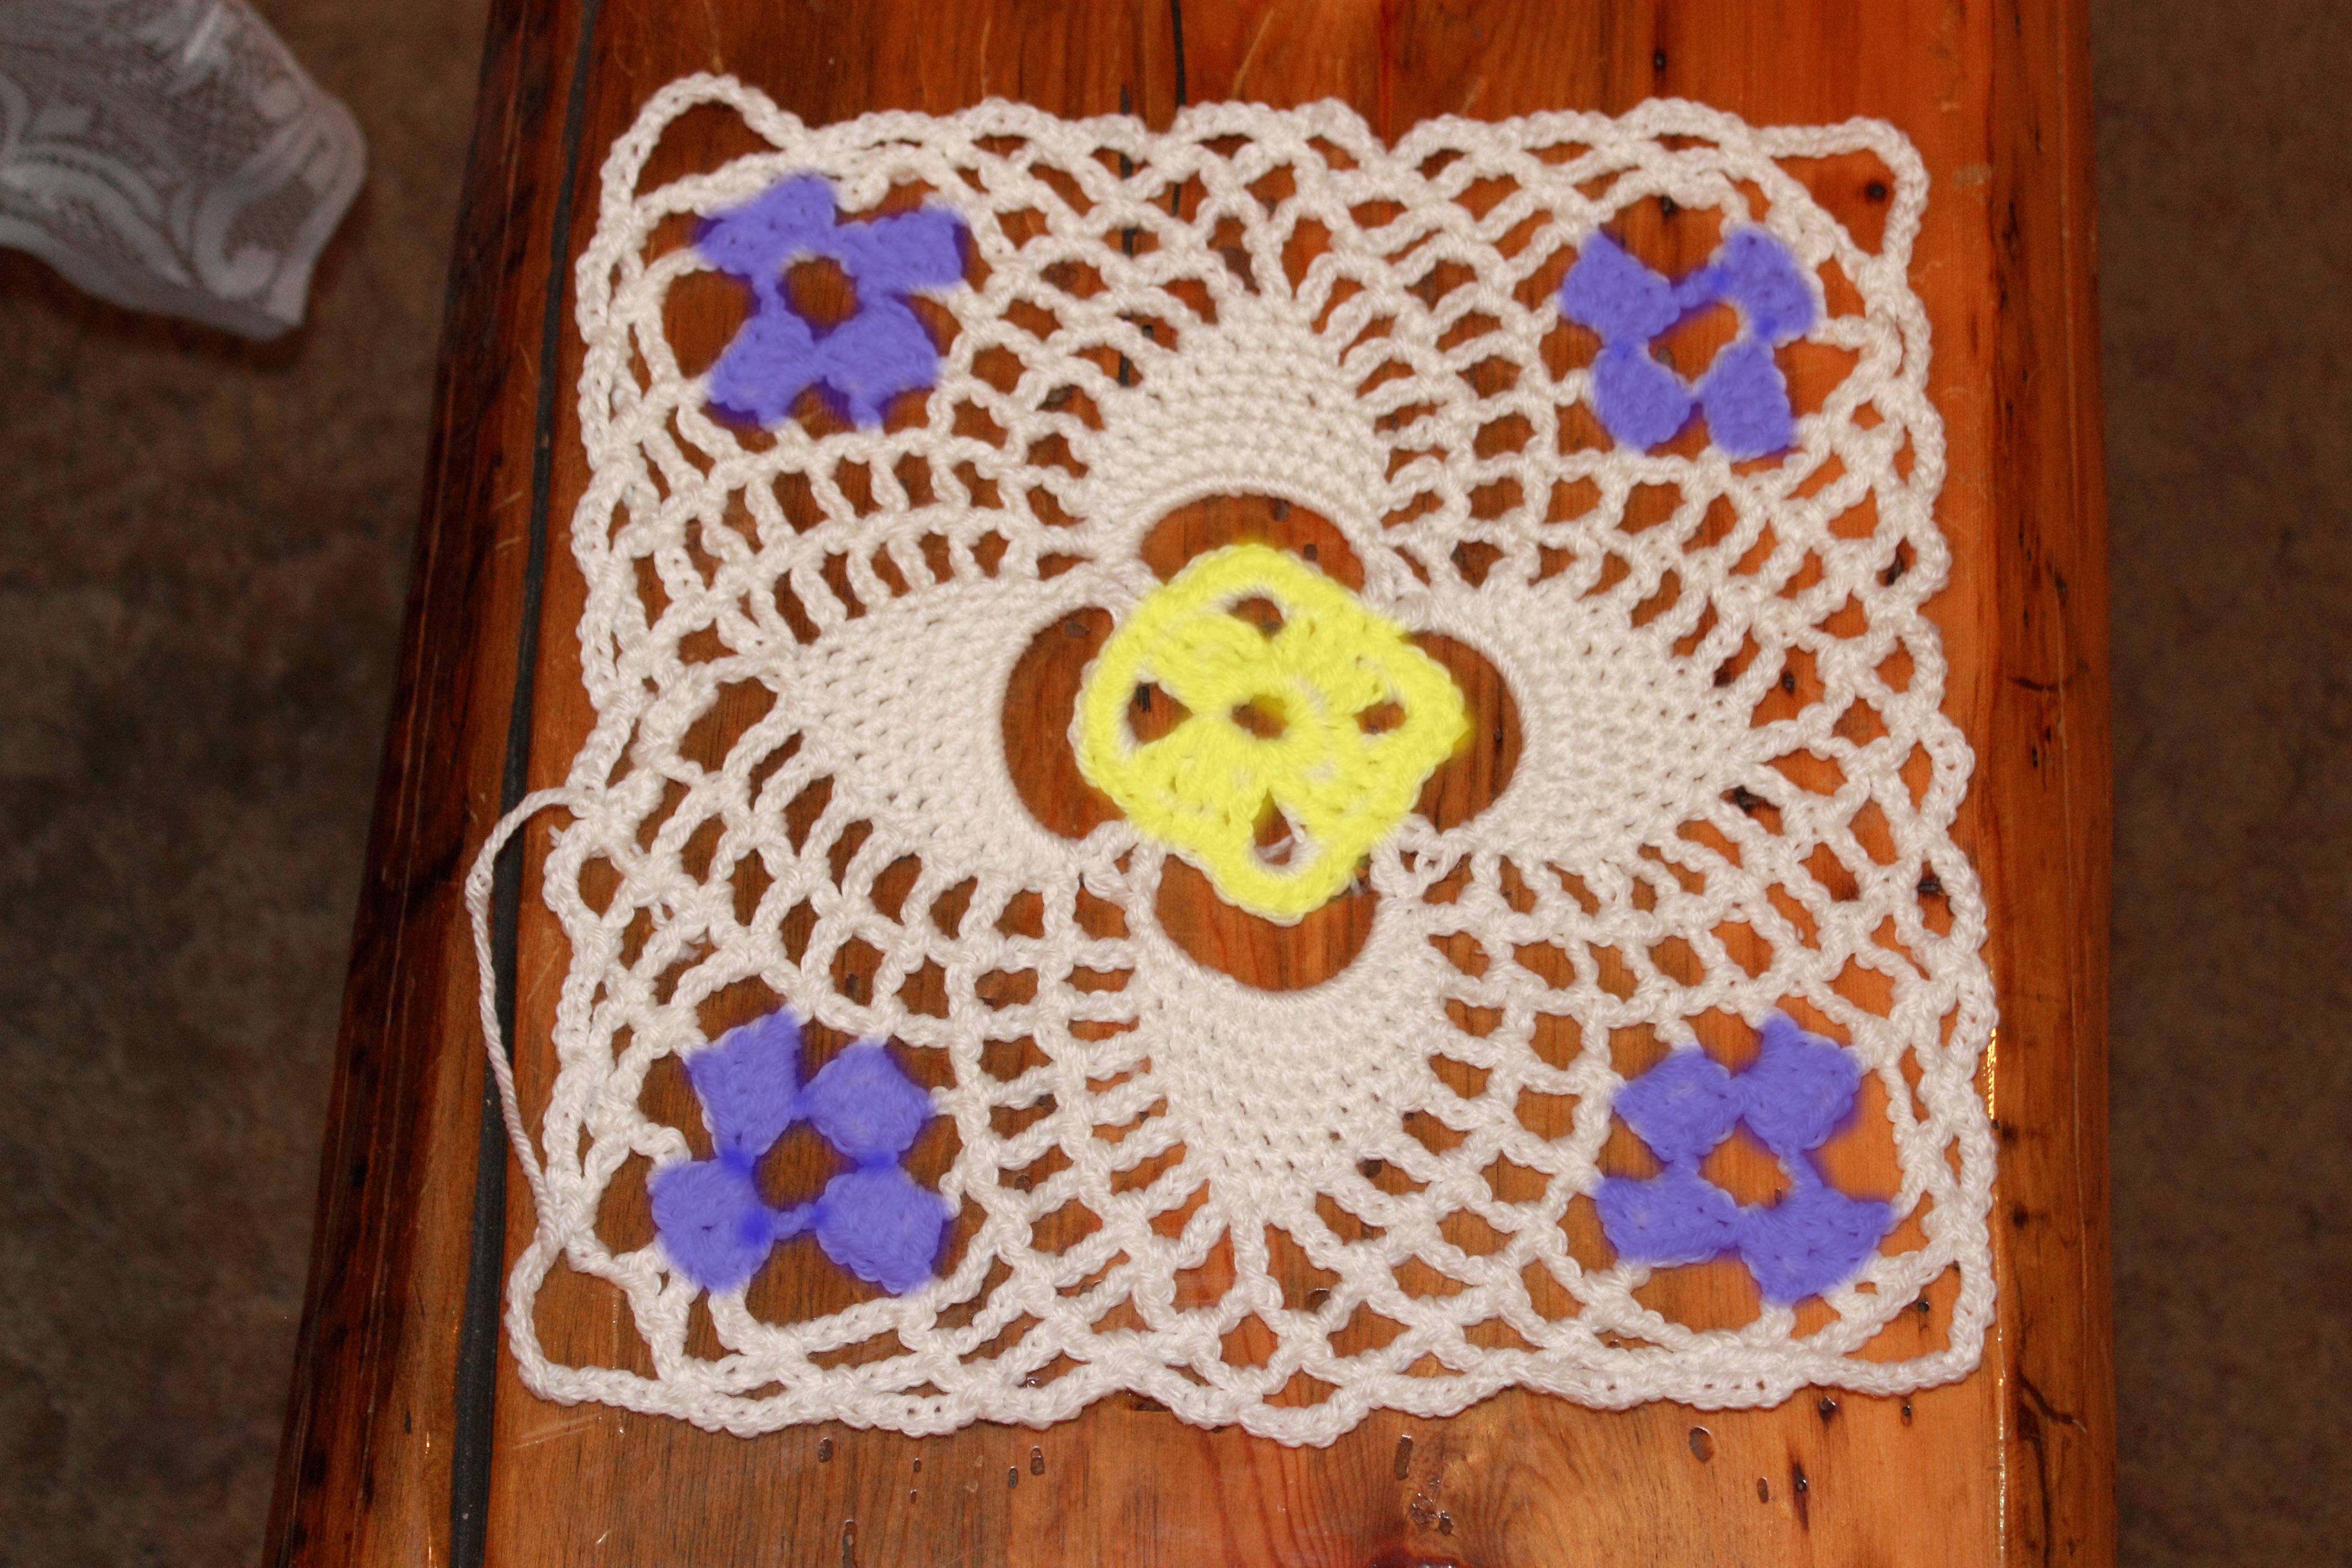
I’ve also made a couple of doilies in the last couple of days:

tOctoberfest Doily

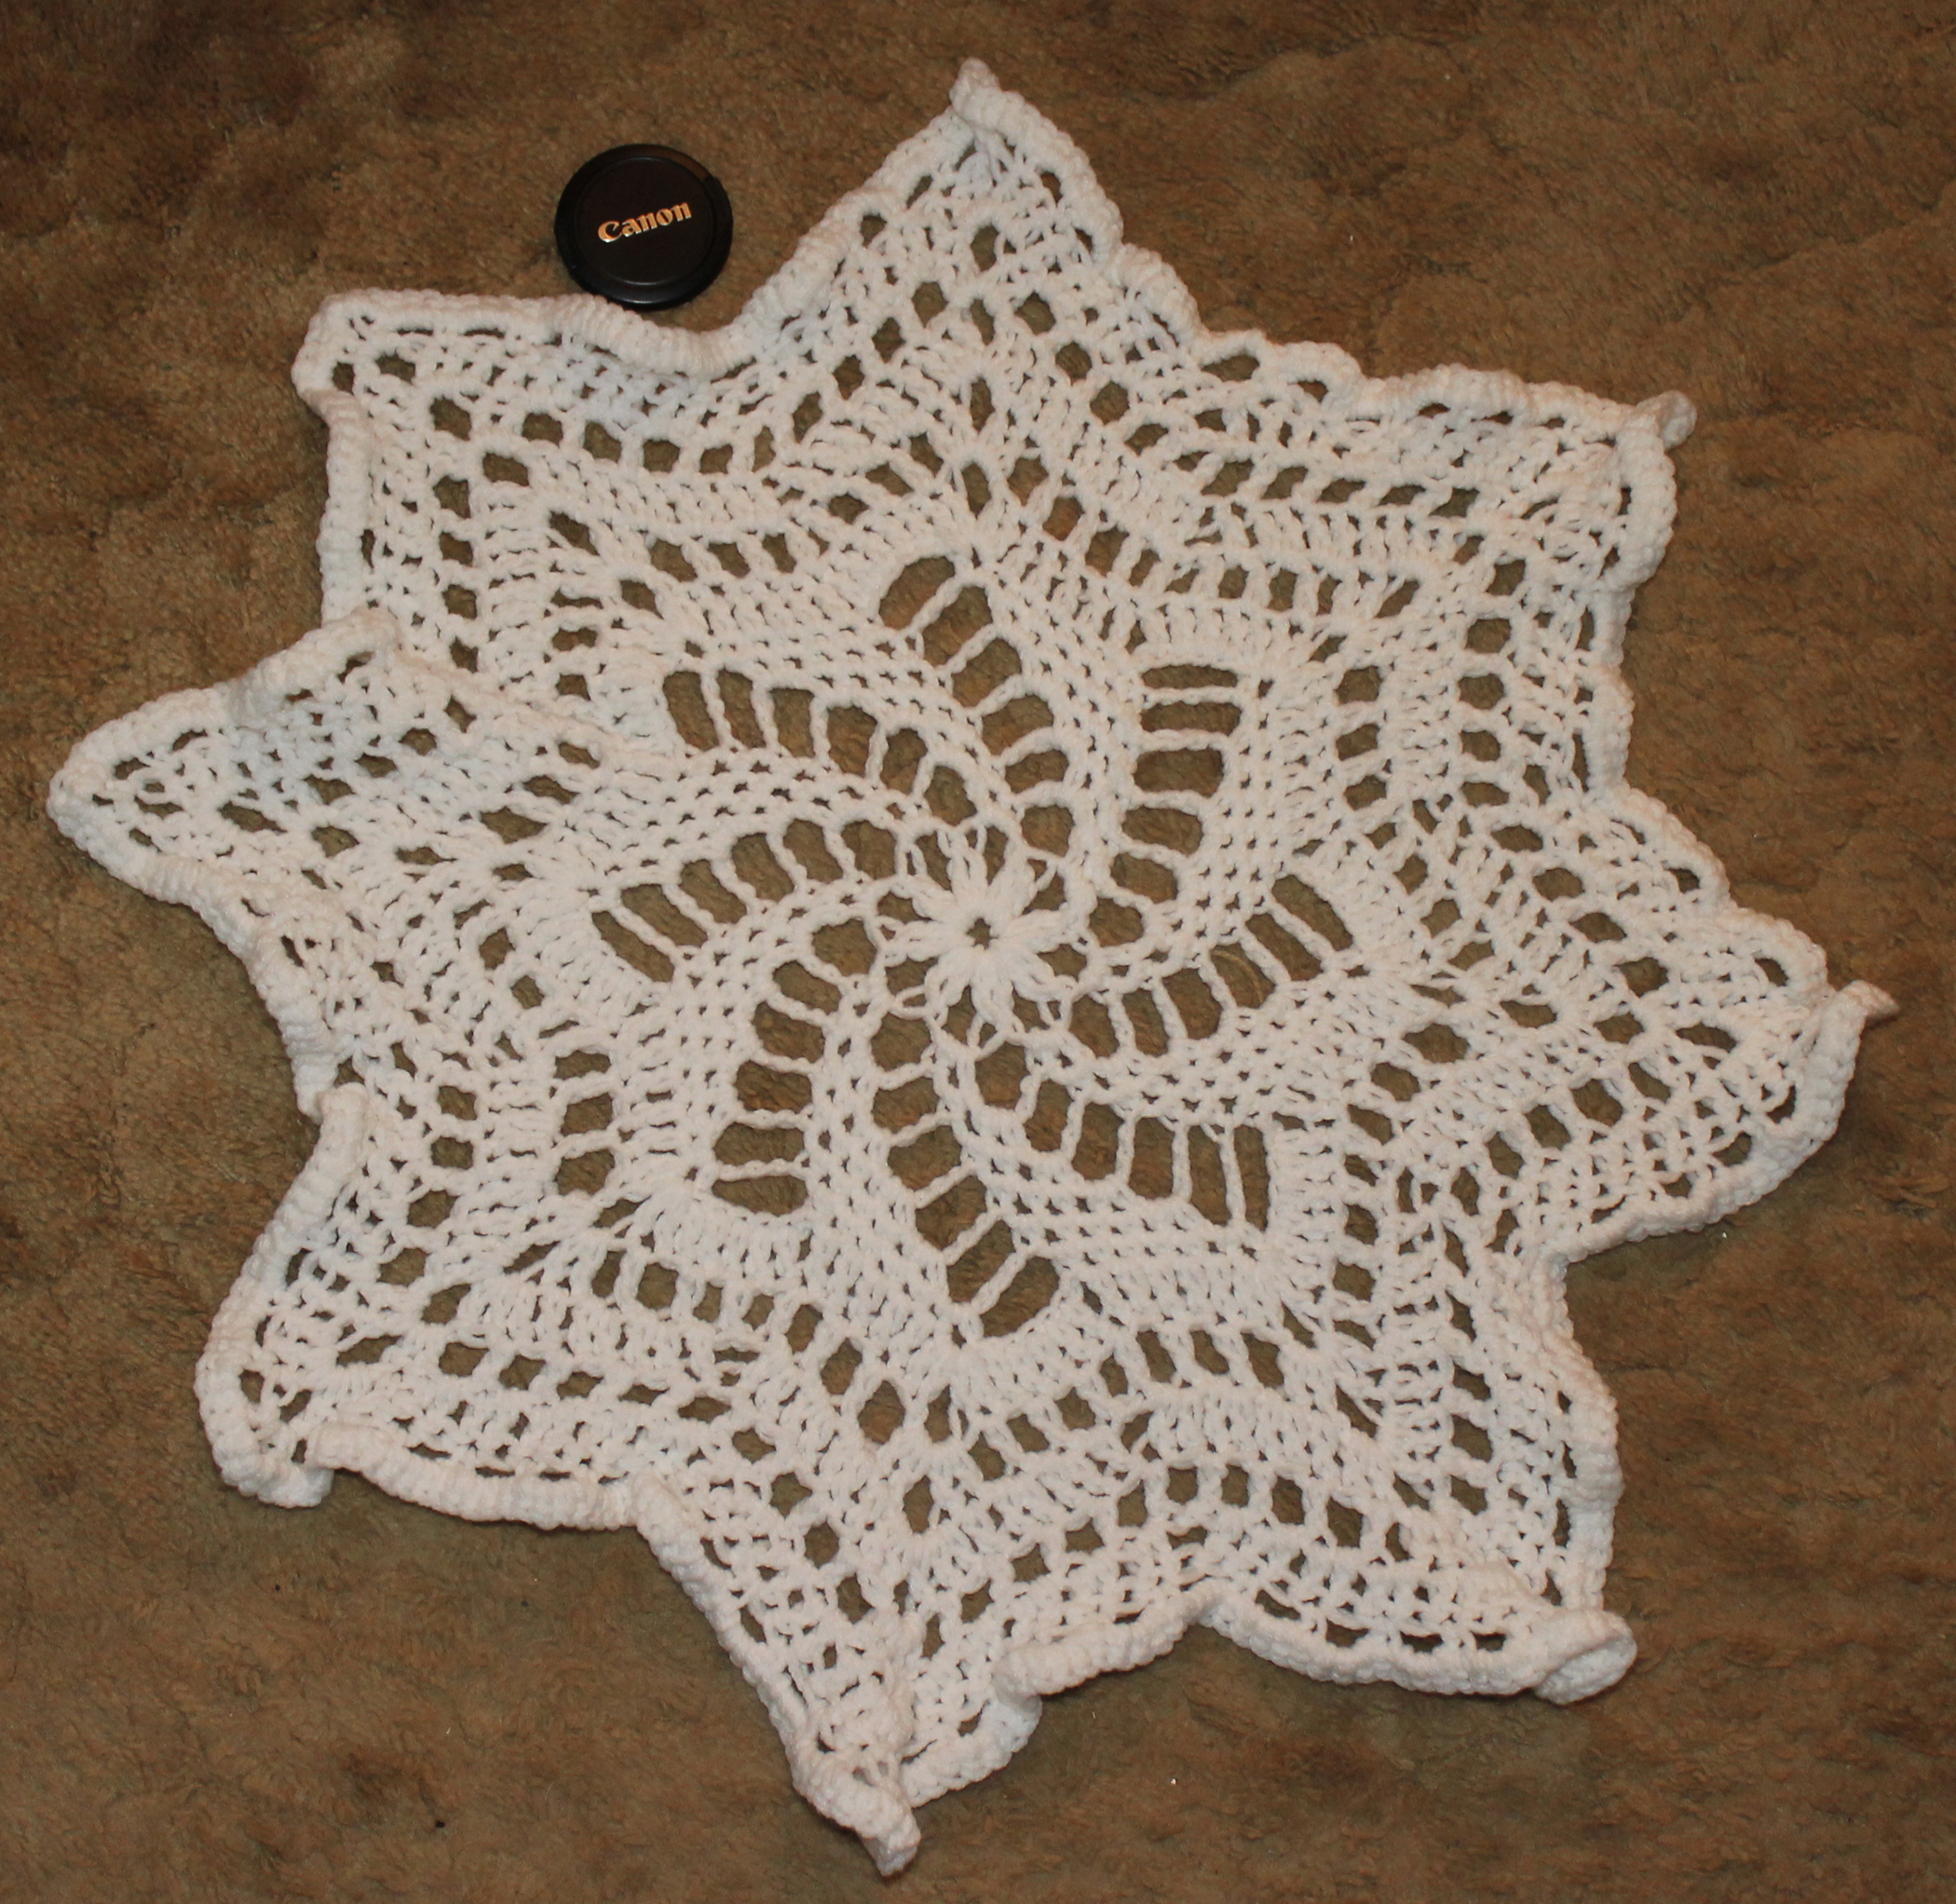
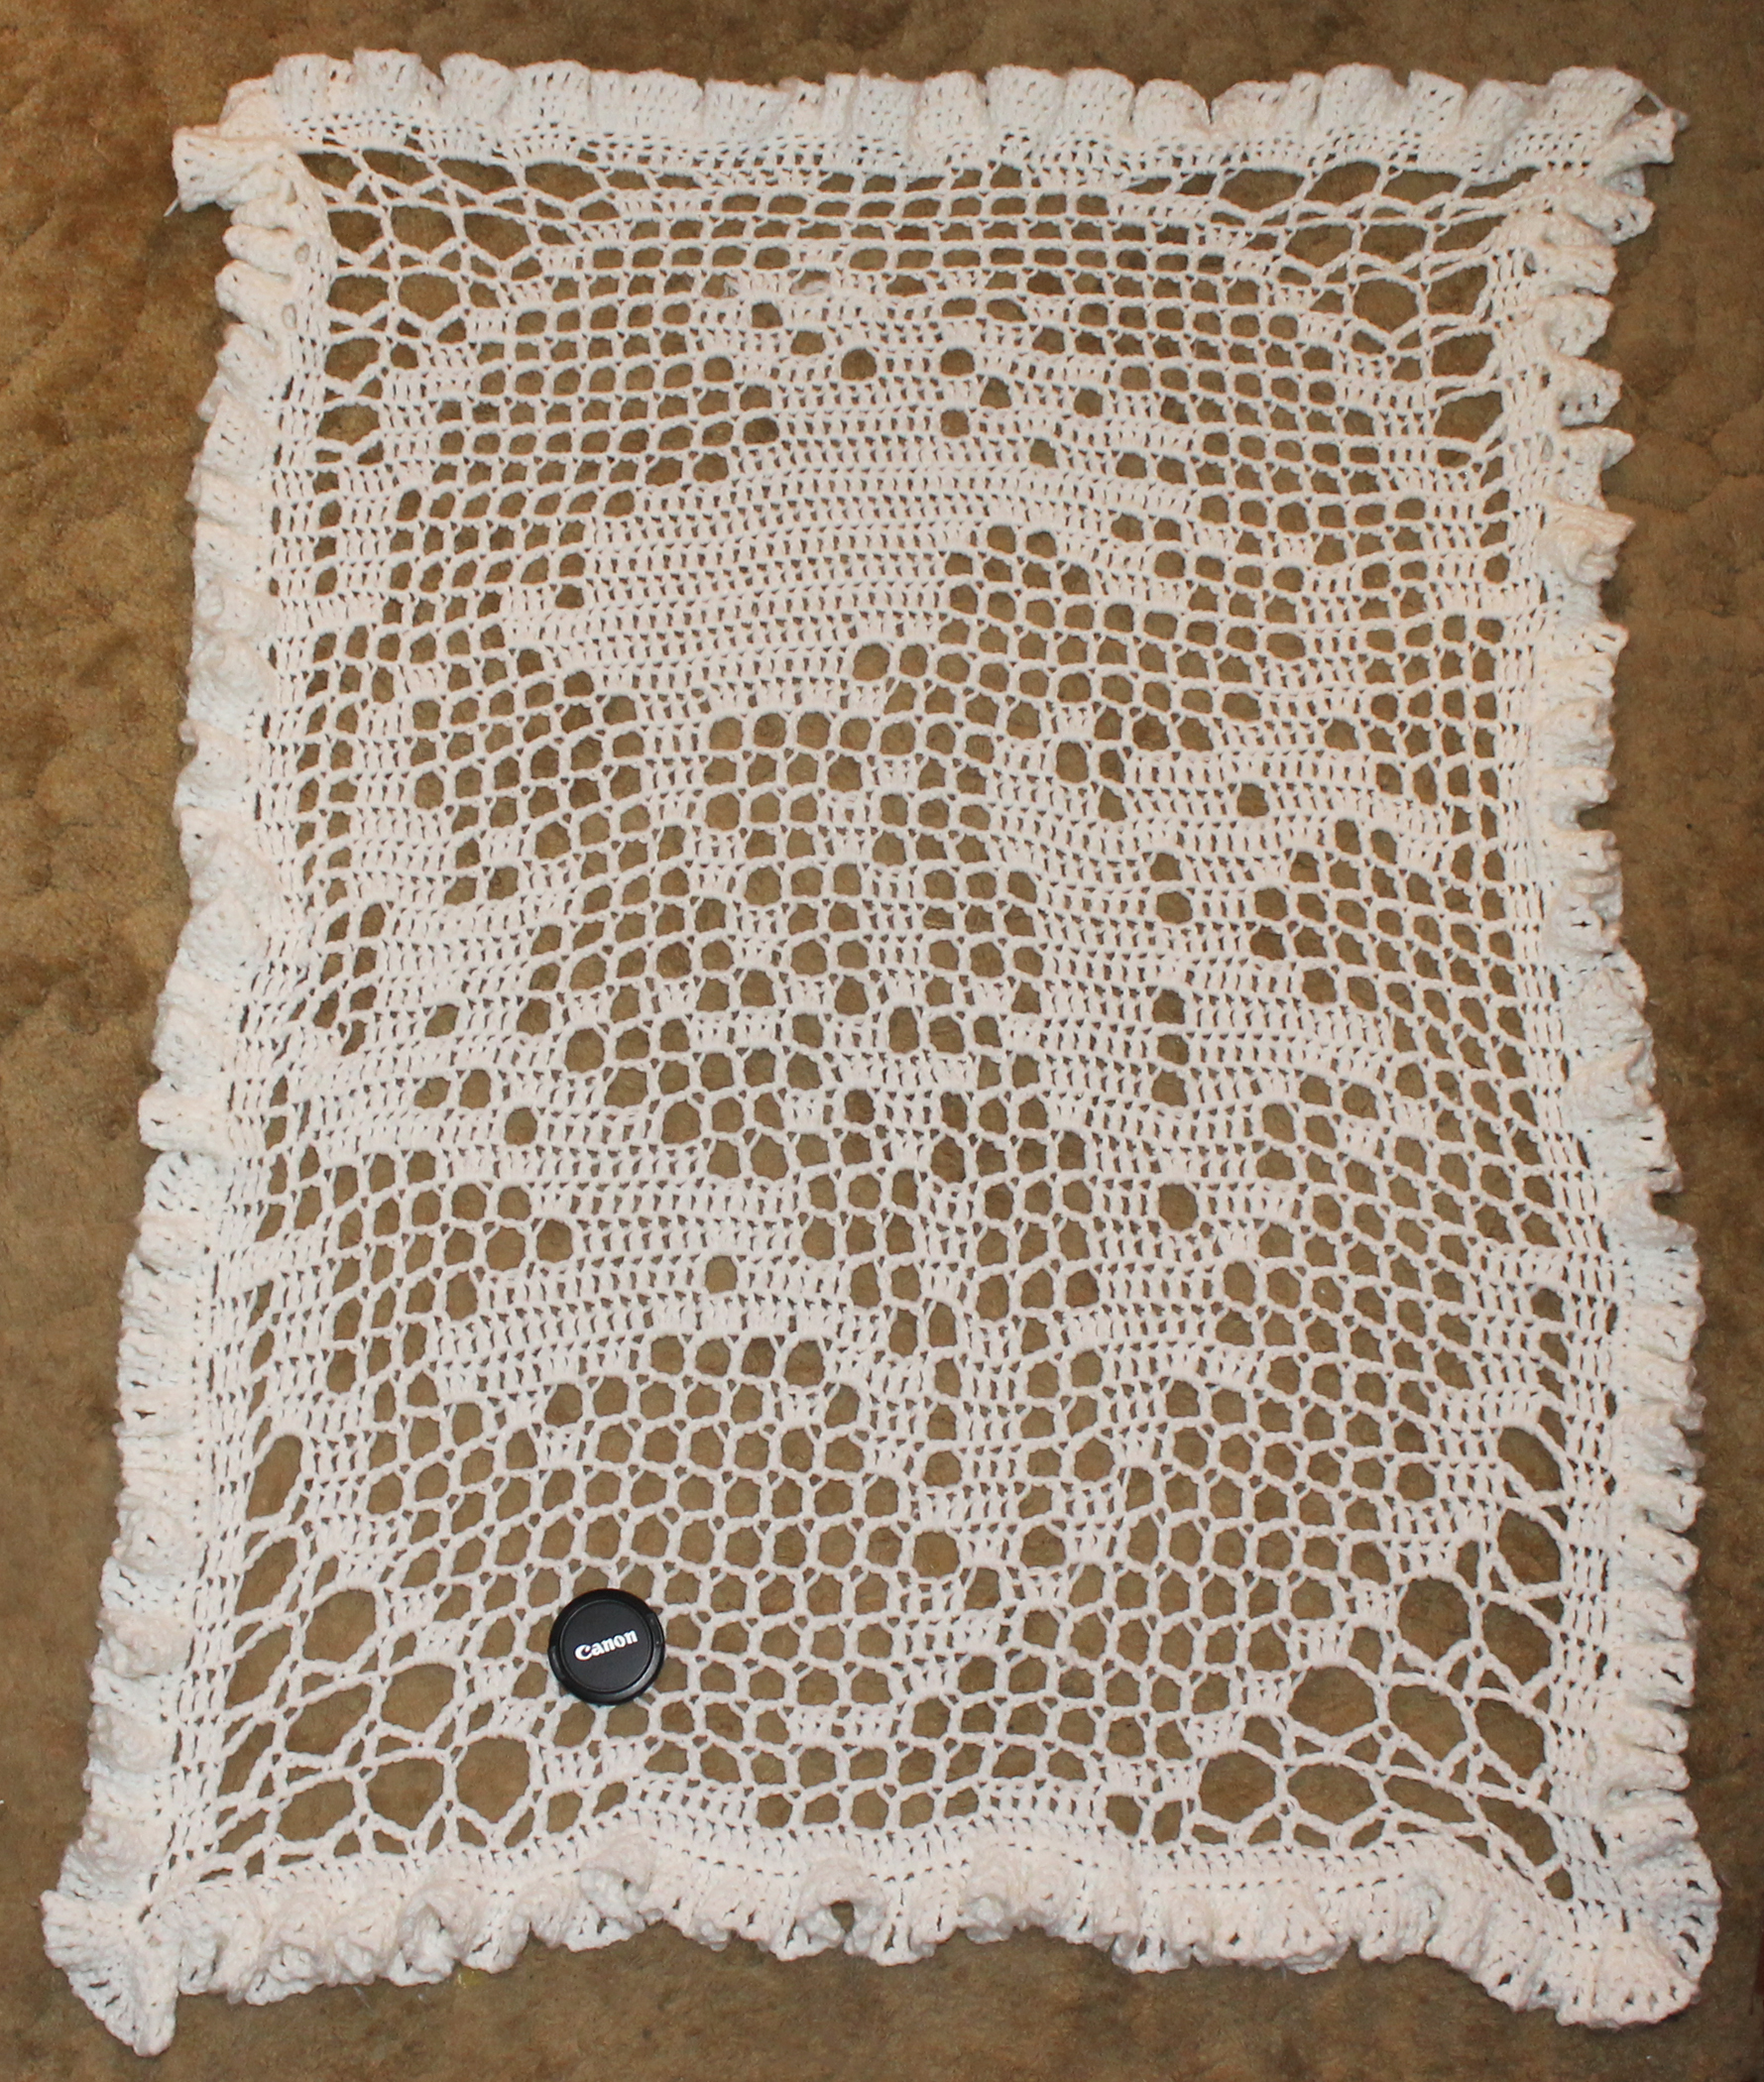
As you can see, I made this one from yarn rather than thread. It is called Octoberfest and the pattern can be found here. I’ve never done a spiral like this before and it was fun to watch it materialize.

Five Point Century Snowflake

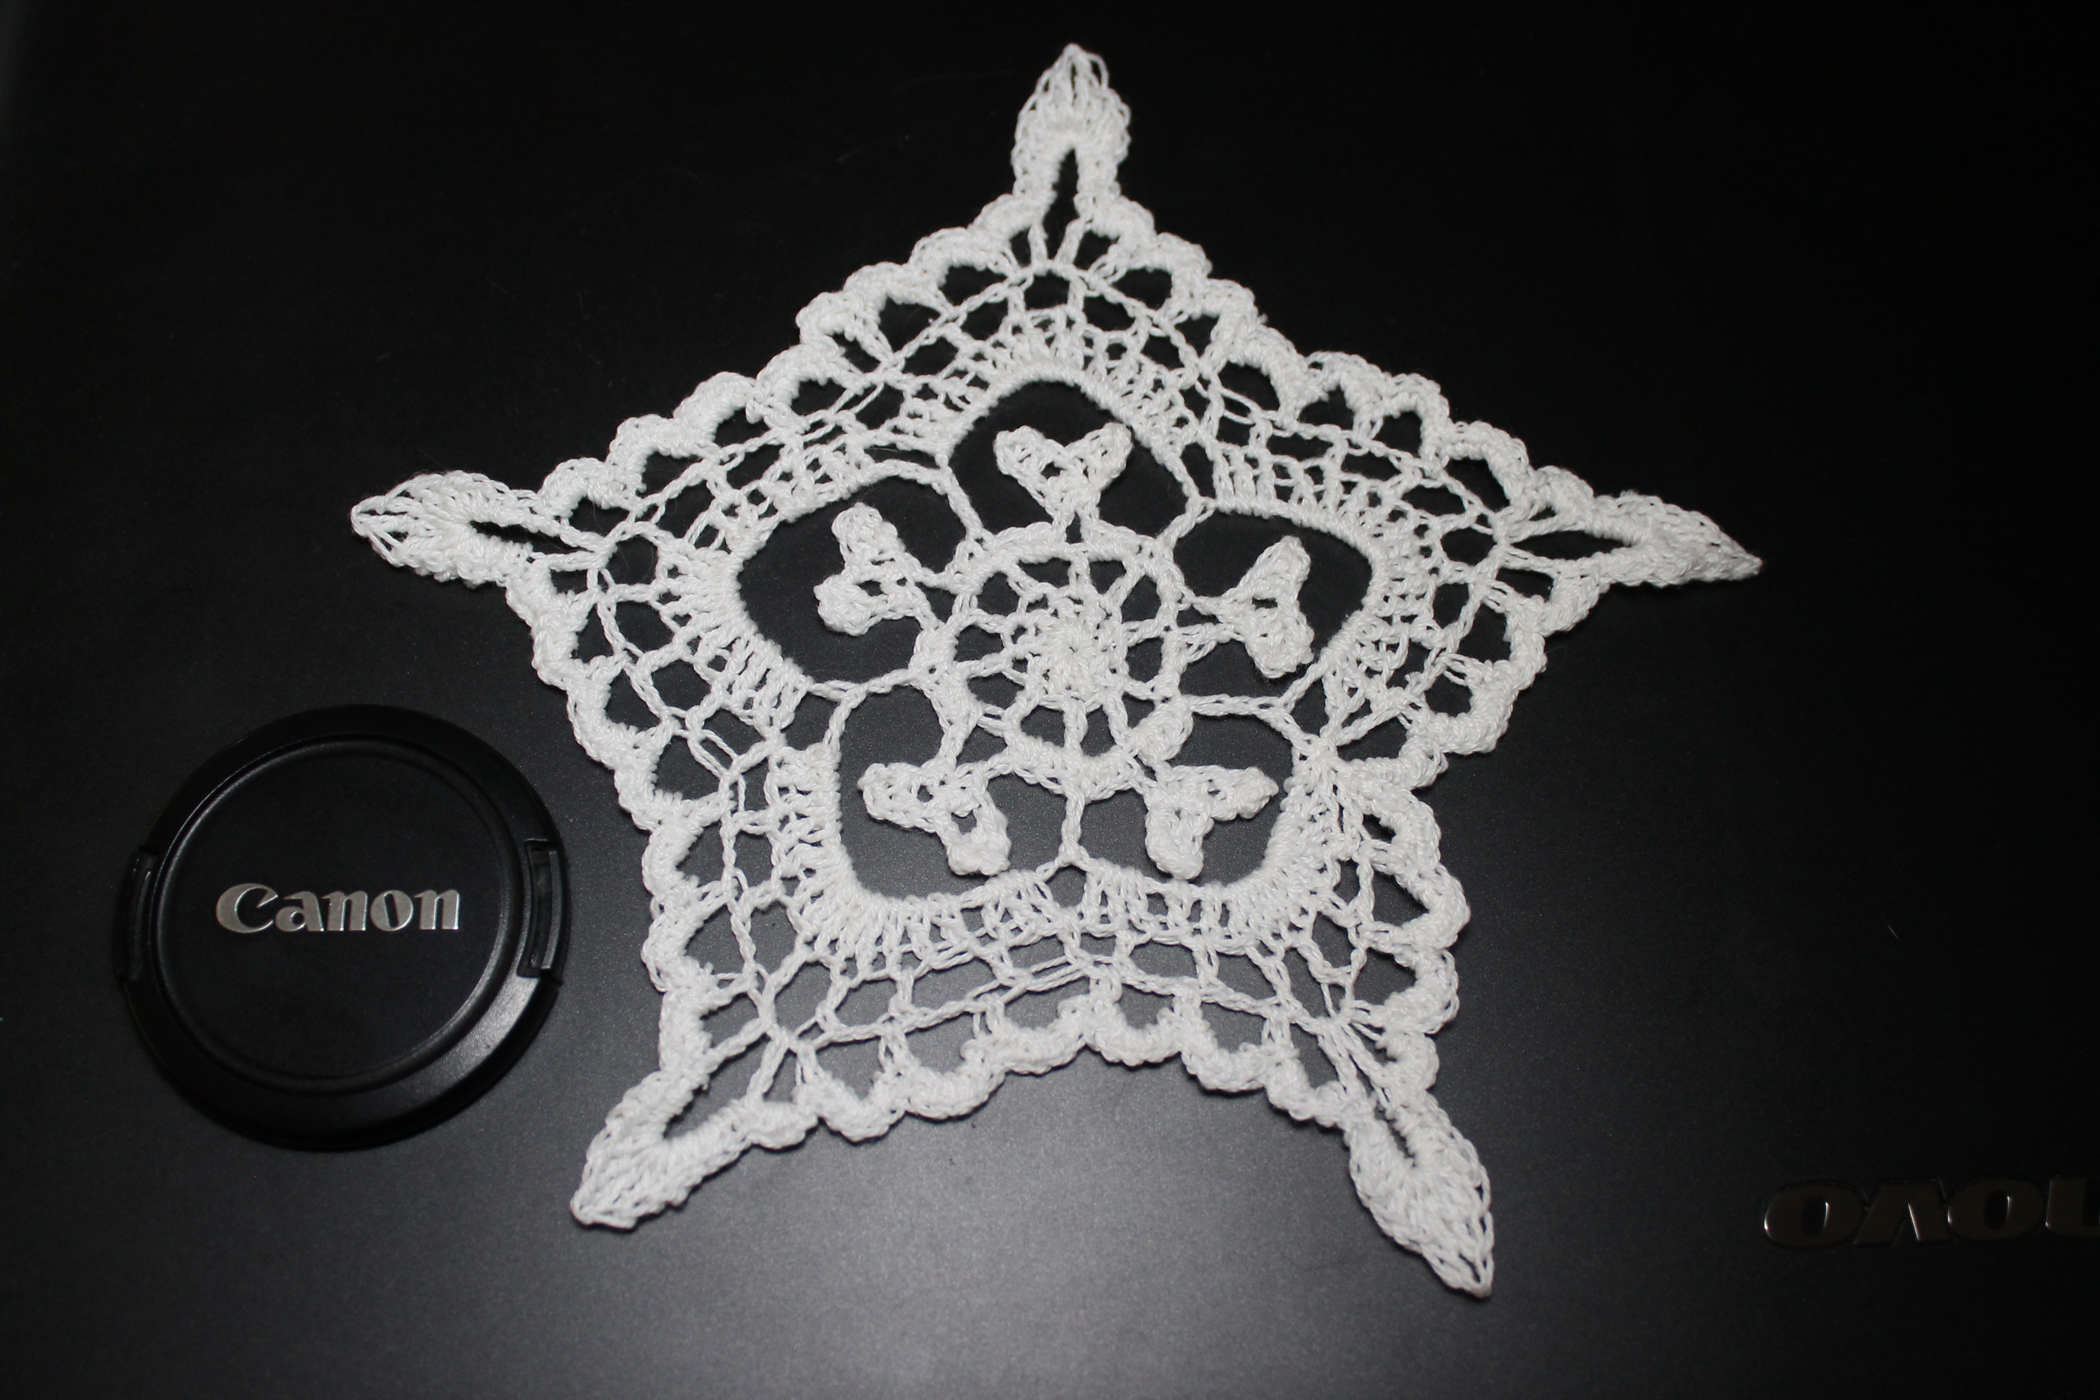
I stayed up late last night and made this one for sweetie. I chose it for the cute little hearts. He much prefers doilies made from thread. He’s pretty much the only person for whom I will crochet with thread. I very much prefer tatting with thread rather than crocheting with it. This pattern can be found here.

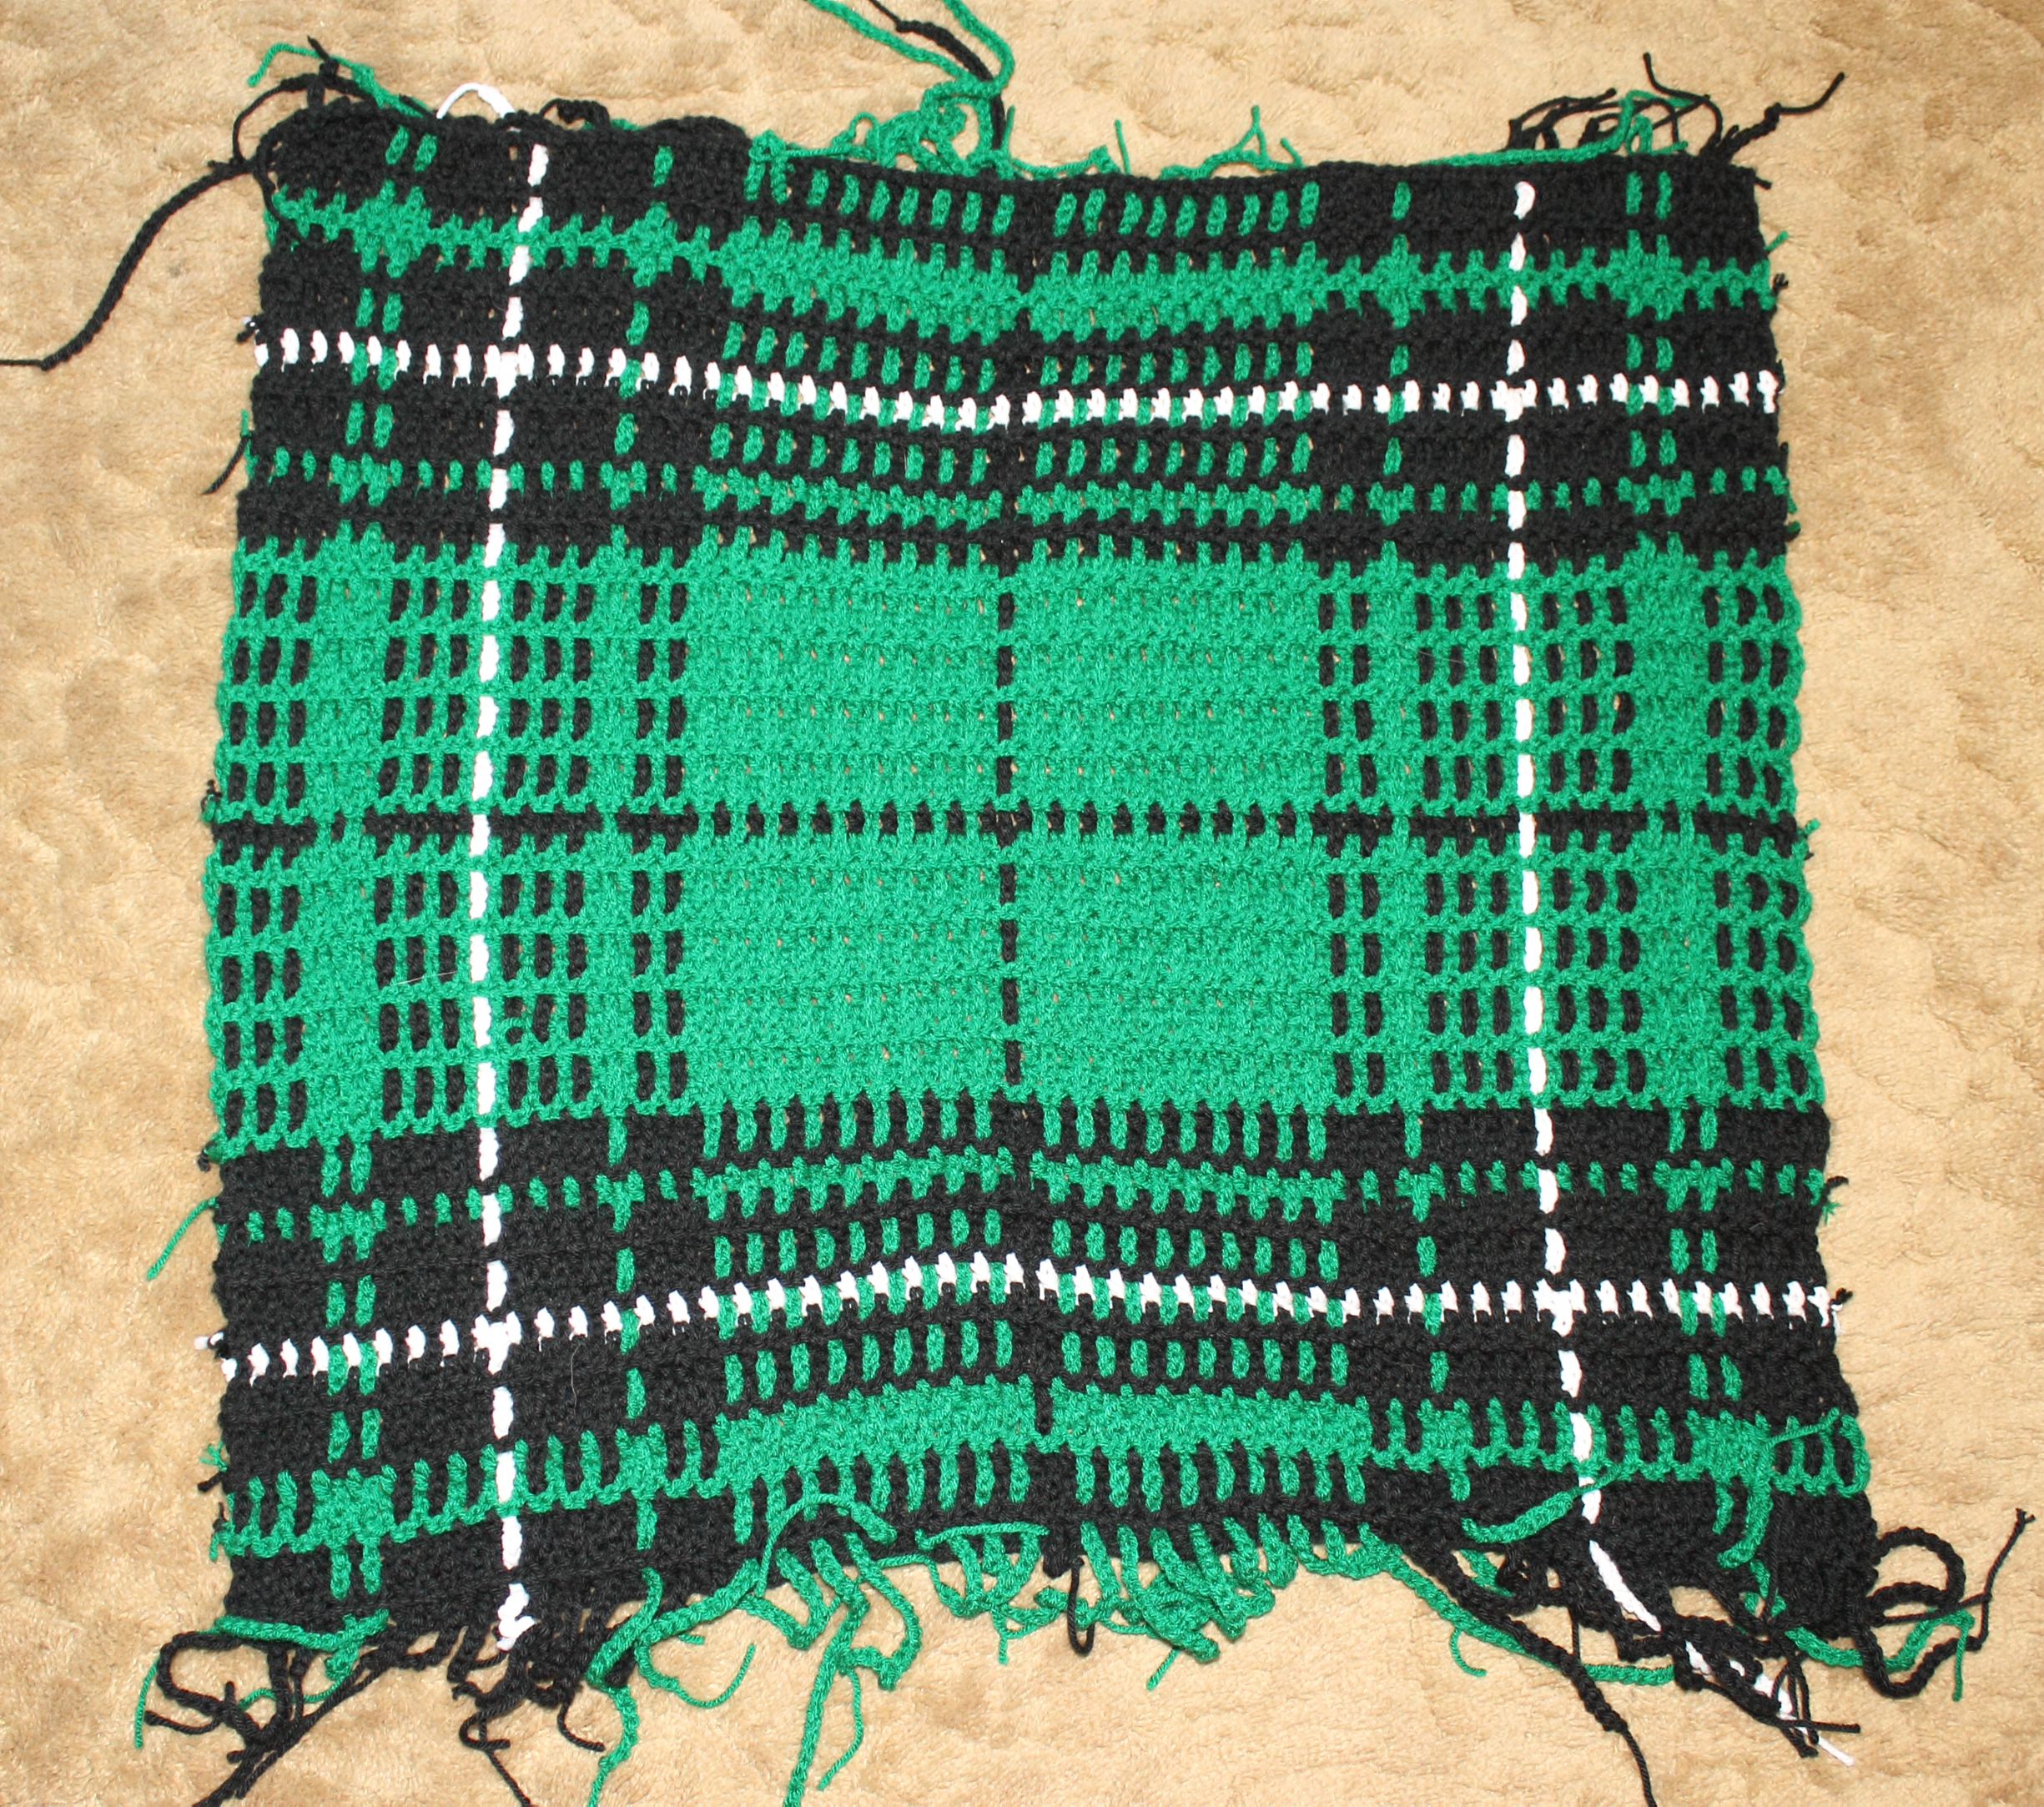
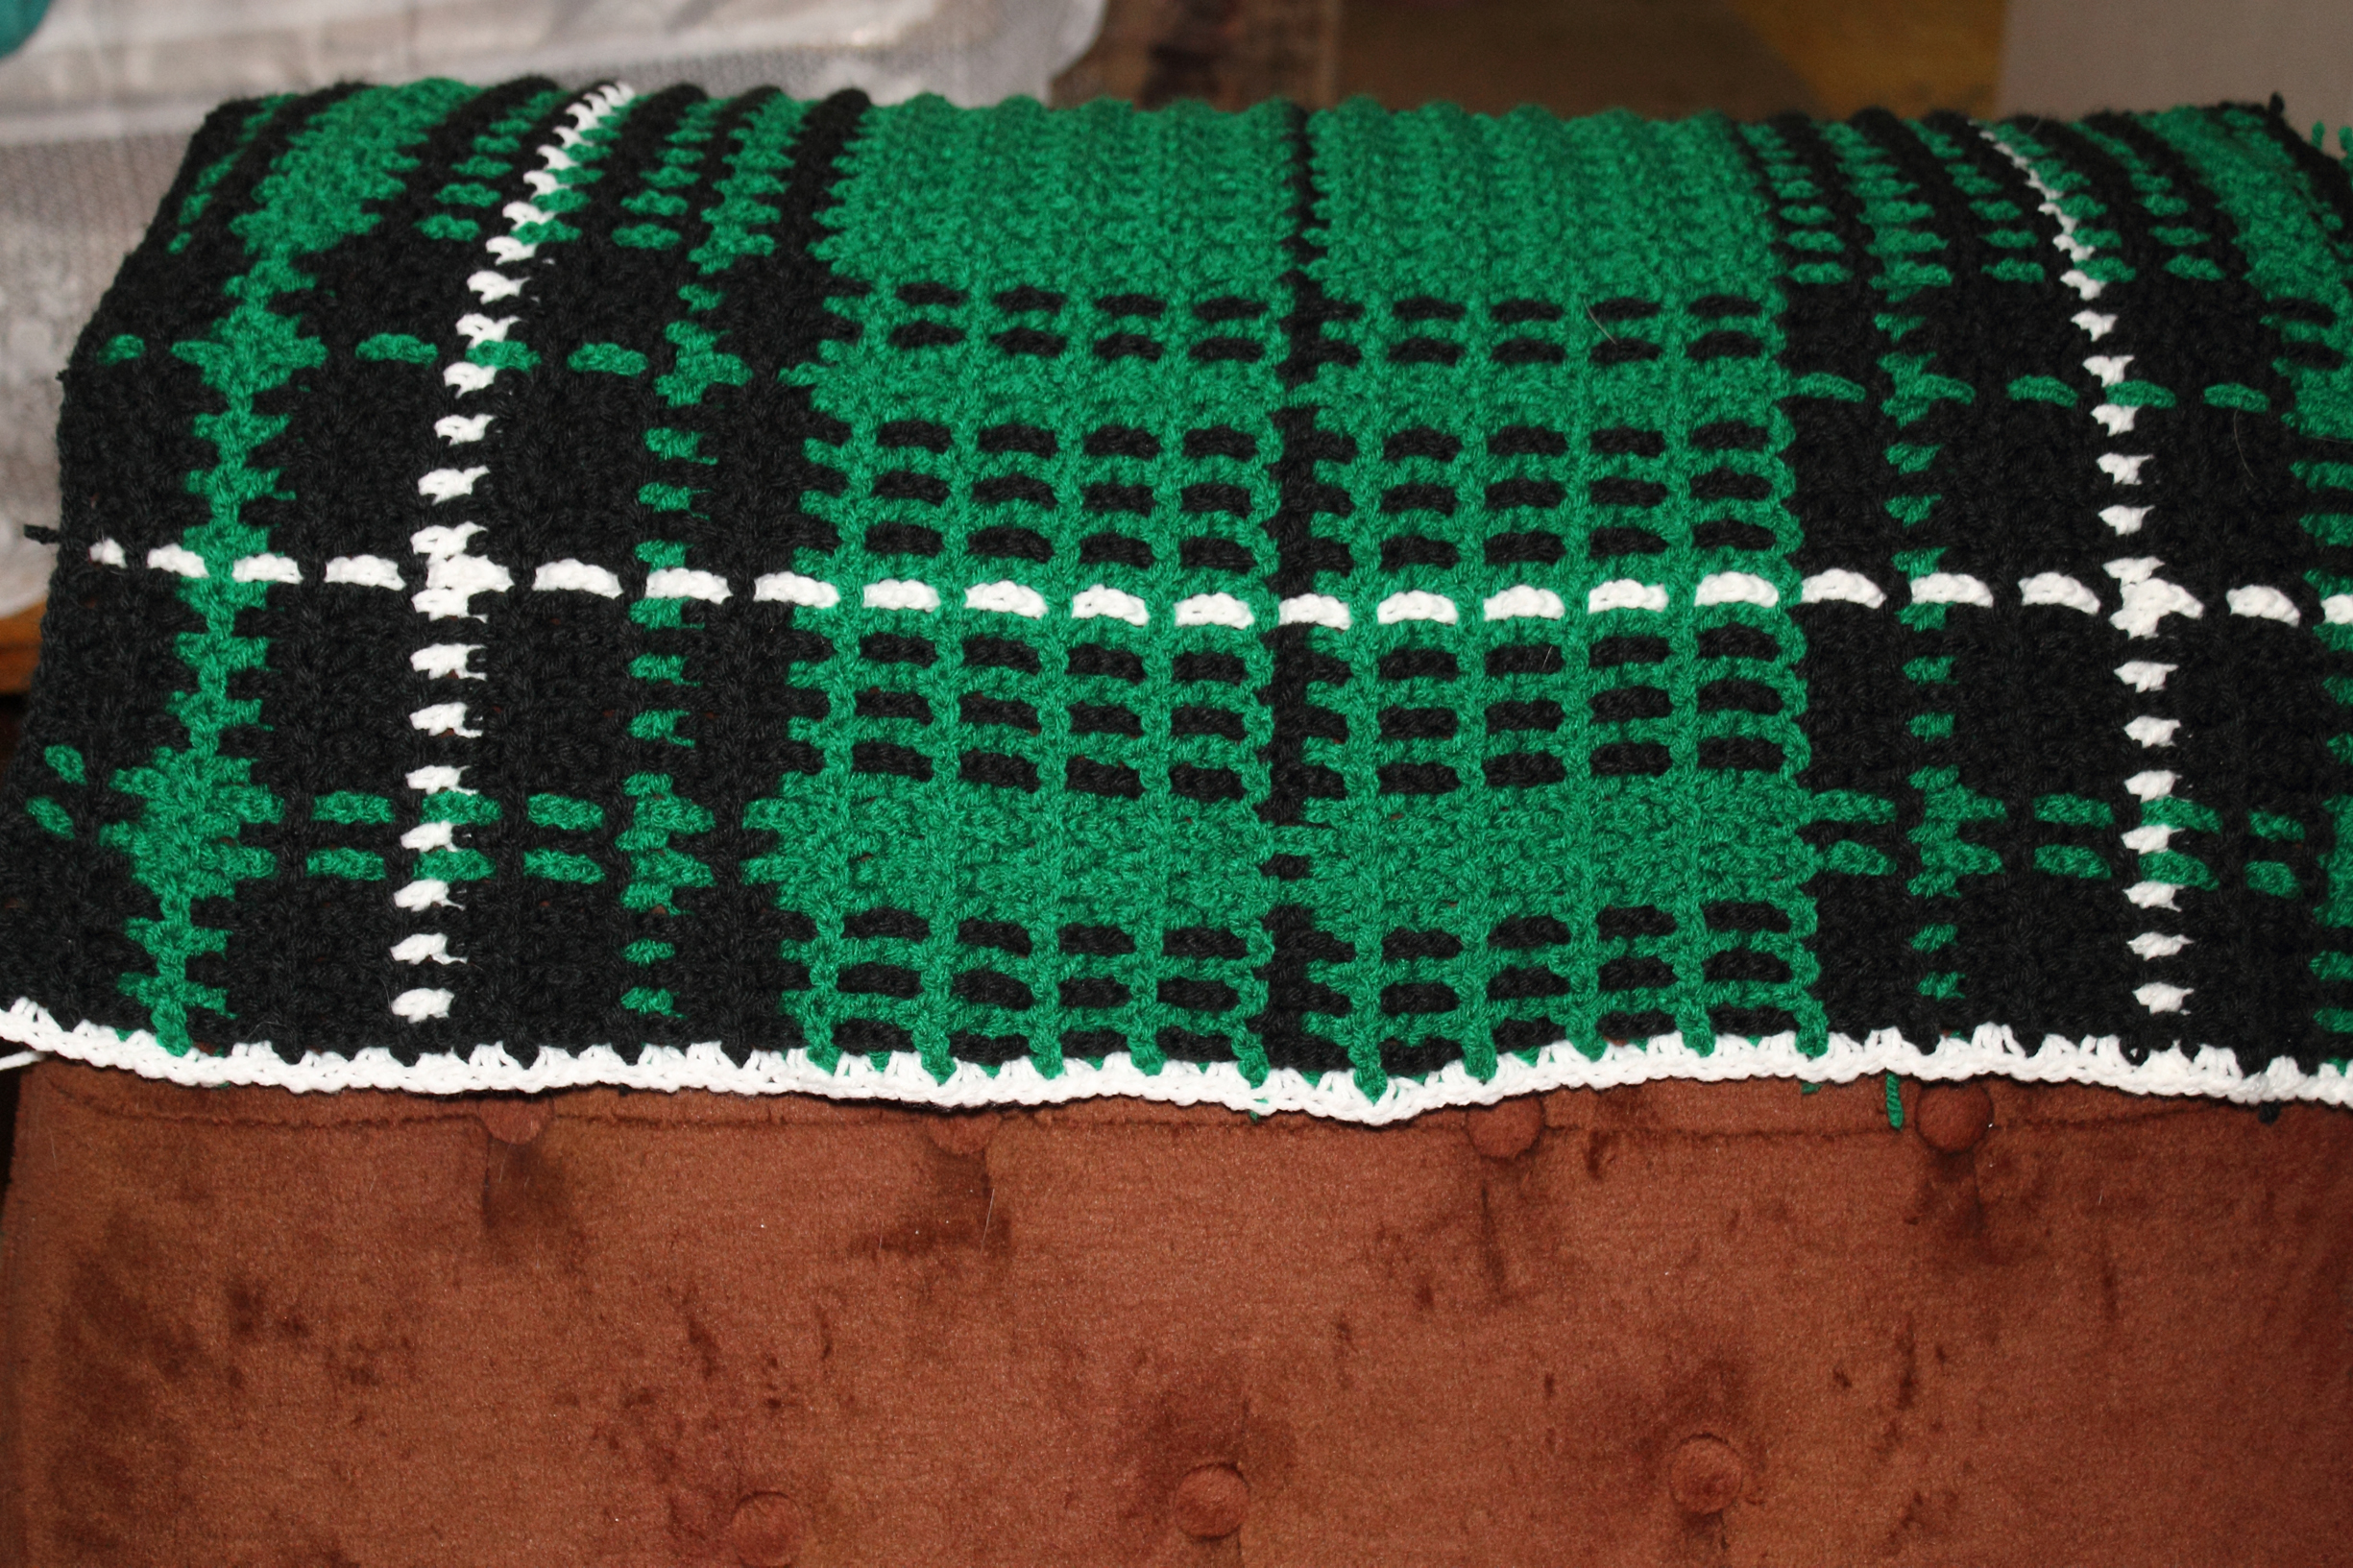
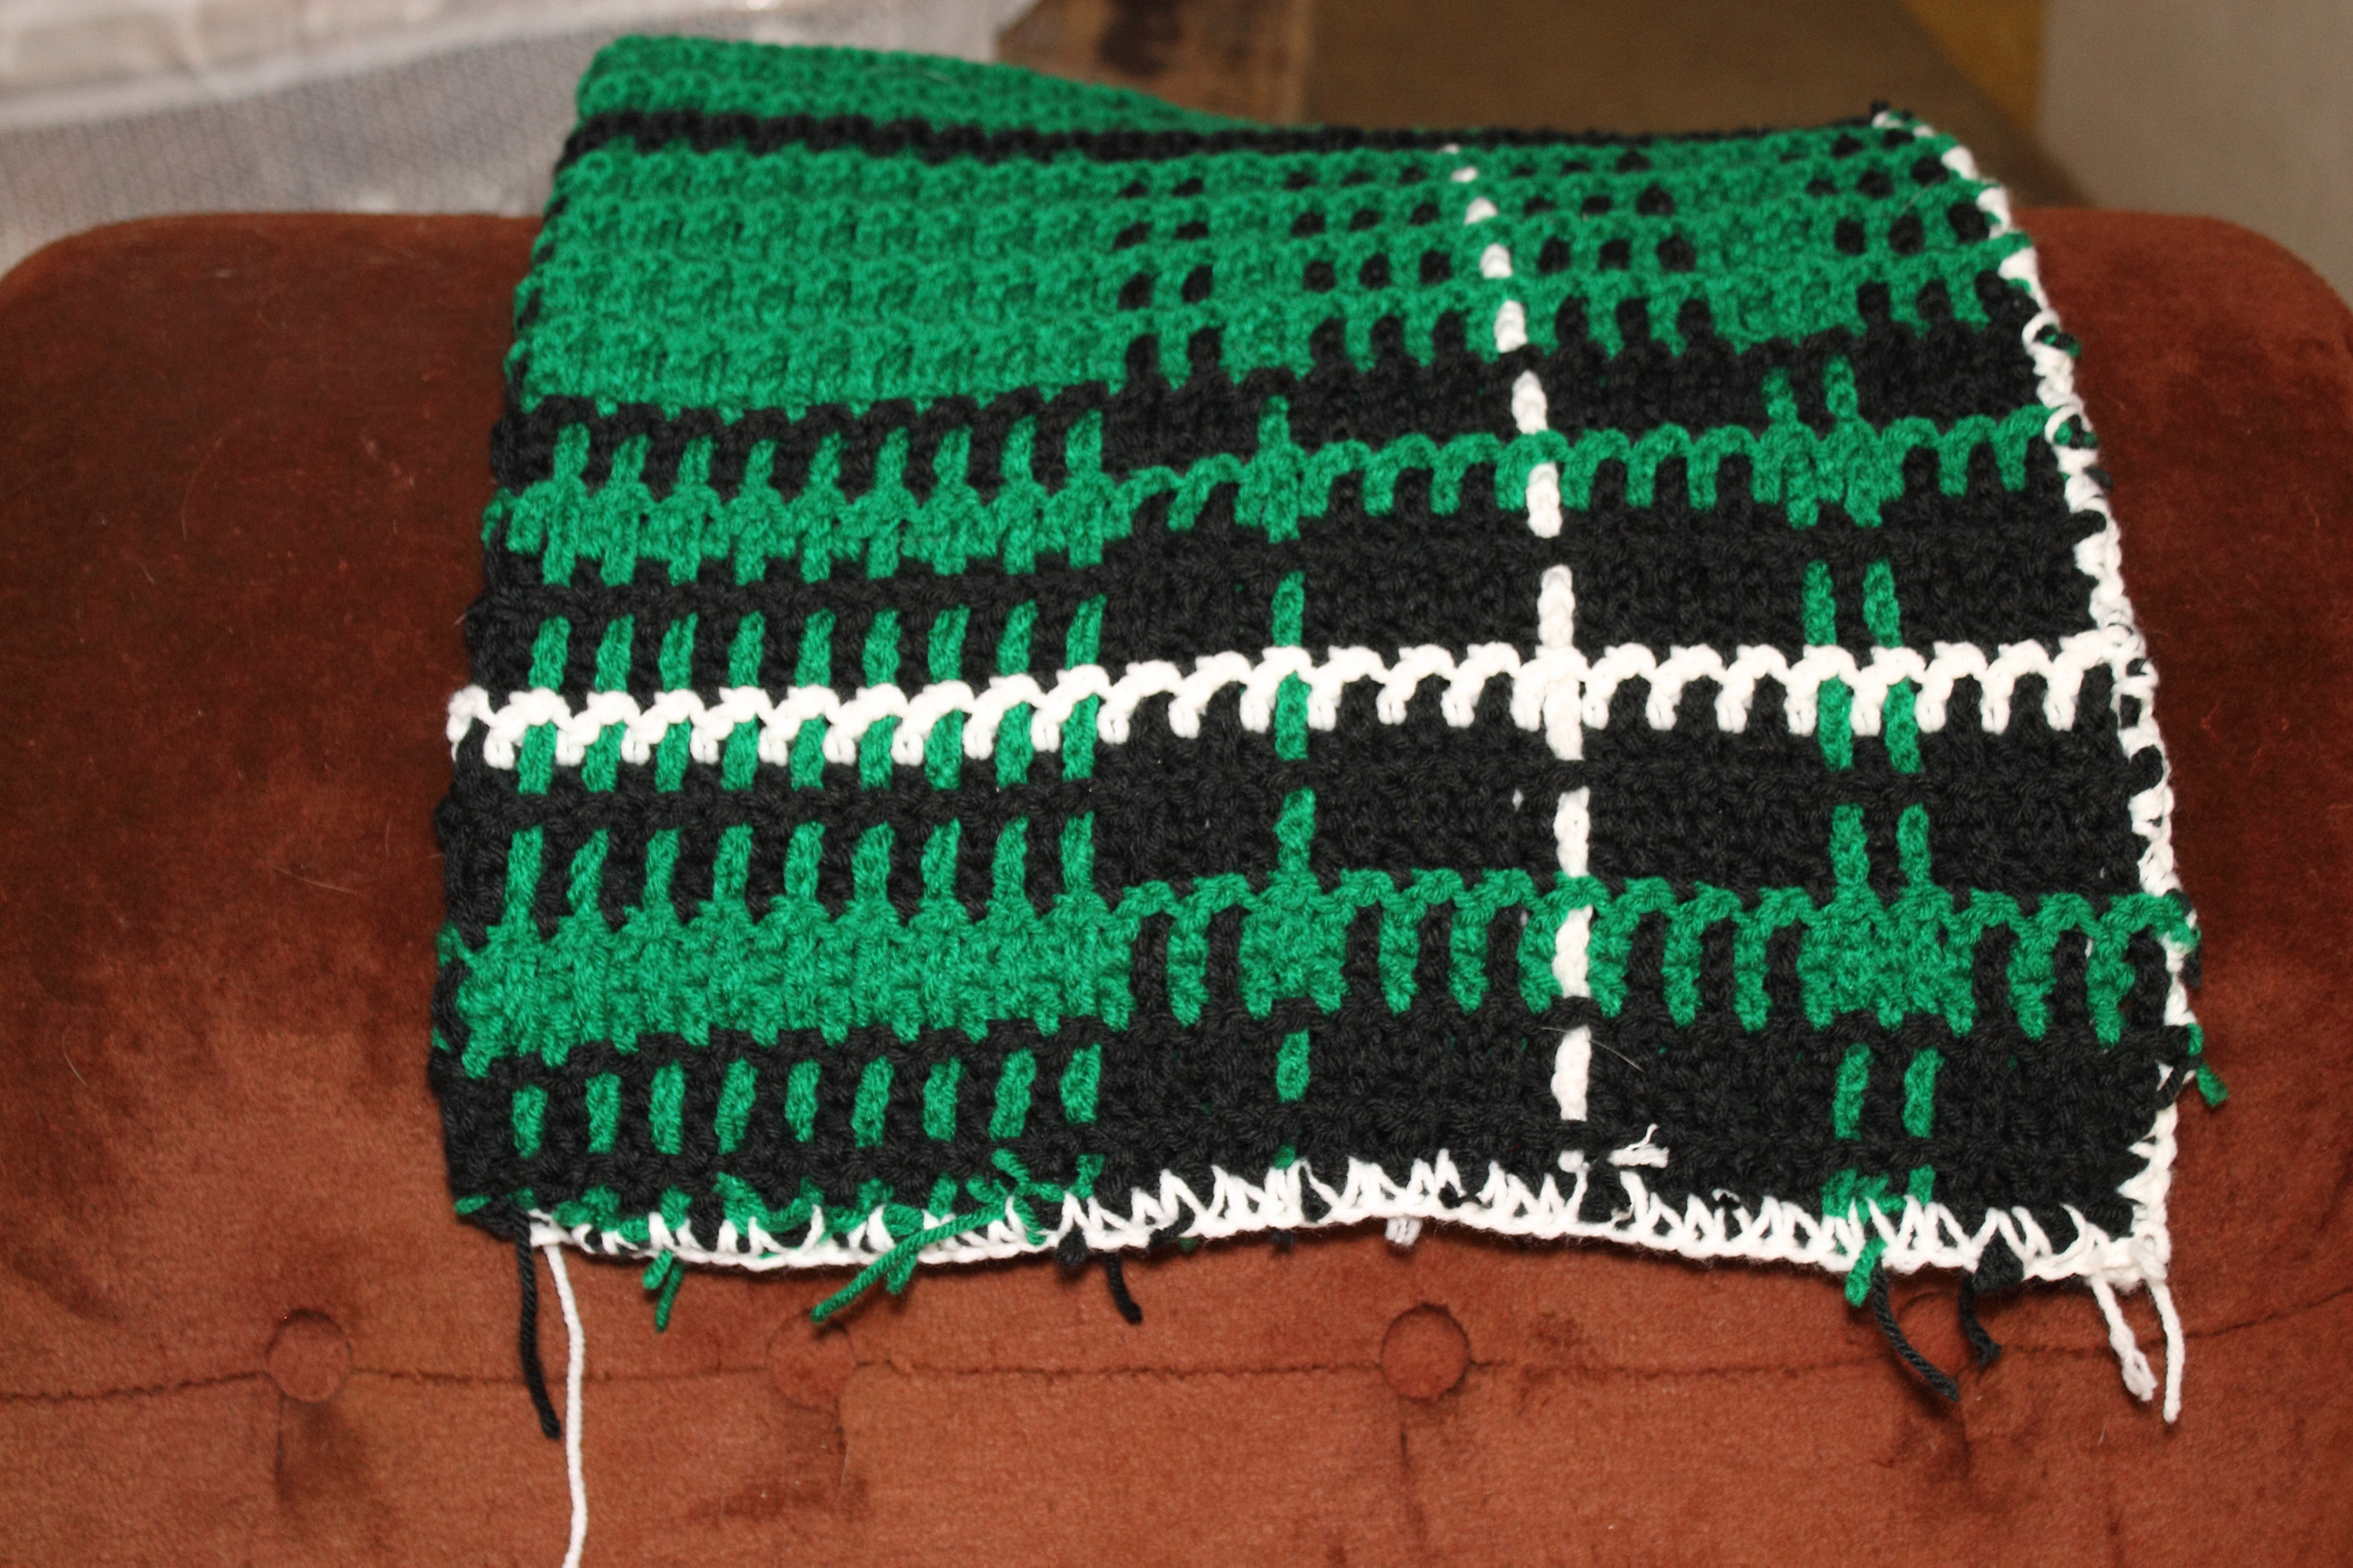
Still in the works are the kitchen curtains. A few weeks ago I had a very frustrating experience with them and have walked away. Now that there’s no wall to hide the kitchen, I get a daily reminder of how unattractive bath towels hanging over the windows are.

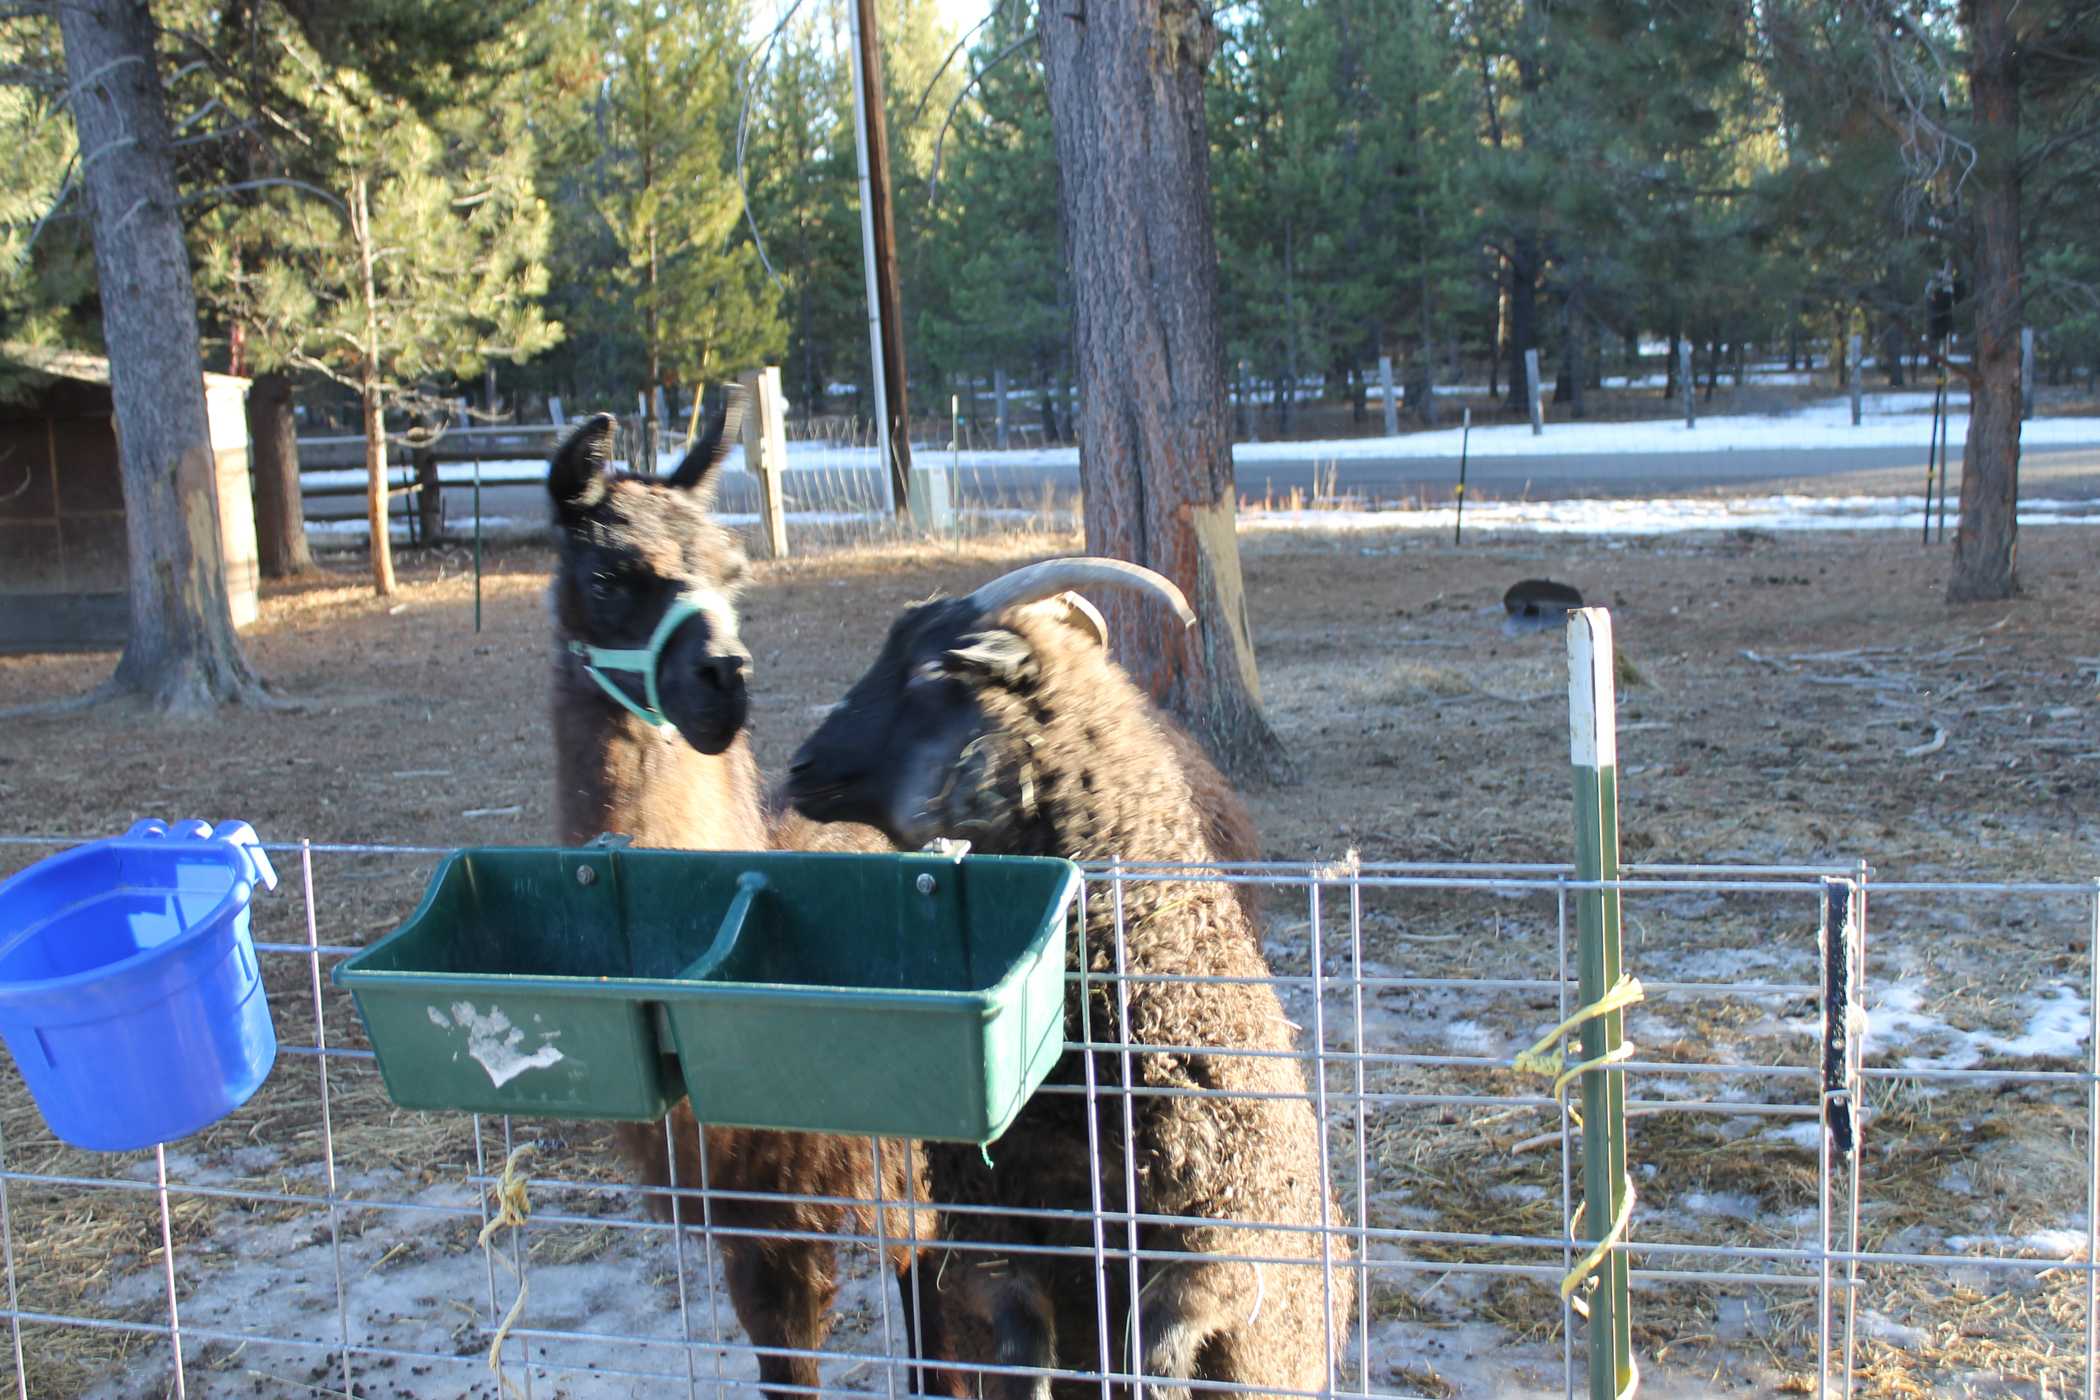
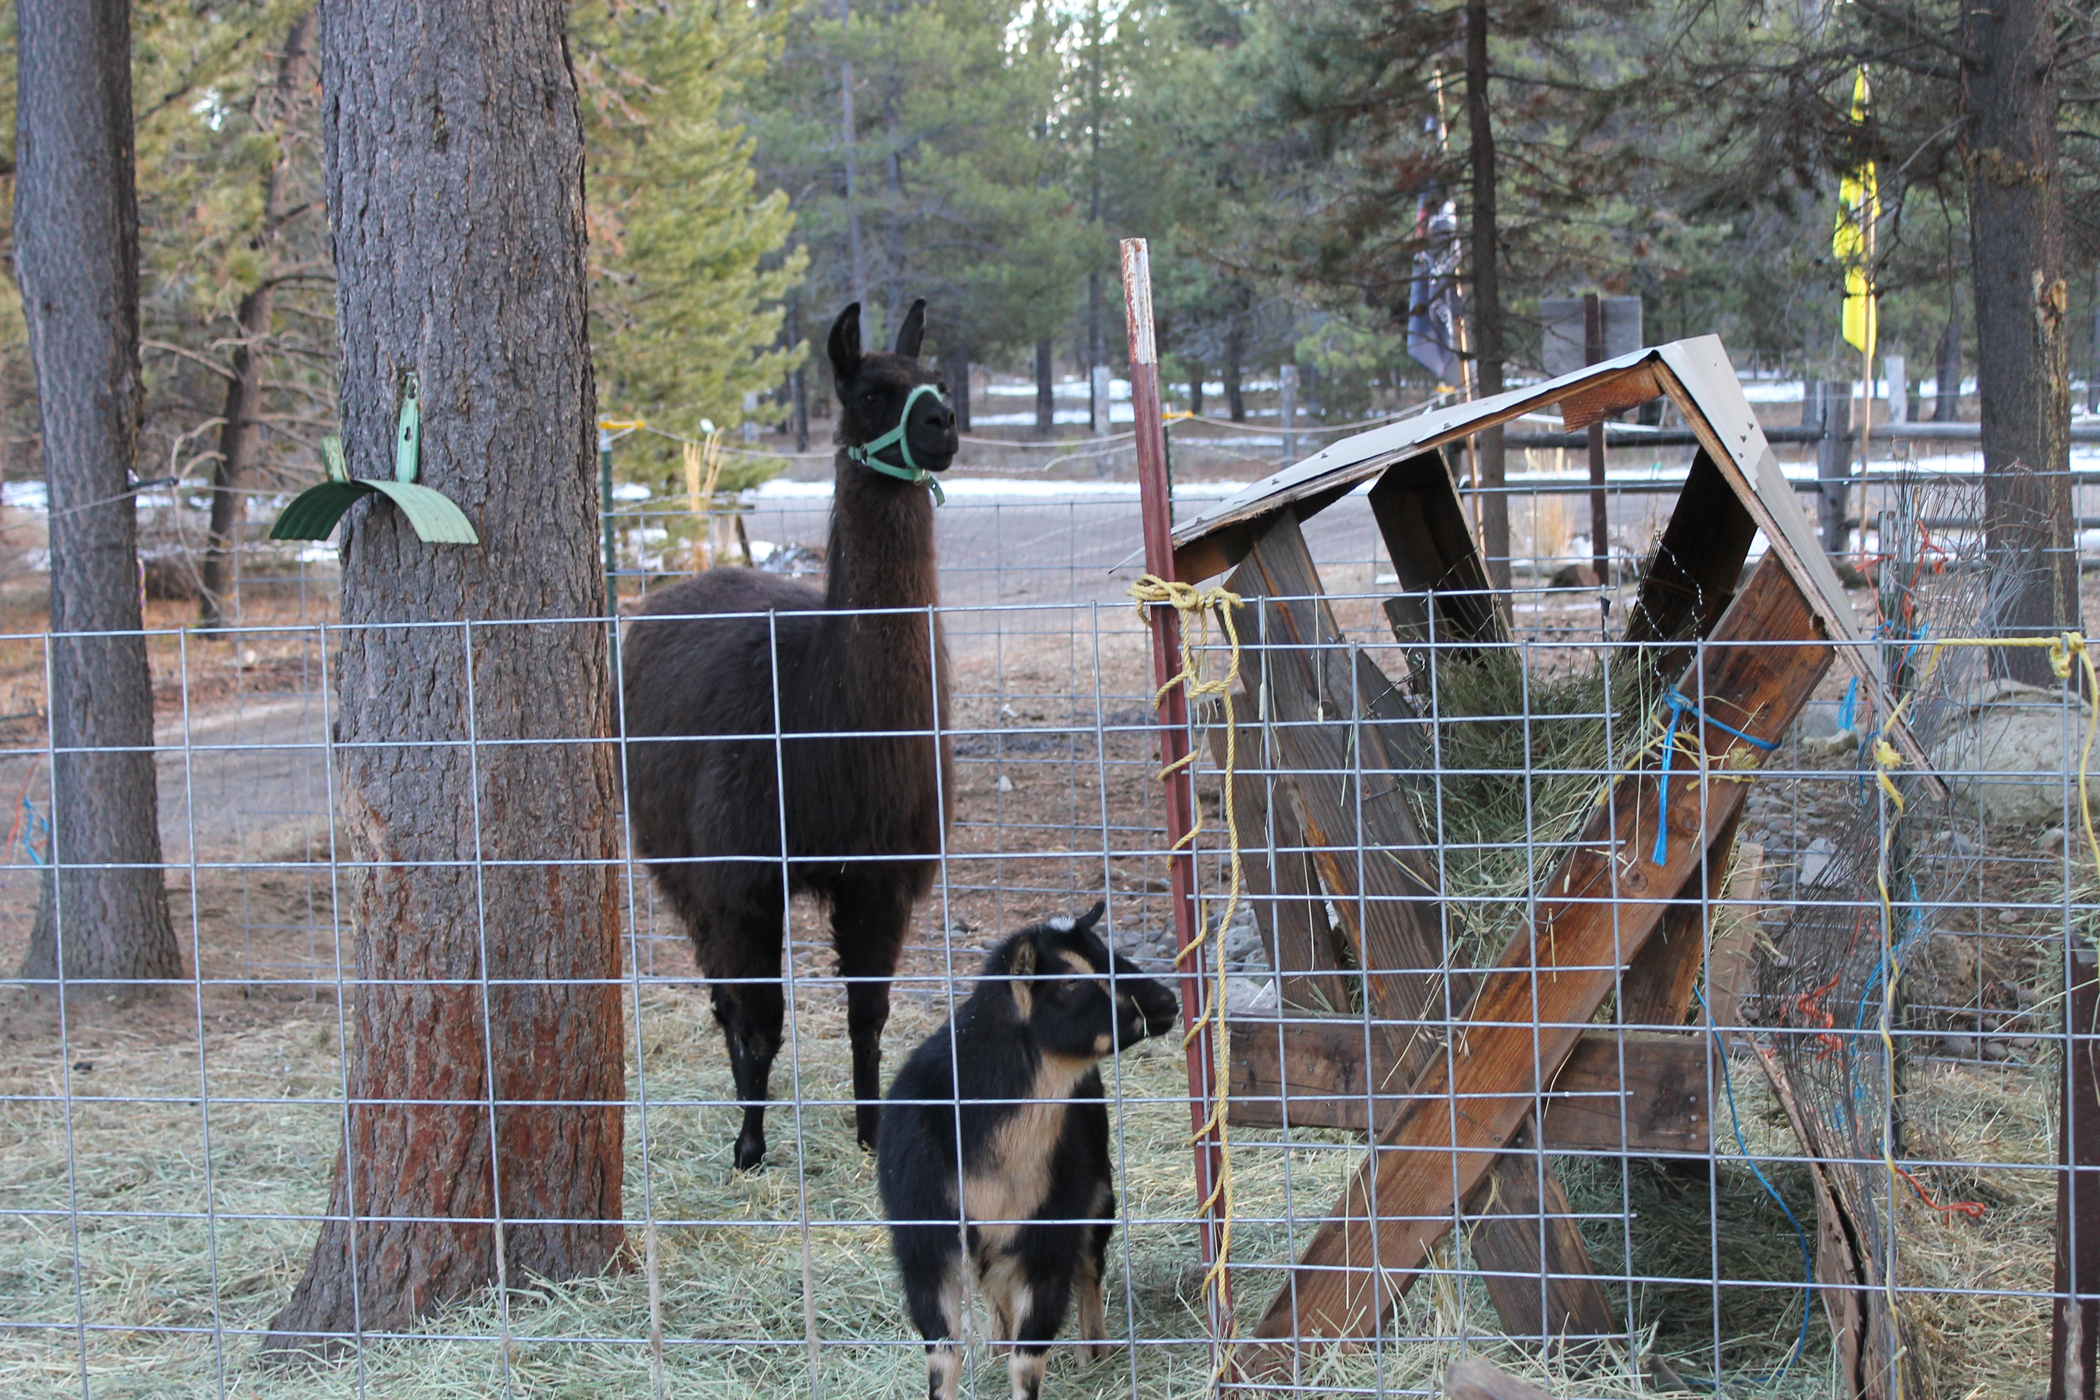
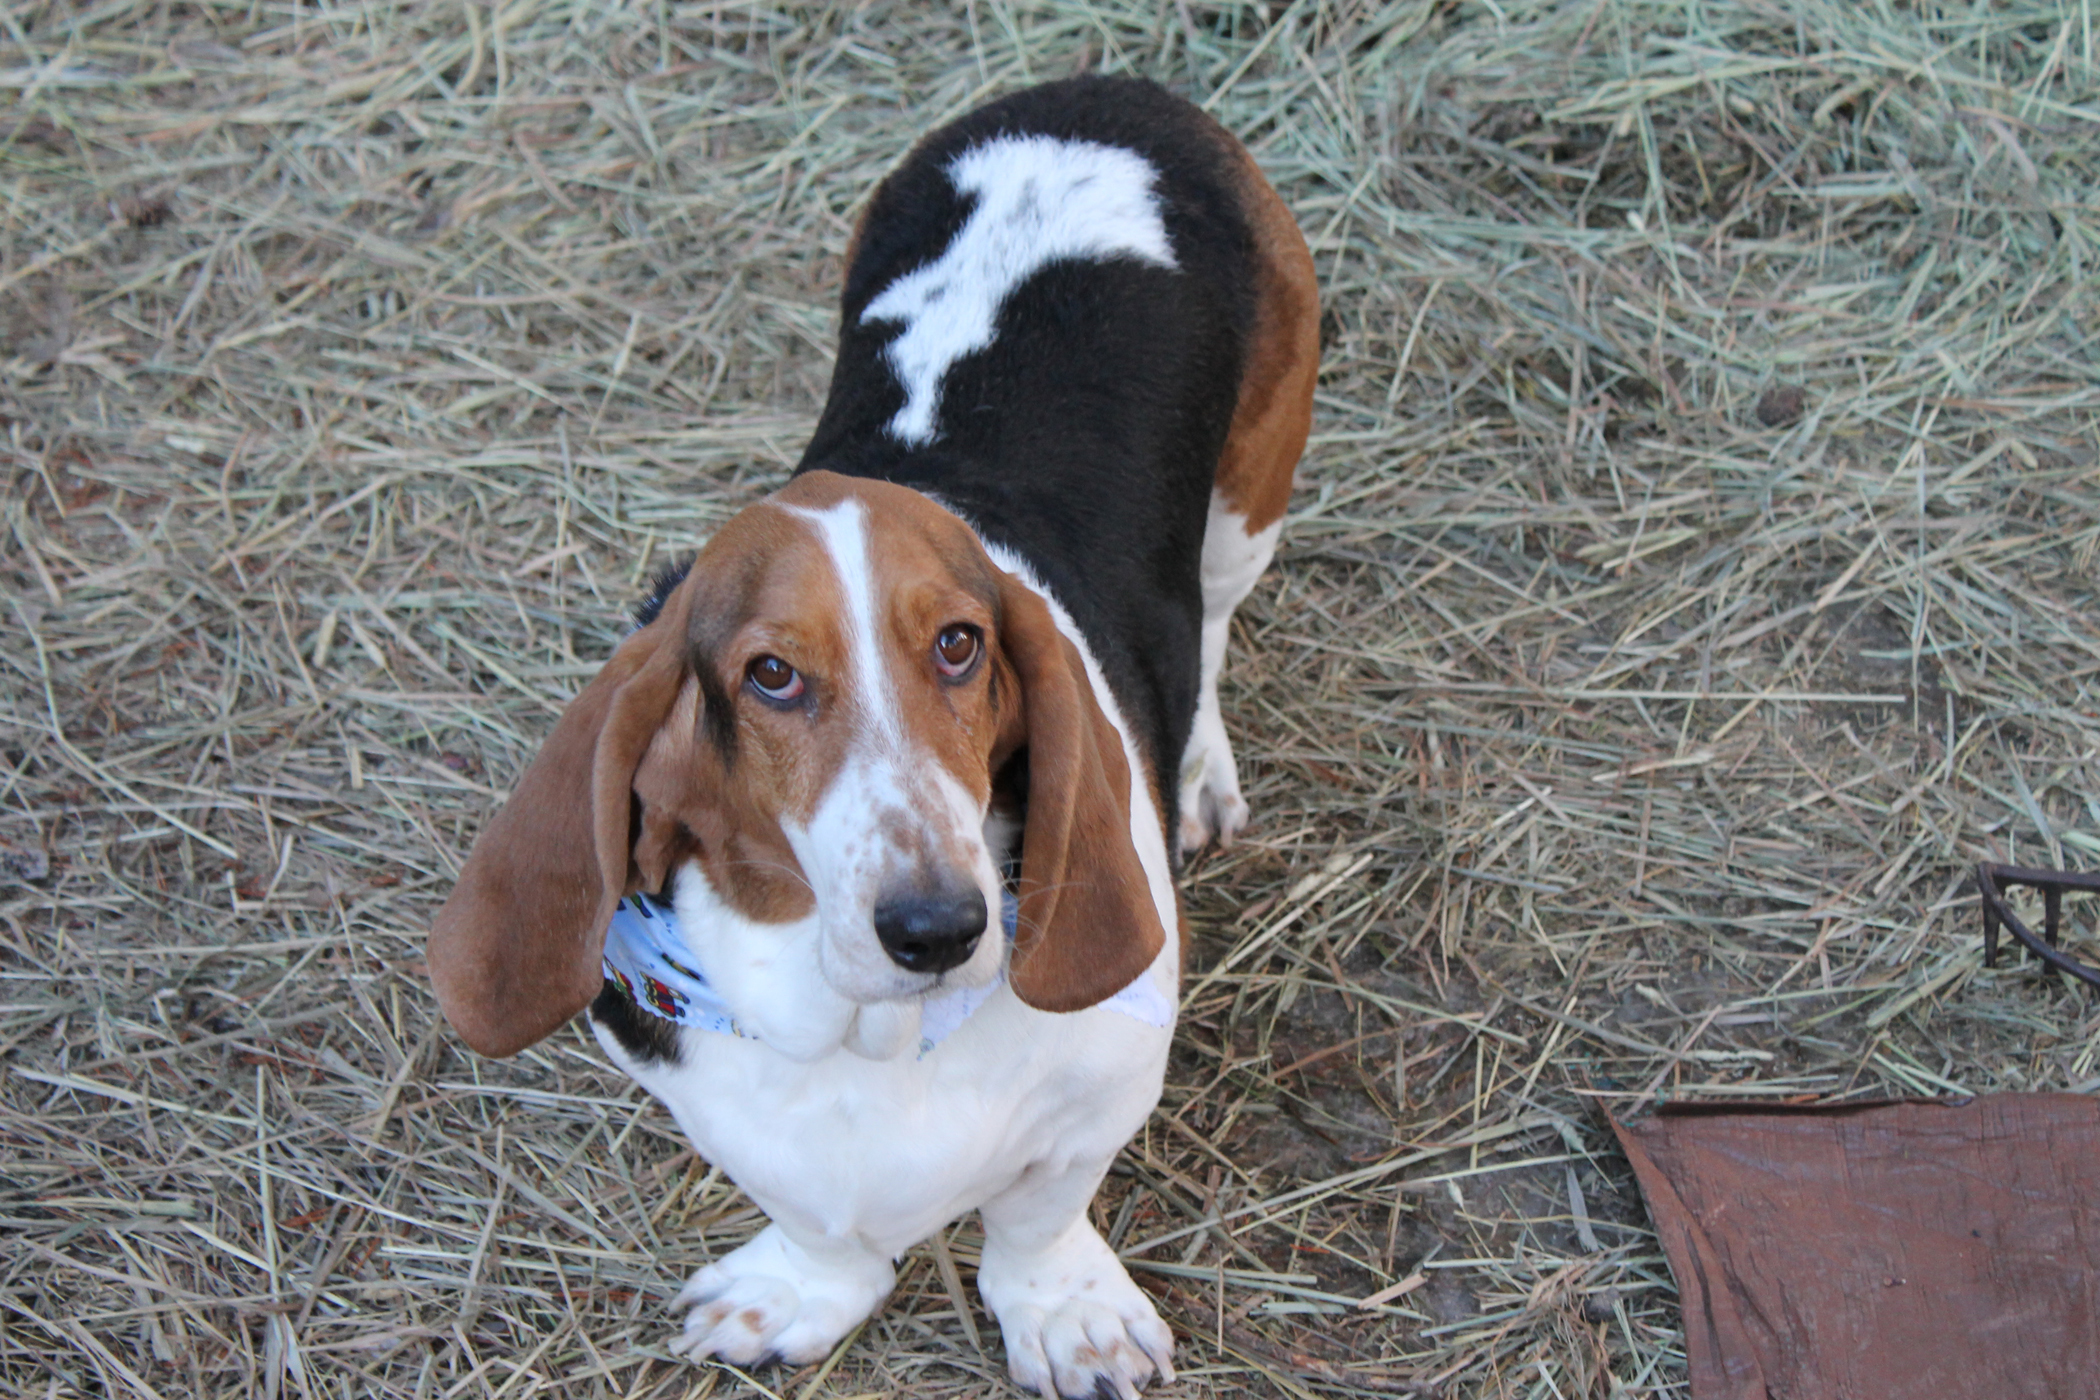
And here are some gratuitous critter pictures:

Excuse Me

Ray and Metal Manger

Dolly and Tank

Gratuitous Hound Photo

WIP – Pineapple Lace Curtains

This is a sneak peek at my current work in progress. I am making curtains for my kitchen windows. Now that snow is here, we need to retain all the warmth we possibly can and bare windows let out a lot of heat.

I found a simple pineapple lace motif pattern and wanted to do the curtains in this with some sort of sheer panels as a backing. But, sweetie wants me to make solid panels instead. I see his point, solid panels provide more privacy and hold in more warmth.

I started out making simple DC panels, but I soon realized that it would take forever to complete them that way. So, I’ve switched it up with TC. Hopefully that will make it go faster. I will change up with DC, SC and some color.

I’ll use the pineapple lace to make a valance and some long side panels.

Kitchen Curtain Lace 1

This is the motif. Please excuse how messy it looks, it is unblocked.

Now, my kitchen has yellow walls and white cabinets and ceiling. It has blue accents. I thought that including some color would be nice.

Here are my messy Photoshop examples:

Kitchen Curtain Lace Kitchen Curtain Lace Blu Yell Kitchen Curtain Lace Yell Blu Blu Kitchen Curtain Lace Yell Blu Yell Kitchen Curtain Lace Yell Blu

I haven’t decided which version I want to go with. No matter which one I choose, it will mean a whole lot of non-stranded color work. That fact alone makes me think that maybe I won’t do color within the motifs. I know that I want to do some blue stripes in the panels and a blue ruffle. Perhaps I’ll just do a blue ruffle on this portion, as well.

To be continued…

Thistle Flower Filet Crochet Panel

I had been wanting to do this project for quite some time. The original pattern is written for the use of thread. But, since I really don’t like working with thread, I decided to use worsted weight yarn instead. I was also thinking that it would end up being a good size to use as a curtain in one of my bathrooms. Well, it ended up being much too long for the window, but it will do for now.

Thistle Flower Curtain Panel

Filet crochet is essentially a DC mesh with blocks of DC creating the picture. It is easy to do and, I must say, quite fun. This is my first filet project and I am quite pleased with how it turned out. Well, besides it being too big for the window.

This is the only photo I took, so it’s hard to tell how big it is. That is my 55mm lens cap sitting in the bottom left. This would almost make a good lap blanket for me. It covers my legs.

It’s worth noting how much yarn this took. I used Red Heart Super Saver for the entire project. The filet portion took one full skein and part of a second. The ruffle took the rest of the second skein and part of a third. Definitely a yarn eater.

Clan MacLean Hunting Tartan Sewing Machine Cover

Ever since I created the Clan MacLean Hunting Tartan chart, I had been itching to make something. I decided to use a portion of the chart and make a sewing machine cover.

This is made by crocheting a DC mesh in your desired colors and then weaving crocheted chains into the mesh. With plaid, the stripes you make in one direction, you copy in the other direction.

Tartan

This is a photo of the completed square. I didn’t take any in-progress pictures, but if you google “crochet plaid” you will find examples and directions. I would like to link to the page that helped me, but WordPress is being difficult and not allowing me to post links.

Tartan 2

This photo was taken to try to give you, my dear readers, some sense of size.

Single Crochet Two Edges

I tied the chains together to secure them and then trimmed their ends. Next, I did a simple, white, single-crochet border on the two sides that were not being sewn together.

Folded in Half and Sewn Up Edges

I decided which side was the outside, folded it in half inside out and using white yarn, did a single crochet to sew up the sides. This picture shows it sewn up, inside out.

On Sewing Machine

Then, I turned it right side out and placed it over my sewing machine. Voila!

It took me longer than I expected to finish this project. My project notes say 10 days, but I wasn’t working on it every day. I would say that it took me probably 10 hours to finish.

This project was simple, but oh-so tedious. One of the reasons it took me so long to finish is because I kept procrastinating. I would like to make an afghan, but I would seriously have to mentally prepare for it. Overall, I like the results, but I really didn’t enjoy the process.

It’s Curtains for You!

Well… Me, actually…

So, I have several (five) windows that are either naked or ugly and need to be covered. I decided that I would make curtains. Crocheted lace curtains, to be more specific.

I set out on the arduous journey of finding patterns. Unfortunately, there wasn’t really a lot out there for curtains, so I also looked at shawls, scarves and blanket patterns (knowing that I could alter the pattern).

Let me tell you… There are HUNDREDS of gorgeous lace patterns out there! I spent DAYS looking at patterns. Finally, I narrowed down my choices to about 20. Once I did that I was able to decide which pattern I wanted to do on the first window. I have priorities, the naked windows first, then the ugly ones.

The pattern that I chose for the first window was the Elegant Simplicity Shawl. I had some white, worsted-weight yarn on hand, so I commenced to hooking. I spent a few days working on the first panel (I wanted two) and realized that I was going to run out of yarn. Well, no worries, right? White, worsted-weight yarn is pretty darn popular and I should have no problem matching it… WRONG! As a matter of fact, this particular yarn that I had used is no longer in existence (’twas given to me)… And, it is a little bit creamier than the white, worsted-weight yarn that I bought to complete the panel. UGH.

I had a choice to make… Go ahead and complete the project using the “off” yarn, or start over… I must say, it looks lovely on my end table.

Since I was starting over, I decided to go with a different pattern. So, back to the decision-making process. Thankfully, I had already narrowed the list and only had 19 to choose from. As an aside, each window is going to have a different pattern – yes, yes, I know I only have five windows… I decided which pattern would be perfect for my kitchen window, but that didn’t help, because the kitchen isn’t the first. List narrowed to 18.

FINALLY, I decided on a terrific lace pattern! It’s pretty, easy, and lacy enough to be feminine but with small enough holes to provide privacy: it is the Mist Stole pattern.

I love how the chain sections look like little Gothic windows!

I used Red Heart Soft Baby Steps yarn, in White and a size I (5.50mm) hook.

Because this was a stole pattern, I had to come up with some sort of way to attach the panels to the curtain rod. I decided to use the same stitch pattern that is in the panel (between the Gothic windows). I think the tabs turned out nicely!

I had to make three panels, because despite measuring, one panel (post-blocking) was too narrow to fit one half of the window.

The panels, while they are technically the same size, blocked kind of funny. One panel is longer and narrower than the other two. Ah well. Maybe next time they get washed, they’ll even out.

It took me about eight hours per panel. Of course, I only worked on them for a couple-few hours per night, so it took me a few weeks.

Now, I’m going to buy the store out of that yarn (a few times, probably) and move on to the kitchen!

Victorian Memories Choker

A friend asked me to make a choker for her. She said she wanted it to be black, lacy and about an inch wide.

I decided to use crochet, rather than tatting.

I agonized over patterns for several days. I was making myself crazy. As a result, I had effectively procrastinated enough to make a couple of other things! I even went so far as to start looking at curtain patterns and dig out my white sport-weight yarn! Bad, bad, bad!!!

My procrastination projects were: the Cosmos Doily, which you’ve seen; and the Five-Petaled Flower Necklace:

It took me longer to make than I expected (about 3 hours!) to make this necklace. I’m just not accustomed to using thread. Hopefully, I’ll get faster with practice.

So, my friend came over for a visit and I was showing her the Cosmos Doily and I suddenly remembered that I still hadn’t made a decision on which pattern to use for her choker. And I felt terrible that I had been so busy on other things, when I should have been making her project.

I had downloaded several bookmark patterns, thinking those would be the easiest to alter into a choker. While I had her here, I made her look at the patterns and she chose one. A tremendous weight had lifted! I now had a plan!

I used size 10 thread (don’t remember the name, I never keep ball bands) and a small, size 7 steel crochet hook.

I measured her neck and decided that I needed to simply double the recipe on the pattern. That will go almost all the way around her neck, but still allow her enough room for tying.

Because she only wanted it to be an inch wide, I omitted the last round and didn’t block the piece.

While making this, I discovered something… I do not like crocheting with black thread. So, the remainder of the ball will be used for tatting projects.

She hasn’t been home for a few days, so she doesn’t know that it’s ready for her. I hope she likes it!

In other news, I got to drive the tractor for the first time yesterday! I just moved it from one place to another, but I had to maneuver around trees and stuff. It was fun! I guess if you harass your sweetie often enough, he will start teaching you things… Now, if I could just get him to teach me to weld, like he said he would…


Cosmos Doily!

Hello!

I wanted to make a large doily to use as a tablecloth; so I used worsted-weight yarn, instead of thread. It didn’t block out as large as I was hoping, but it fits on a different table than intended.

The pattern I chose was Cosmos Doily.

I would say this took me about 8 hours to make; however, I did get a little confused and had to rip out an entire round.

The pattern instructions are great, until you get to rounds 11 and 12. Then, they get a little confusing (to me.) Thankfully there was a photo that I could use to see where things should go.

This doily used about 3/4 of a full 7-ounce skein of yarn.

I am likely to make this again.

Merry-Go-Round Baby Blanket!

Hello!

Well, I finished the baby blanket that I’ve been working on for my cousin. The baby’s name is Scarlett (so cute!)

I chose the Merry-Go-Round pattern, because I thought it would work well with the yarn I decided on: Bernat’s Baby Blanket yarn.

This first photo is a close-up of the stitch detail:

As you can see, double crochet was used throughout.

Next is a photo of one of the points:

I didn’t choose the best point to photograph. It is slightly curled, so you are unable to see the hole created by chain stitches.

Next up is a photo of the blanket’s center:

You can see that it looks kind of wrinkled. This is due to the fact that the white yarn is a lot more elastic than the pink. It was hard to maintain an even tension.

Next is a lower angle of view:

And last, but not least, the whole enchilada:

This blanket measures (unstretched) 48 inches from point to point.

It was fun to make and the pattern is really easy to  memorize. I really like how it came out. Even my sweetie offered (when he saw me taking the pictures): “It’s cute. Well, as cute as a guy can think something is.”

I hope grandma and mommy agree.