Lacy Hooded Scarf

Another dear friend of mine just celebrated her birthday. She is one of the kindest, sweetest, women I know. She has done so much for us.

In her younger years, she collected goats. She moved a very large herd (at least 150 head) from San Clemente Island (off the coast of California) to Central Oregon. I didn’t know her then, but I know for a fact that she loved her goats very much.

Whenever something causes us to have to leave the farm for a few days, she always steps right up and offers to take care of our critters and our crops. Of course, she absolutely loves my goats. But, really, who doesn’t???

At any rate… She is getting older – I believe she is on the upside of 70 now. Years of hard work have taken its toll on her. She lives a mountain-woman lifestyle and it has been very physically demanding. It’s beginning to show. A stubborn woman (well, she is a Capricorn!) she refuses to let us help her with any of the things she needs to get done around her homestead.

I had to try to think of something for her birthday… Something that really showed how much I care for her. It had to be something that she couldn’t refuse and she couldn’t give back. Therefore, I knew it had to be handmade.

My friend has the most beautiful eyes. They are large, round, and a lovely, dove grey. I’ve never known anyone with grey eyes before. Time has given her lovely silver hair, which one can tell was once very dark.

I found some lovely grey yarn, at Knit Picks. It is part of their Swish line, which is 100% superwash Merino wool. The color I chose matches her eyes. It’s called Dove Heather. Once I decided on the yarn, I started hunting for a pattern.

Dove Heather

It took me a few months to find the right pattern for her. I knew that I wanted to make something for her to wear. It needed to be something to help her stay warm. I thought about hats and scarves and gloves and cowls. I just had a heck of a time settling on something!

Finally, while perusing Ravelry, I found it. The perfect pattern! The Lacy Hooded Scarf seemed like the perfect thing! It had enough solid parts to keep her hair dry and enough lace to keep it feminine. Despite her rough lifestyle, she is very much, 100% feminine.

I ordered the yarn and ordered the pattern.

Judy Scarf 3

I really thought that it would only take me about a week to make this scarf. The pattern was simple enough. I really thought it was going to be a breeze. I thought wrong! I gave myself one month of lead time, before her birthday. Working on this, day and night, it took me 24 days. There were a few days that I seriously didn’t think I would get it finished in time.

Judy Scarf 2

The pattern is a 16-row repeat. As such, it was too long for me to memorize. Also, it’s worked from the bottom up – so it gets wider, the further along you go. You work the two halves separately and then sew them together.

Judy Scarf 4

I knit this using a 4.5mm knook. The yarn is a DK weight yarn. It took a scant few yards shy of 5 balls of yarn for this project. I was terrified that I would run out of yarn. I didn’t have enough time to order, receive and knit another ball before the big day arrived.

Judy Scarf 1

In addition to this being the most complicated lace pattern that I’ve ever knit, I had another first with this pattern. I learned the Russian join, for joining yarn ends. I must say, I really like that join! It takes a bit more yarn than I care for; but it is a nice, secure join and there are no ends to weave in! In the future, when I am joining ends without changing colors, I am definitely going to use that join.

For the most part, I’m very happy with how this scarf turned out. There are a few things that I’m not entirely happy with though…

I wish that I had added a few more garter stitches on the sides than was called for in the pattern. There aren’t enough and because it’s stockinette, it curls. Though, in retrospect, if I had done that, I would have surely run out of yarn.

Also, I’ve never worked with superwash Merino before. When researching how to block it, I learned that it should be machine washed and dried. I did this and it pilled significantly. Thankfully, it didn’t felt.

The pattern calls for using a visible seam, on the outside of the scarf. So, I did a crochet slip stitch seam. It’s a heavier seam than I like.

Lastly, I hit a snag near the end of the pattern itself. Thankfully, I was able to wing it and finish up.

Even with all the (minor) things that I’m not happy with… The recipient cried when she received it.

And to me, that makes it all worth it.
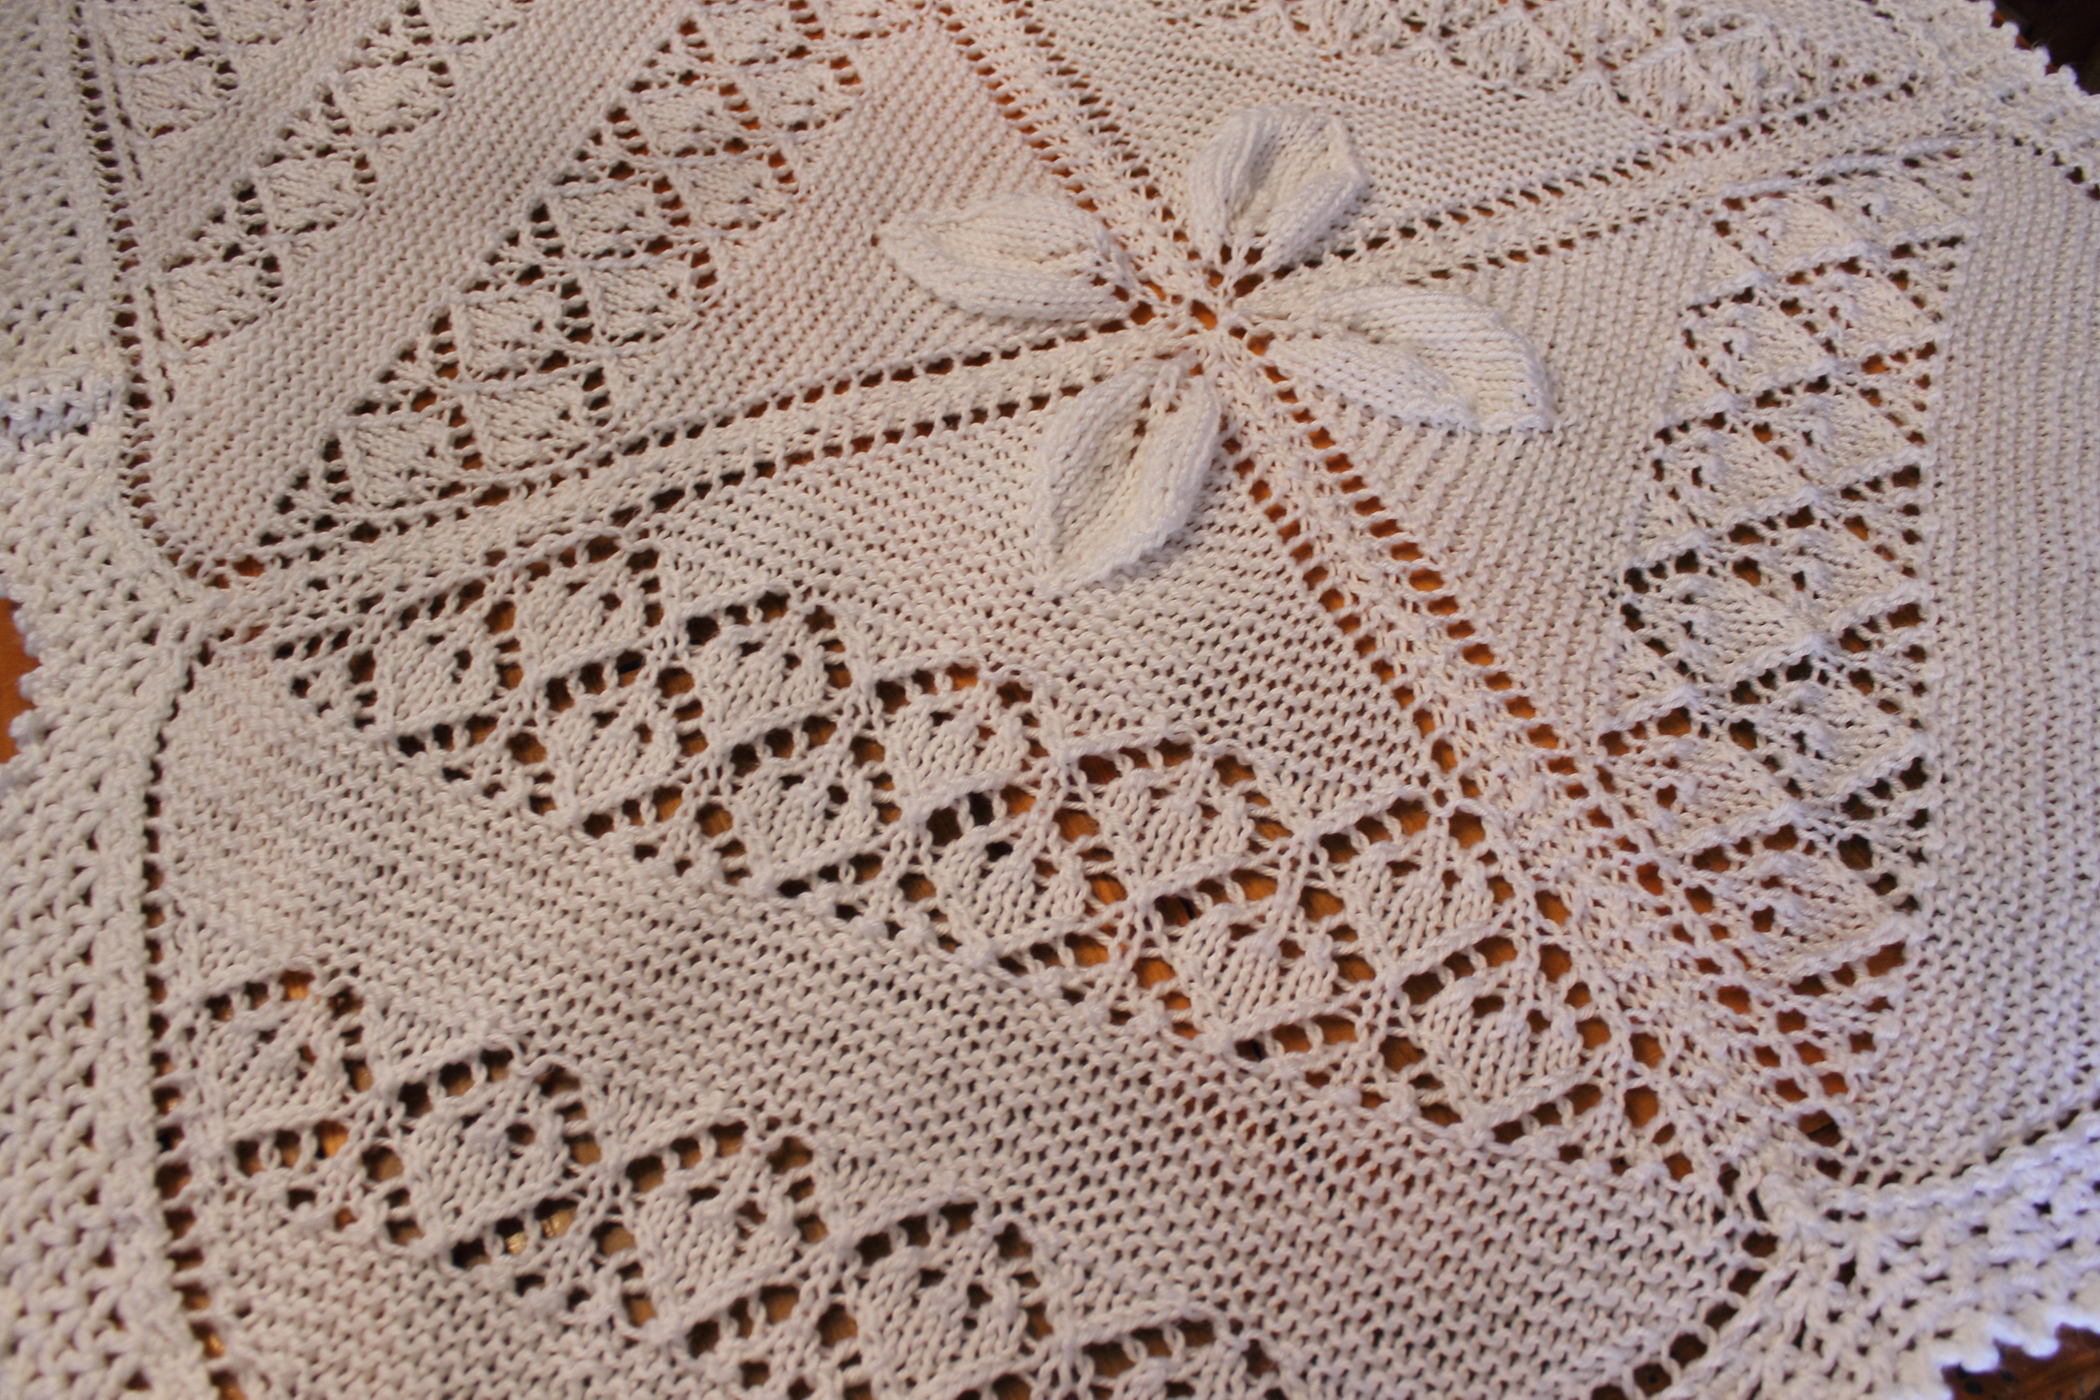
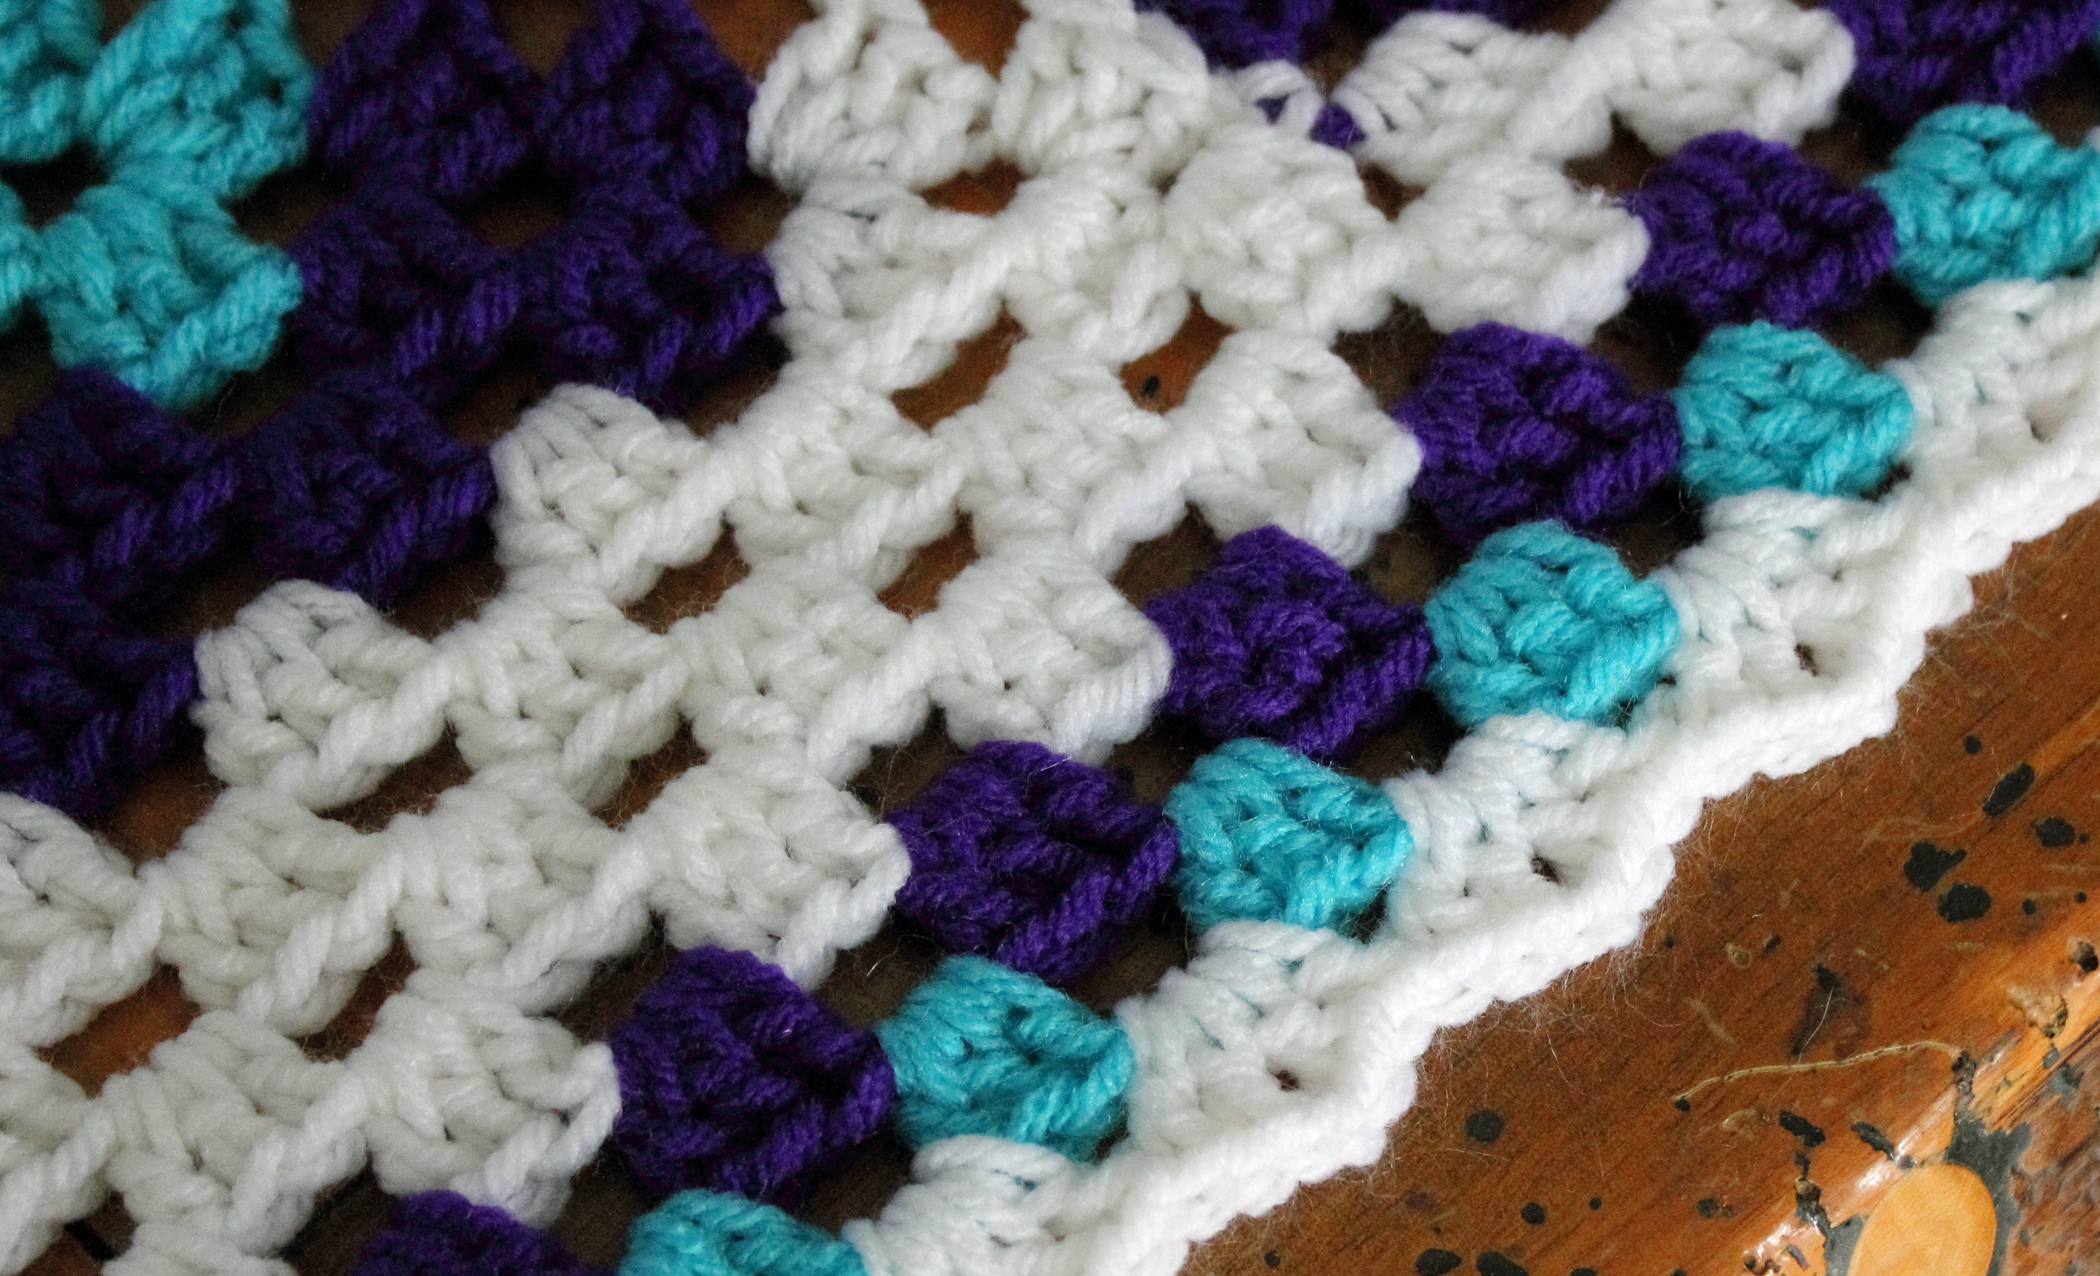
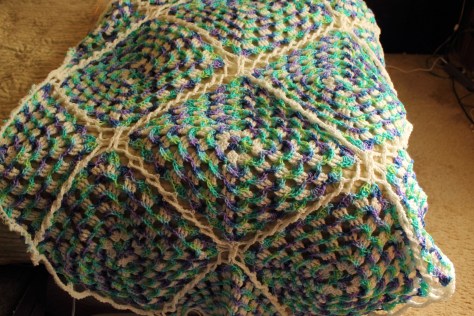
DK Boot Socks

It’s not very often that my sweetheart requests that I make something for him. So, when he does, I jump to it.

A few years ago, I bought him a pair of snow boots. He wasn’t with me at the time, so he couldn’t try them on. As it turns out, they were a bit too big. But, he desperately needed the boots, so I didn’t exchange them. He has been wearing them, uncomfortably, with heavy socks. This has not been ideal.

He requested that I make him some boot socks. These were to be worn over the top of another pair of heavy socks (to help take up some of the slack inside the boots). He wanted them to be made from yarn that was a combination of wool and cotton (another reason they would be worn over other socks, is because he is sensitive to wool and can’t have it against his skin). He also said he wanted them to be made from “fluffier” yarn; he meant thick yarn, rather than sock yarn.

I had been looking for some yarn that met those characteristics and I found some. It was going to be rather expensive, but he’s worth it. Then, I was on Ravelry one day and I saw that a gal in one of my groups was destashing several balls of yarn that would be perfect (and for a great price). I swooped in, quickly!

The yarn is Rowan Amy Butler Belle Organic Aran. It is a DK weight yarn in the colorway Peacock (a lovely teal-ish color). The yarn is soft and squishy. It would be very comfy made into a sweater or something like that. If you can wear wool, I would suggest you get some of that yarn. The only bad thing about it is that it’s hand wash/lay flat to dry. I did a test to see how easily it felts… It felts very easily. But, these socks won’t really get dirty, so hand washing is fine.

The pattern that I used to make the socks is the Mash-Up Magic Toe-Up Socks (Recipe). You can download the pattern on Ravelry or click here to go to her personal website.

Before I had made this pair of socks, I had only ever made two other socks (not a pair). The first one was a baby sock and the second one was made using the above pattern/recipe. It made a perfectly-fitting sock and I decided that it would likely be my go-to pattern for sock making.

My knitting tool of choice is a knook, so that’s what I used to make these. The yarn calls for a size 7 needle, but I wanted it to be a bit firmer of a fabric, so I went with a size 6 (4mm). It did make a firmer fabric, as I’d hoped, but it’s still not terribly stiff or anything. The squishiness of this yarn makes it very forgiving.

Each sock took one-yard shy of one ball of yarn. The socks are a bit shorter than he wanted, but they do the job that they were intended to do. They keep his feet much warmer and they take up quite a bit of slack inside his boots.

I did a crochet cast on. Primary stitch count was 40. The heel flap is a columnar slip stitch heel. I did 19 rounds of a K2, P2 rib for the cuff. And I did a Russian bind off. They fit perfectly. He says that he’s never had, in his whole life, a pair of socks that fit so well.

It took me a day to make one sock, but I’m a slow knitter.

Boot Socks 1

Boot Socks 2

I’ve started a pair of regular socks (using sock yarn) for myself. I’ll write a post about those, once they’re finished.

Knooking Entrelac

I did a google search for knooking entrelac and I got no hits. So, I decided to try to figure it out for myself.

Essentially, knitting entrelac is just making a series of rectangles, one at a time. One row of rectangles leans to the left and the next row leans to the right. It looks like a diagonal basket weave. It’s quite simple and fun to do.

When making it with two needles, you make your rectangles and slide them over onto one of the needles to wait, while you make the next one. I couldn’t figure out how to do this with the knook, because one is left with live stitches that need to be held until the next row of rectangles is made. And since our second “needle” is already in use, I didn’t know how to get it to work while still being able to work back and forth.

What I decided to do was use little pieces of ribbon to hold the live stitches on the waiting rectangles. This frees up my knooking cord for making the next row of rectangles.

Following this wonderful entrelac tutorial I made this:

22764178649_d65f0a845a_z

Initial triangles:

23153103405_cf025a3471_z

First rectangle:

22785136959_d5206d7632_z

First row of rectangles done:

23189016231_a3d5813f6e_z

Working on the second row of rectangles:

22785153279_fae7b4d655_z

22857344860_2d84b63b60_z

I completed three rows of rectangles and then finished off.

This was an 8-stitch entrelac pattern, so it didn’t take very long cords to do. I found that I was cutting my small “holding” strips of ribbon (for the stitches that were waiting) a bit too short. As I was working those stitches, the ribbon would sometimes slip out of the stitches. Thankfully, this was Red Heart Super Saver yarn, so it was fairly grabby and I was able to get a locking stitch marker into them to keep them from laddering down.

When I finished a rectangle, I would take the little piece of ribbon out of the one below (that I just finished picking up the stitches on) and reuse the ribbon. So, it didn’t take very many pieces of ribbon.

Also, because you are working back and forth (almost like short rows) the knook cord doesn’t have to be very long either.

And that’s it!

I know this post is brief, but I just wanted to let you know that, YES! Knooking entrelac really is possible! And hopefully this little bit of instruction will help you be able to do this fun stitch, too!

As always, if you have any questions or need some clarification, please feel free to contact me. I’m happy to help.

Yarn Clouds Blanket

Well, I finally finished and photographed the afghan! I haven’t yet blocked it, though.

I used the pattern for the Yarn Clouds Square (find it here), however I only went through 11 rounds.

I made 8 full squares and 6 half squares. I had intended to make 4 quarter squares for the corners, but I ran out of the purple yarn. Therefore, my corners aren’t pointed.

I turned the squares on point (with a column of 3 diamonds on the right and left and a column of 2 diamonds in the middle) and used the half squares around the outside to make the edges straight.

I used the Flat Braid Join (instructions here). For instruction on how to join the squares, halves and quarters, refer to this page at the same site (it’s a different afghan and a more elaborate join, but you’ll be able to see what order to do things). Also, at that site, you will see a placement diagram, my blanket basically consists of squares 1-8. My chain length for the braid was 7. For the corners, I put the join in between dc 4 and 5. On the sides, I put the joins in the 3rd dc of each cluster.

I finished with a simple single-crochet border. Again, this was practical, as I was almost out of the white yarn.

Unblocked, the blanket measures 3-feet wide and 5-feet, 1-inch long. Each square measures a little over 16 inches, point to point.

I used Red Heart Super Saver yarn in the colorways: Soft White and Wildflowers. My hook size was K-6.5mm.Half-square and quarter-square guidelines can be found below the photos.I couldn’t get the whole thing in the picture. The felines were bristling at the thought of being displaced. At the very bottom is a half square:Yarn Clouds 1Half-square:Yarn Clouds Half Square
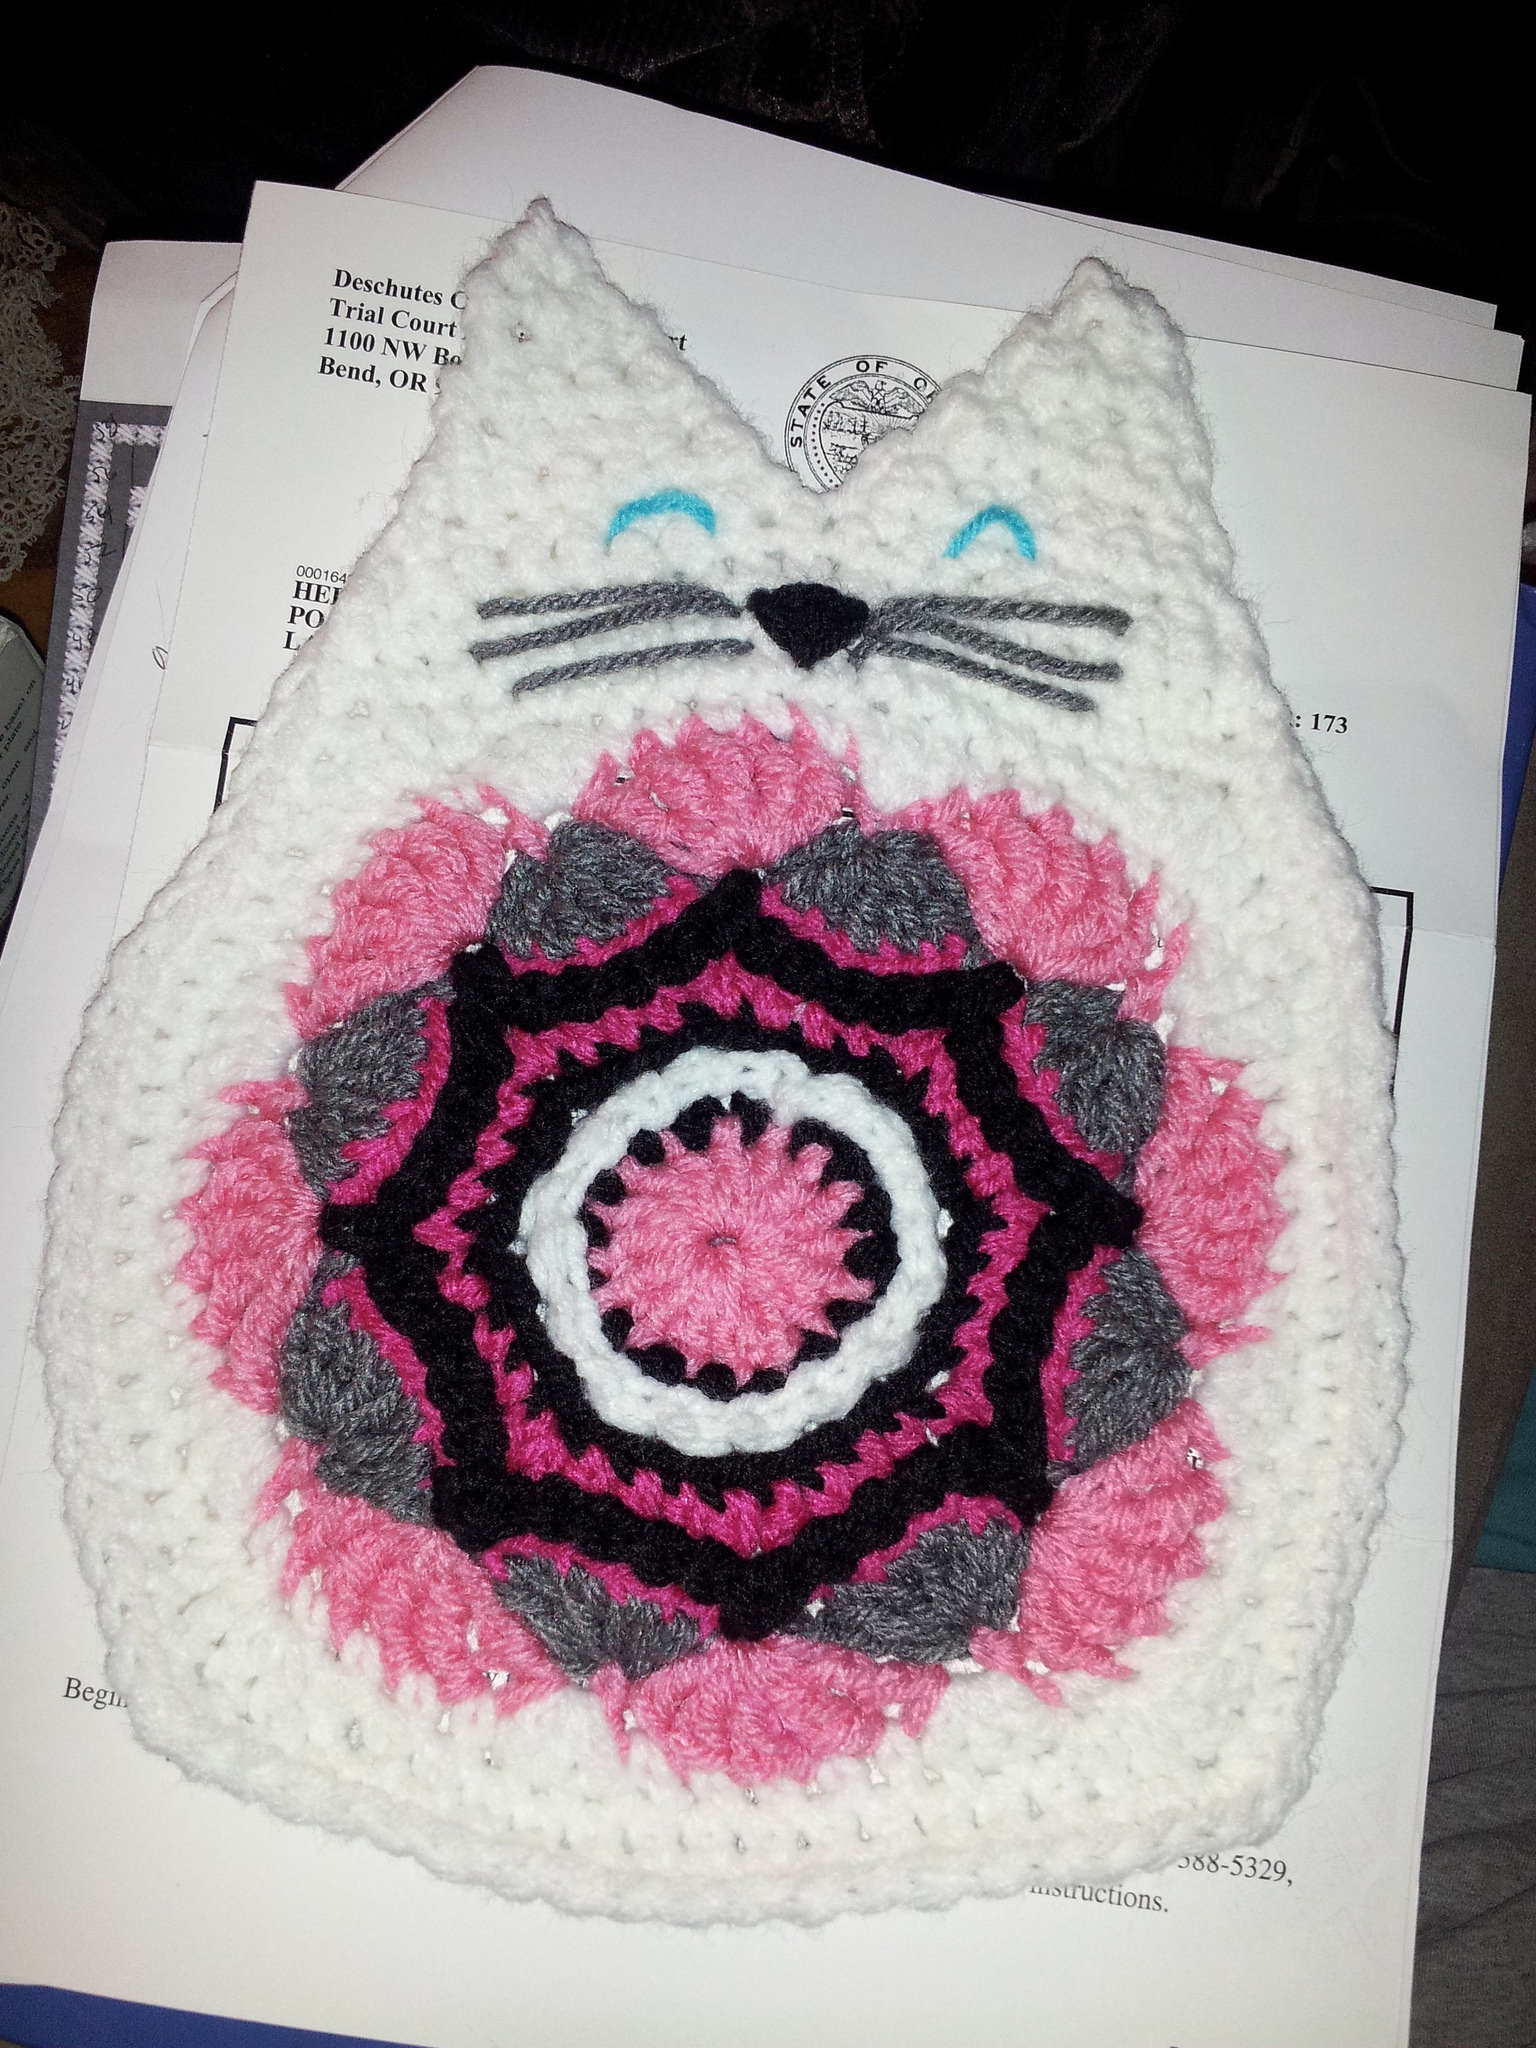
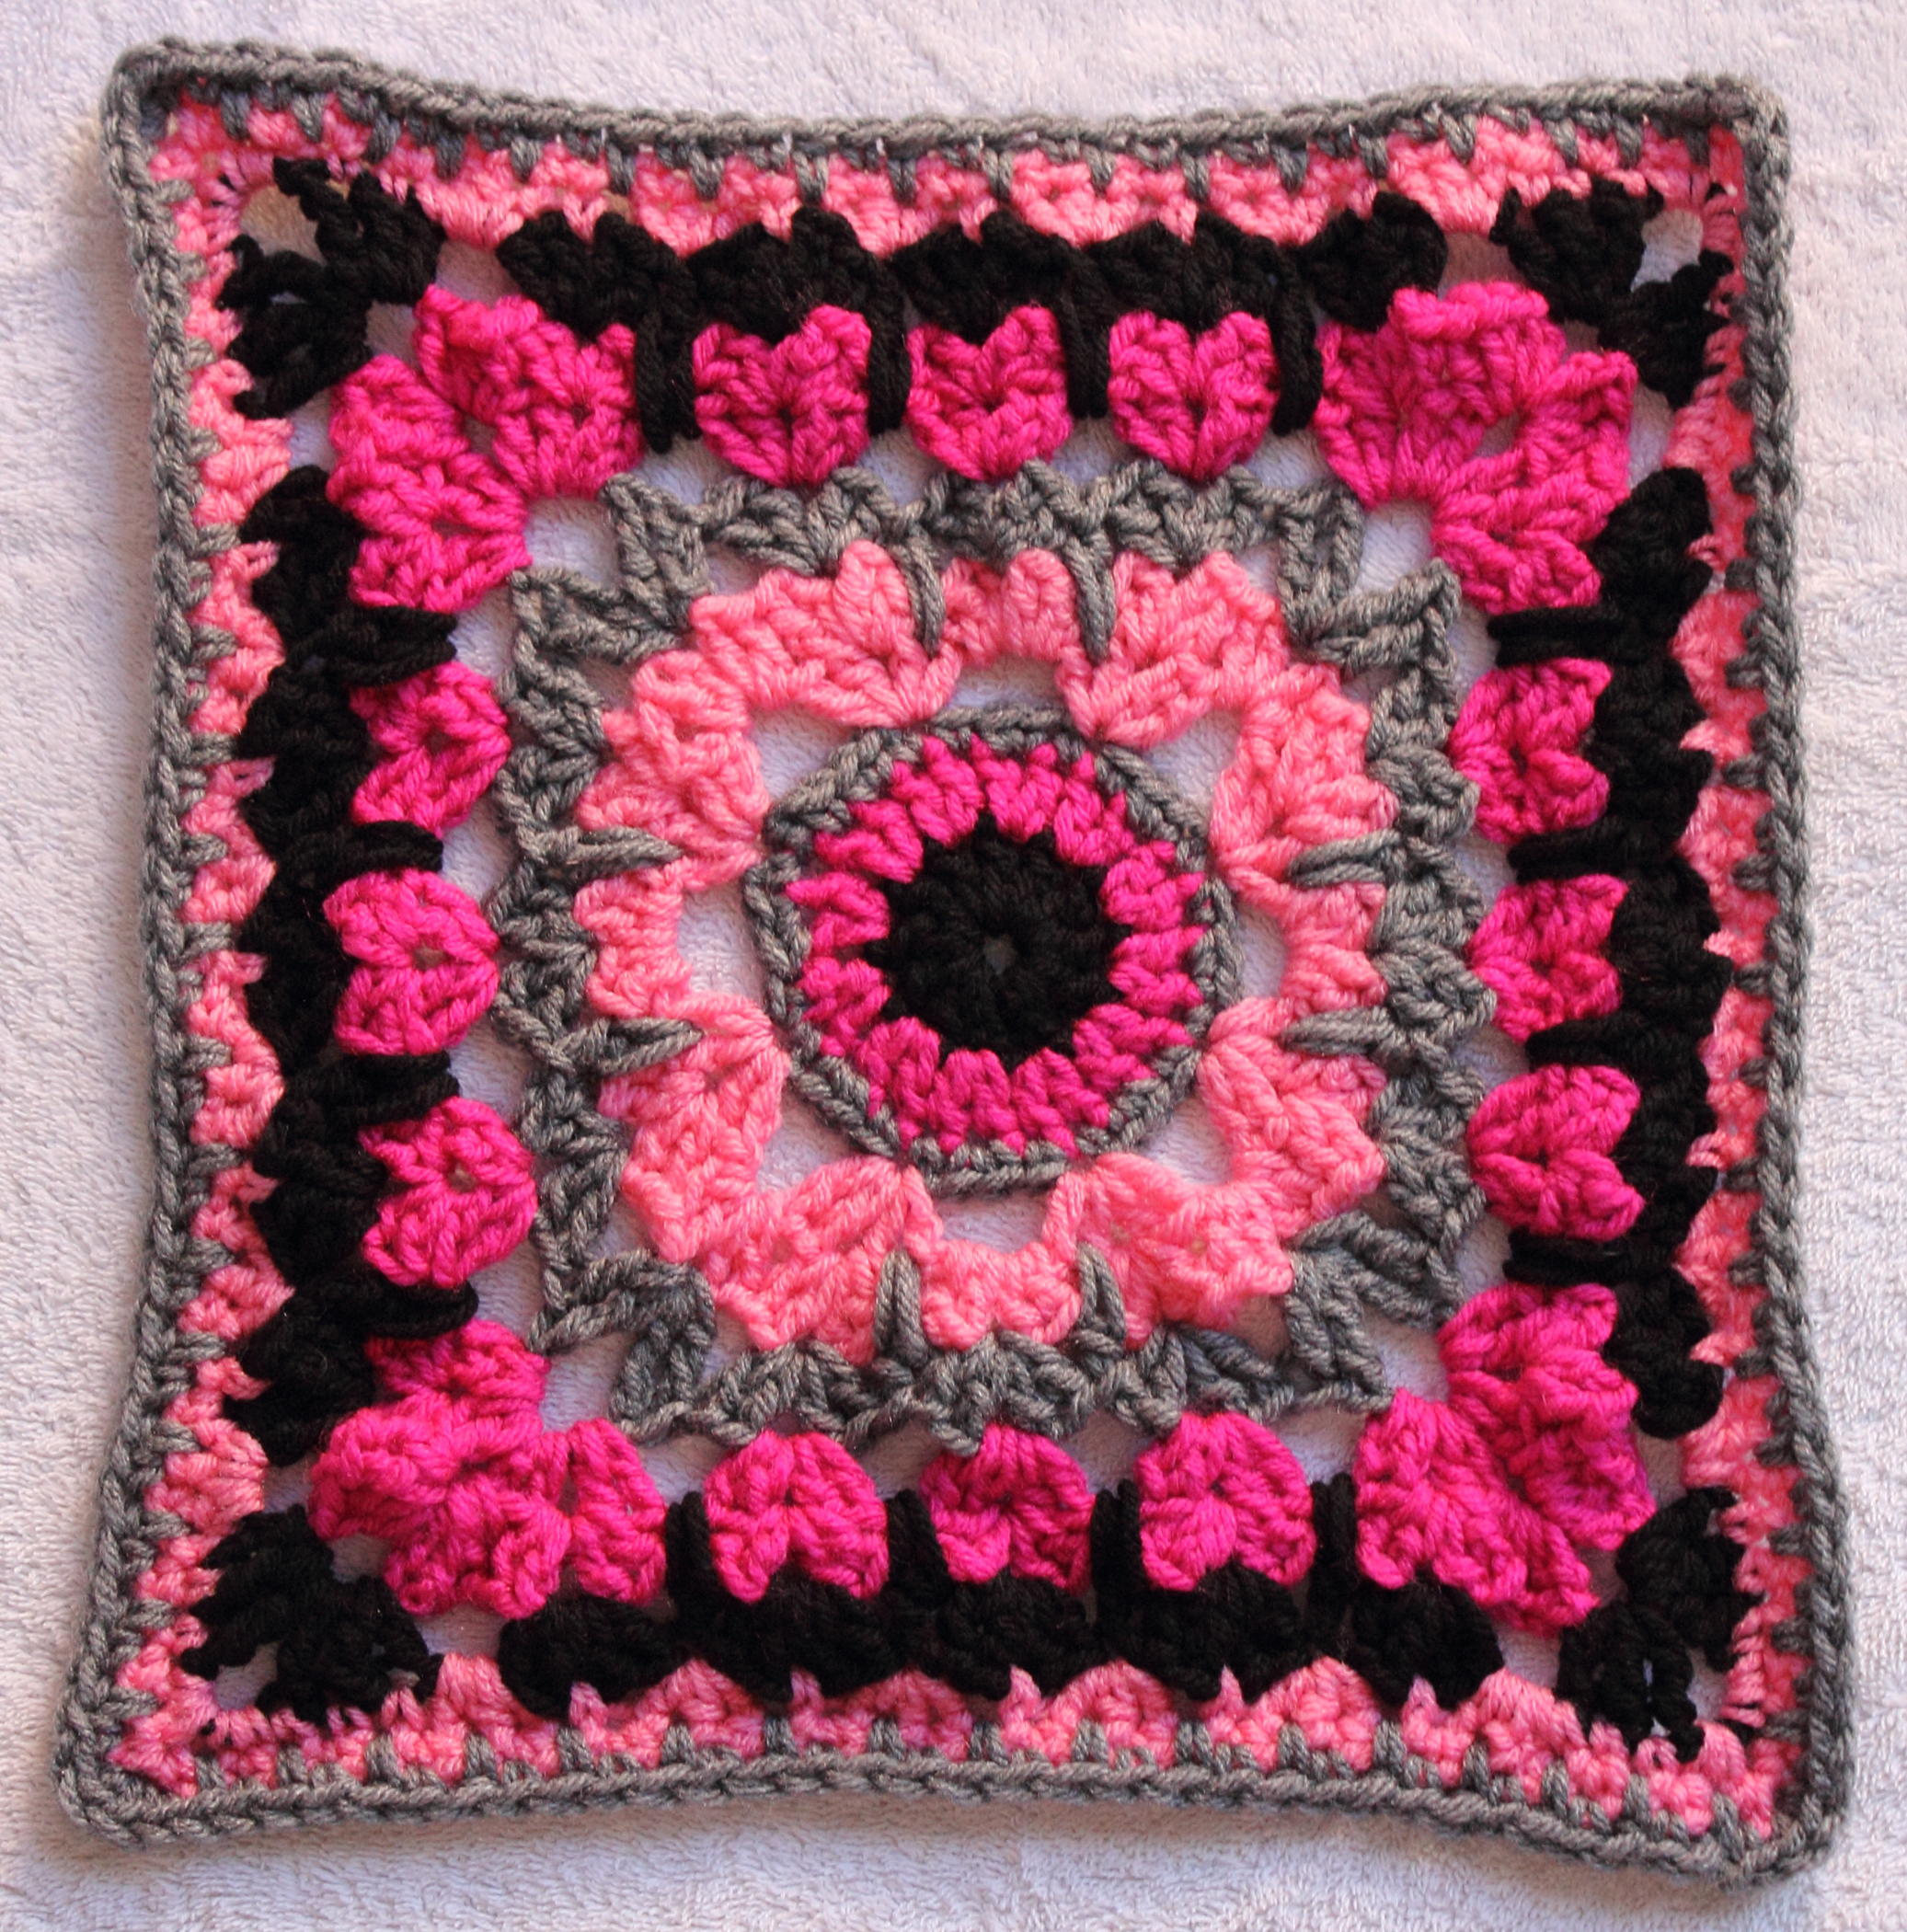
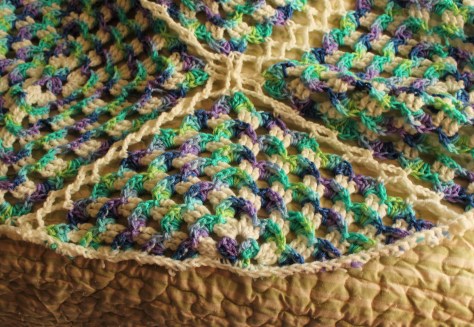
55mm lens cap for perspective:Yarn Clouds Lens Cap
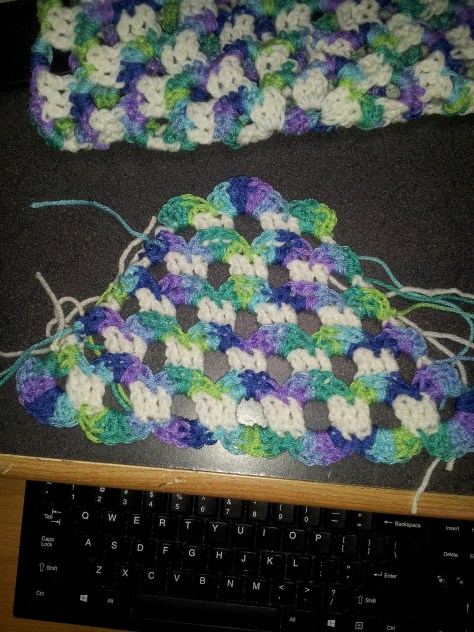
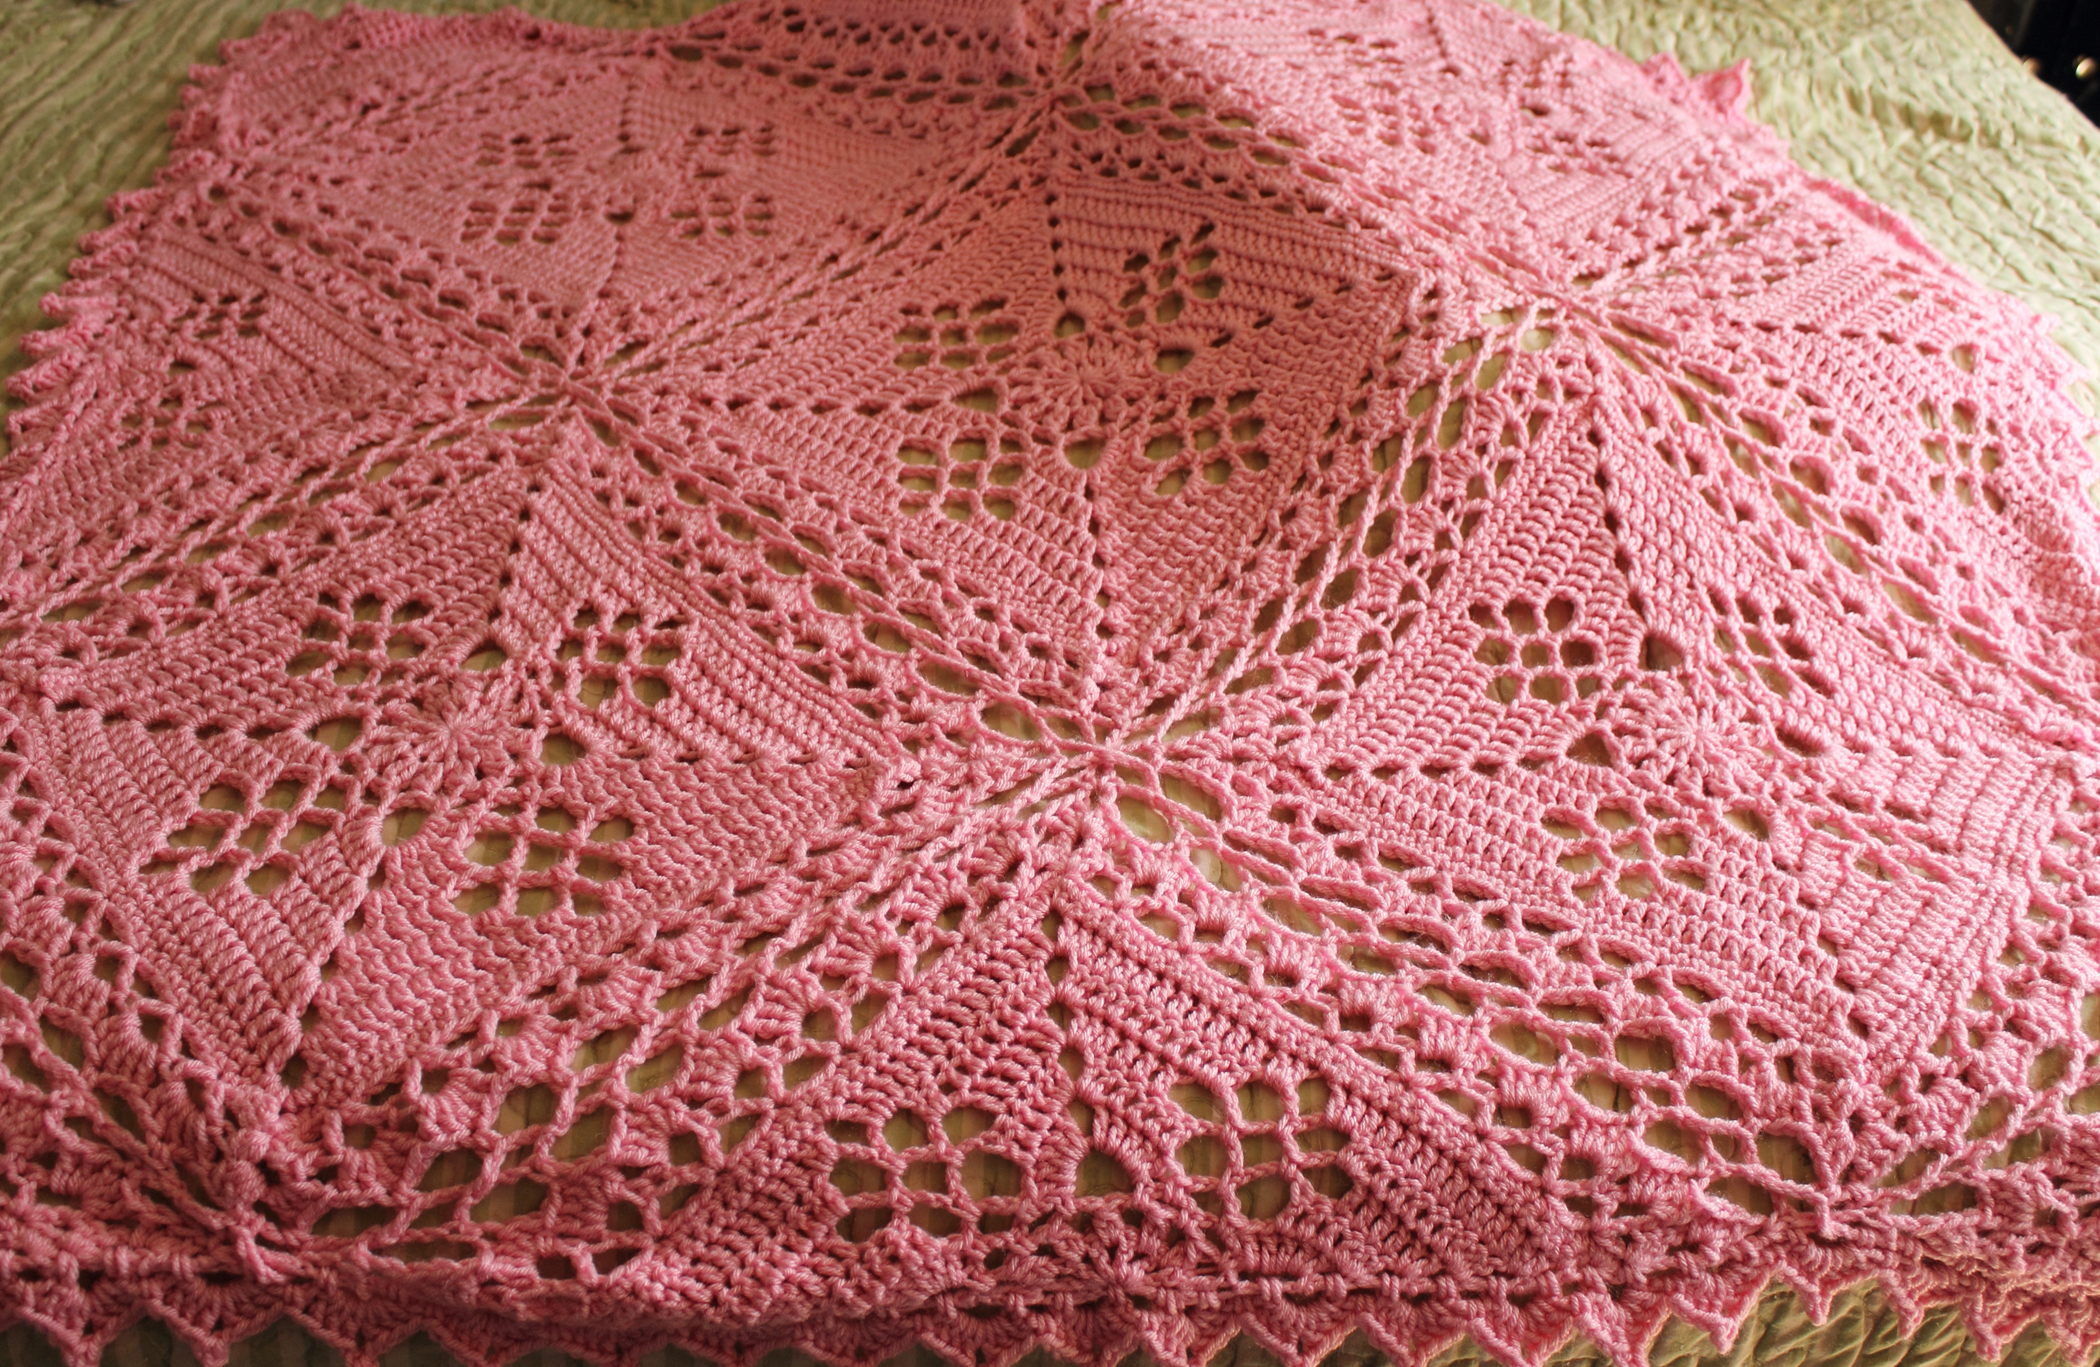
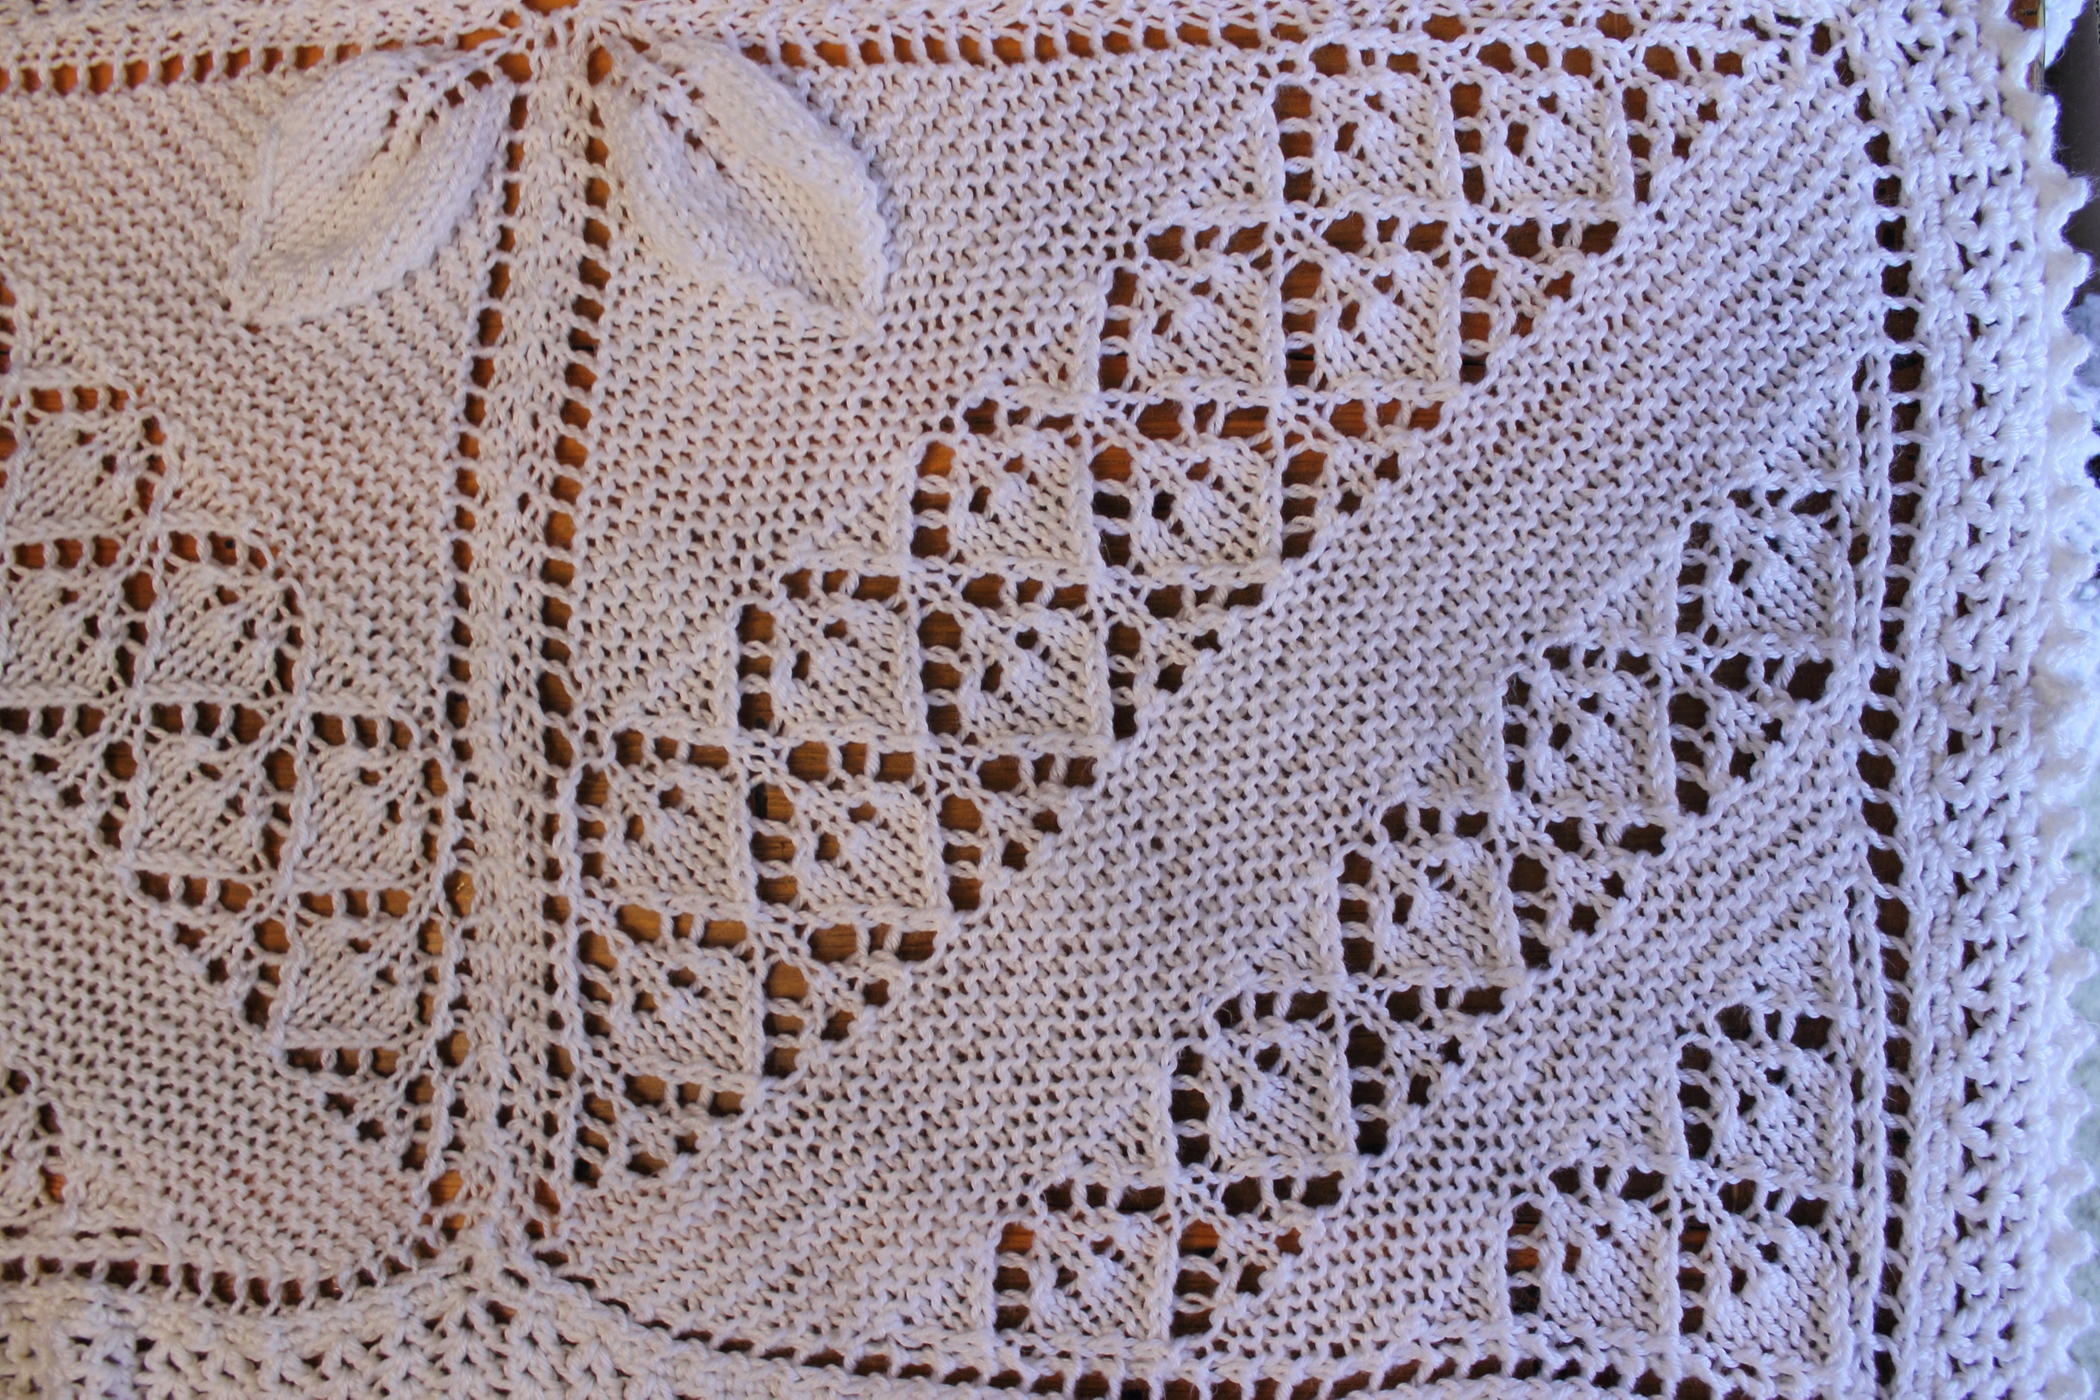
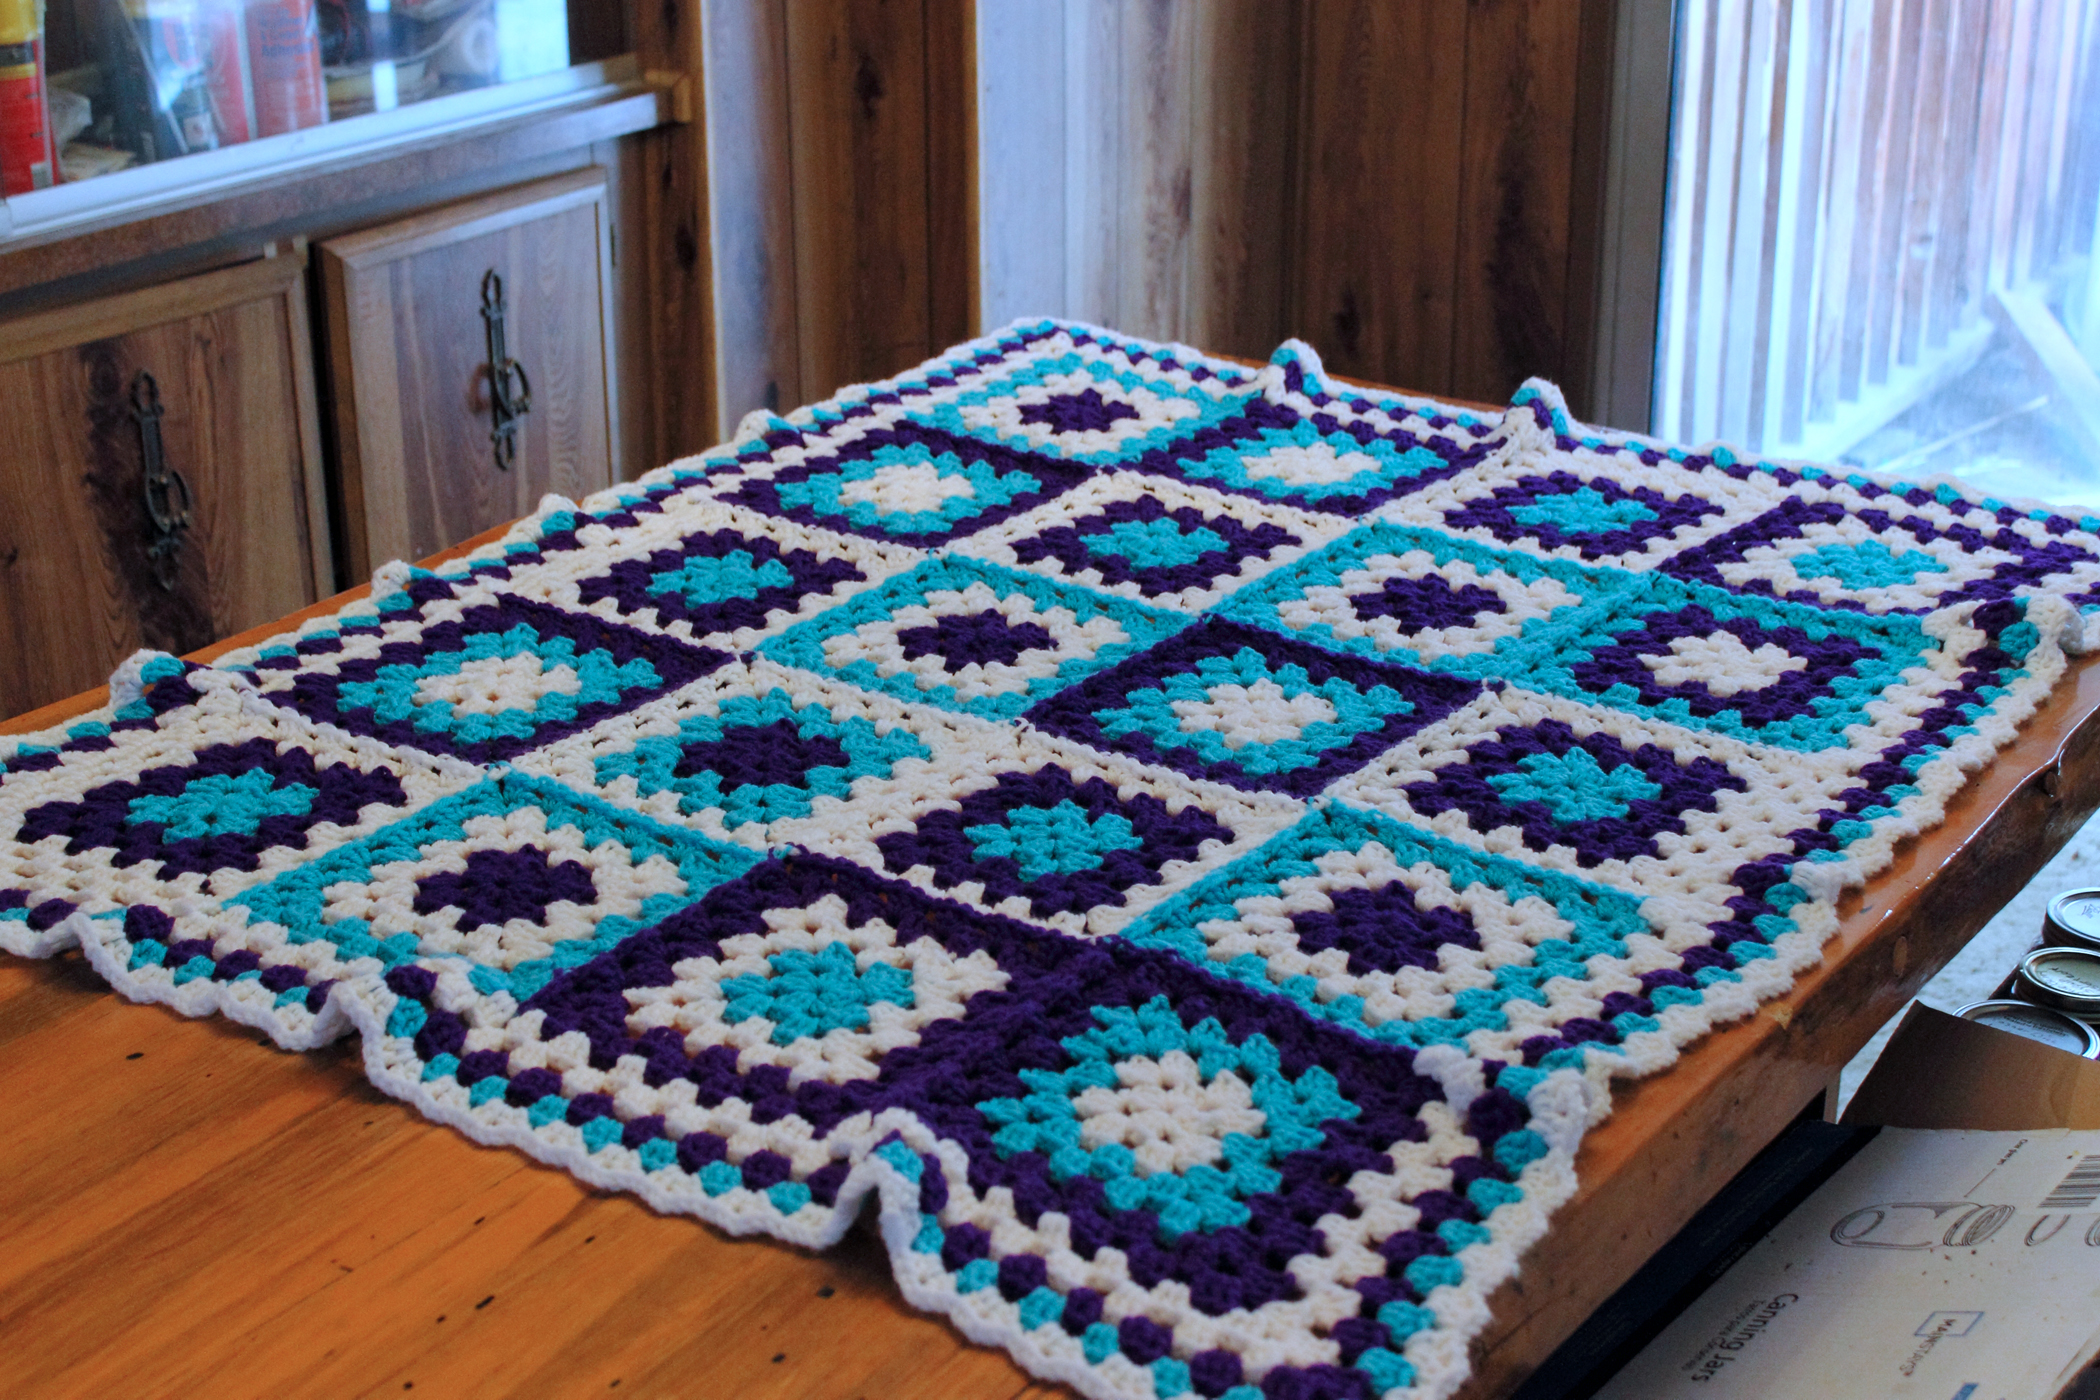
This one was taken at my desk, in horrible lighting, with my phone. The colors are absolutely not correct. But, it gives you an idea of the construction for the quarter square.Yarn Clouds Quarter Square

Since I have not obtained permission to recreate the Yarn Clouds pattern, I am just going to post my notes on how to alter the pattern to make half and quarter squares. You will need to refer to the original pattern to know how to work the stitches.

Half Square:

You will be changing colors with each row and you will not turn your work – keep the right side facing.

With purple, chain 5 and join to form a loop. Chain 4. In loop: 3dc, ch3, 3dc, ch1, dc. Fasten off. What you have here are two groups of 3dc, flanked by a ch1 space and 1dc on each end.

Join white, working into the ch1 space on the end, ch4 and then work 3dc into the same ch1 space. Chain 2 and skip the next 3dc. Working into the chain-3 space, 3dc, ch3, 3dc. Chain 2 and skip the next 3dc. In final ch1 space, 3dc, ch1, 1dc. Fasten off.

For the next 9 rows, you will be working the same way you do for the squares. The purple shells will be worked into the chain spaces (with the center ch3 space being treated as a corner). And the white will be worked as bpdc, with the same spacing as the original pattern. Again, as in the original pattern, you will work the apex the same as you would the corner.

The only difference, is in how you will handle each end.

At the beginning of each purple row, you will ch3 (1st dc) and then 3dc into the ch1 space left by the white. At the end of the purple row, you will work 4dc in that chain space.

At the beginning of each white row, you will join the yarn between the 1st and 2nd dc and then ch4 (this counts as dc and ch1 space). You will then work across the next purple 3dc, as in the pattern. To end the white row, you will work through the purples like you did at the beginning, ch1 and then dc between the last two dc.

Quarter Square:

Things are done much the same way. Working in rows, change color after each row, do not turn your work – right sides facing all the time.

With white: Chain 38, dc in 6th ch from hook and in the next 2ch. Chain 2, skip 2 chains, dc in the next 3 chains. Chain 2, skip 2 chains, dc in the next 3 chains. Continue this until you have 6 groups of dc. Join to end. The end loops constitute your dc and ch1 space.

Again, really, the only deviation from the original pattern is that you have ends that you are working (just like with the half square).

The purple ends consist of 4dc (ch3 and 3dc at the beginning) in each of the white ch1 spaces.

At the beginning of the white rows, you will join with back post stitch to the 3rd dc and ch4 (counts as dc and ch1). At the end of the white row, chain 1 and join with a bpdc to the 2nd dc.

You will do this until you have 5 rows of white and 5 rows of purple. One exception: on the top row of purple, you will work 8 dc into that center “corner” space, still putting 4 on each end. I did not make that white chain space bigger, you can if you’d like.

Now, you’re going to turn the whole thing 180-degrees. You will now be working over the original foundation chain. Keep it right side facing!

Join purple. You will be working similarly to the pattern, again. The only difference being the ends. Work 8dc into each end. Treat the rest of the row as you would any other in this pattern.

You will end up with a triangle with 8dc at each point. You should now have a total of 11 rows, 6 purples and 5 whites.

I’m really not a pattern writer, I’m afraid. And I hated having to be so vague. Hopefully these instructions make sense. If you have any questions, I’m happy to help.

Meow

Well, there’s not much news from around here.

My middle son (the one whose baby passed away) got married in August. I don’t yet have any pictures to share, at this point. It was a fun wedding and reception.

Also in August, my friend, P., had a birthday. I didn’t have her birthday written on my calendar, so I didn’t realize that it was her birthday until I logged on to facebook.

I had to scramble to find a pattern and make her a gift – quickly. I found the pattern for the Karmic Kitty and I thought it was very cute.

I used stash yarn to make it; he’s even stuffed with stash yarn! It took me about 7 hours to make the whole thing.

P. absolutely loves him and said that he will accompany her on all of her road trips, as he’s the perfect size for sleeping in the car.

Karmic Kitty

The OCD part of me does not like that the mandala isn’t lined up symmetrically. But, that’s just how the pattern worked out. But, my friend loves him and really that’s all that counts. Both sides are the same.

Another friend, B., wanted me to make her a pair of kitties, but she didn’t want them to be sewn together. She wants to use them as appliques. I made the first one, just like the guy you see above, but I used yellow for the eyes instead.

This little guy was made because B. loved a crochet afghan square that I made. Please excuse the poor photo, I took the picture at night – with my phone. Yeah, not the best conditions…

Karmic Kitty White Pink Black Gray

I had tried to fiddle with the pattern to make the circles line up with the ears better, but it didn’t work. There’s some math involved, I’m sure, and I just wasn’t up to the task.

Here is the afghan square that I based the above kitty on (the colors are much more accurate in this photo):

See How They Run 1

I believe I posted this photo in my last entry Hungry for Color.

We have a little elderly gal, J., that we help out. She doesn’t drive, so we take her to do her shopping. My sweetie and I both call her our mother in law. She is the sweetest little thing.

J.’s birthday is coming up in a few weeks and it occurred to me that I’ve made gifts for so many people, but I haven’t made anything for her! That oversight breaks my heart.

So, I decided to make her a hat and scarf set. I chose the Stonehill Cable hat and scarf pattern. They can be found here and here In the photo on the etsy page, it is the bottom left hat. I’m seriously considering buying her Mountain Range scarf patterns, too. There are no matching hat patterns though. Hopefully she’ll write some soon.

The Stonehill hat is finished, but not yet blocked and photographed. I’m working on the scarf now and have roughly a foot to go. I’m not going to make it the full 6-feet long, as the pattern calls for. She’s petite and won’t need something that long. I’m thinking 5 feet should be fine.

This is my first crochet cables (actual crossed cables) project. I’ve done some things with post stitches, but nothing like this and not a whole project. It’s been a fun experience for me. They eat a LOT of yarn.

I’ll post pictures once those items are finished.

Grandniece Baby Blanket

My sweetie’s nephew (I claim him as my nephew, too) and his girlfriend are having a baby. Her name will be Kaylynn.

Kaylynn Blanket 5

I haven’t yet met her mama. But if my nephew loves her, then she is probably a sweet girl.

Kaylynn Blanket 7

Naturally, I had to make a blanket for the new arrival.

Kaylynn Blanket 6

Their nursery colors are pink and gray. I had purchased some gray ribbon to embellish this blanket, but I don’t think it would add anything.

Kaylynn Blanket 3

I’m thinking of making her a little cardigan, booties and diaper cover set. I think I’ll make that in pink and gray.

Kaylynn Blanket 4

For this pattern, I’ve used the Victorian Lattice blanket instructions from here.

Kaylynn Blanket 2

I improvised a border.

It is 43-inches square. The blanket was crocheted using a 5.5mm hook with Hobby Lobby’s I Love This Yarn! in the Pink colorway. It took 3 skeins of yarn.

This was a fun project. I learned a new skill – the flat braid join and I really like that join. It takes longer to do than my usual join-as-you-go way of doing things, but I absolutely love the effect and will definitely be using it again in the future.

I hope mama likes it.

Grandson Baptismal Blanket

Most of you know the story about my grandson; it’s pretty much all I’ve talked about on this blog for the last few months… He will be born and will die soon afterward (if he survives his own birth). My son and his fiance decided that they are going to have him Baptized as soon as he is born. I knew I had to make his Baptism blanket.

Christening Blanket 5

I used the Baby Counterpane Christening Blanket pattern written by Kay Meadors.

Christening Blanket 3

I’m not a proficient knitter; in fact, I haven’t actually knitted much… Two socks, a kerchief, a little decorative owl and a hat. The socks were actually done with needles. Everything else has been done using a knook.

Christening Blanket 6

I had some problems with the edging portion of the original pattern. And since I don’t have much knitting experience, I didn’t know what changes I should make, to make it work. So, I frogged the edging and switched to crochet.

Christening Blanket 7

For the edging, I used the Lacy Vs and Picots Edging pattern written by Amy Solovay. Because I had done one row of SC all the way around, I skipped straight to round 2 in the pattern. I completed two rounds of round 2, one of round 3 and then the picot round.

Christening Blanket 1

Aside from the fact that this was a sad project, I really did enjoy the process of making this blanket. It was a fun knit, with lots of different things to do. But, because it was fairly repetitive, it was also easy enough. I put in a lifeline every 10 rows. I think it is a great beginner’s lace knitting project.

I used my favorite baby yarn – Red Heart Soft Baby Steps – in white.

Each of the four panes took less than a skein of yarn; I started a new skein for each pane. The edging took the better part of a skein. I started a new skein for the v stitches and then started another for the picot round. I would say that it took five skeins of yarn, even though I opened six.

Because I’m a slower knitter, I’d estimate that this took me close to 50 hours to make.

It is a little over 3-feet square.

Mom loves it, and really, that’s all that counts.

Grandbaby Fibonacci Sequence Blanket

Hi!

For a while now, I’ve been wanting to make something using the Fibonacci sequence in stripes. I’ve always liked the way it looks, but I’ve always dreaded making a blanket in some sort of solid fabric.

Grandbaby Fibonacci Blanket 3

I’m the first to admit that I get bored easily. And while I love afghans, I tend to put them on a shelf when they’re only part way finished.

Grandbaby Fibonacci Blanket 2

That said, I’ve found that baby blankets are doable. Especially when they’re blankets made for my grandchild who is due in June.

I did get a bit distracted from this blanket, but that’s only because I have been trying to stock my etsy shop. I figure that one blanket for my grandbaby and one or two for the shop would be good.

Grandbaby Fibonacci Blanket 1

For this blanket I did double crochets in rows of: 1, 1, 2, 3, 5, 8 and 13.

I’m still waiting to find out the gender of the baby.

For my etsy shop, I’m currently working on a filet argyle blanket. For the baby, I haven’t decided yet…

Oh and here’s my latest addition to the shop! I seem to have neglected to make a post about it, earlier!

Grandbaby Granny Square Blanket

First of all, I have to apologize for the colors in these photos. The colors I used are purple, turquoise and white. However, it was snowing and I had a heck of a time getting adequate lighting. Of course, I’m impatient and wasn’t going to wait another day to take pictures. I’m actually impressed that you aren’t seeing horrible photos that were taken in incandescent light – I finished the blanket the night before.

Grandbaby Granny Blanket 3

The purple and turquoise yarn was part of my fantastic gift of yarn by the parents of this child. I was eager to get it finished and photographed so I could send them the pictures.

Grandbaby Granny Blanket 1

It’s just your standard Red Heart Super Saver yarn. I found a pretty cool granny square generator – here. And used this to help me make the blanket look more random – because I completely lack imagination and would pretty much just make diagonal stripes or something. Yes, I’m truly that boring.

Grandbaby Granny Blanket 2

This is a very simple double-v-stitch edging that I think is pretty perfect for granny square blankets. I found it here. The blanket is just a simple square of two rounds per color. I used the join-as-you-go method for joining the squares. I had forgotten that I wanted to try the Celtic Lace Join – found here – for my next project that included squares. Ah well, maybe I’ll remember on the next blanket.

Grandbaby Granny Blanket 4

Tah-dah! It took me about three days to finish.

Mom and dad tell me that they love it. That makes me infinitely happy.

By the way… See how it’s kind of ruffled? That was not on purpose. From what I understand, it has to do with how many clusters are put into the adjoining corners of the squares when doing the border. I don’t usually put borders on blankets, so I didn’t realize that this would happen.