Happy Thanksgiving!

Today is Thanksgiving Day here in the United States. We have celebrated the holiday twice in the last seven days. Needless to say, we are feeling fat and happy.

I’ve been holding on to some good news. But, now that it has been officially announced, I am free to tell the world… My son and his fiance are having a baby! I’m very excited!

Naturally, I immediately began searching for crochet and knitting patterns.

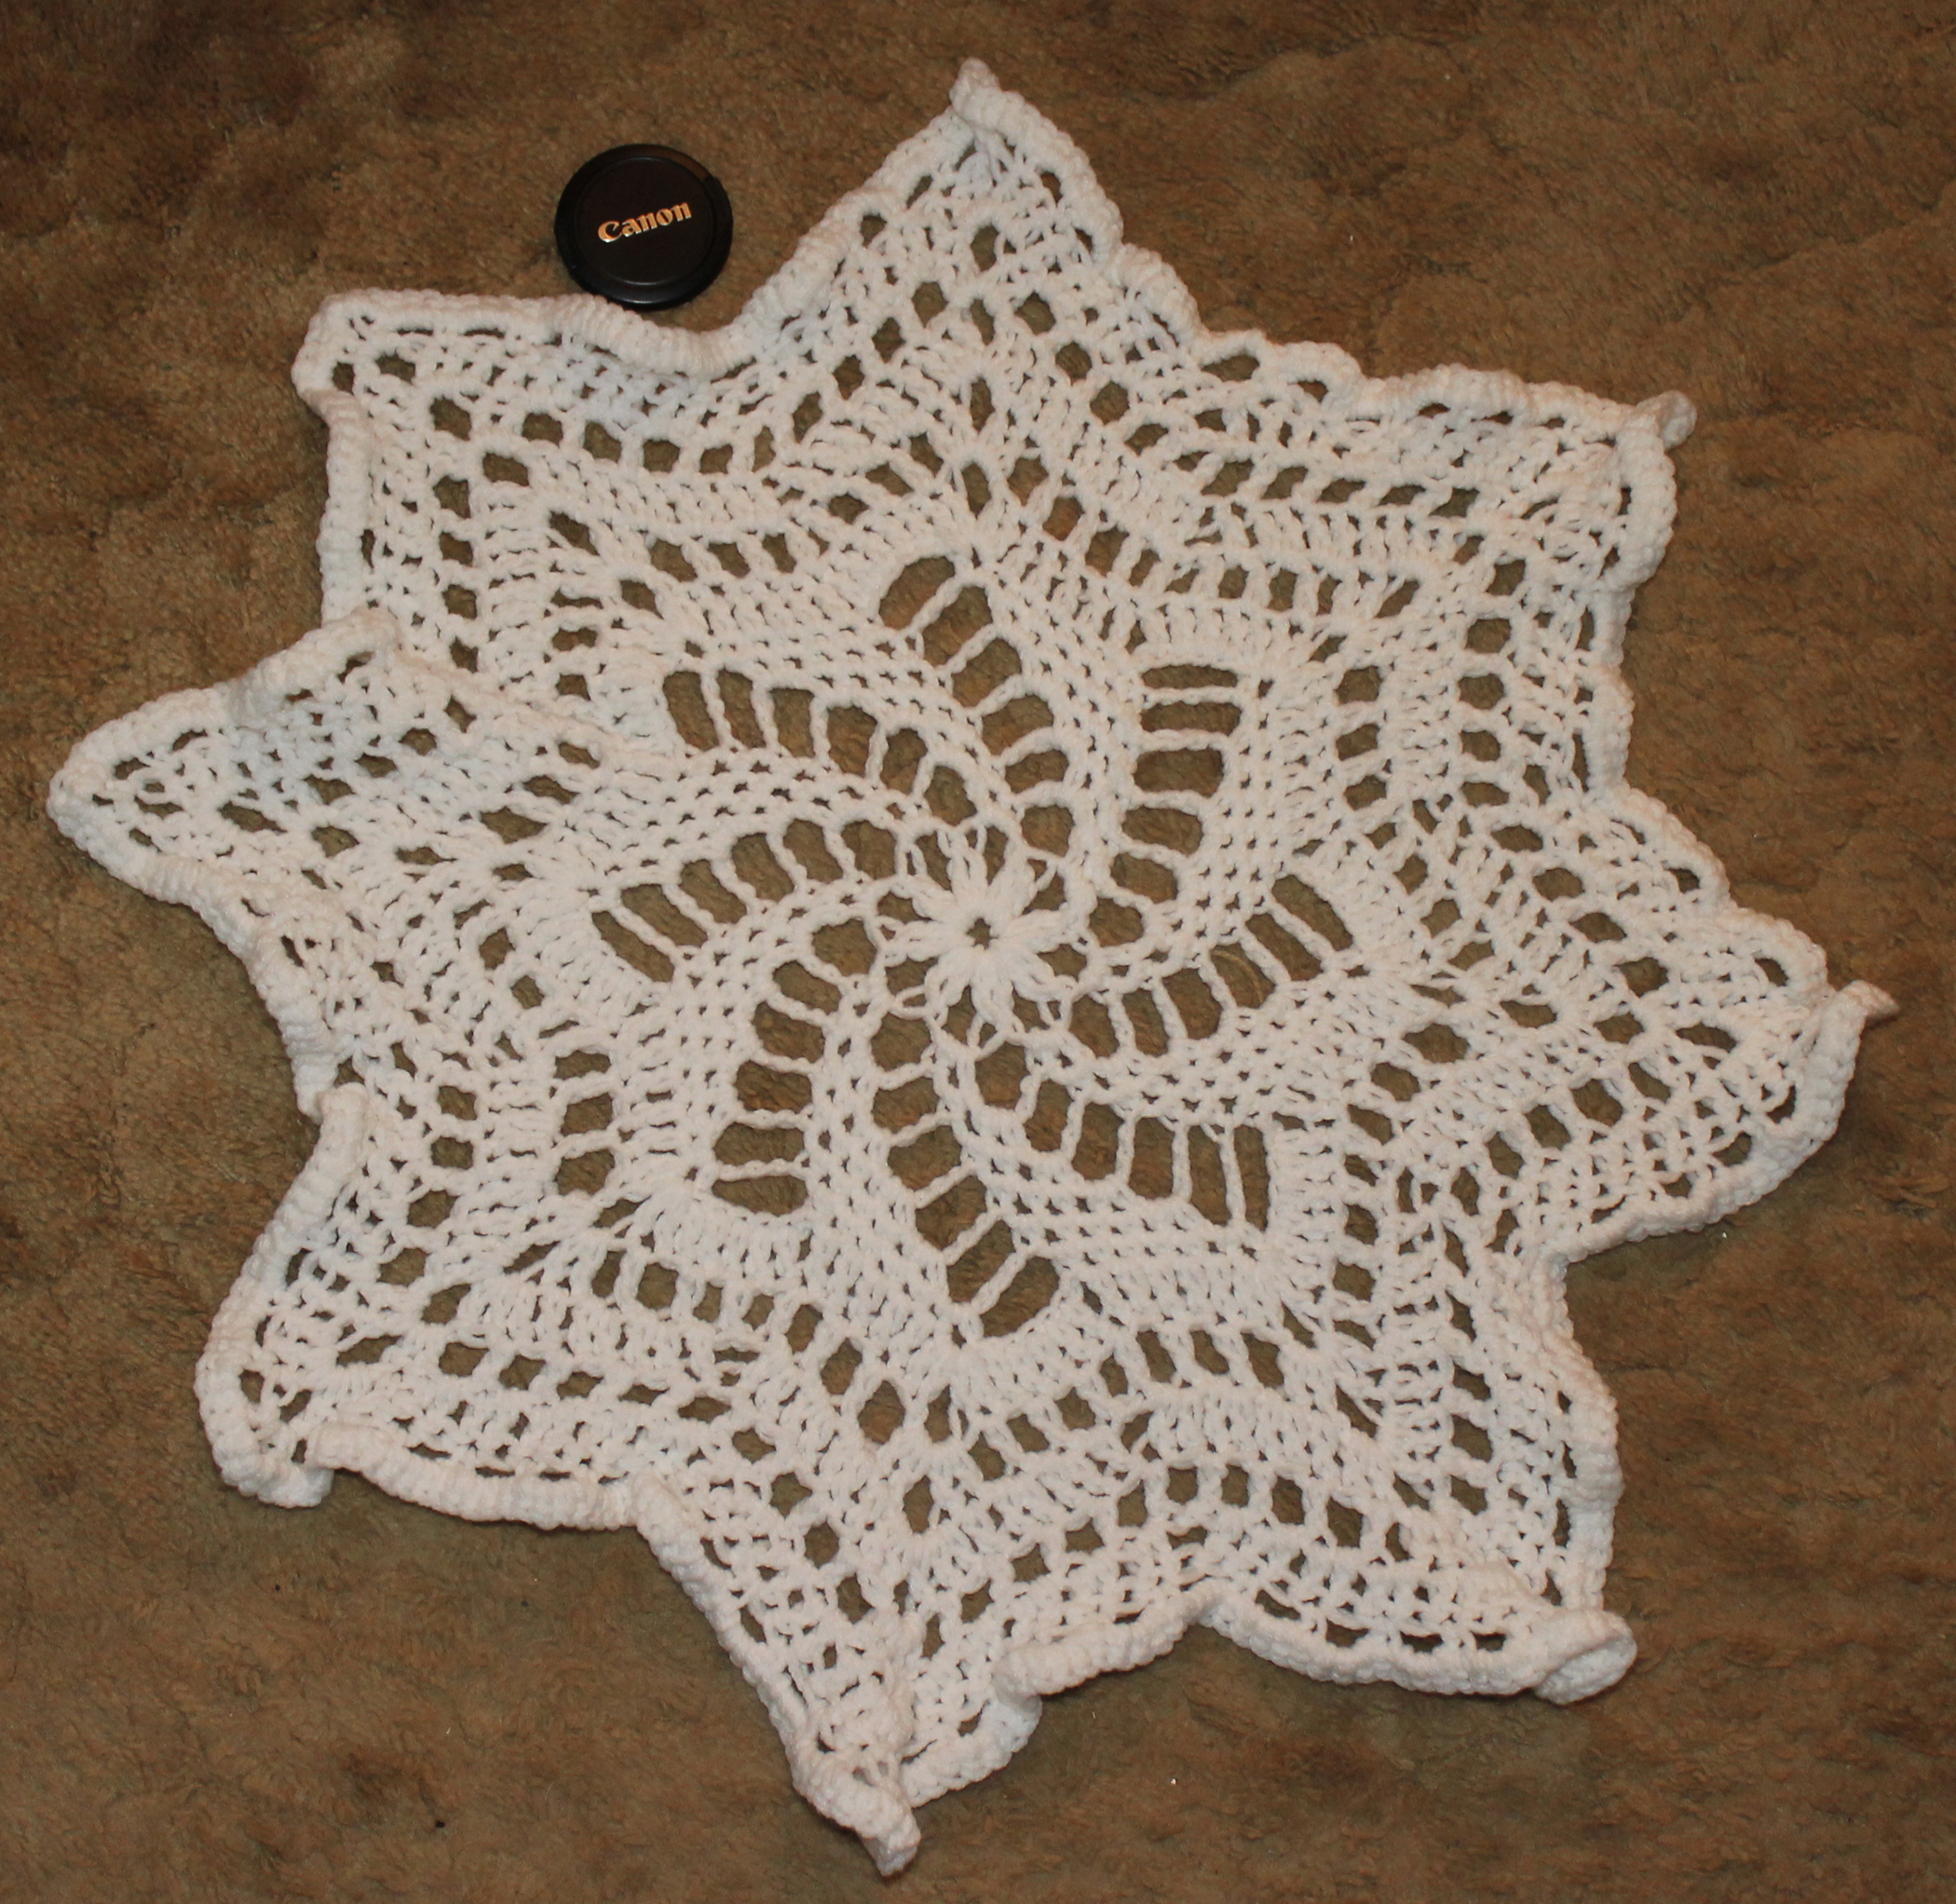
I’ve started a crocheted blanket based on the “Drunkard’s Path” quilting pattern. But, with 120 squares to make, it is turning into a tedious project. Of course, I’ve been sidetracked a couple of times.

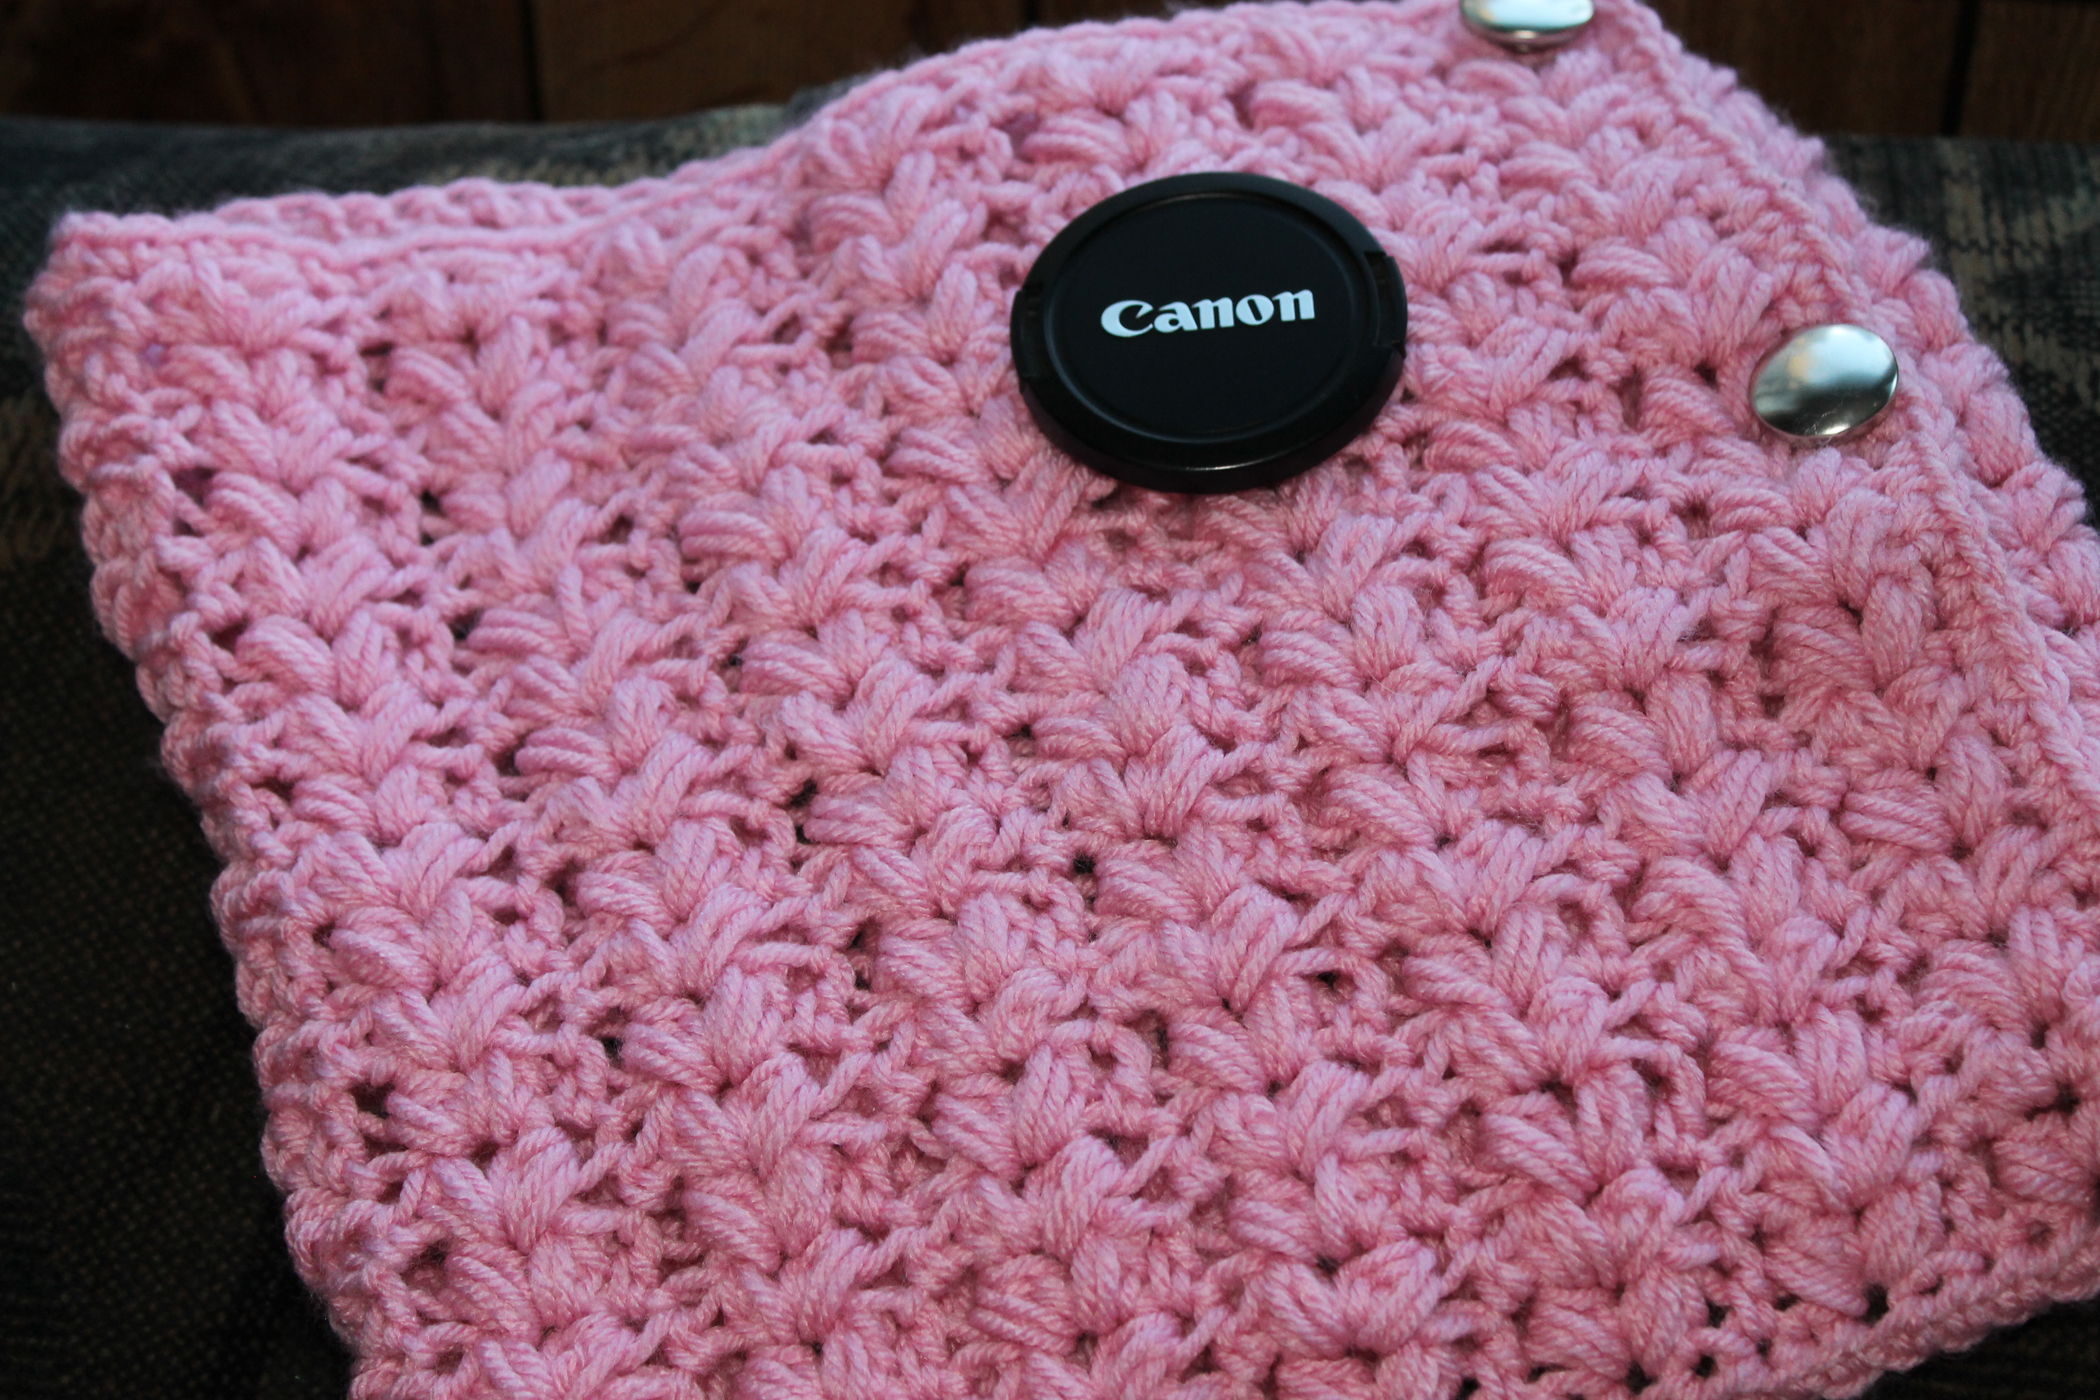
The kids were here for our turkey day celebration last weekend, so I had to really work fast to get their first blanket finished.

Bavarian Baby Blanket 3

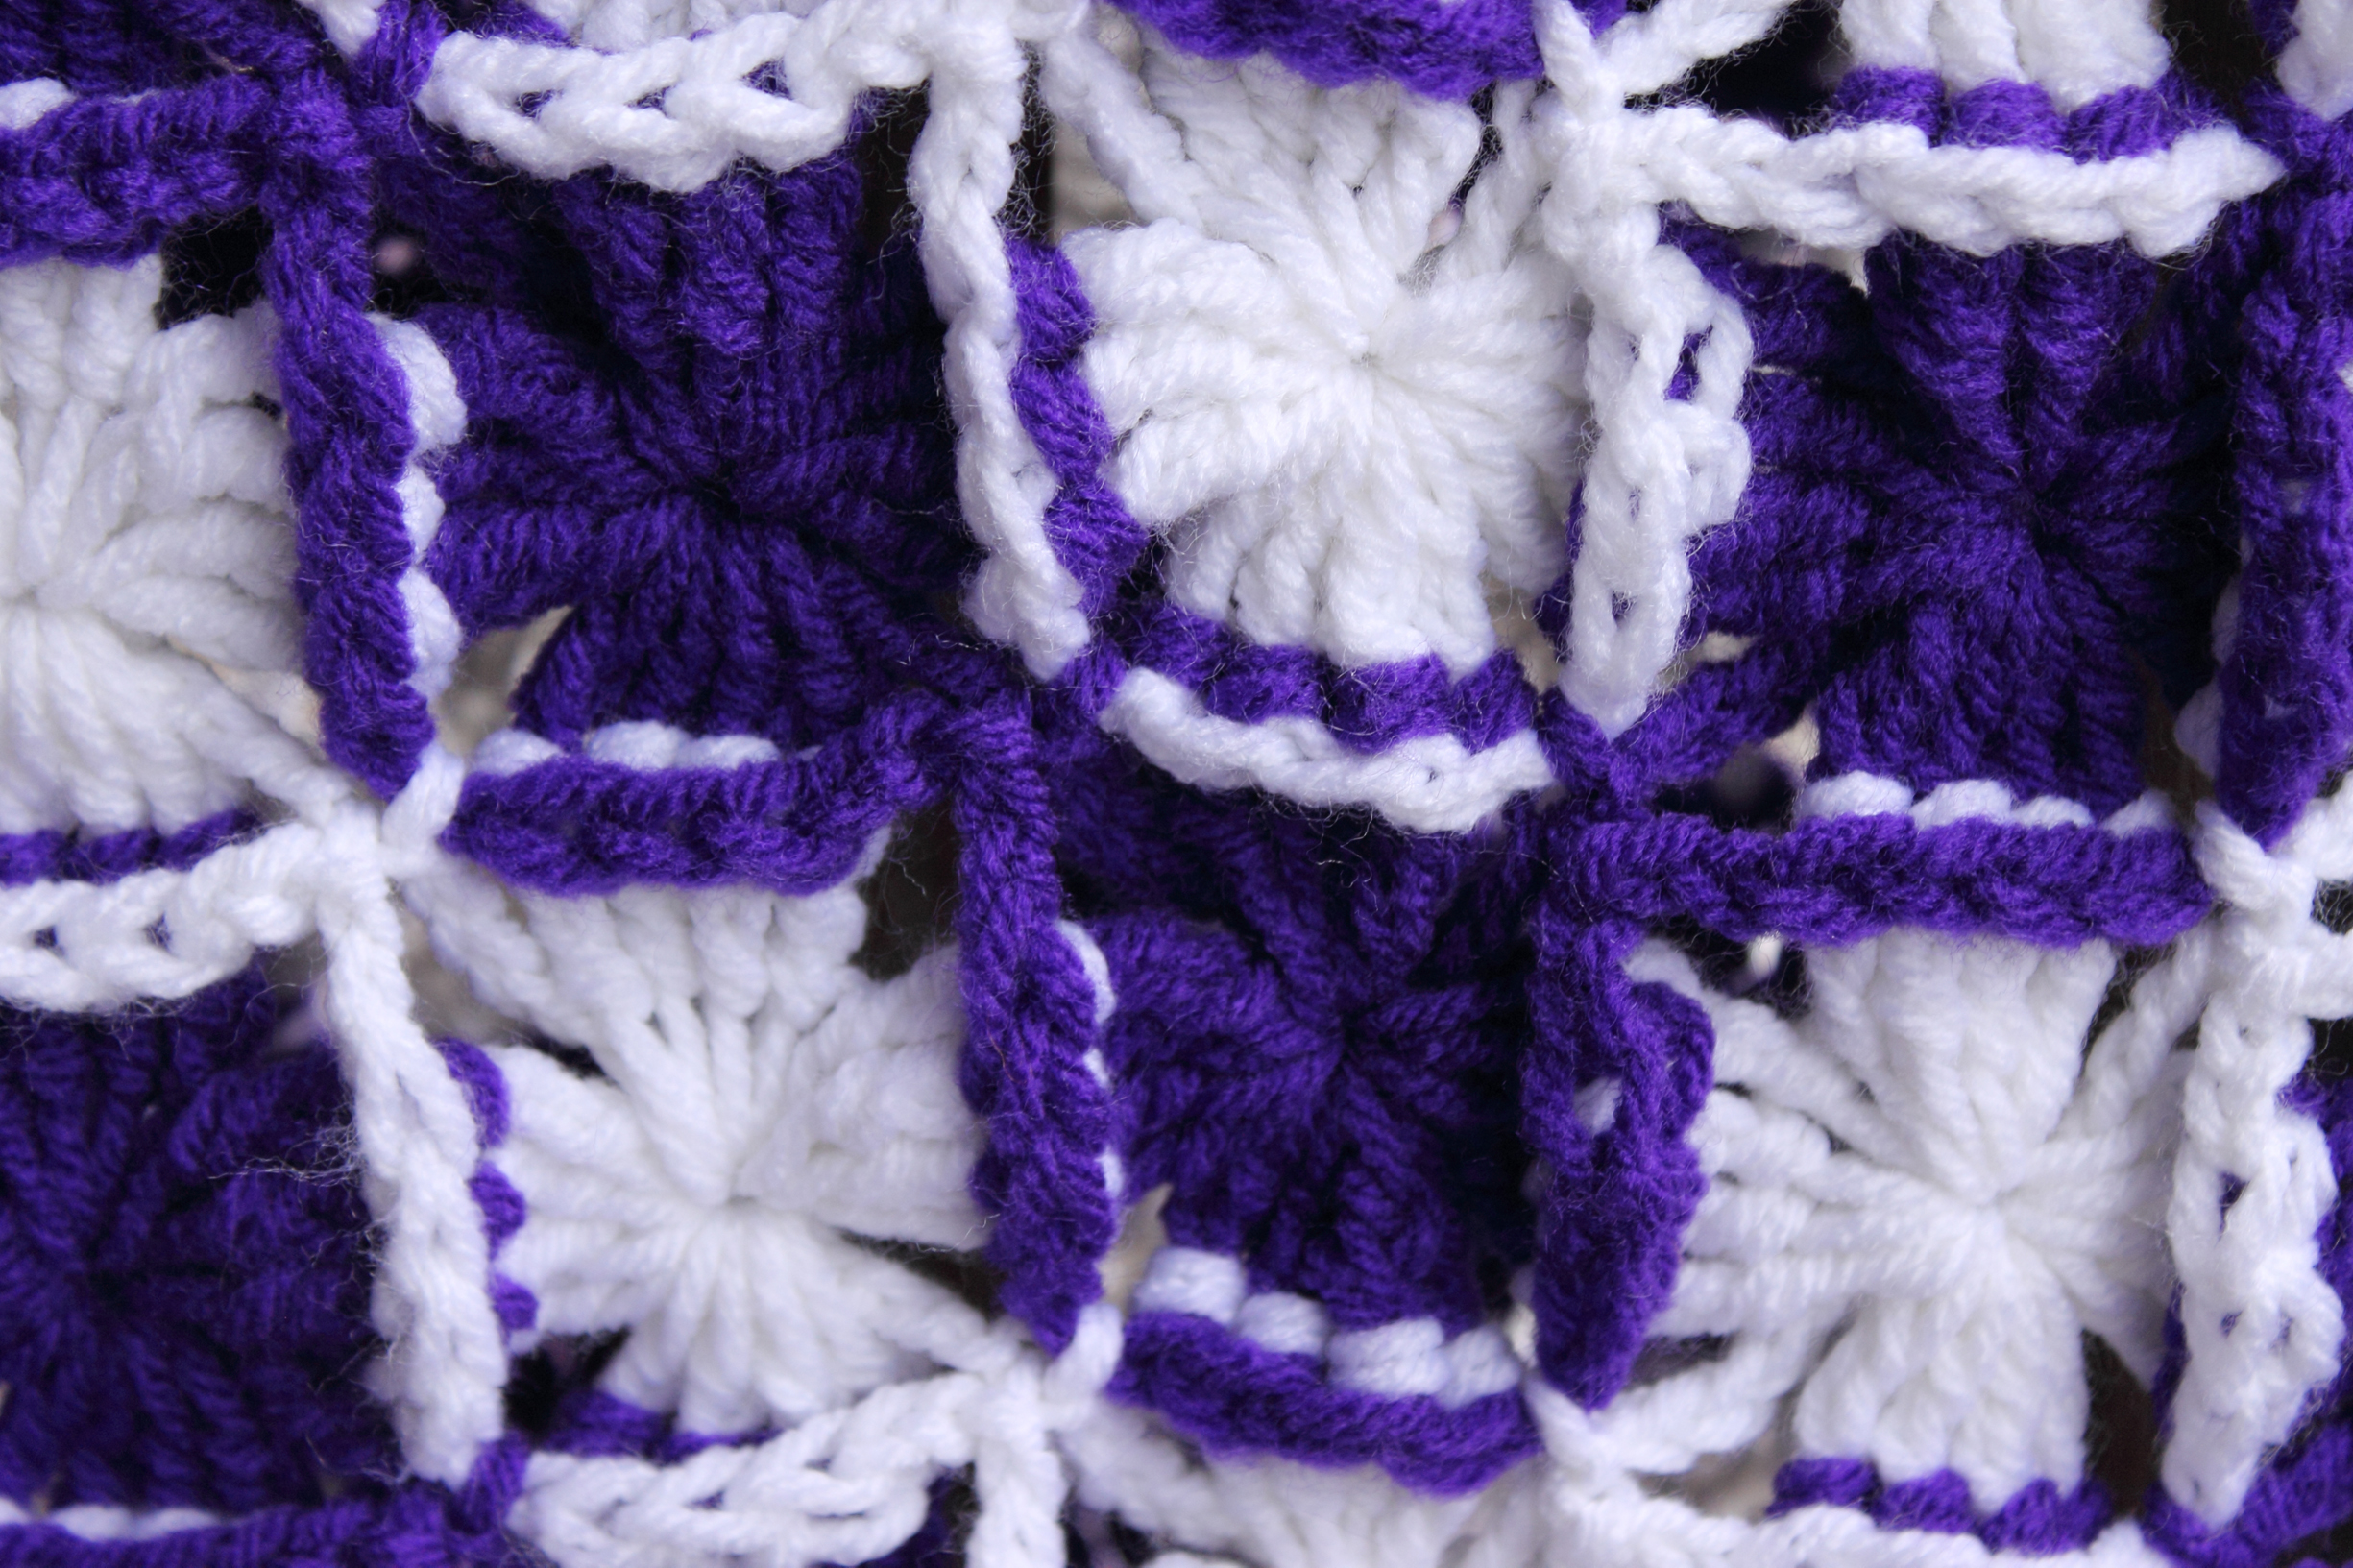
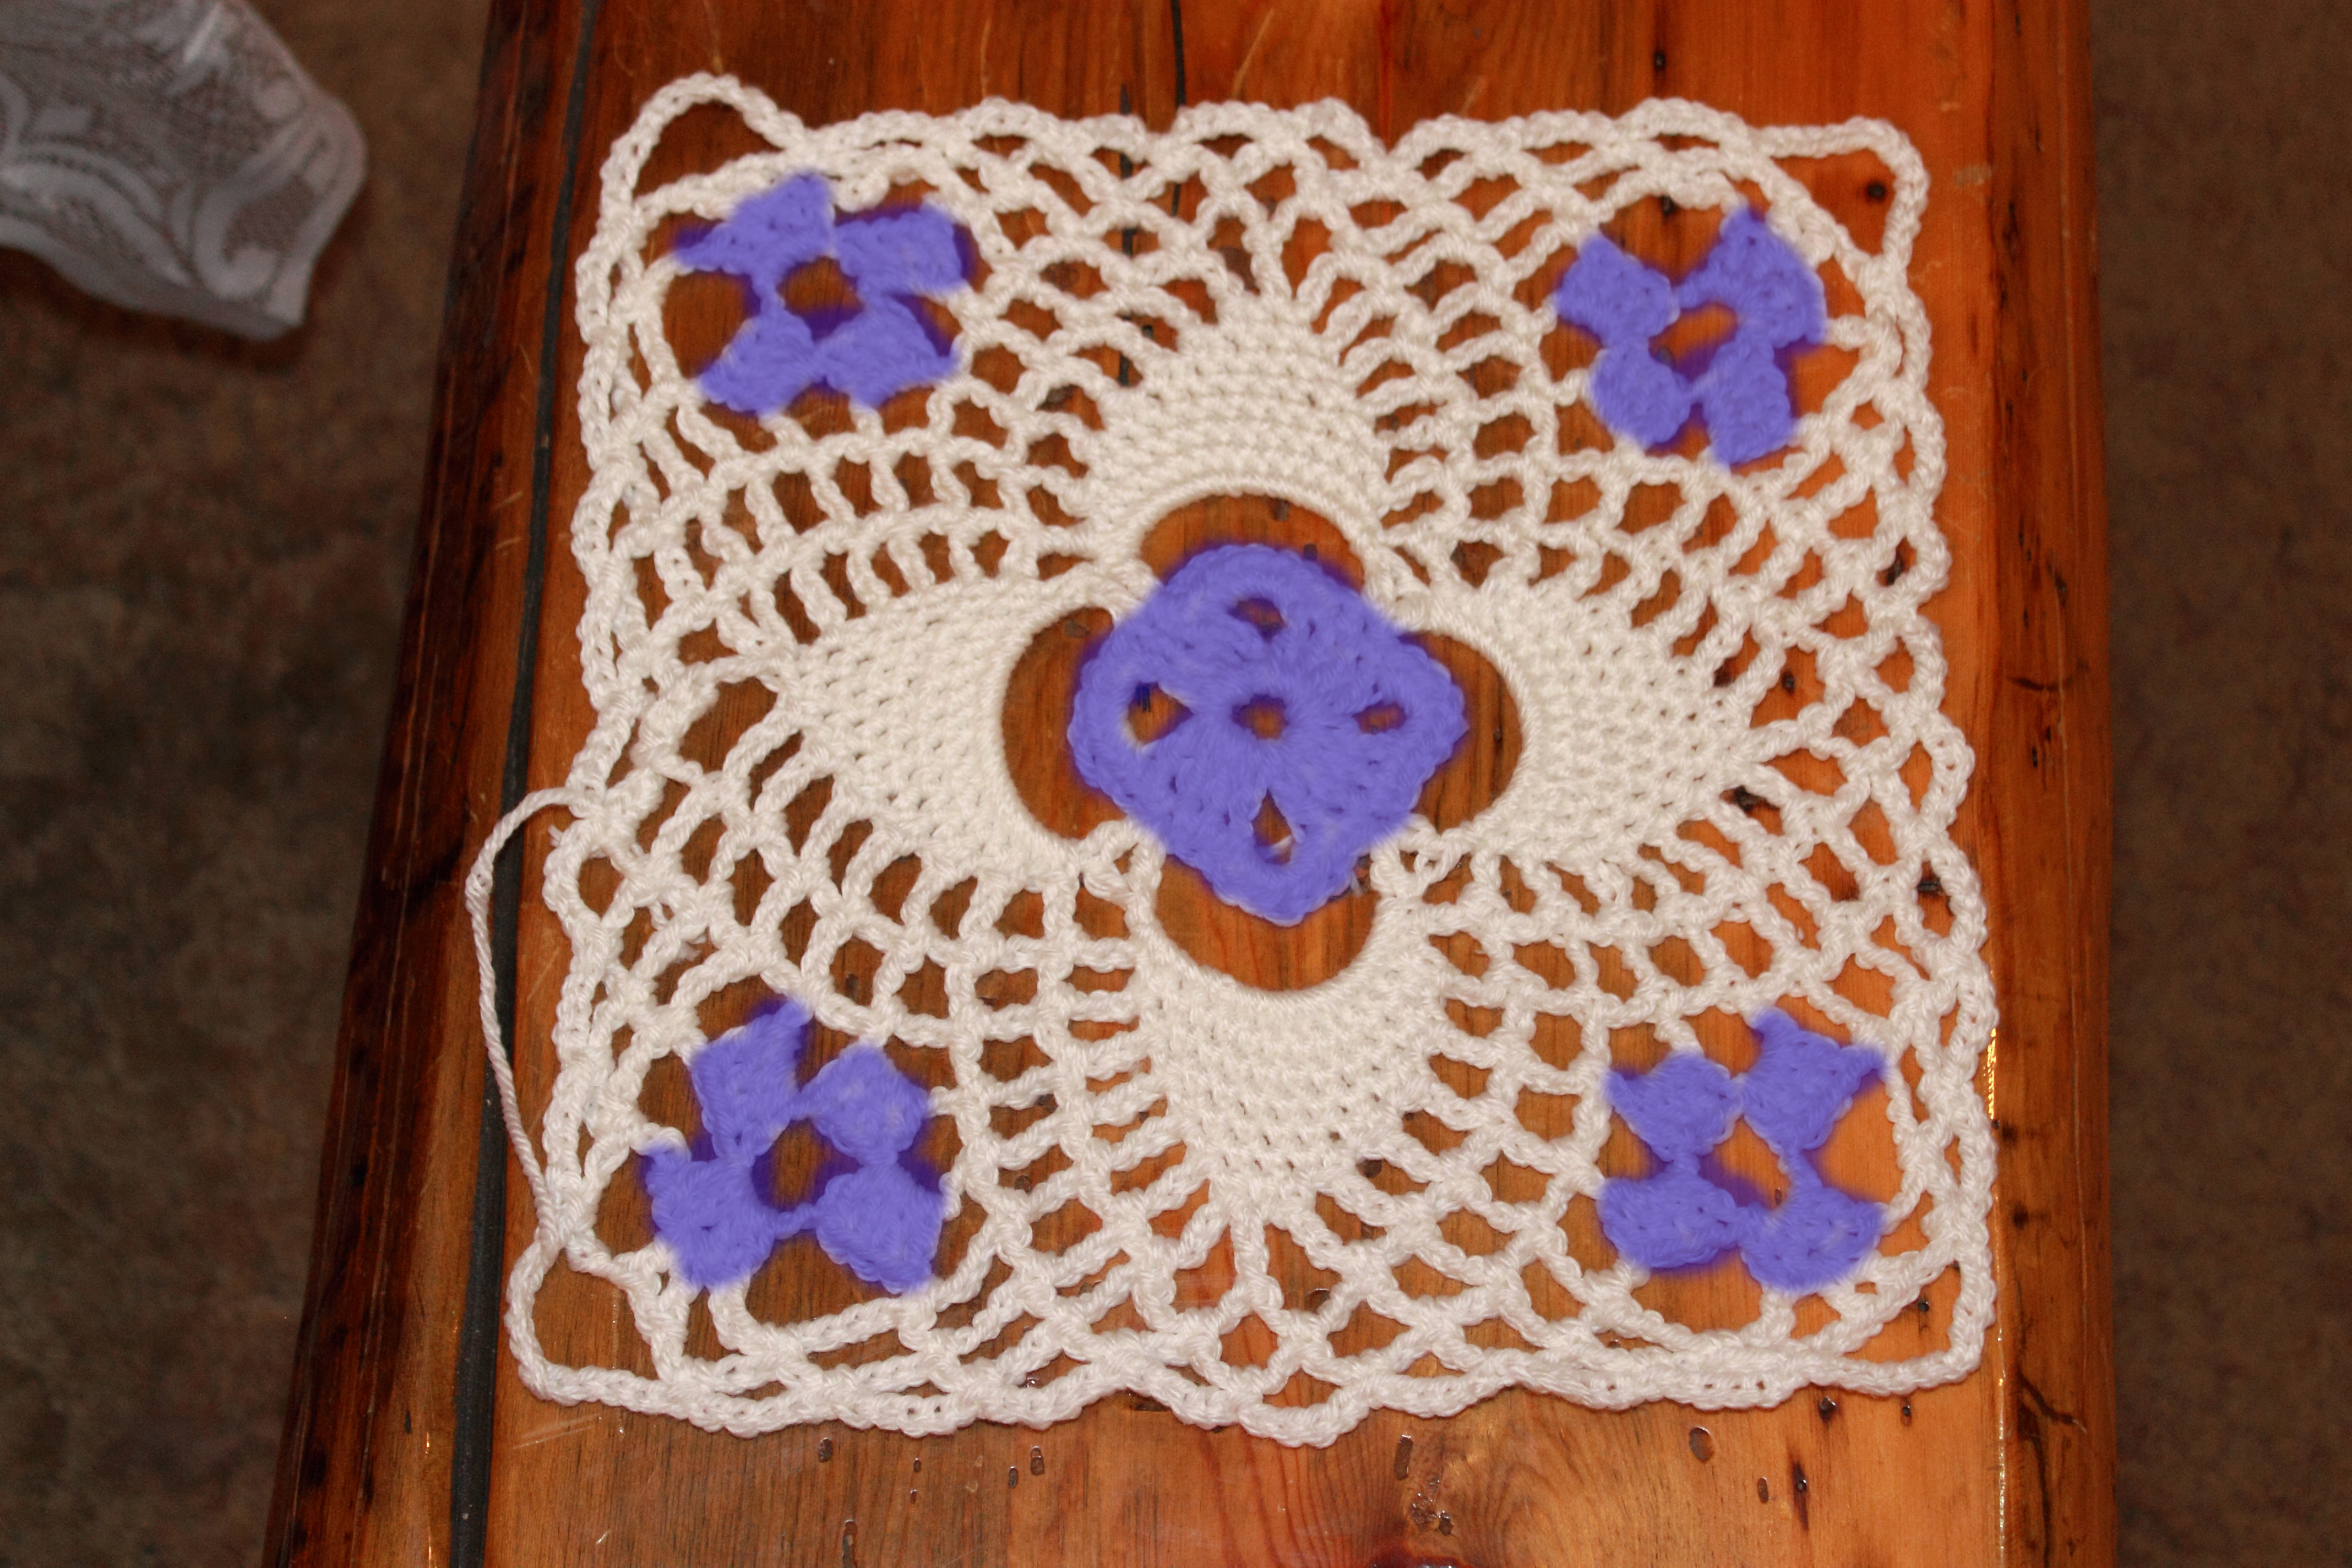
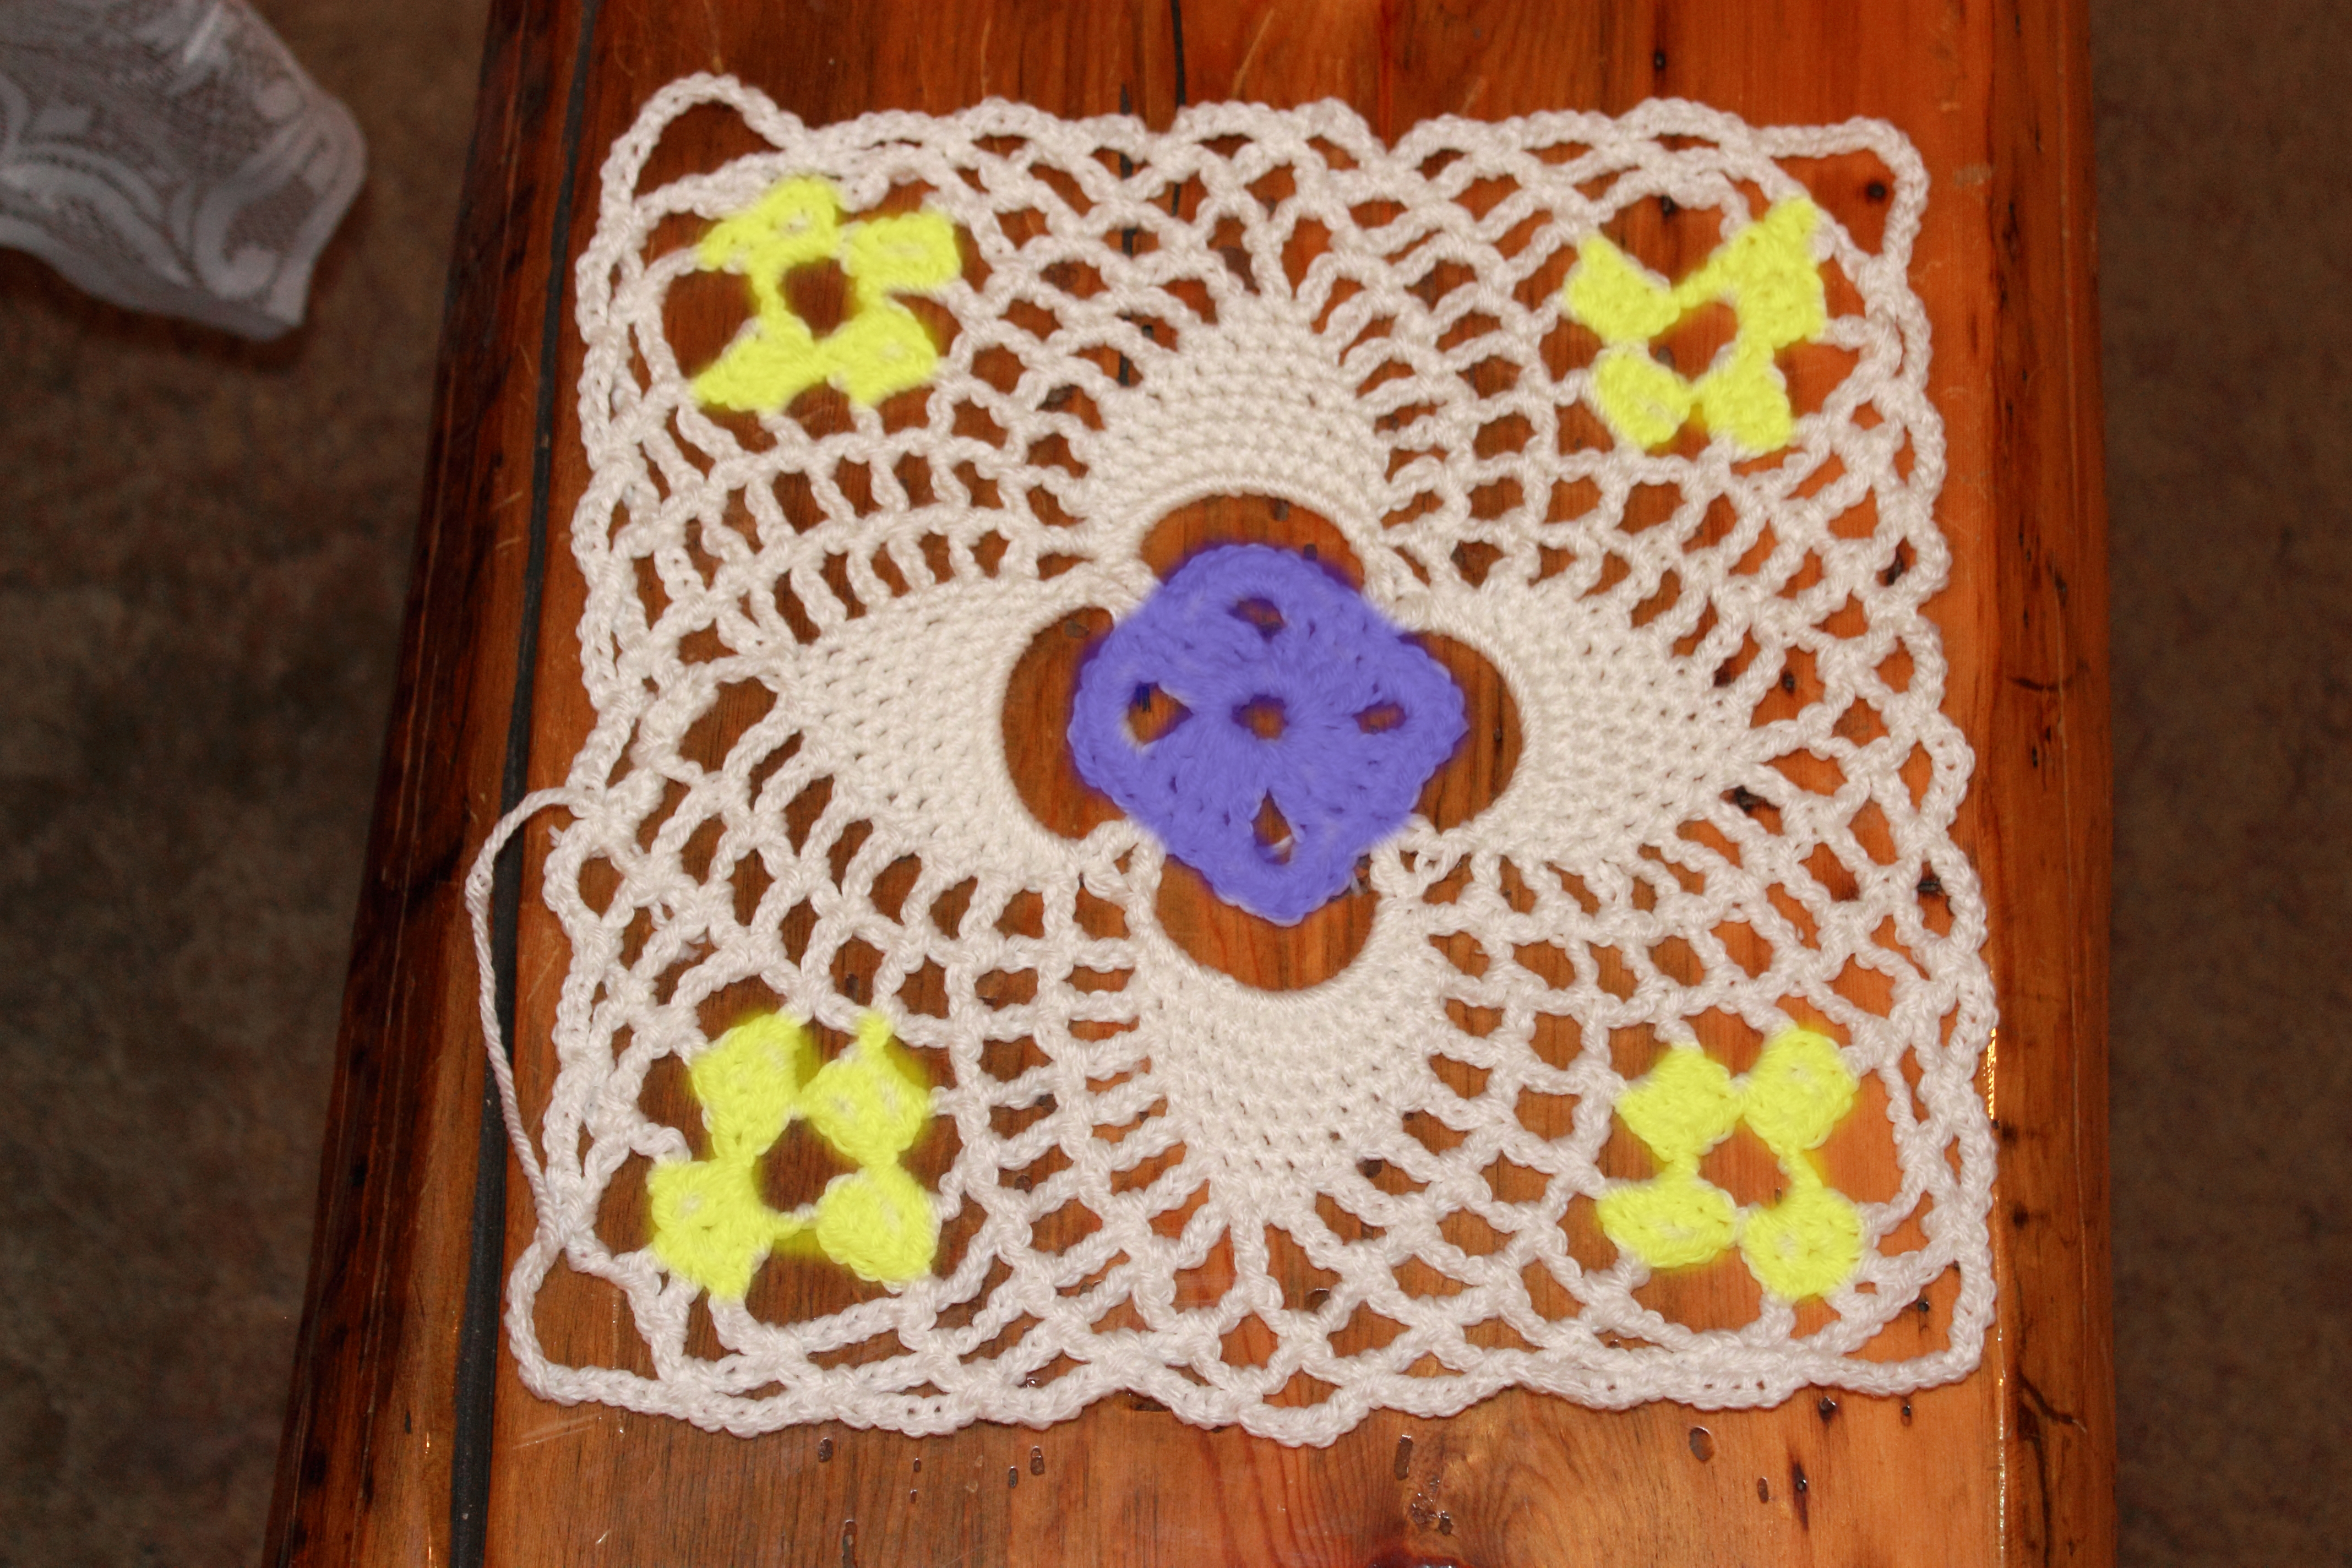
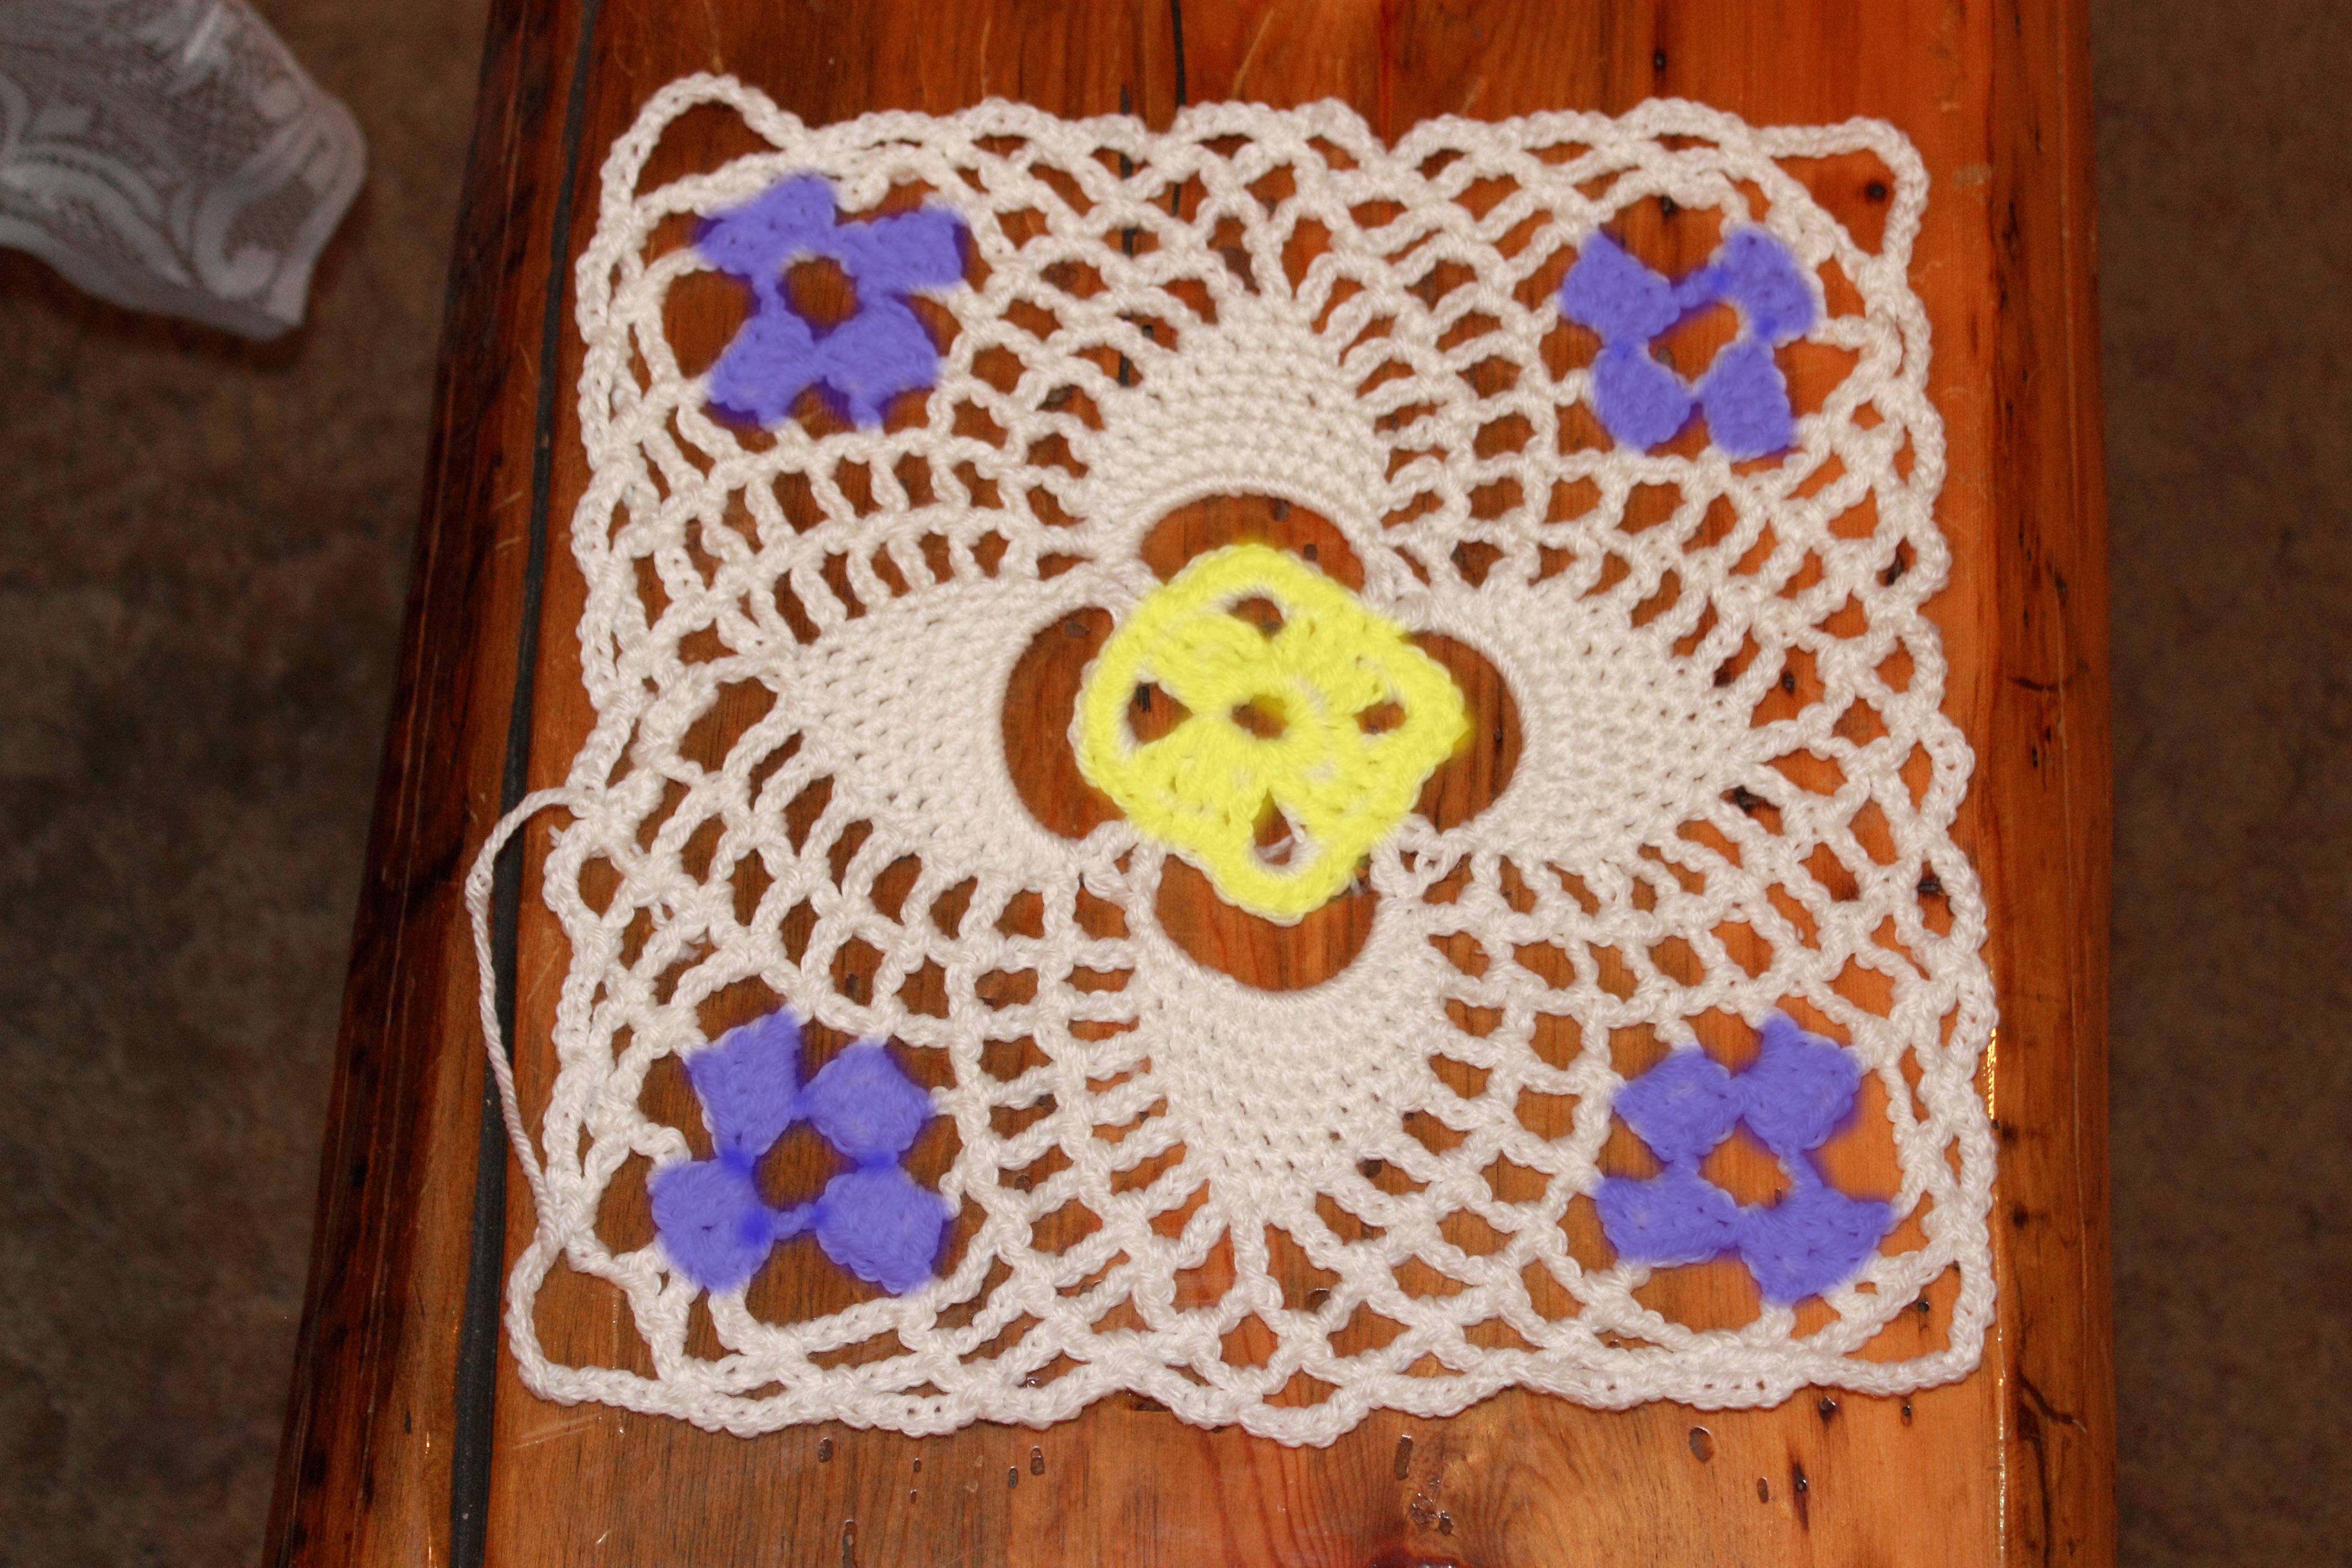
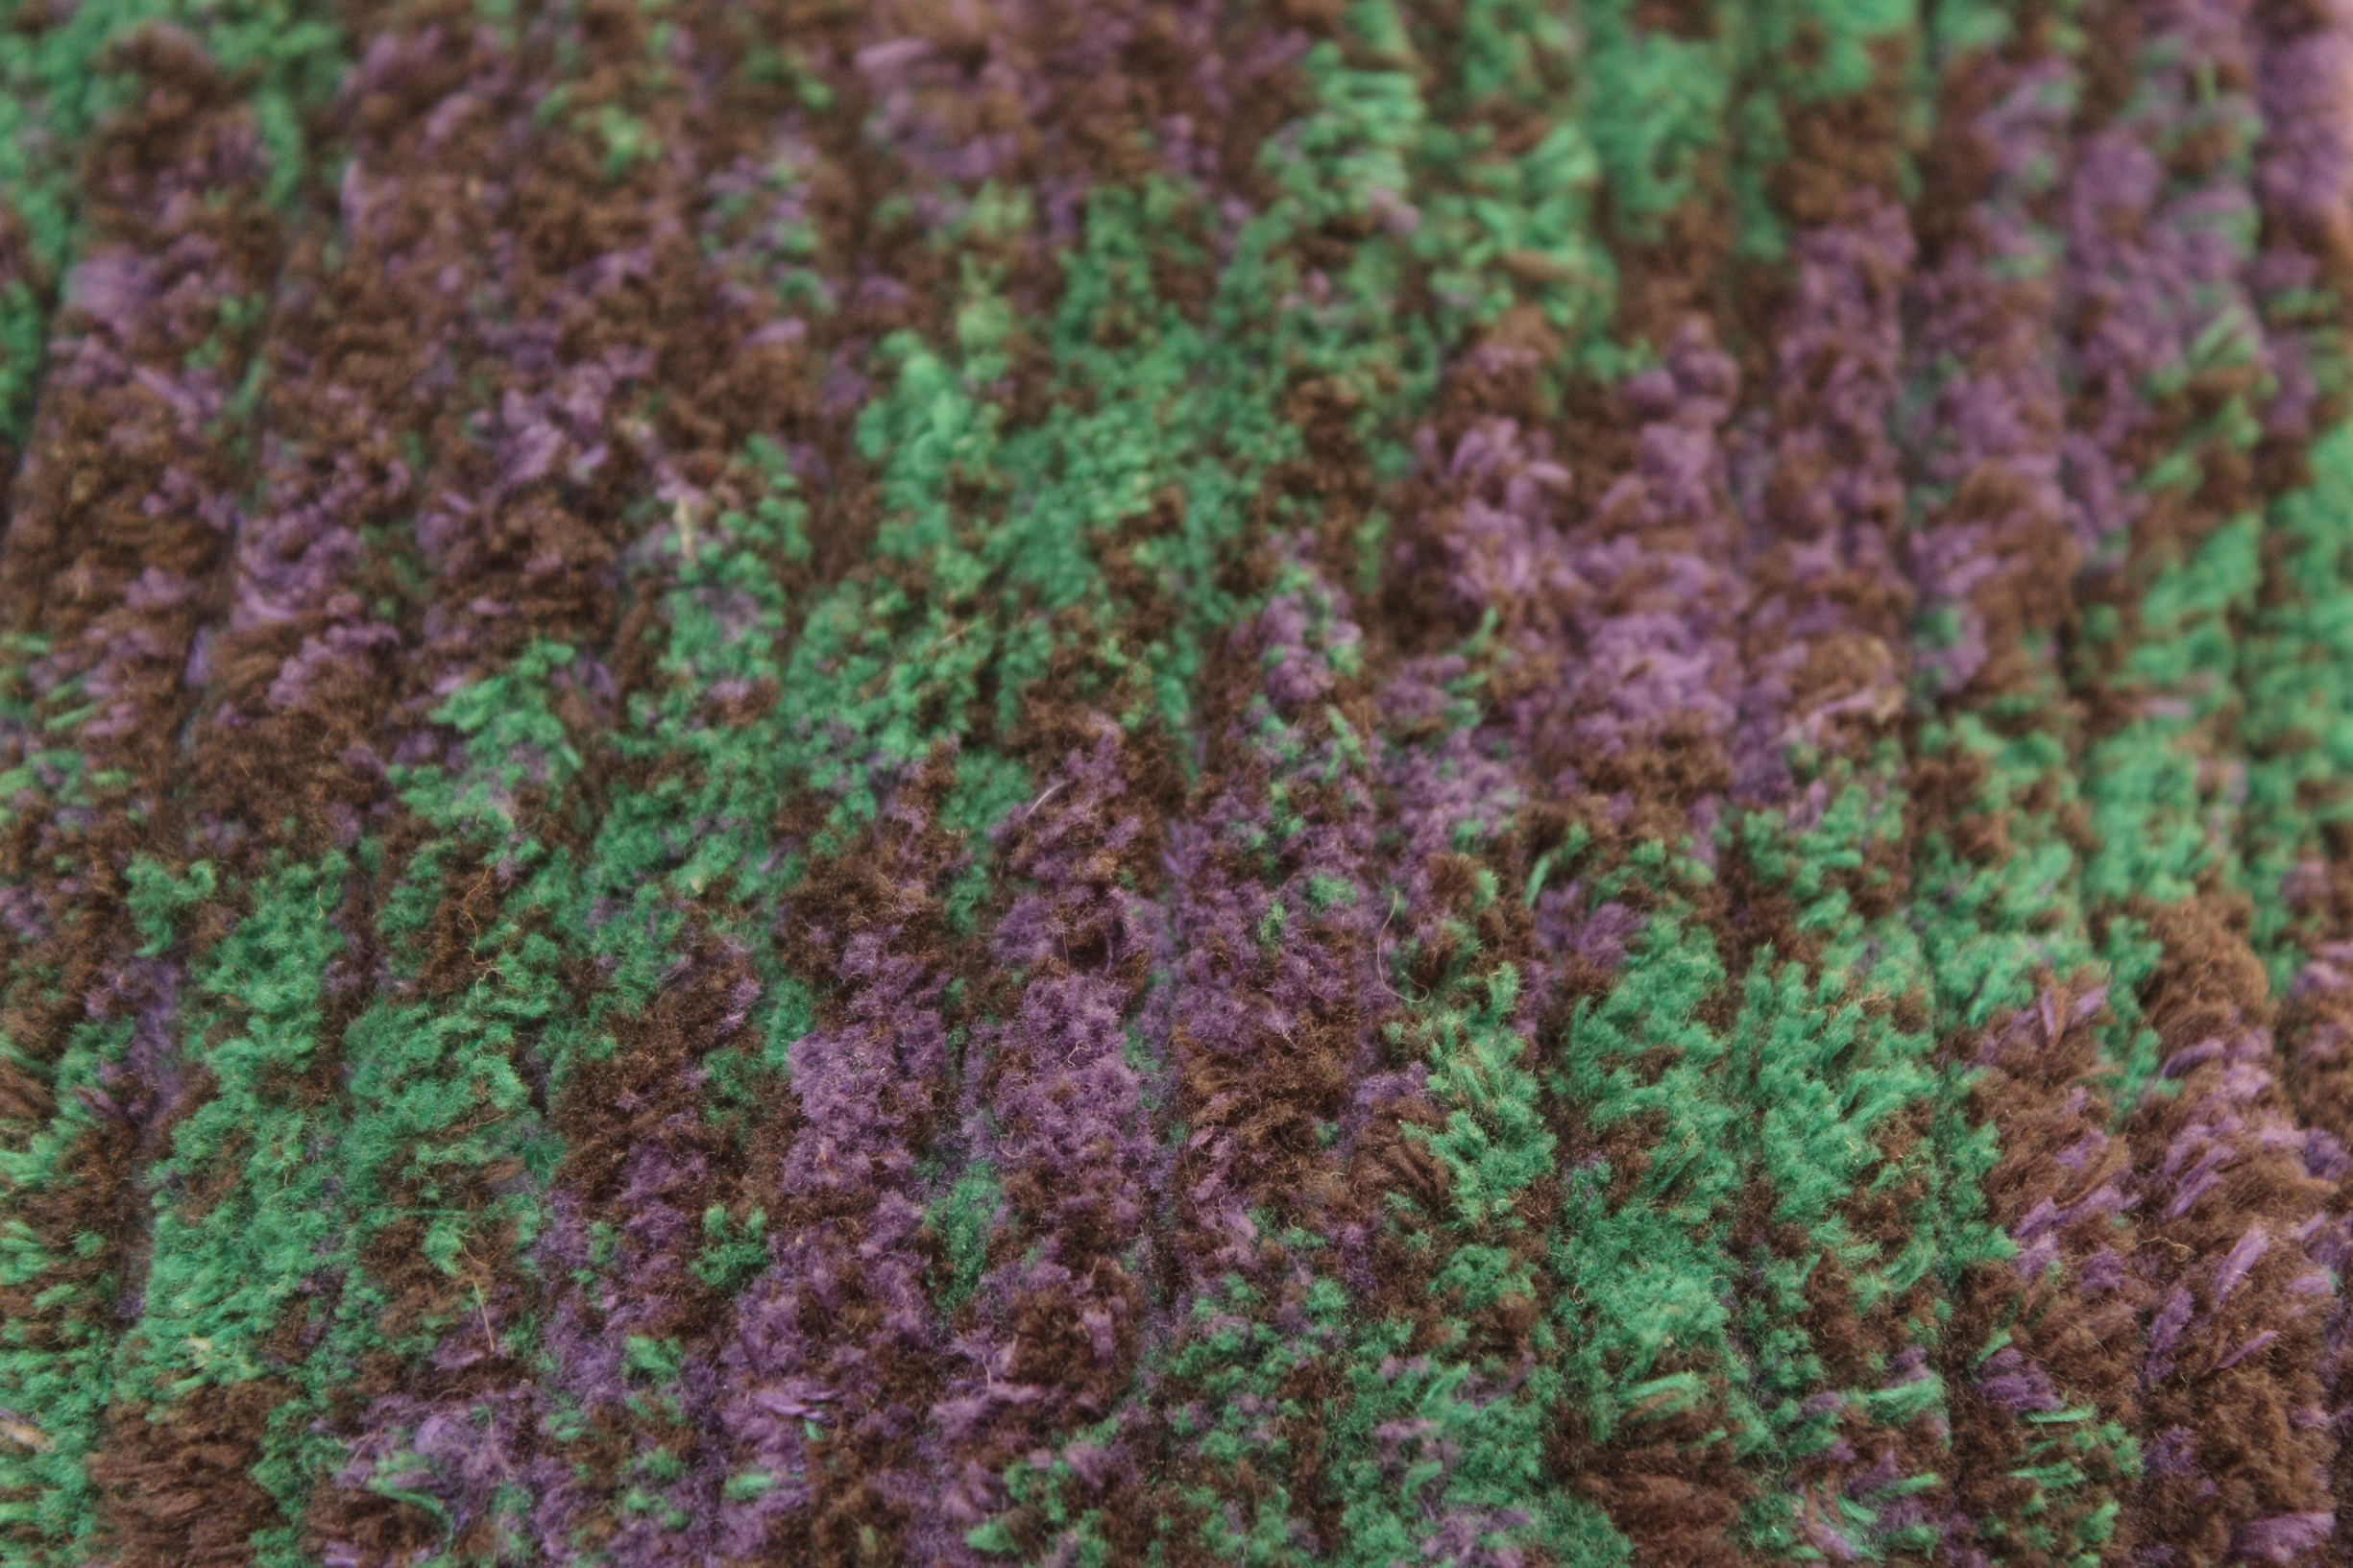
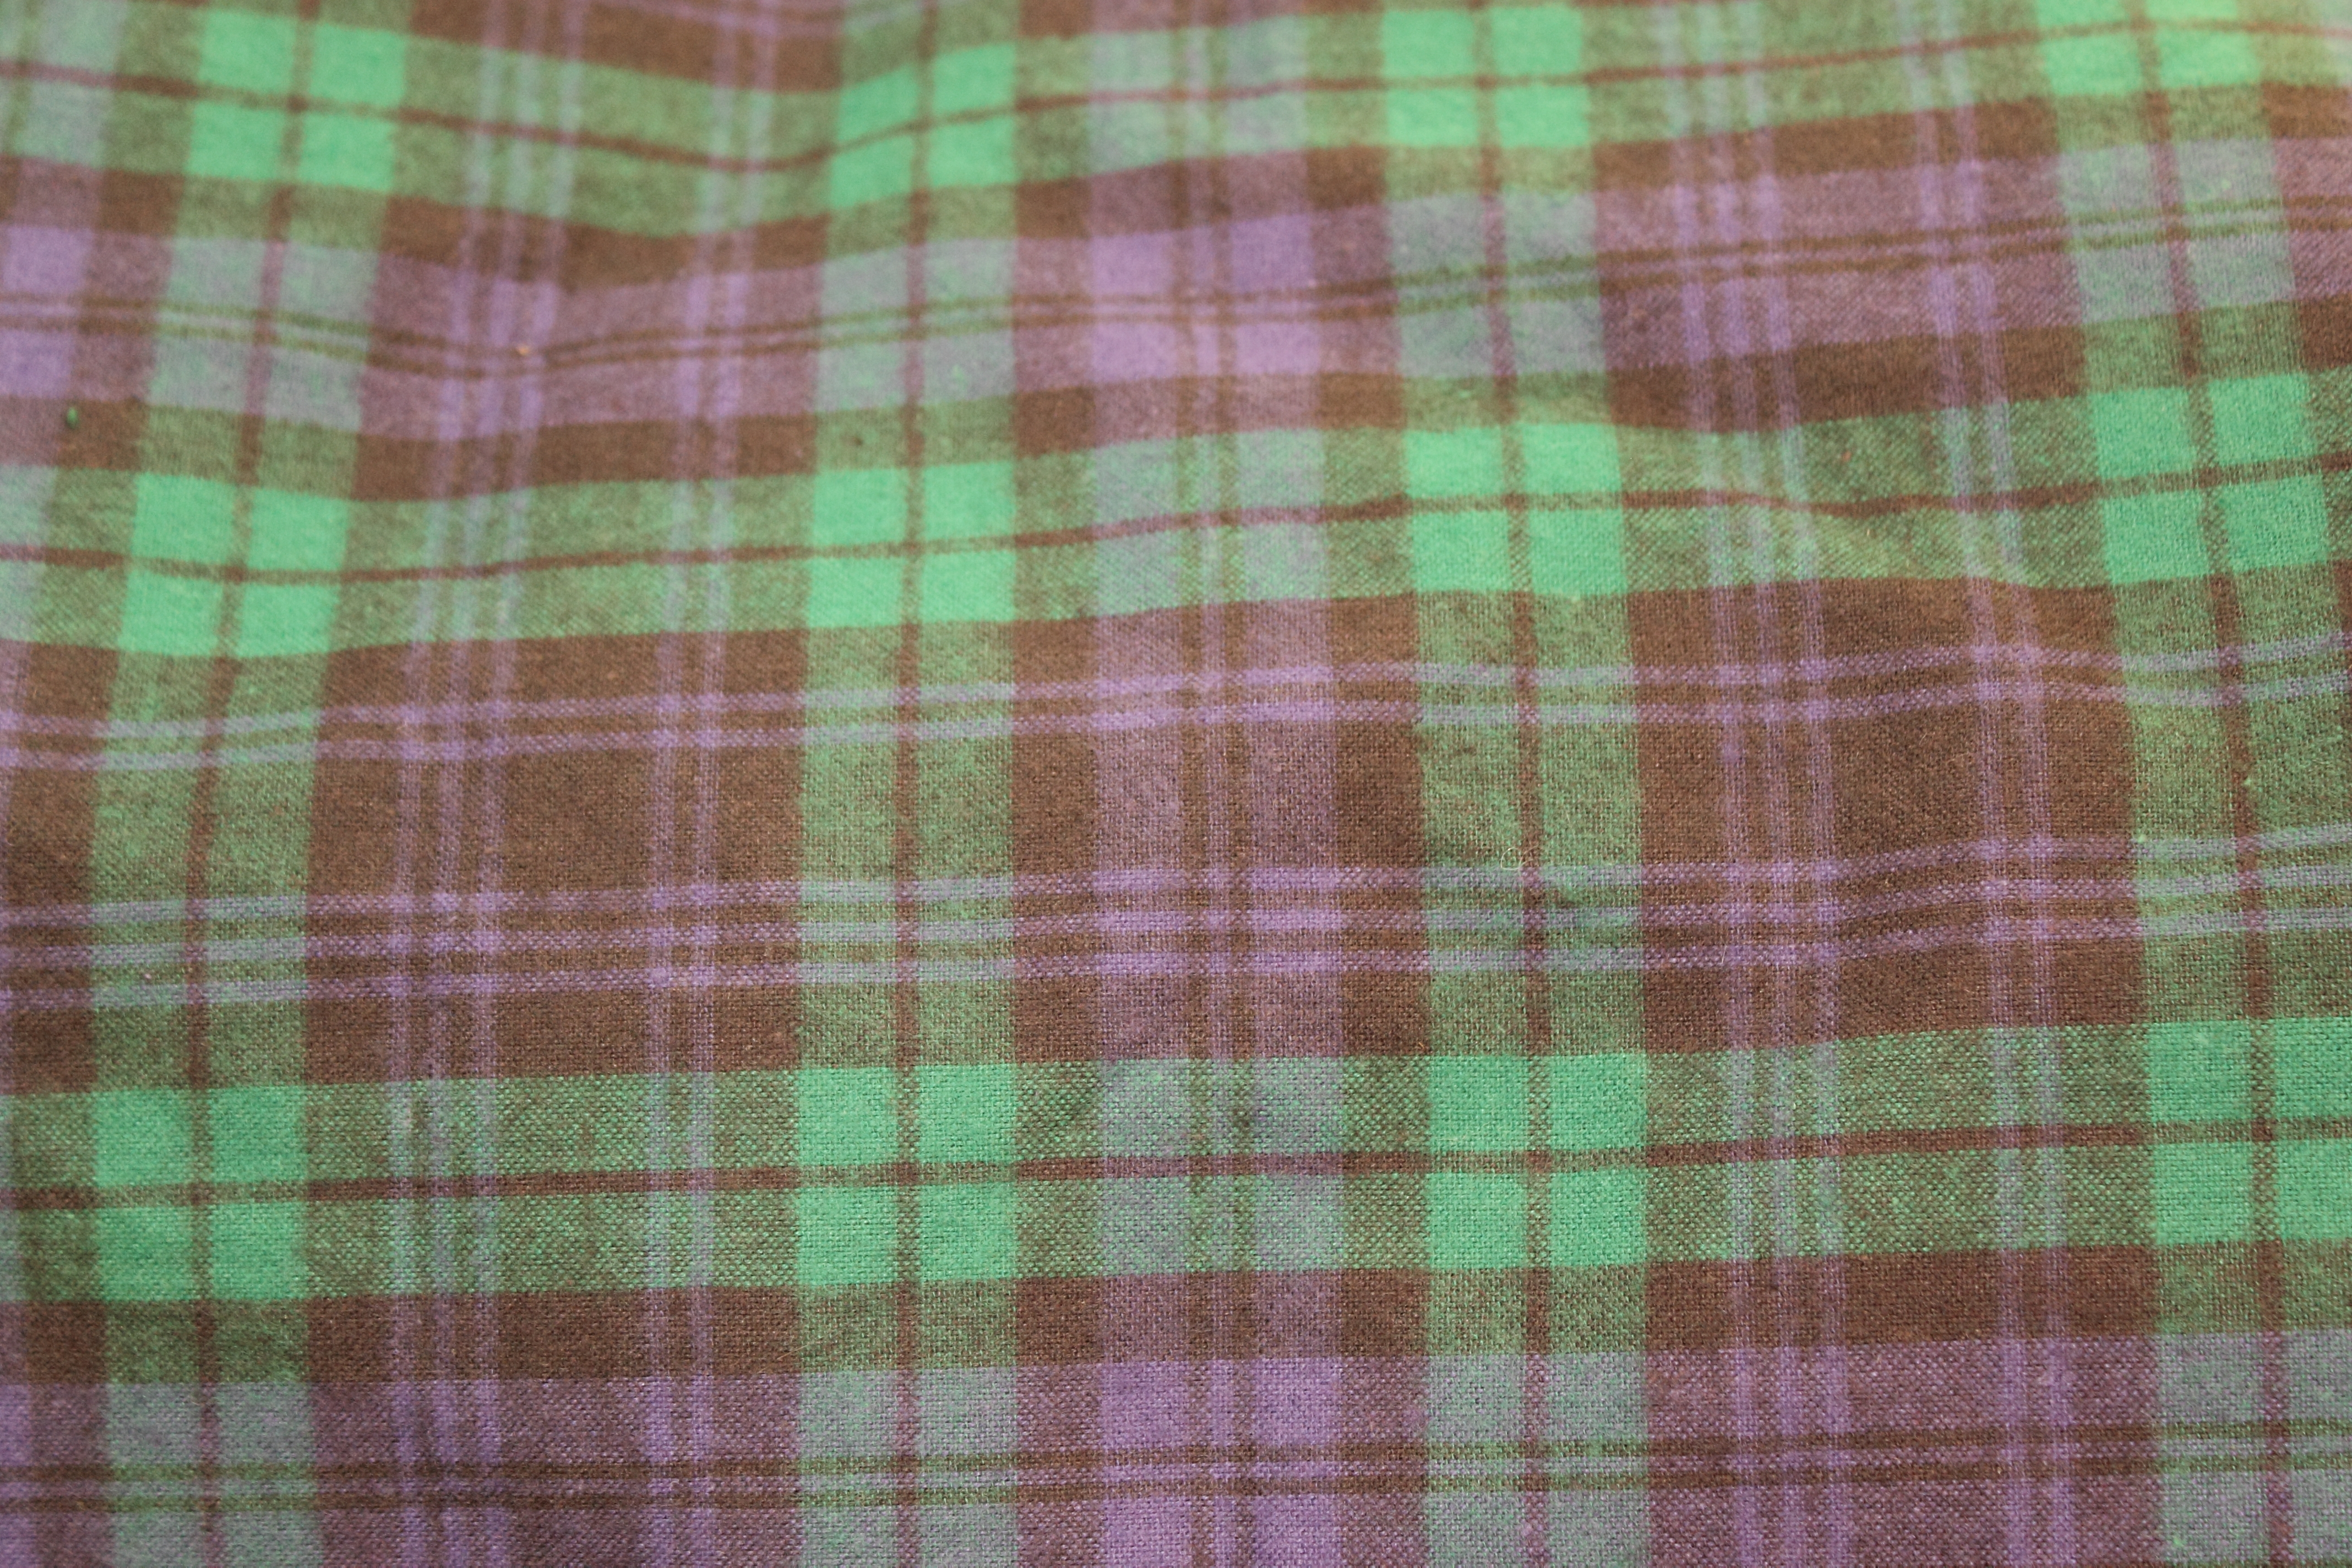
Their favorite color is purple. Since we don’t yet know the gender of the baby, I thought purple would be a safe color to use.

Bavarian Baby Blanket 2

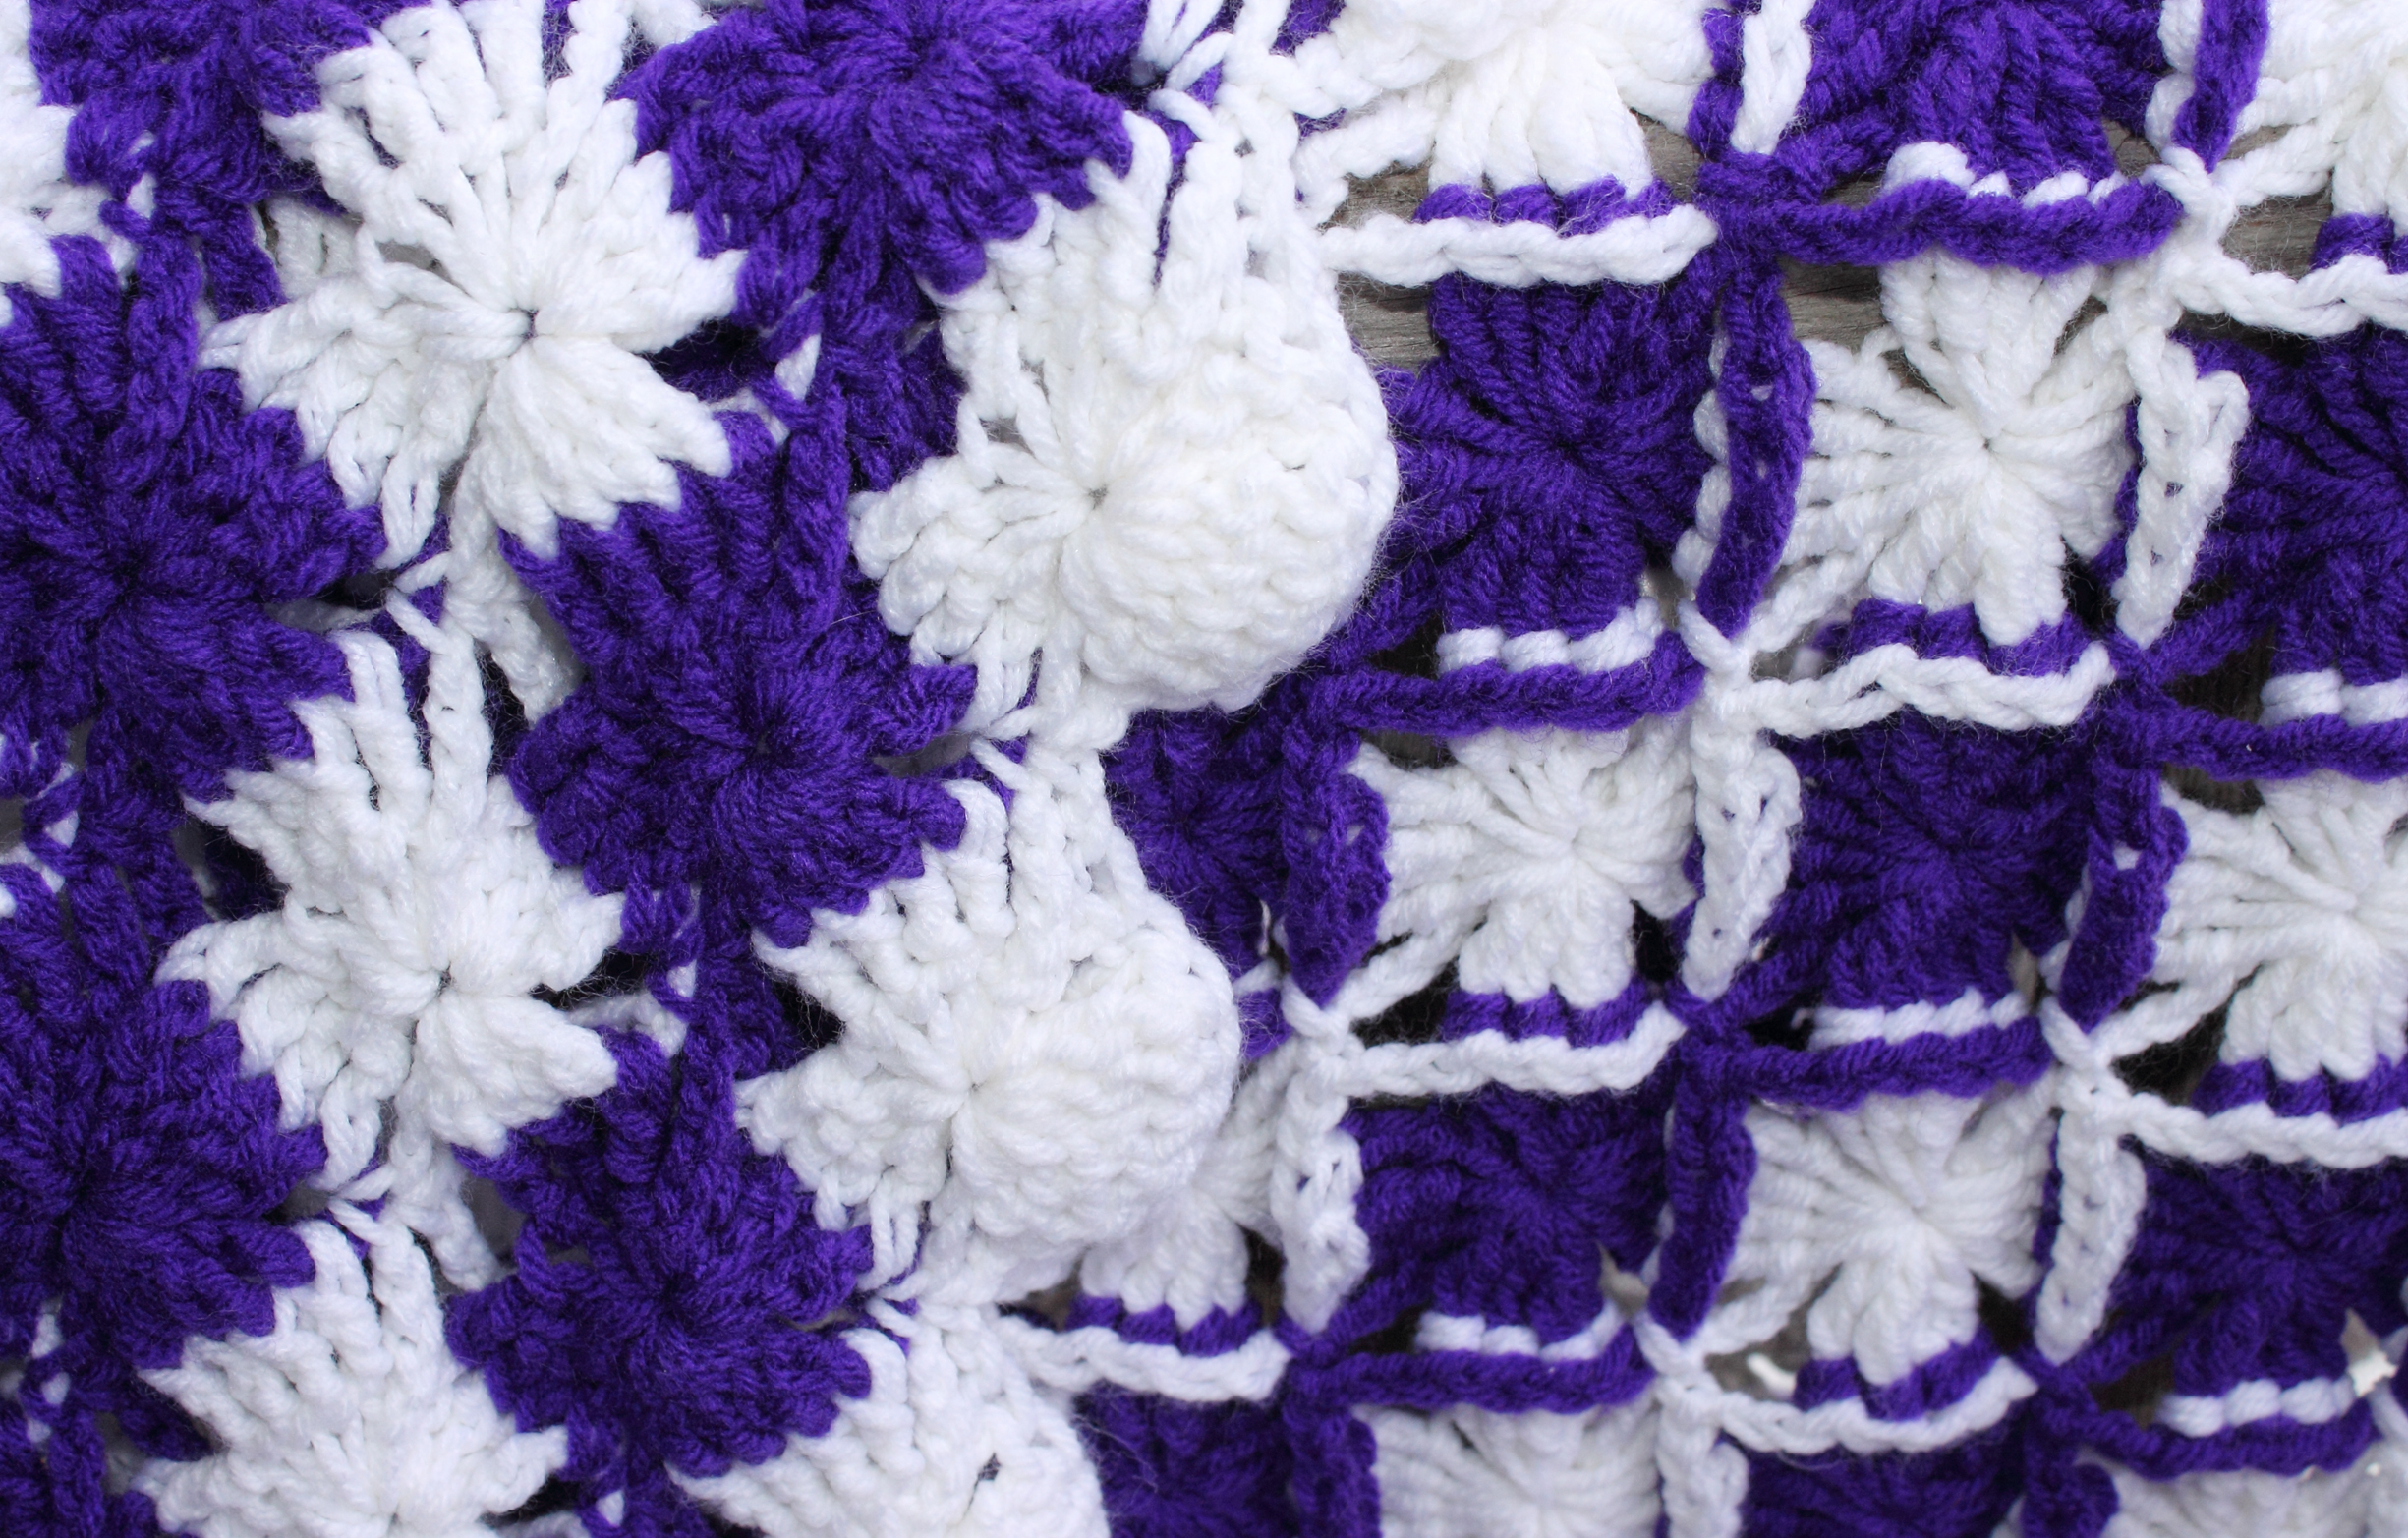
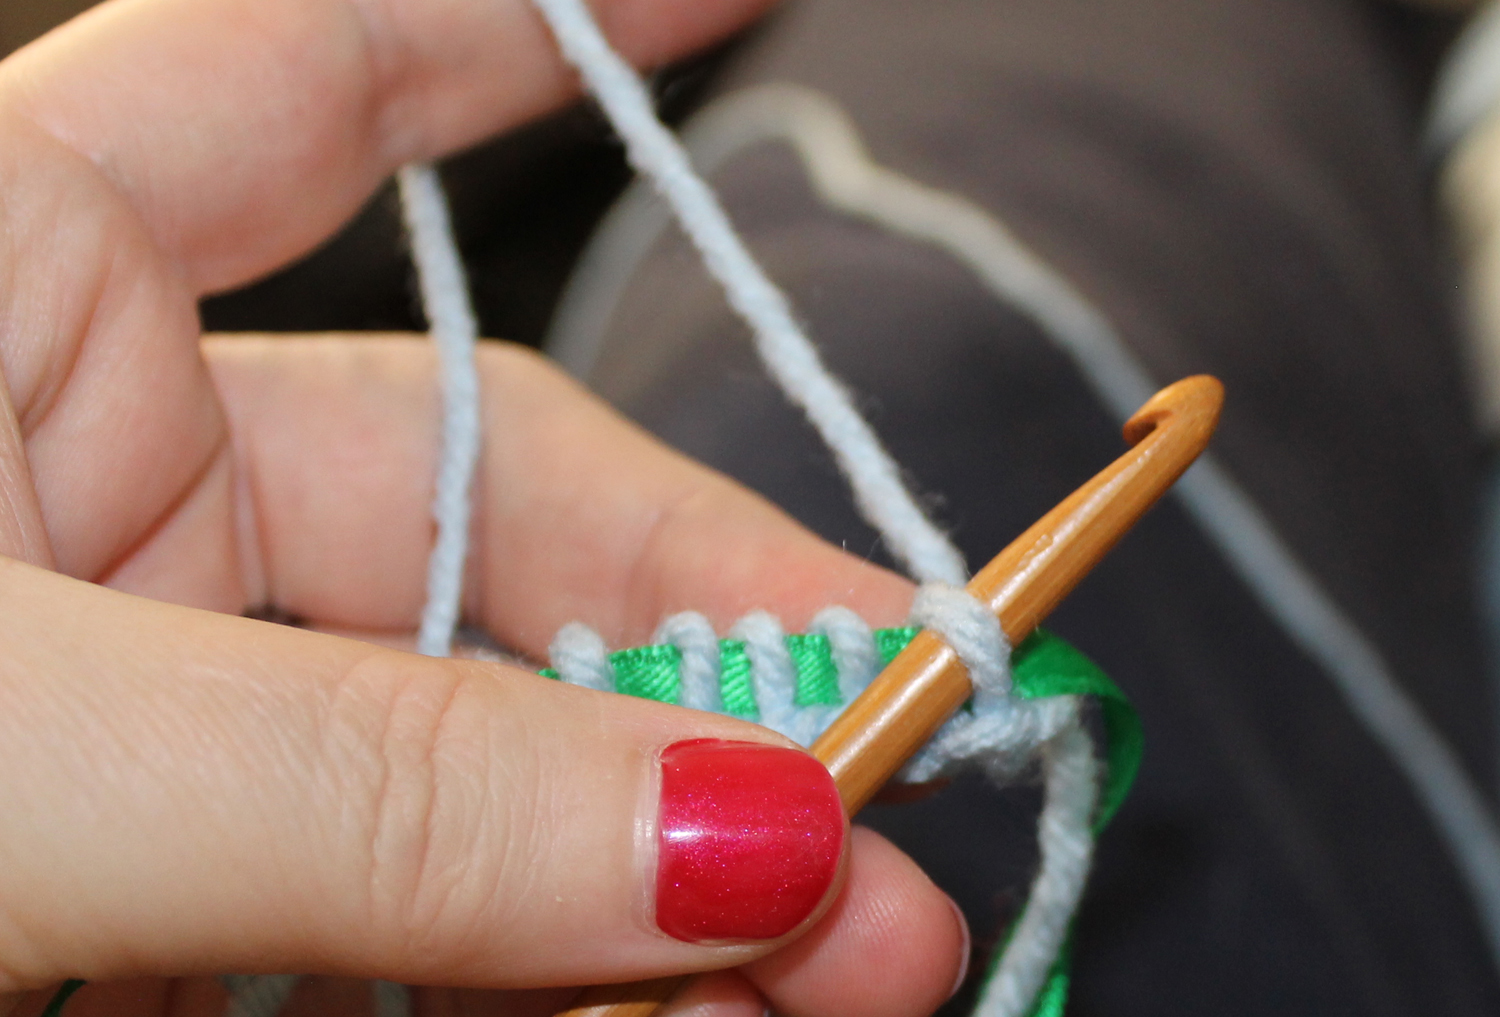
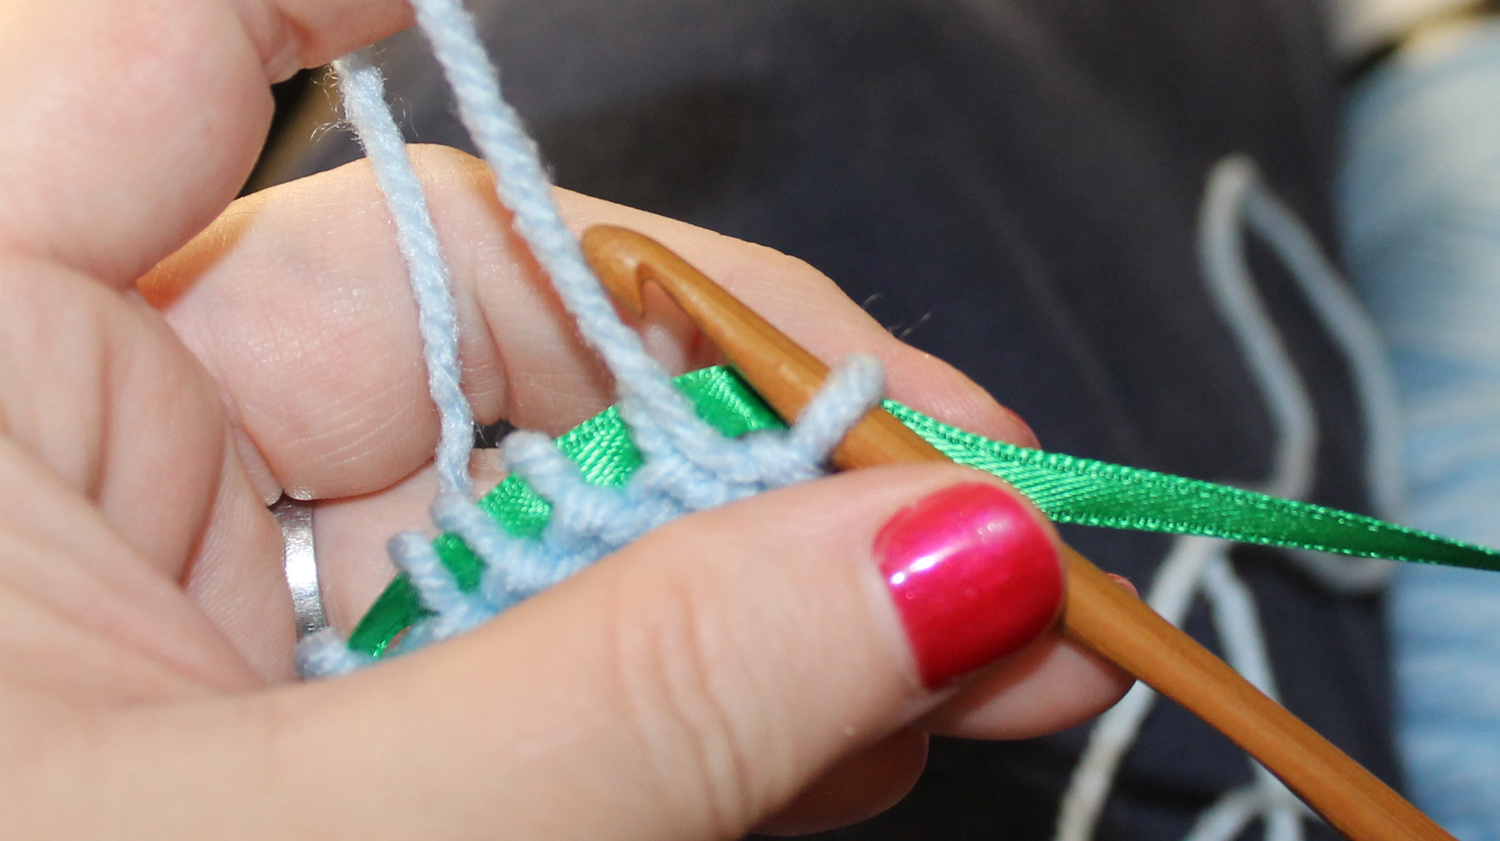
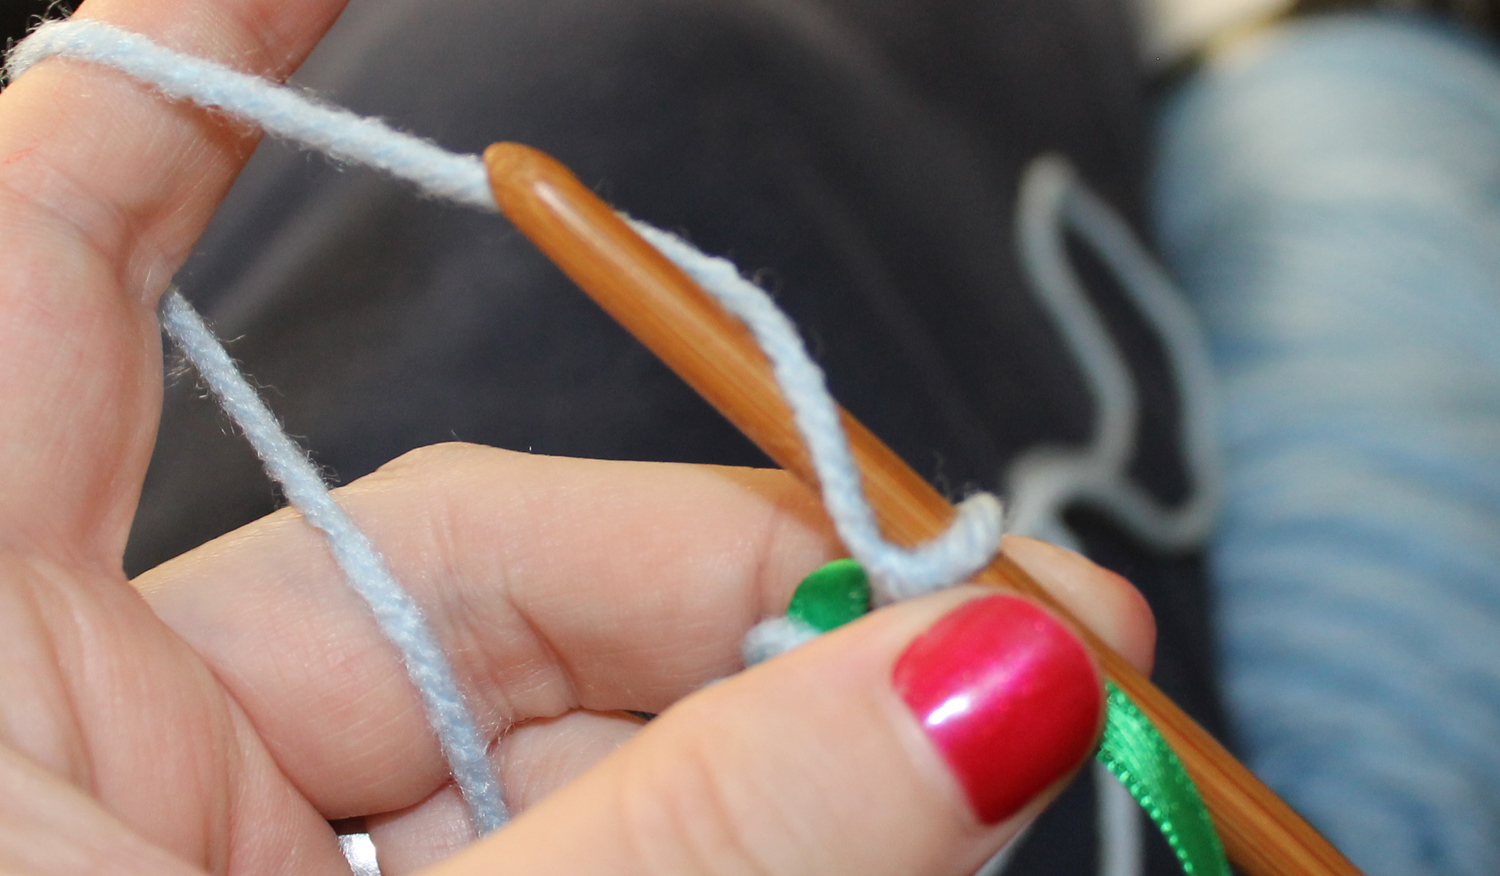
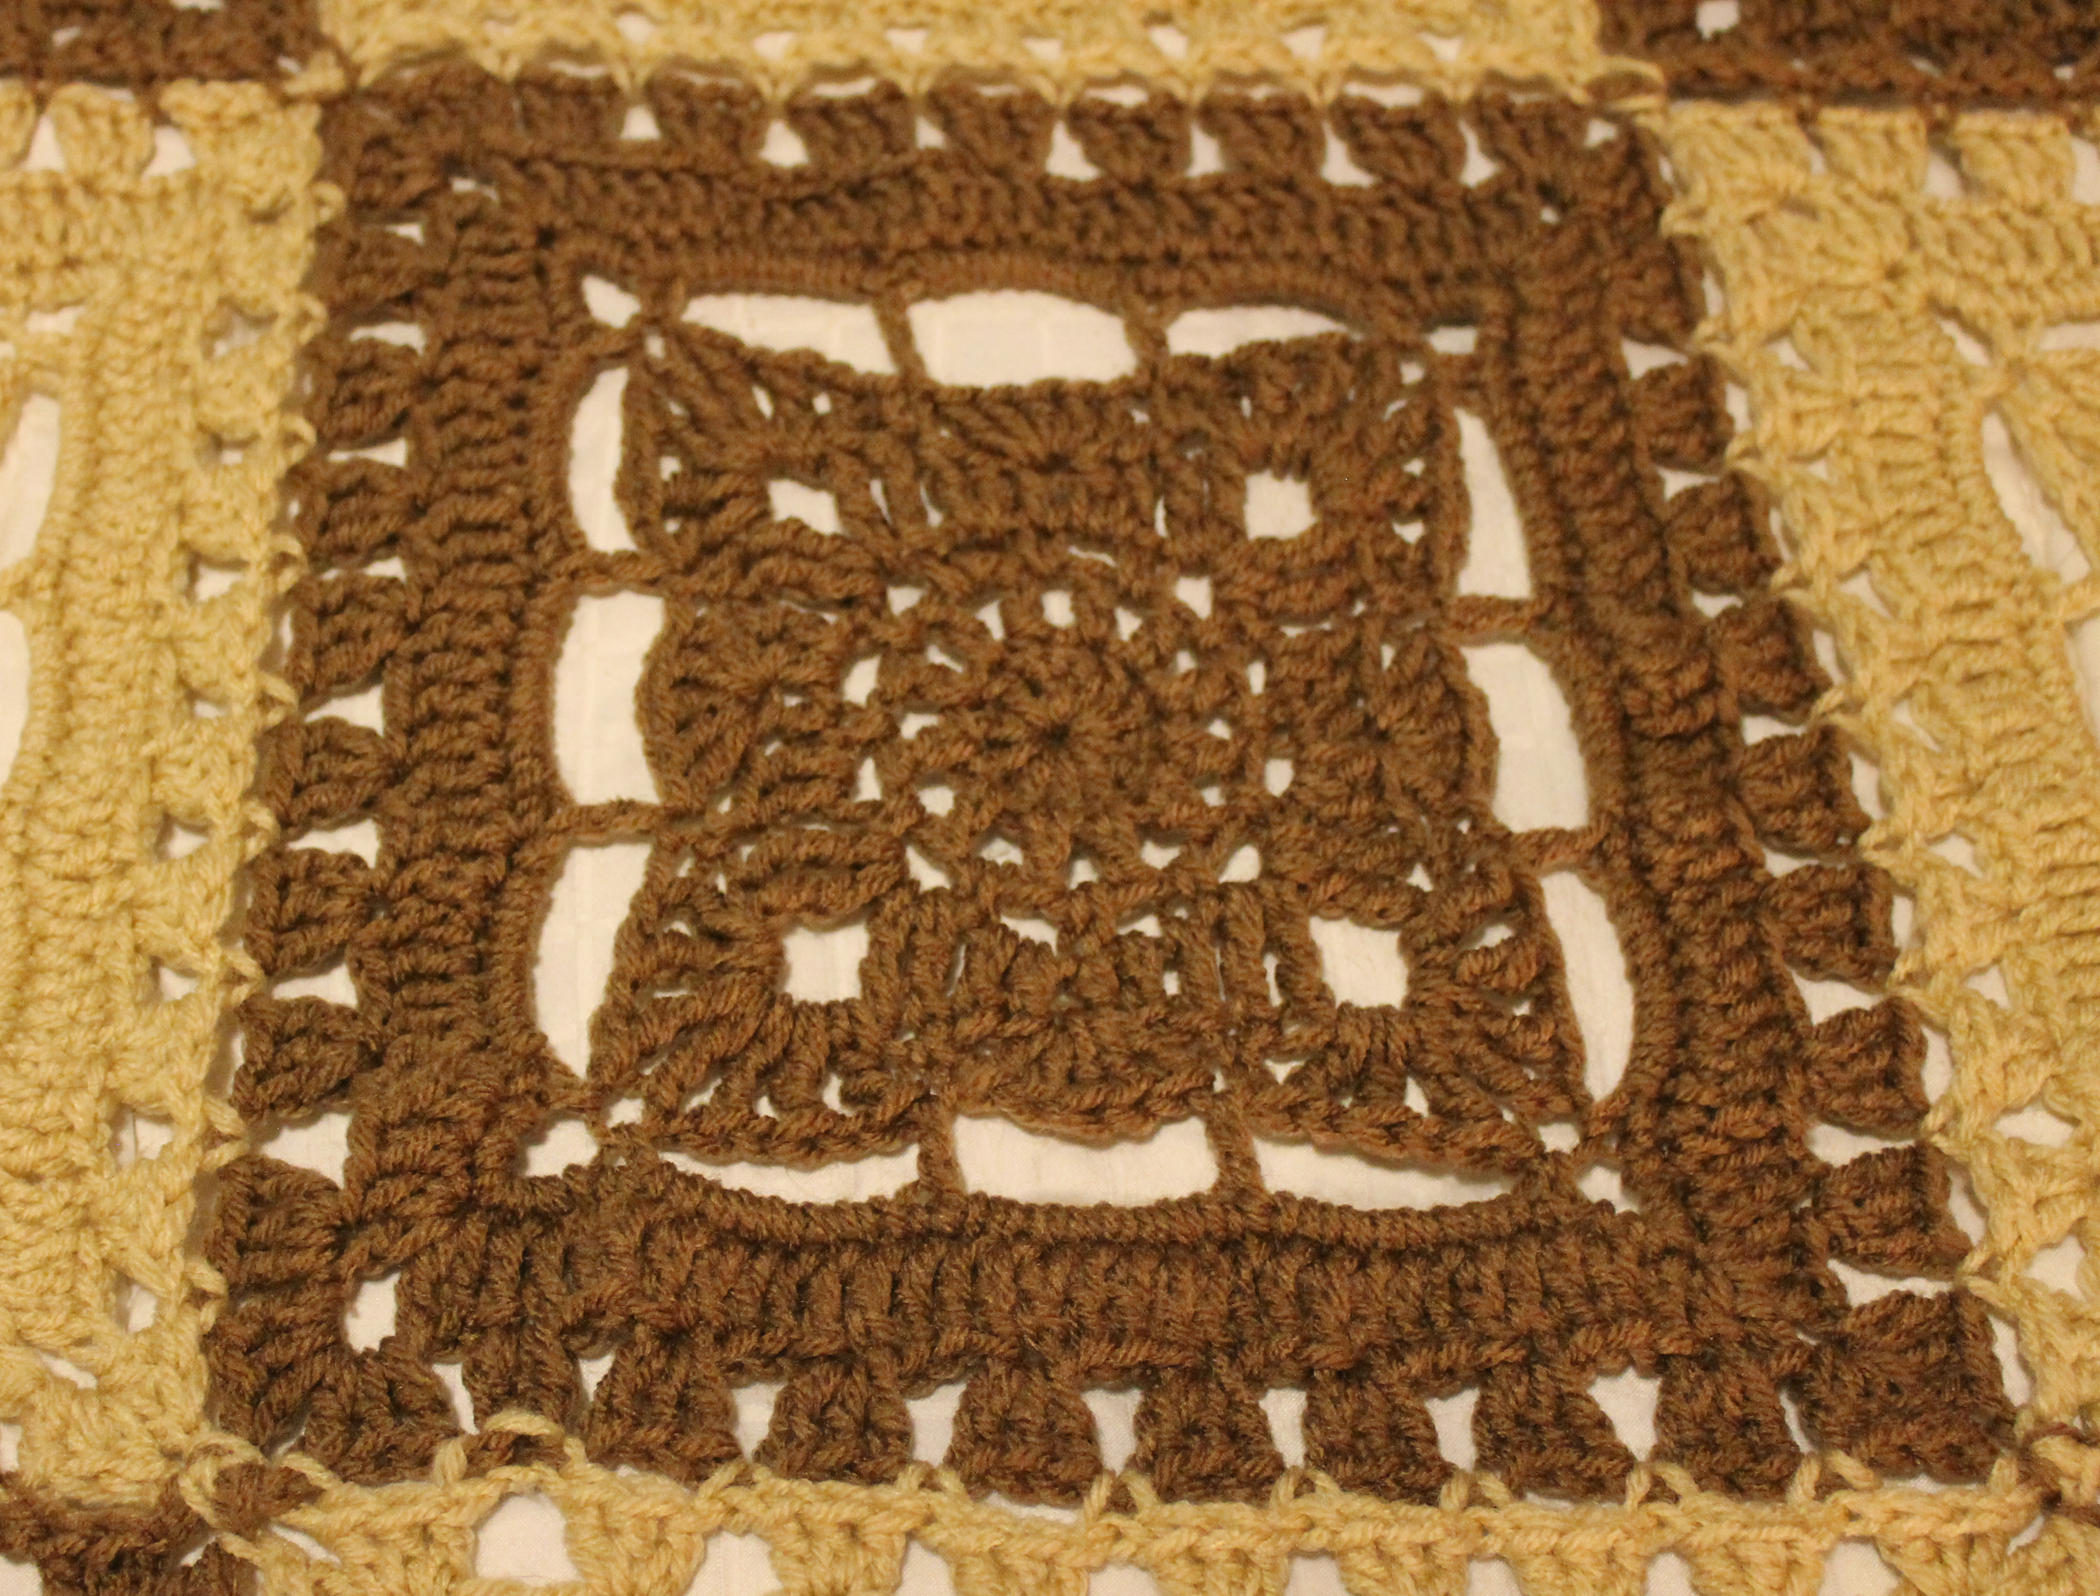
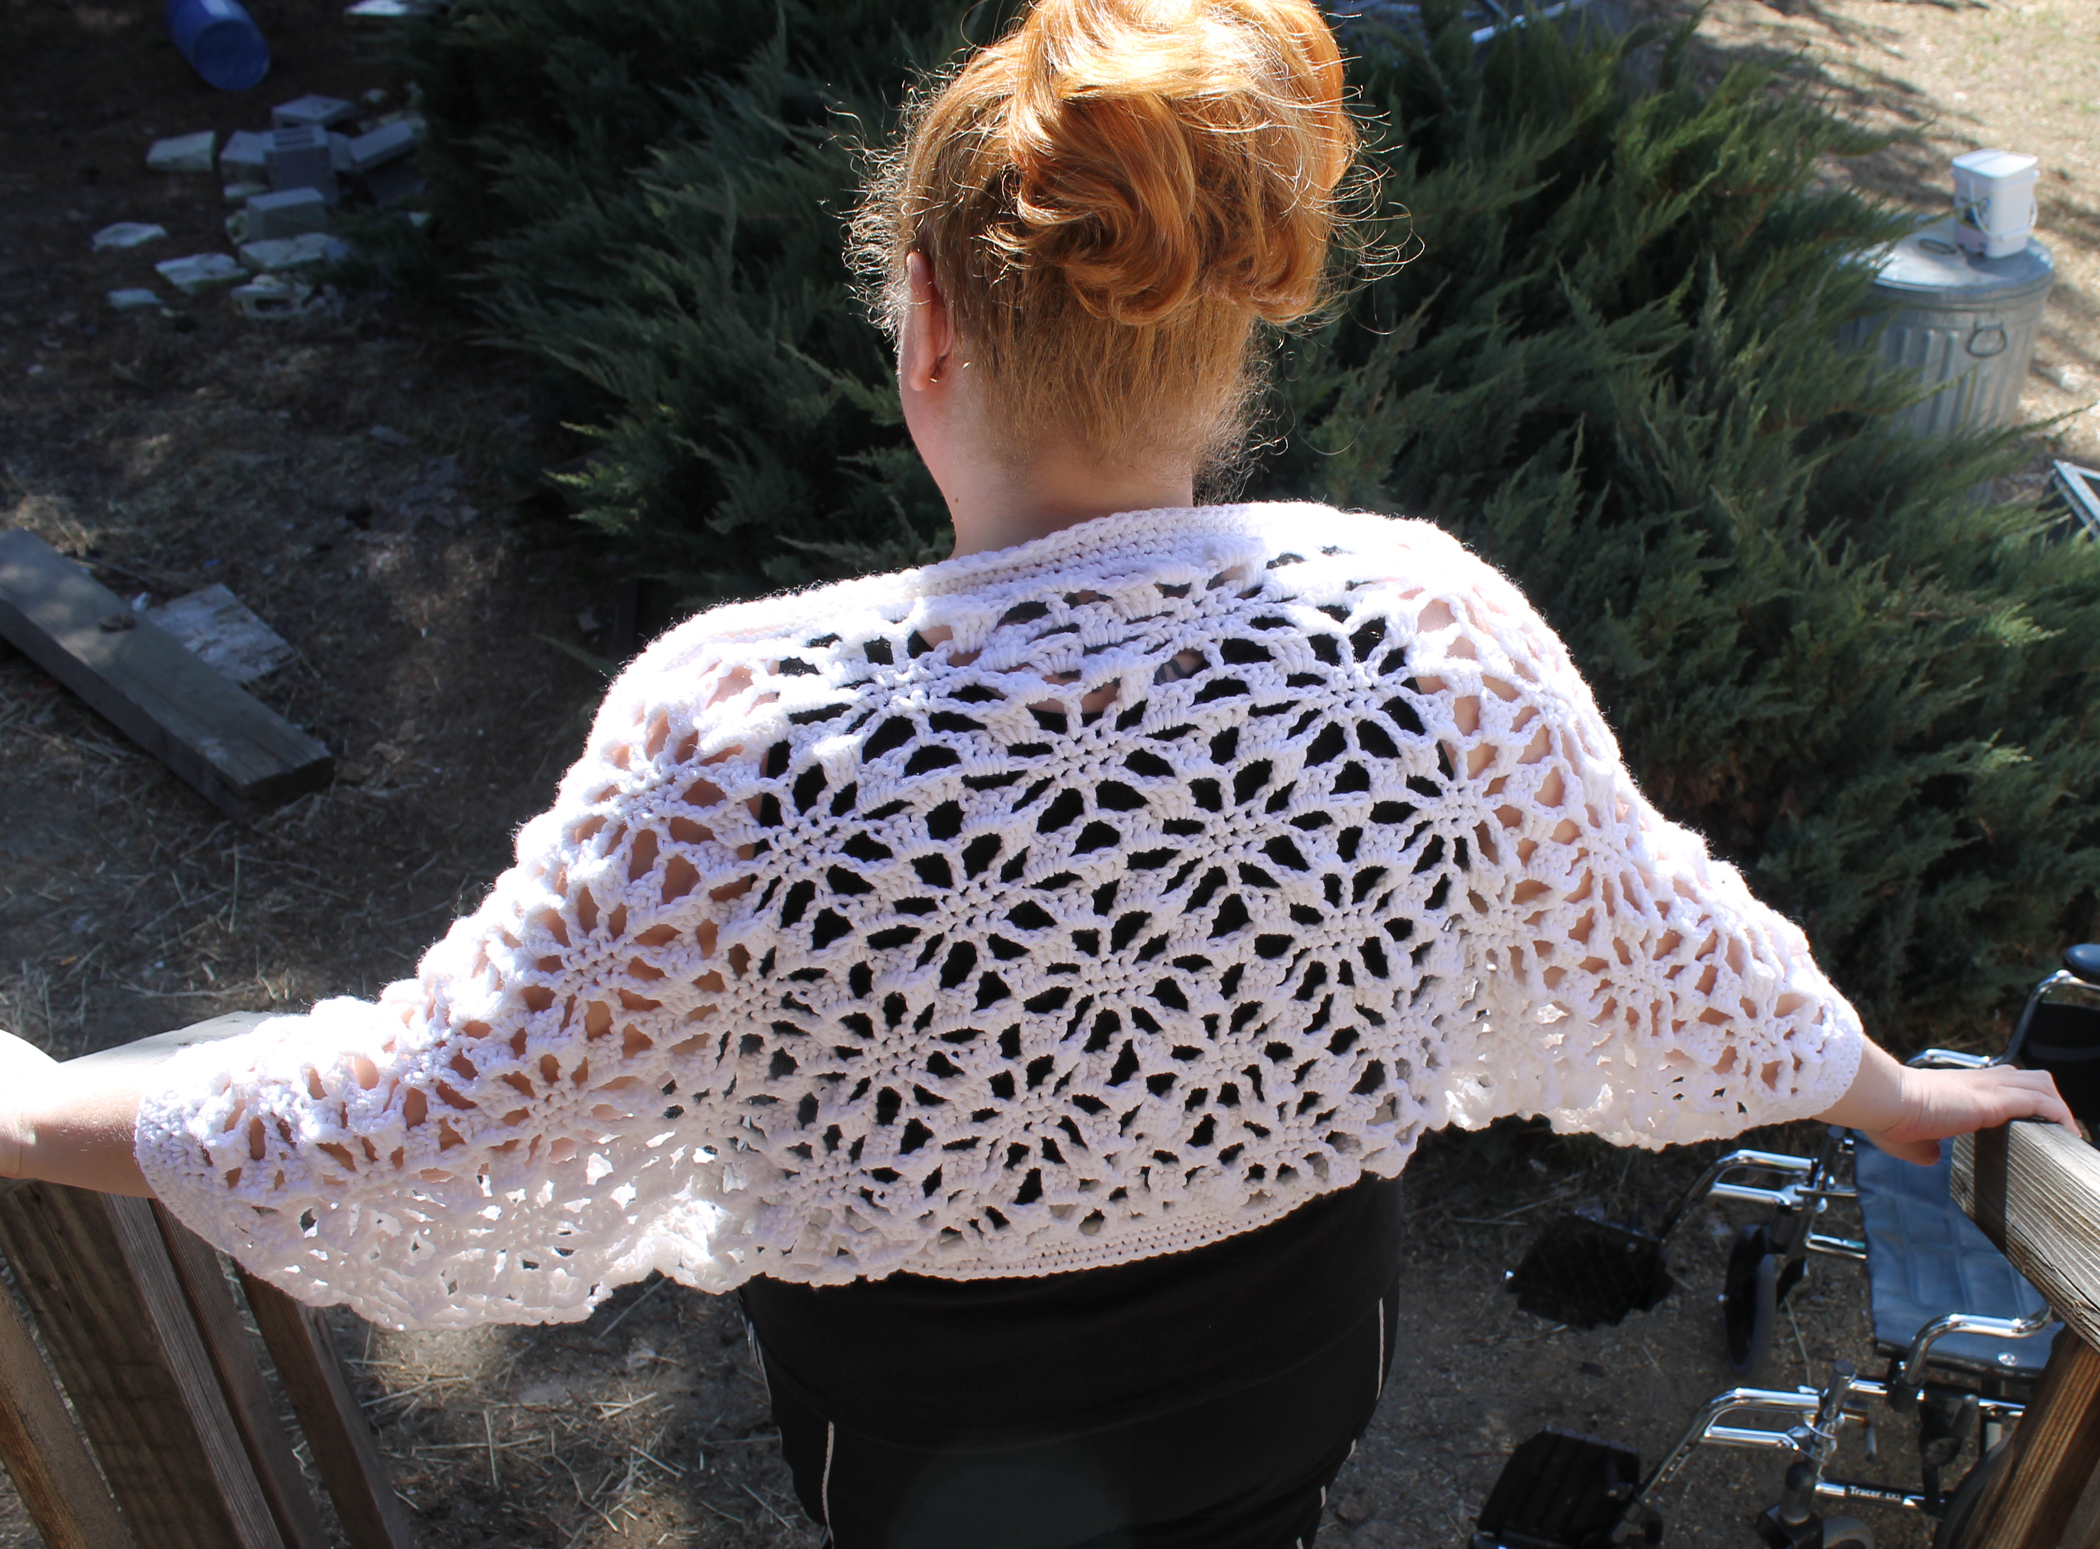
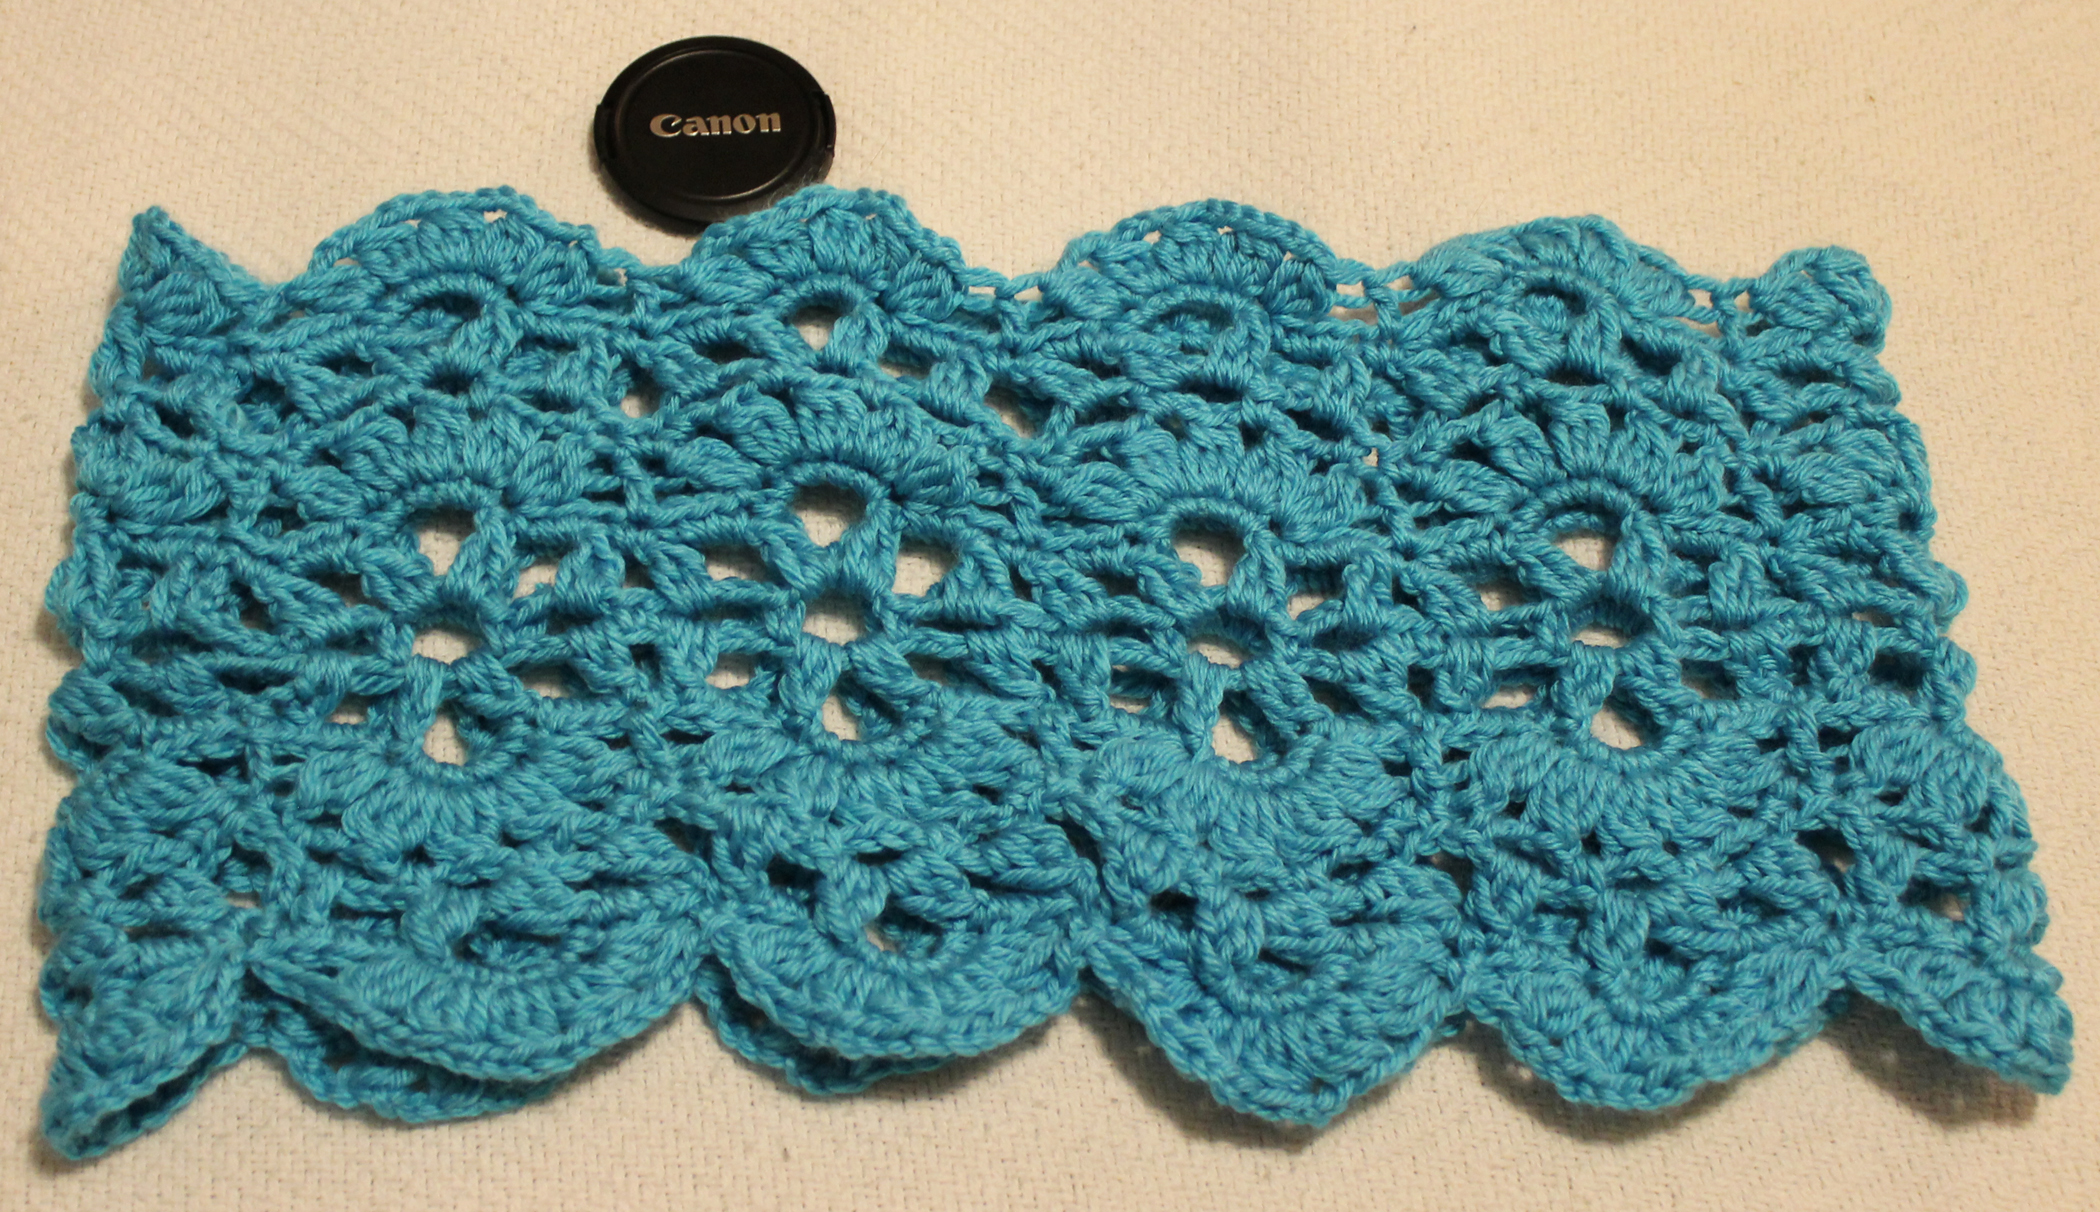
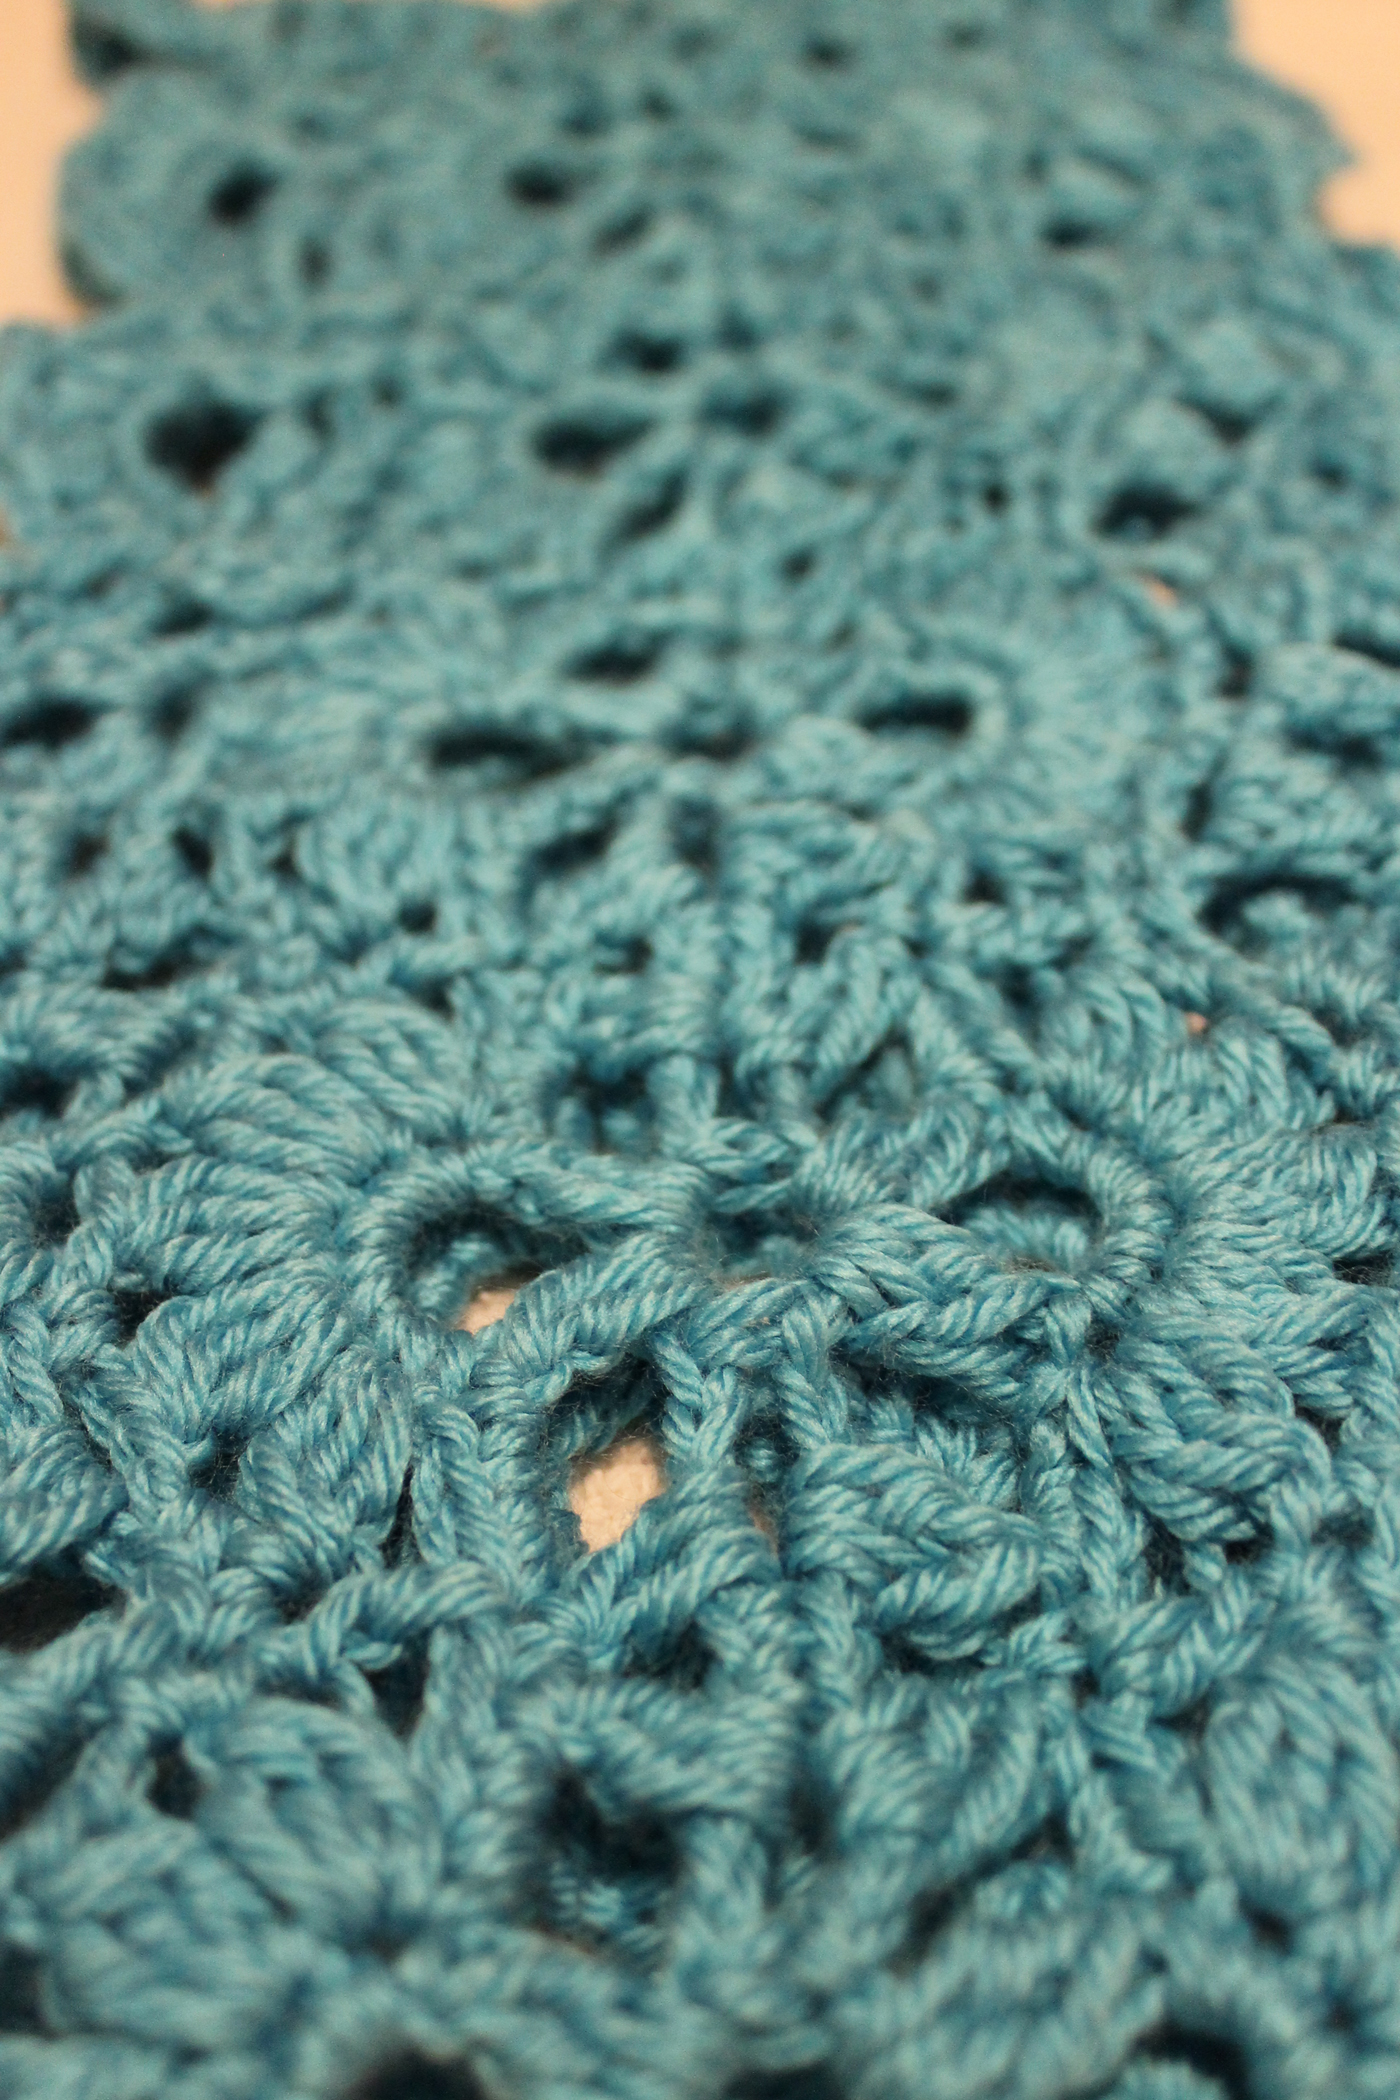
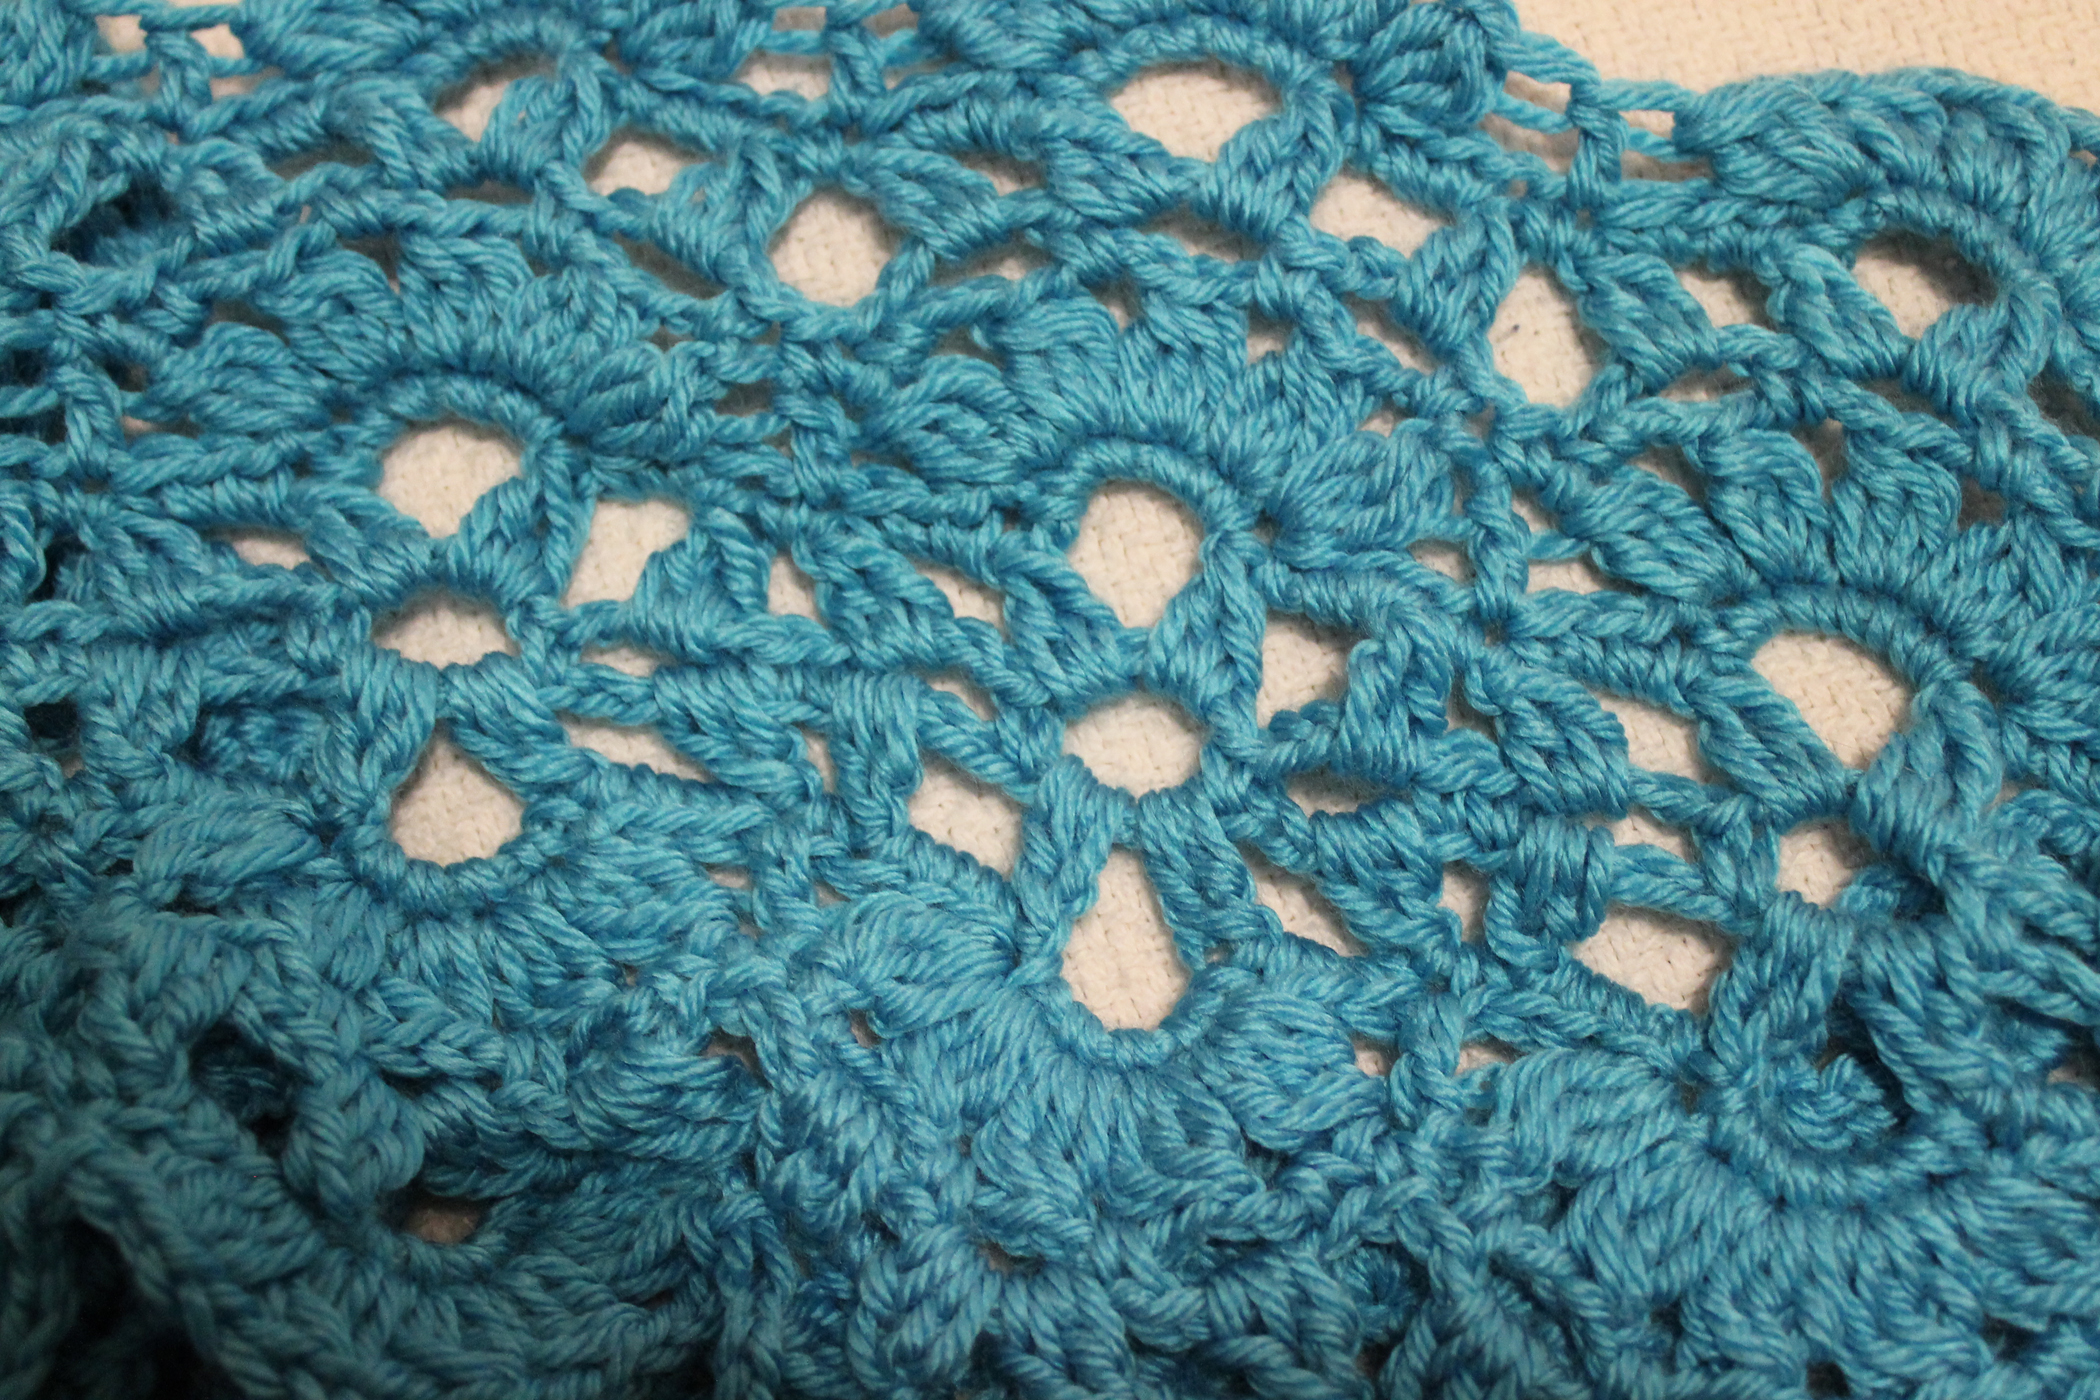
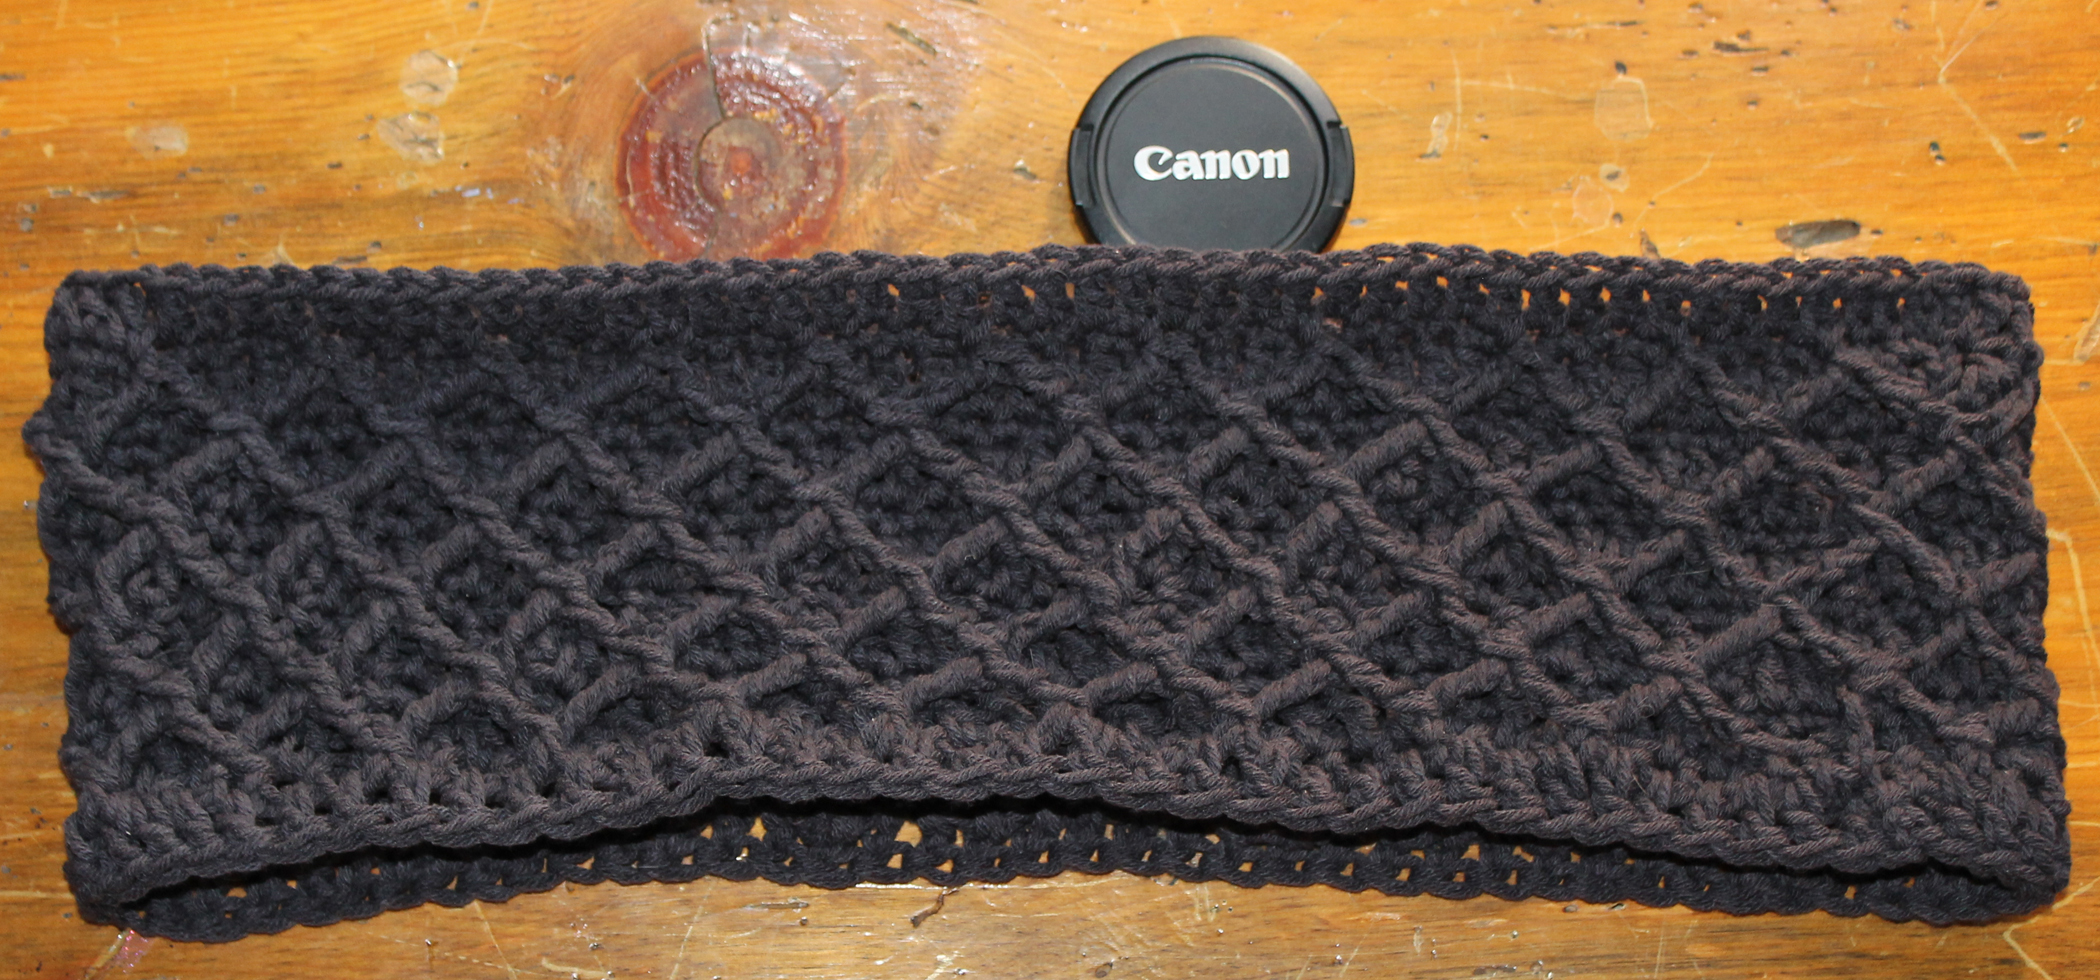
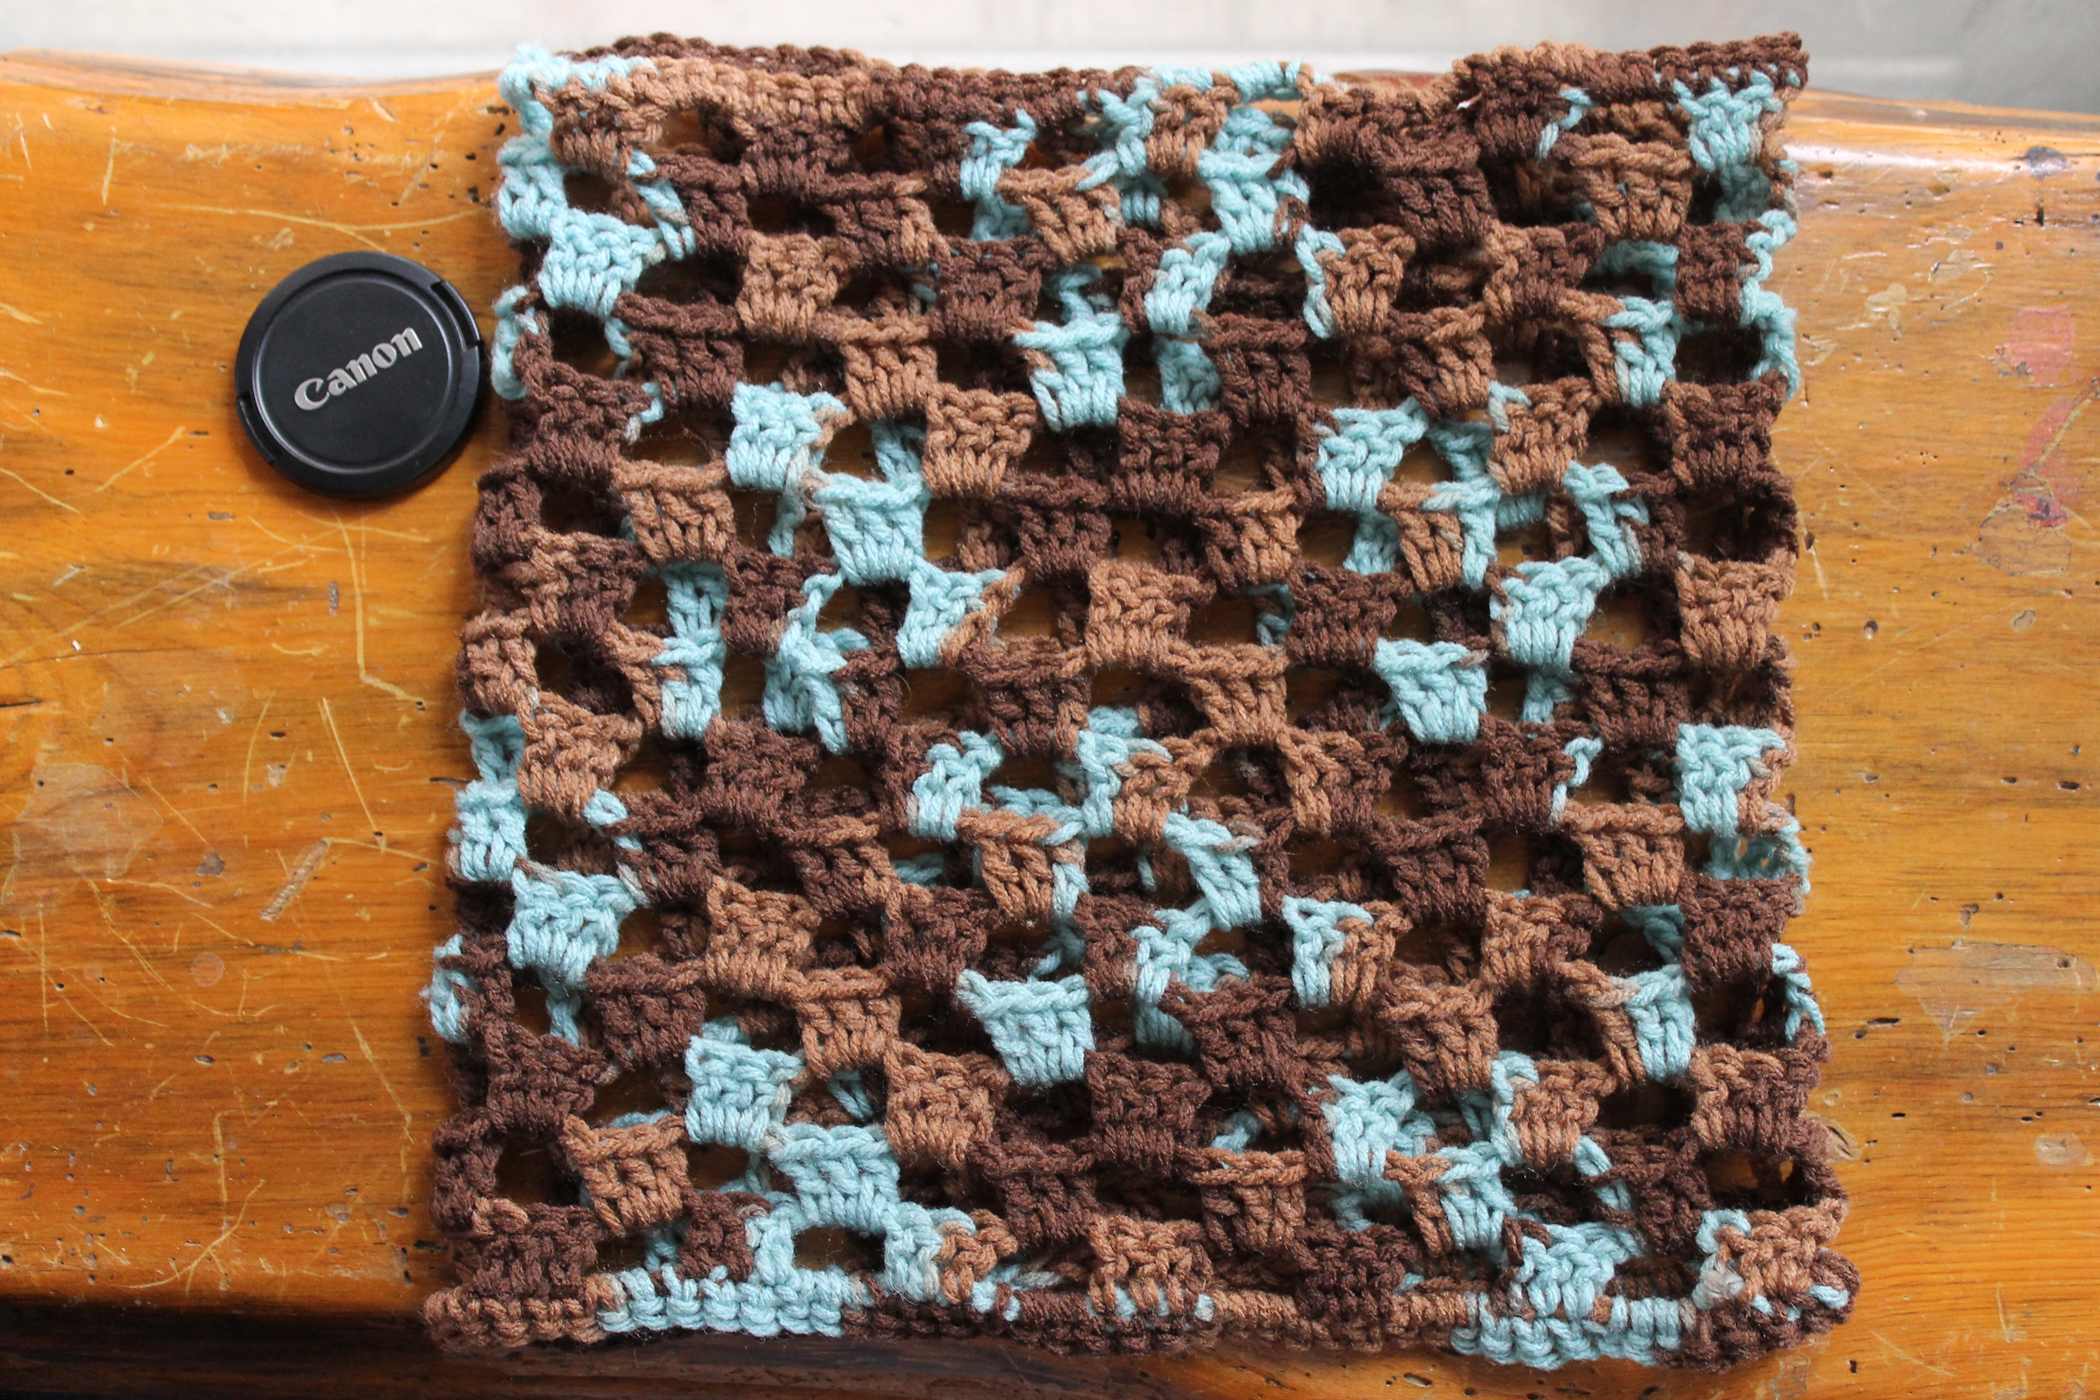
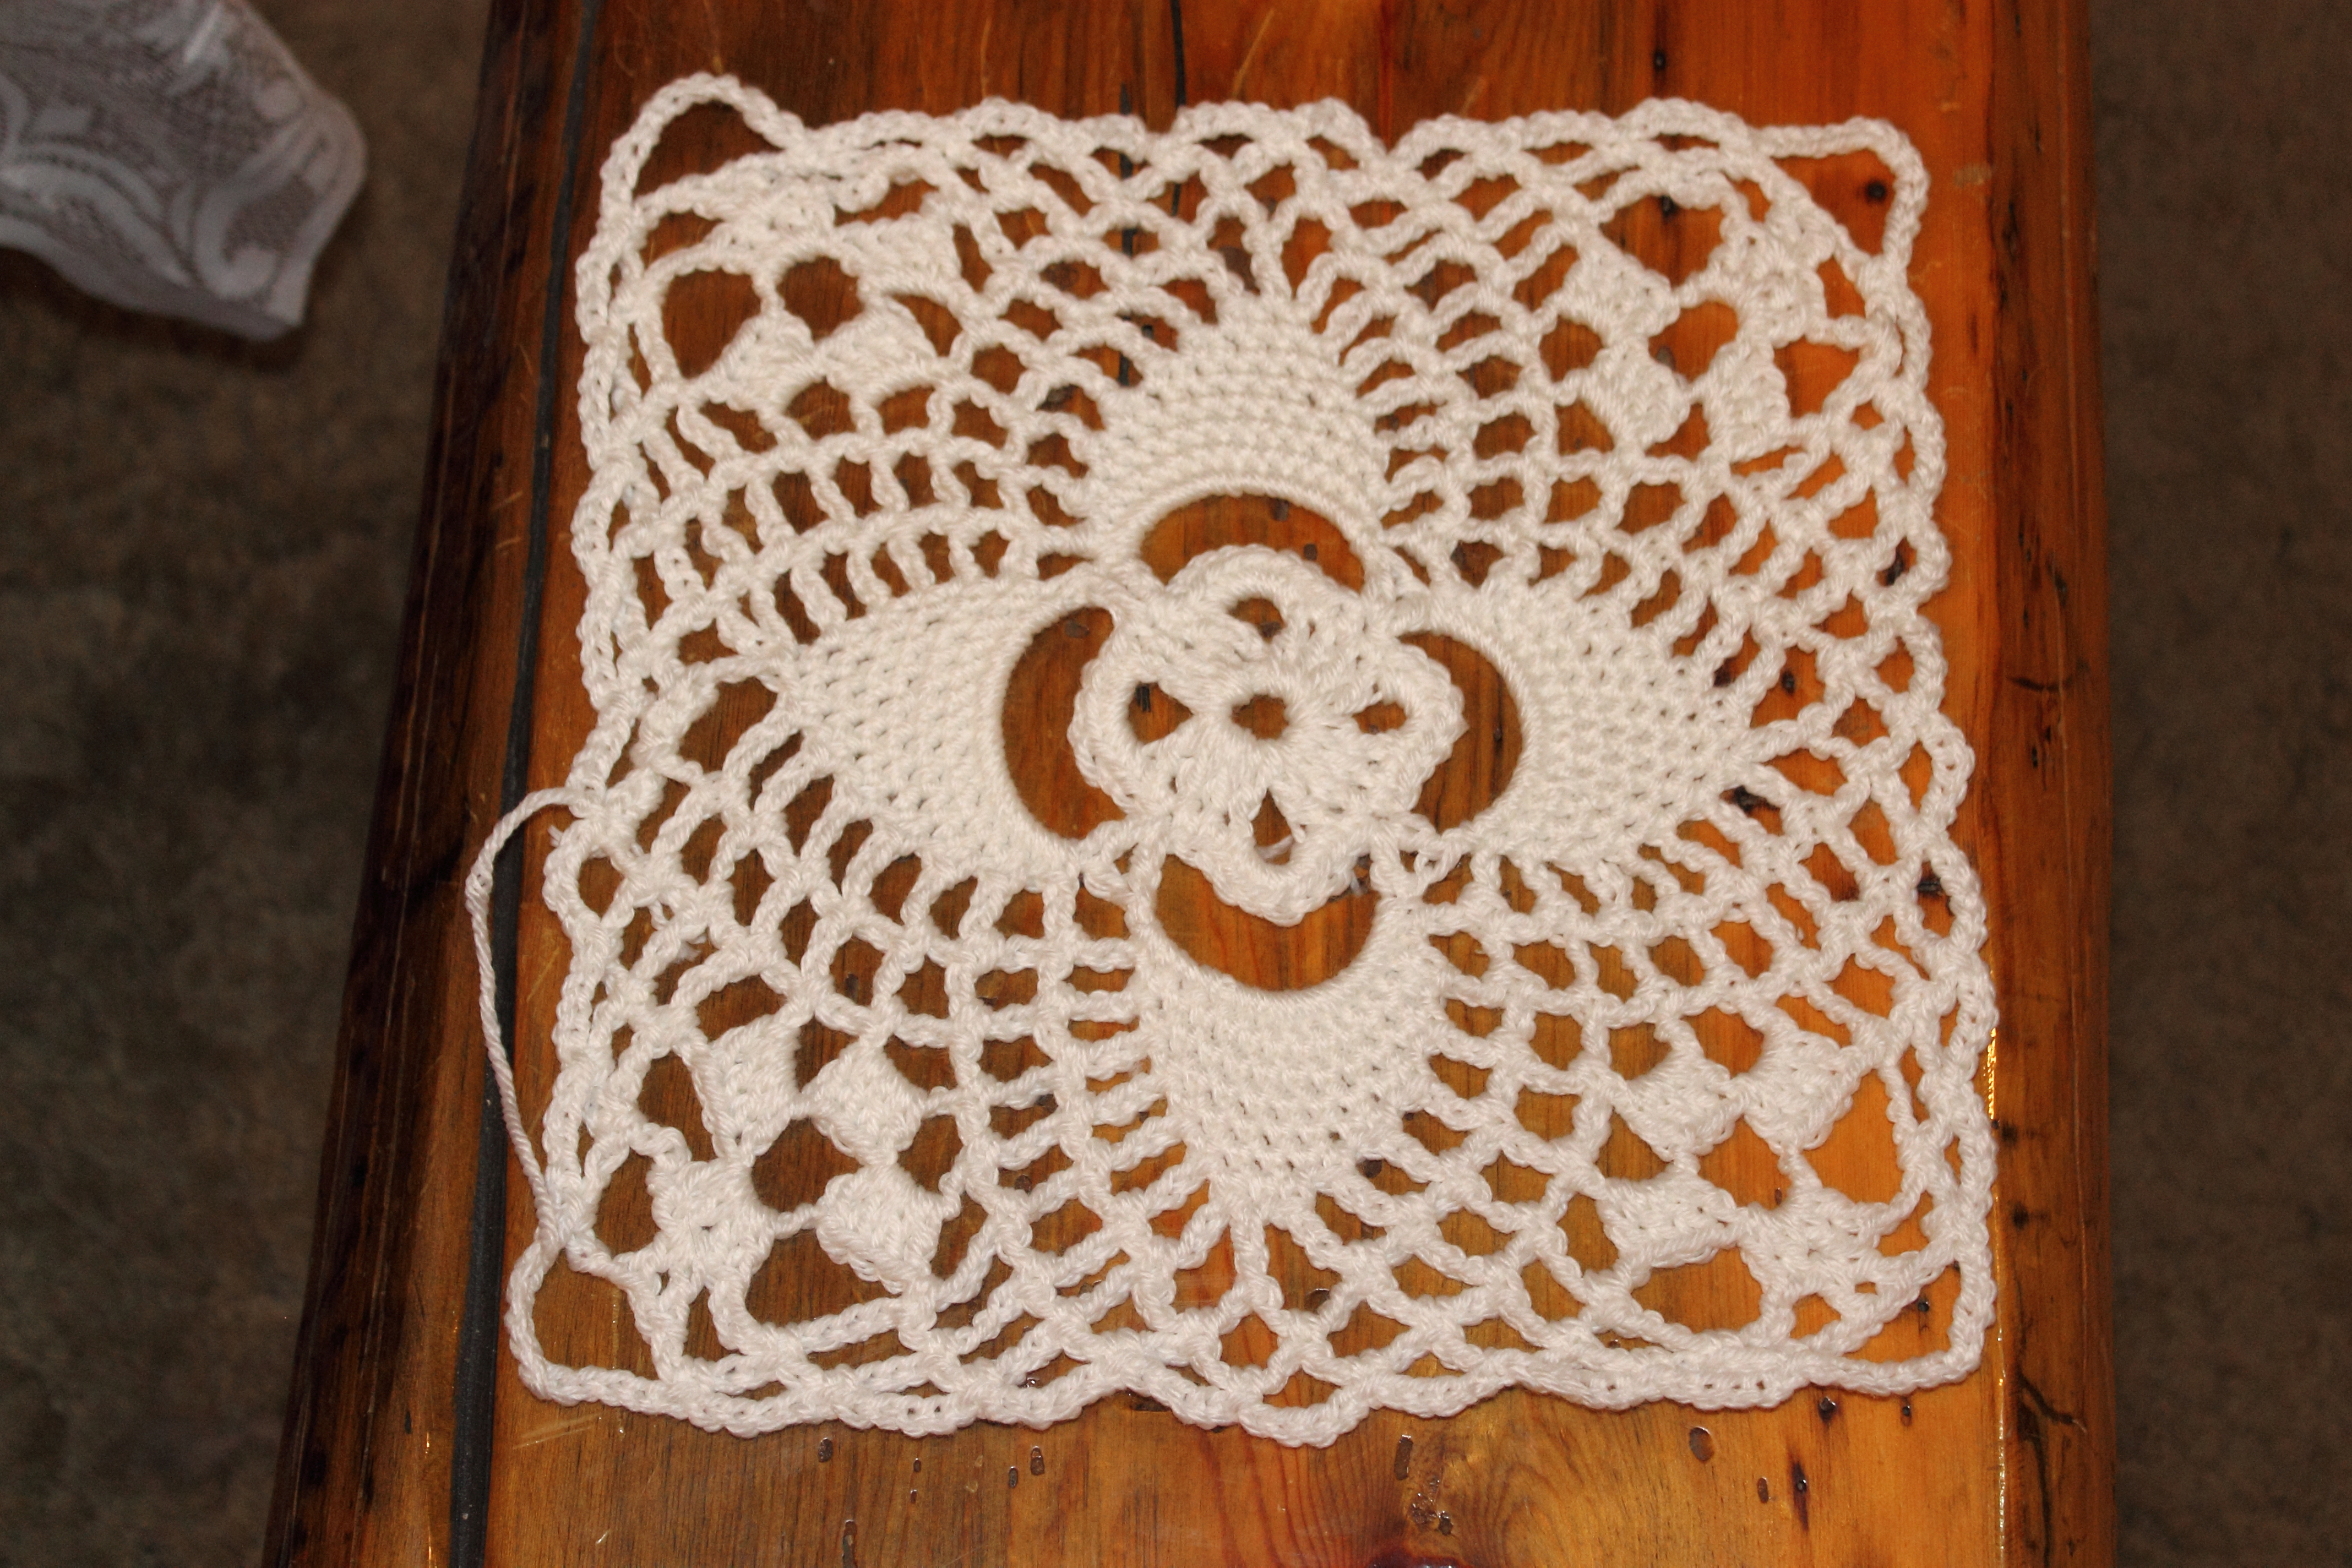
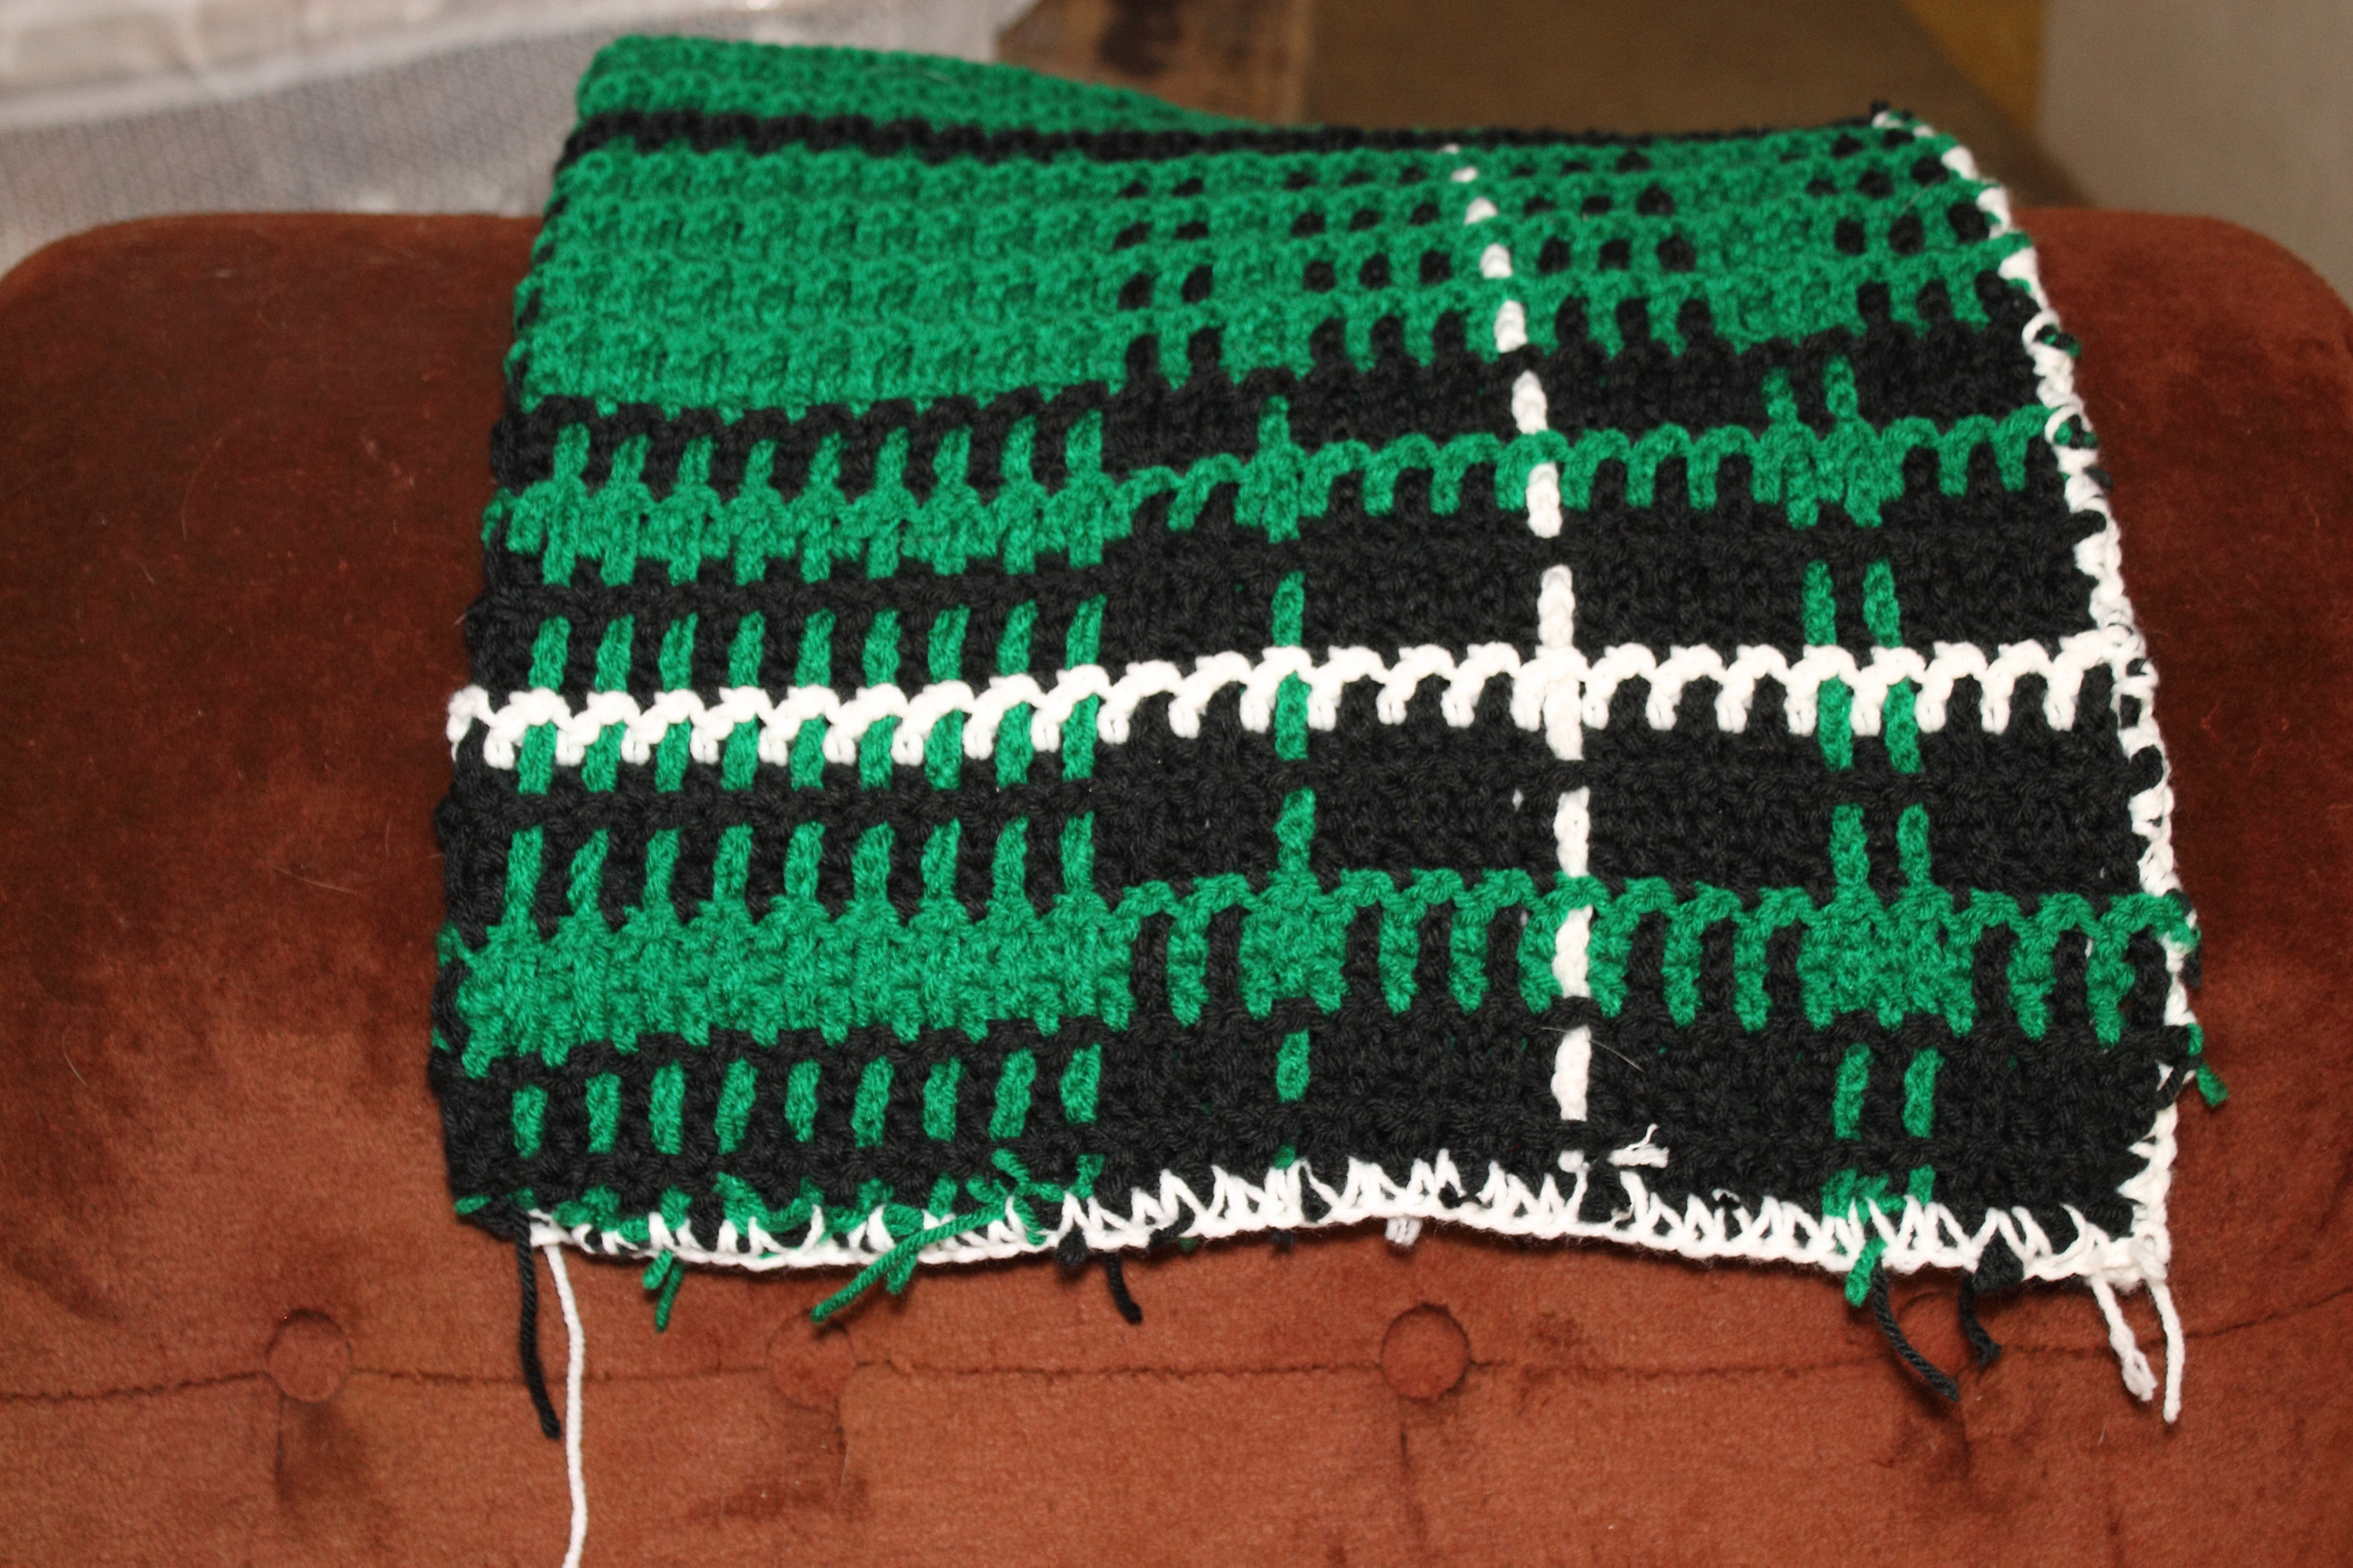
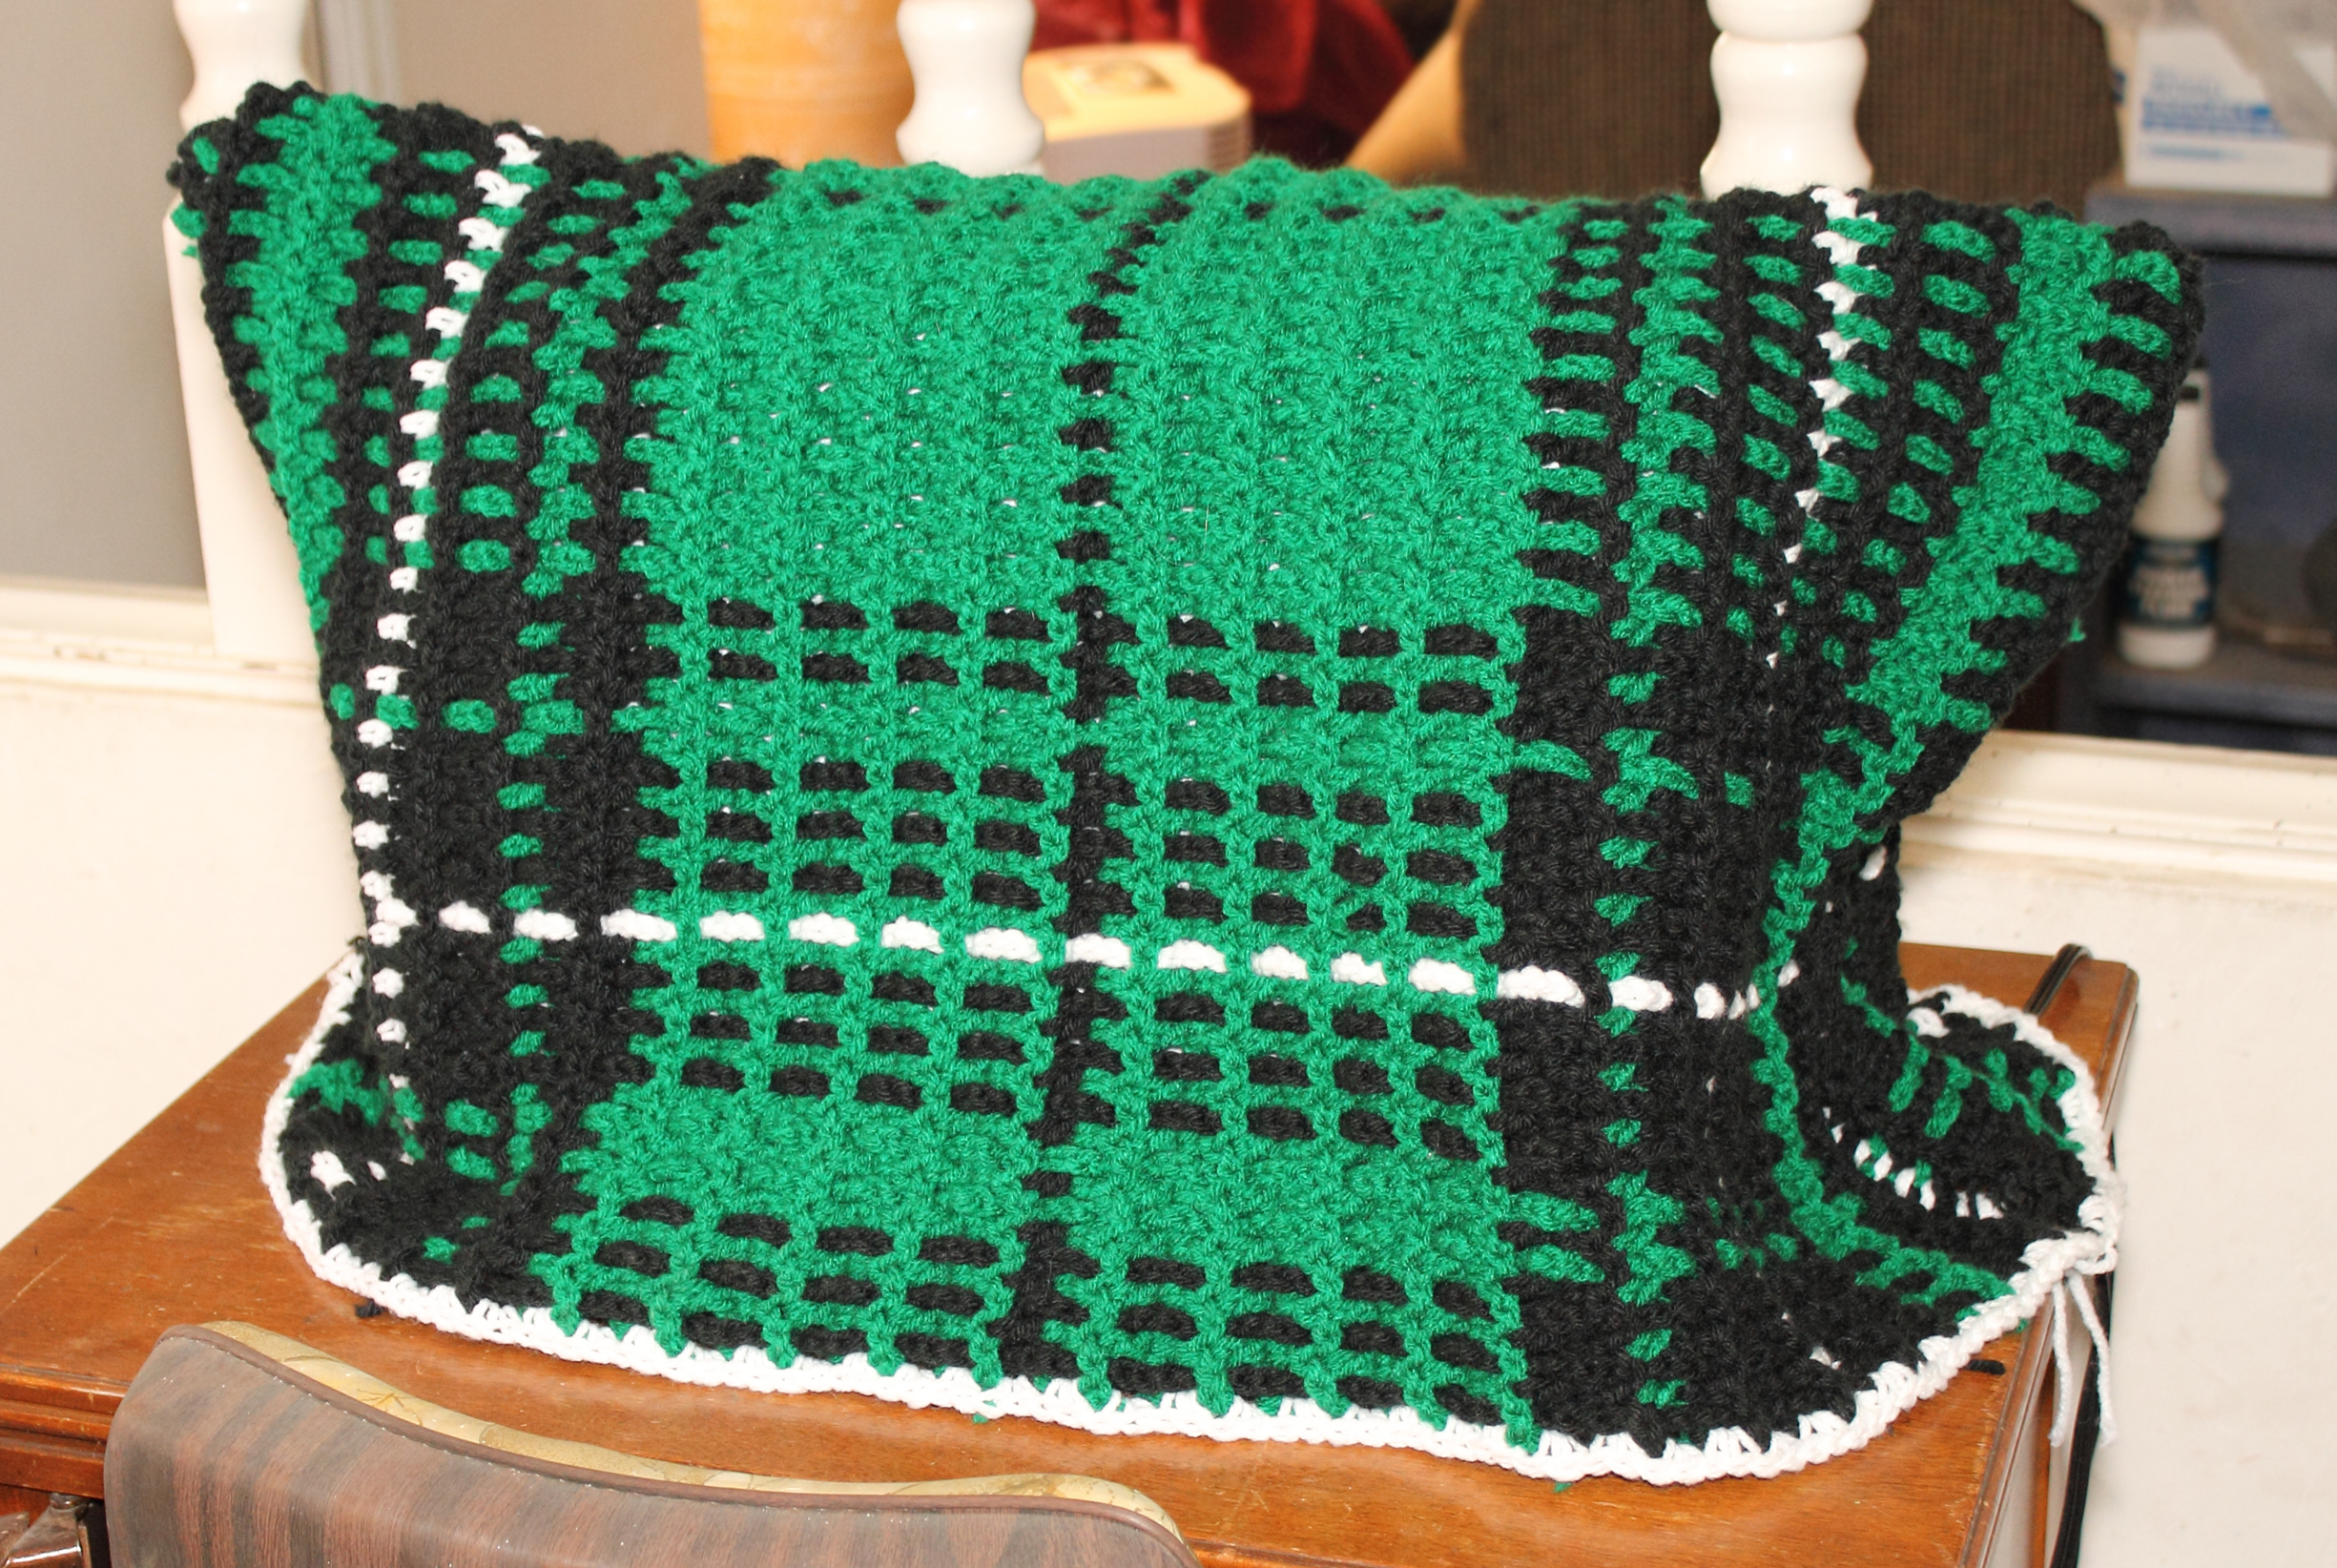
I had never done a Bavarian project before and had to watch some YouTube videos to learn the technique. It is so easy!

Bavarian Baby Blanket 1

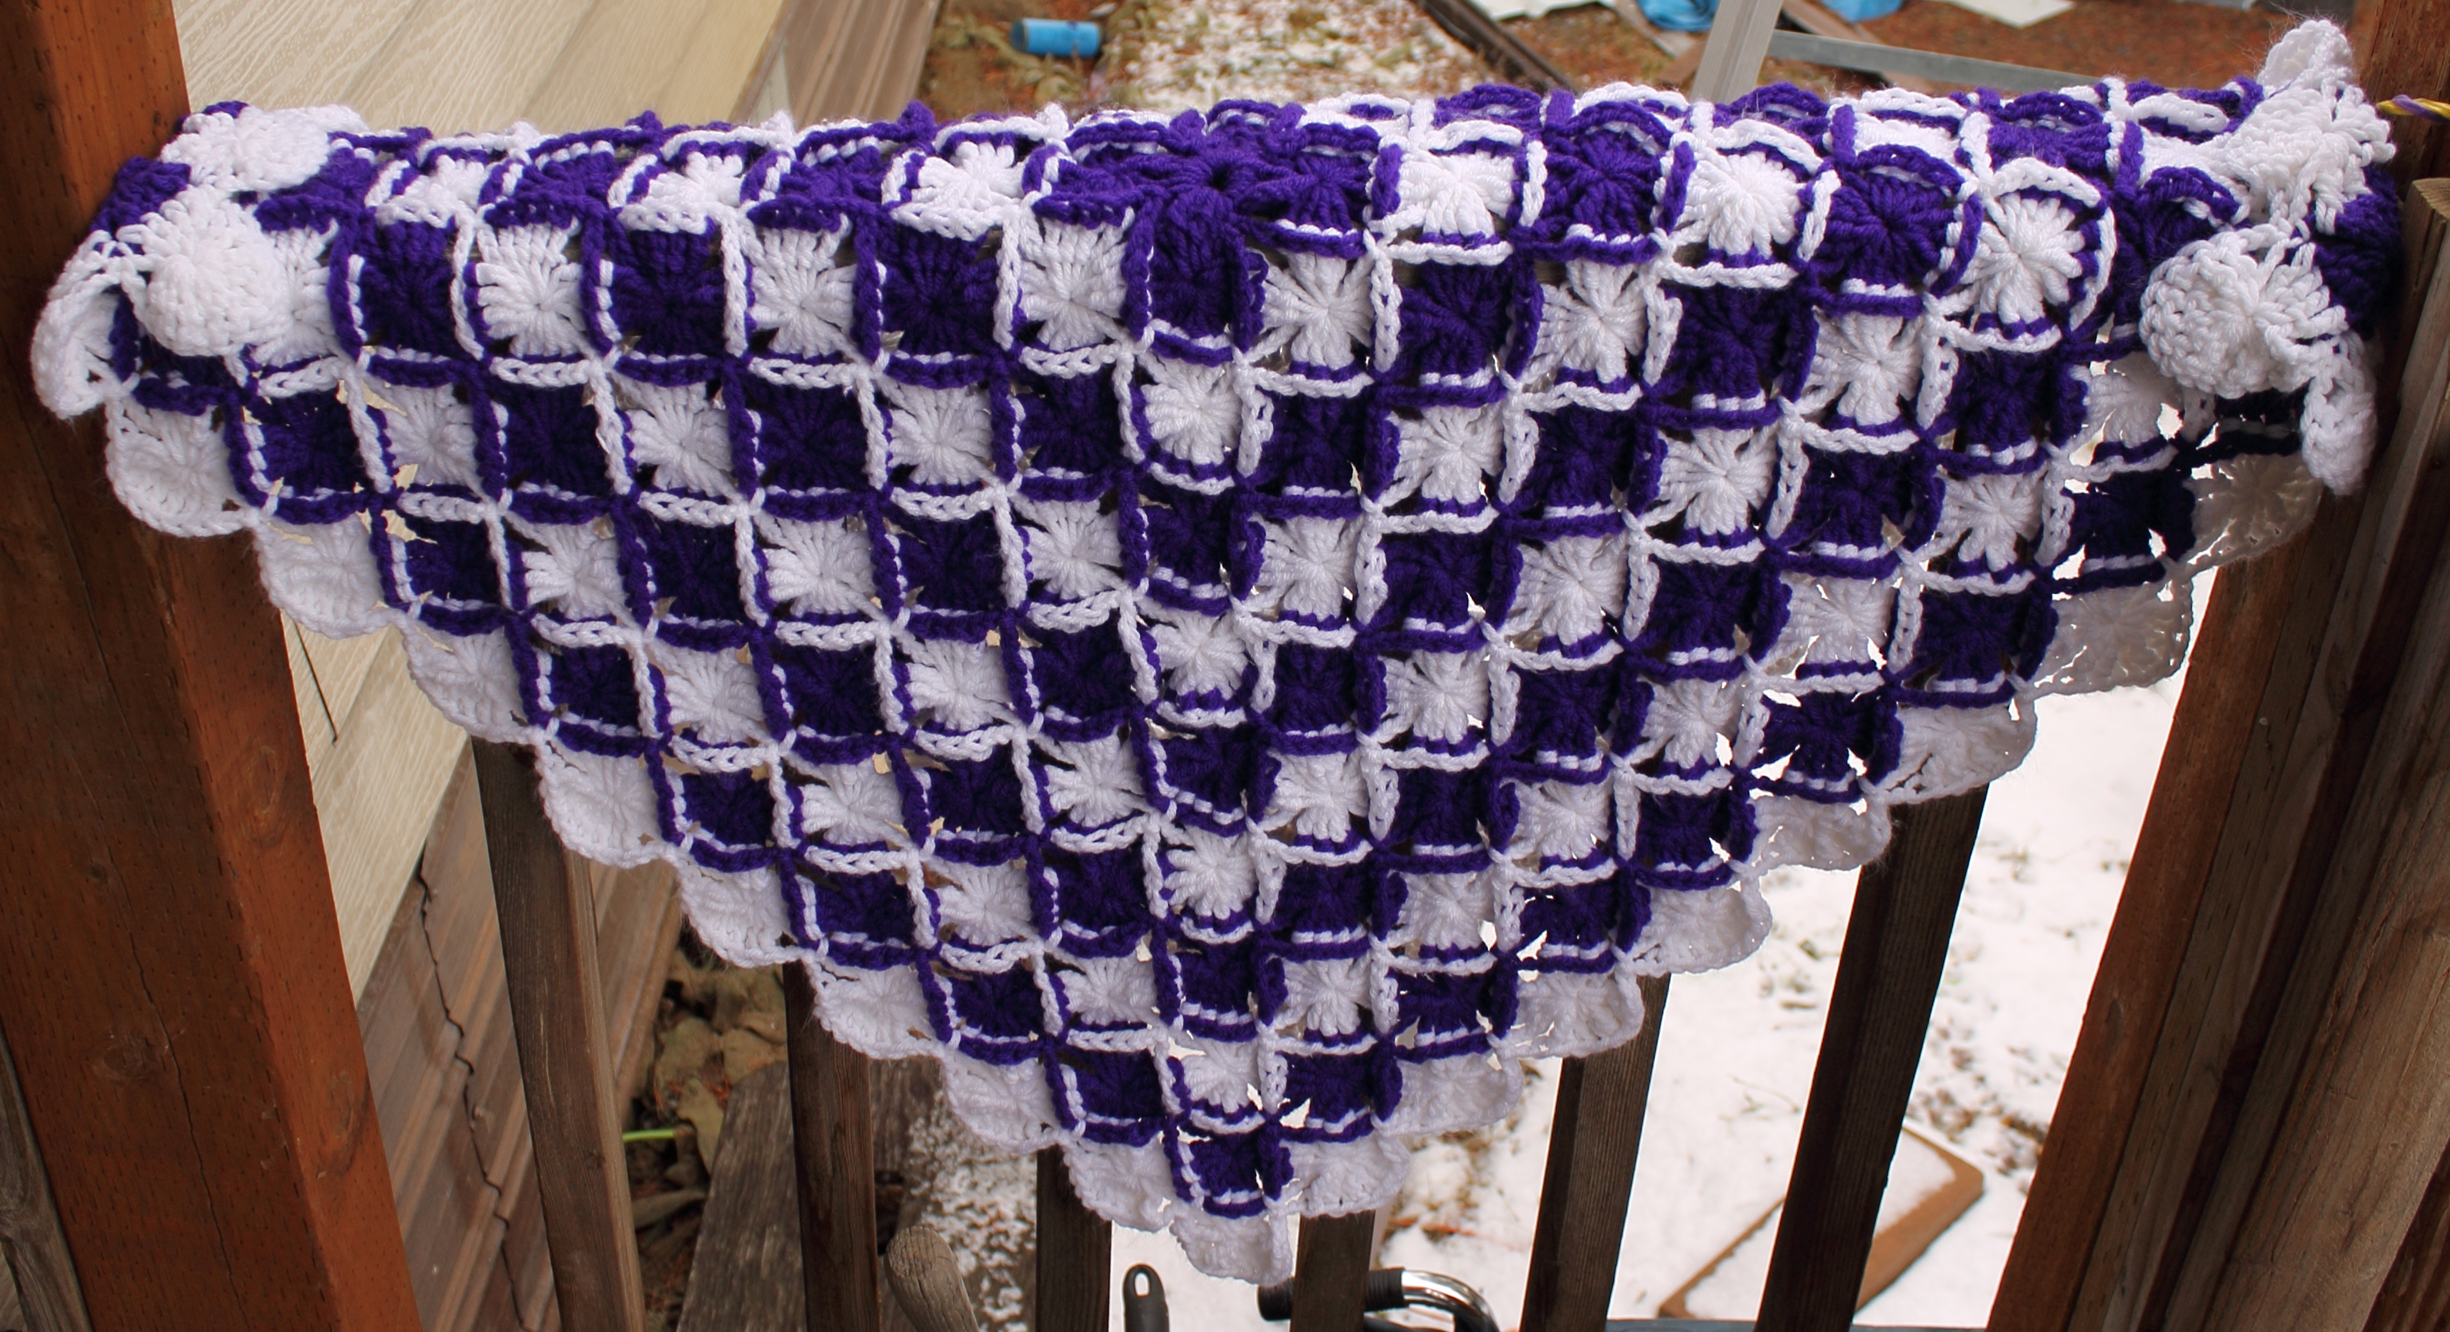
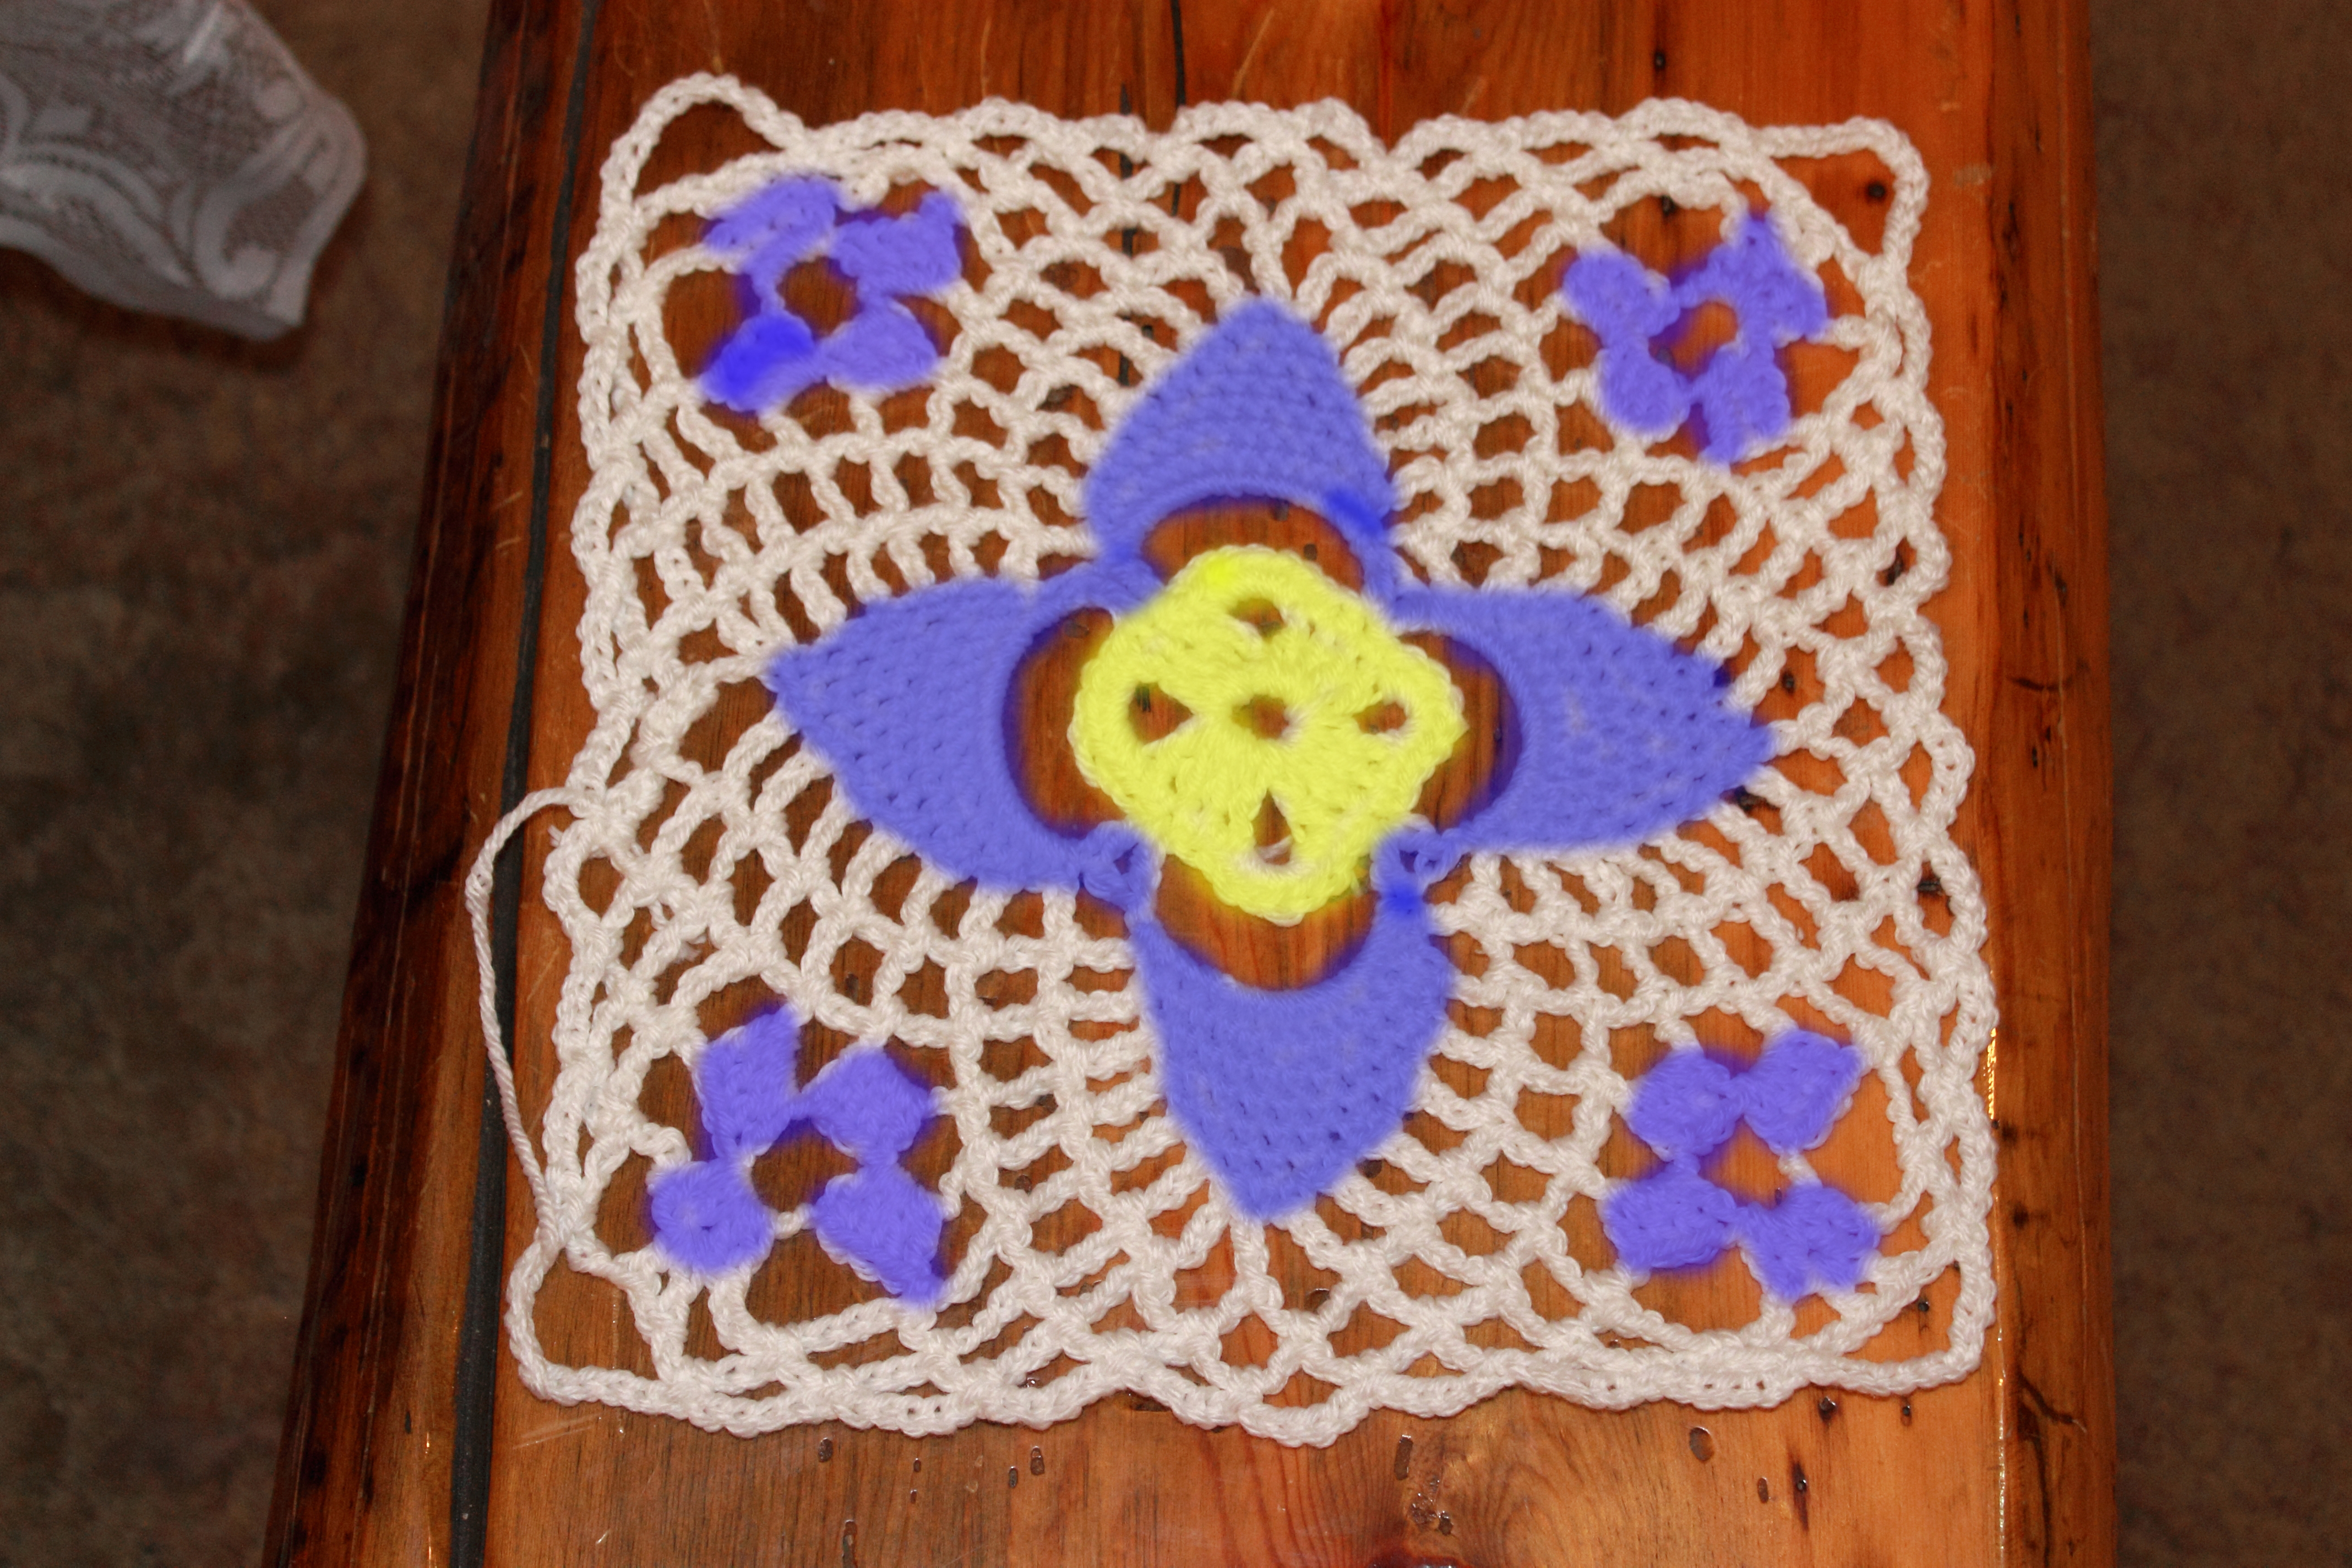
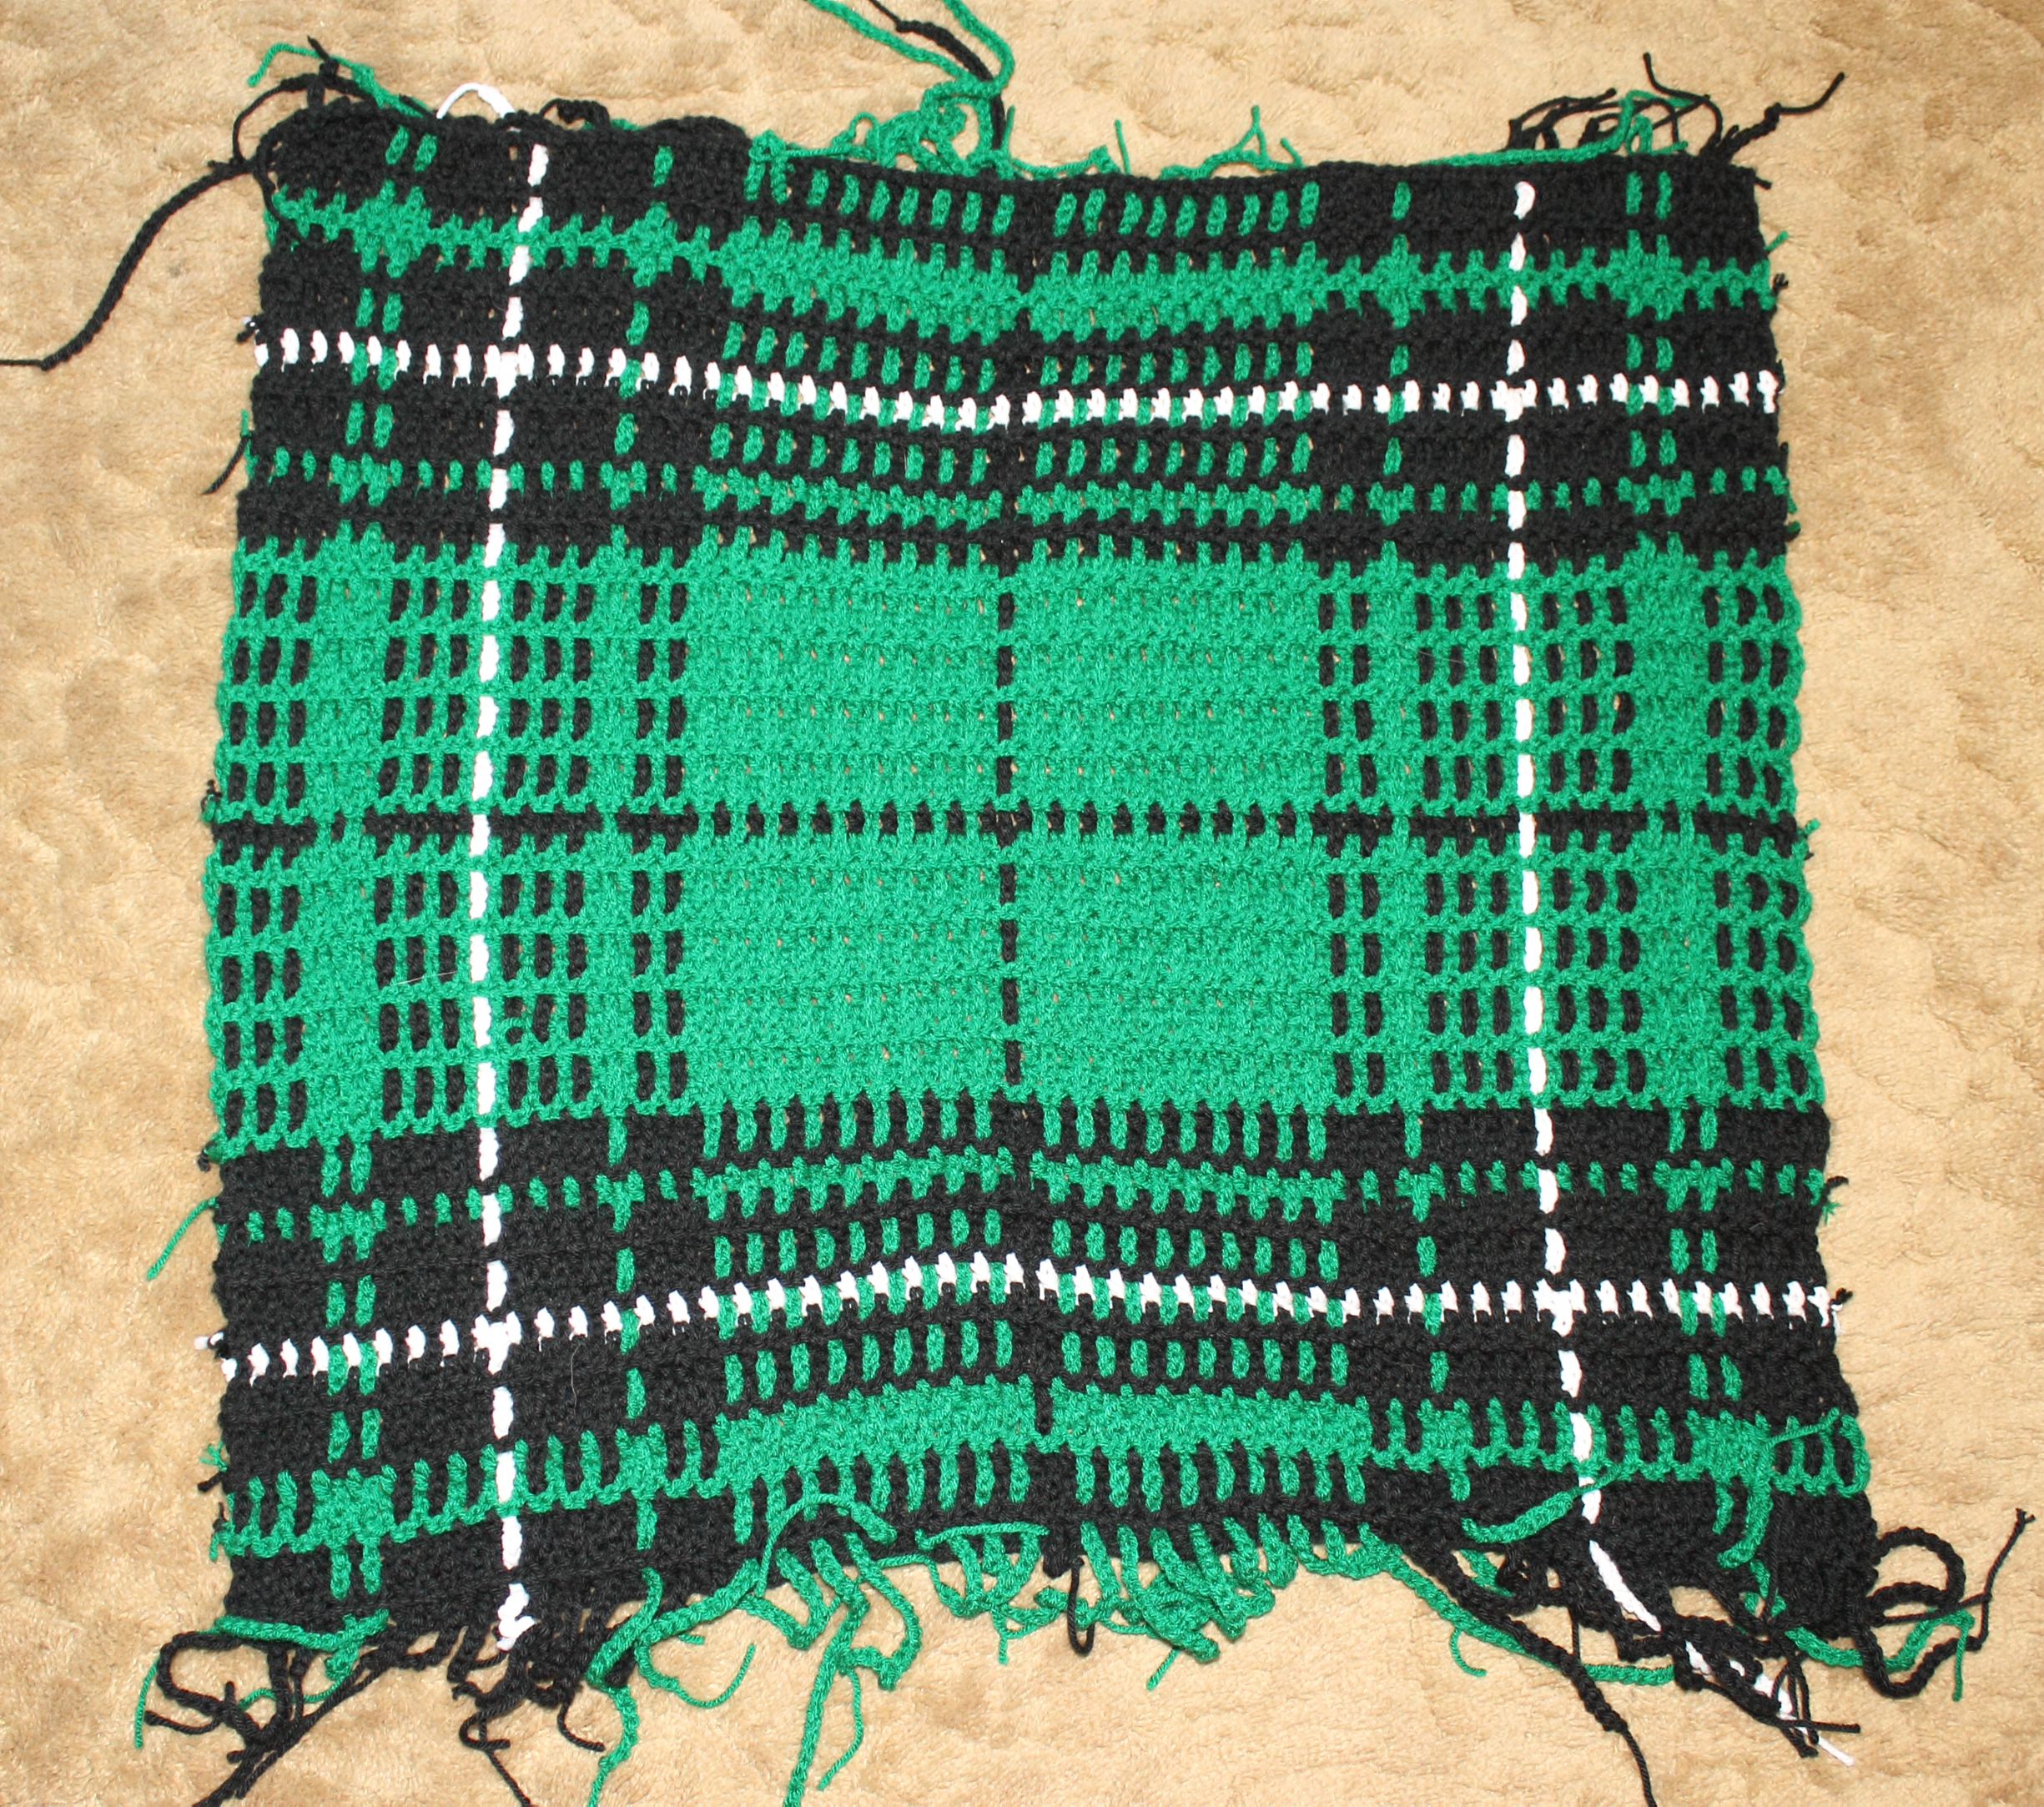
I wanted to make the blanket a little bit bigger, but I was running out of time. I had to stop where I was the night before the kids left. This not-so-big square took the better part of a full skein of yarn in each color. It really is a wool eater!

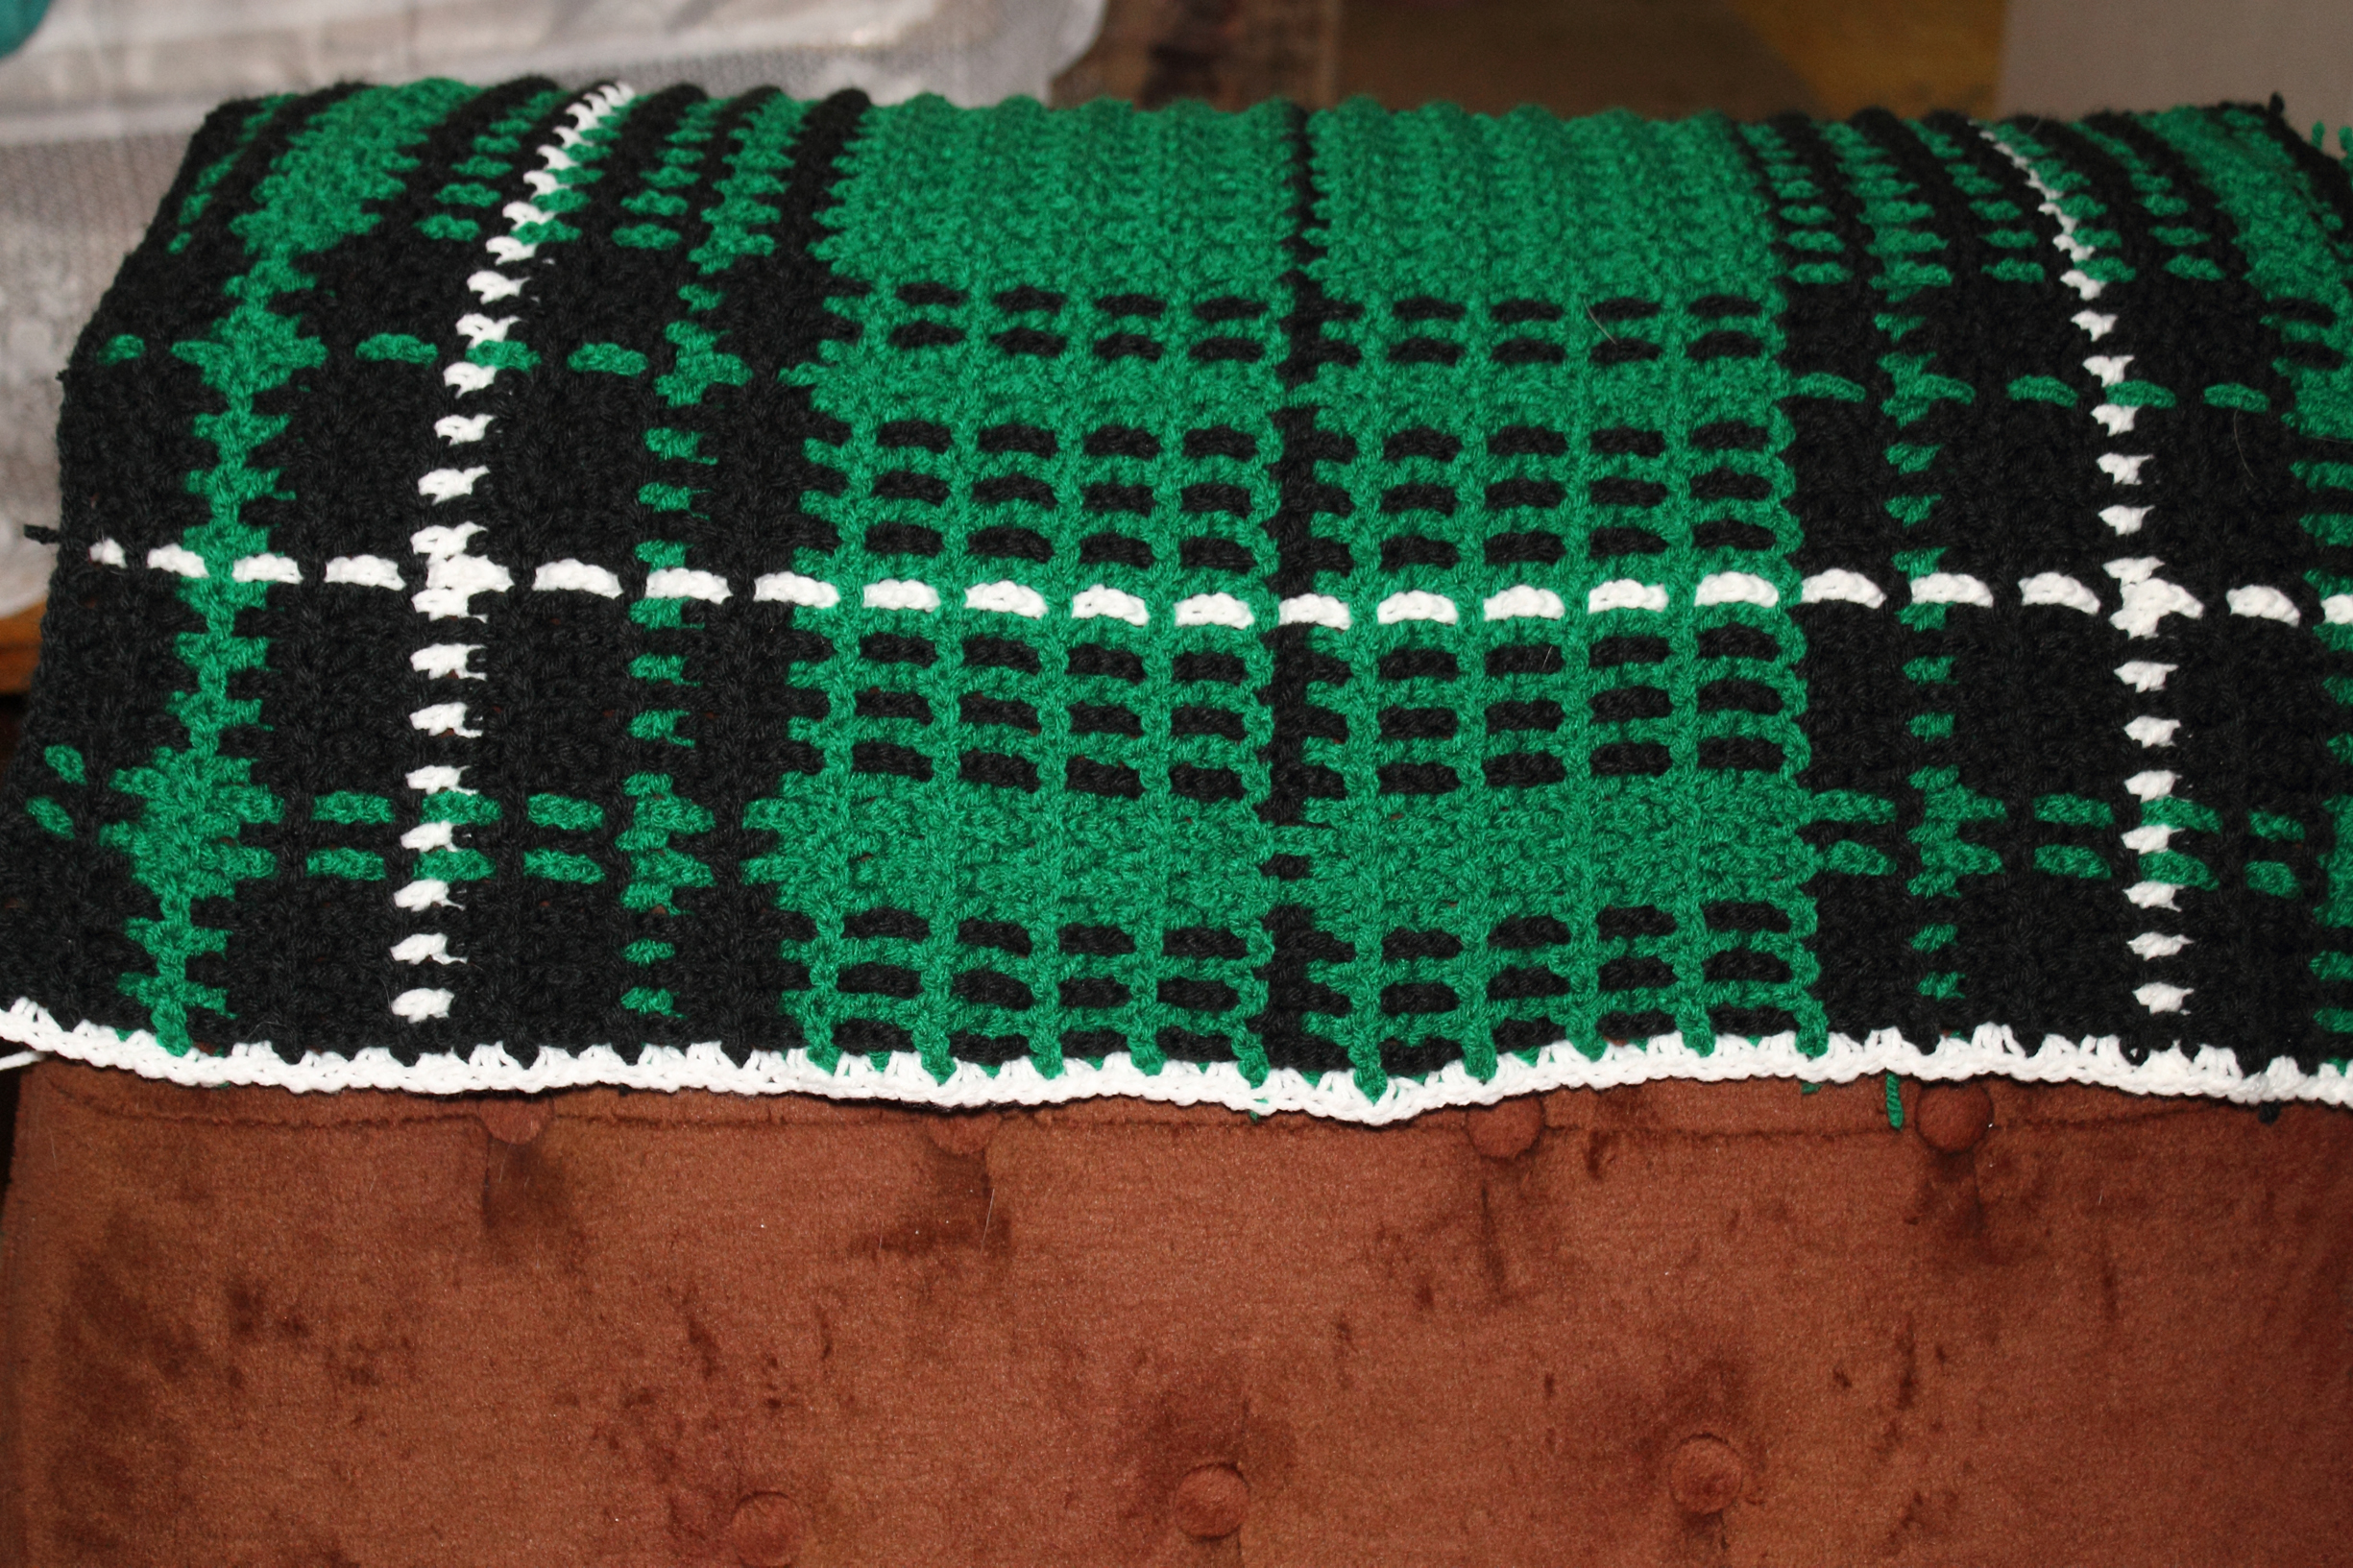
But, it is super thick and it will be very warm for the little one. I figured that it really doesn’t matter how small it is, they are going to be getting more blankets from me. This one will take the child until he or she is 4- or 5-years old.

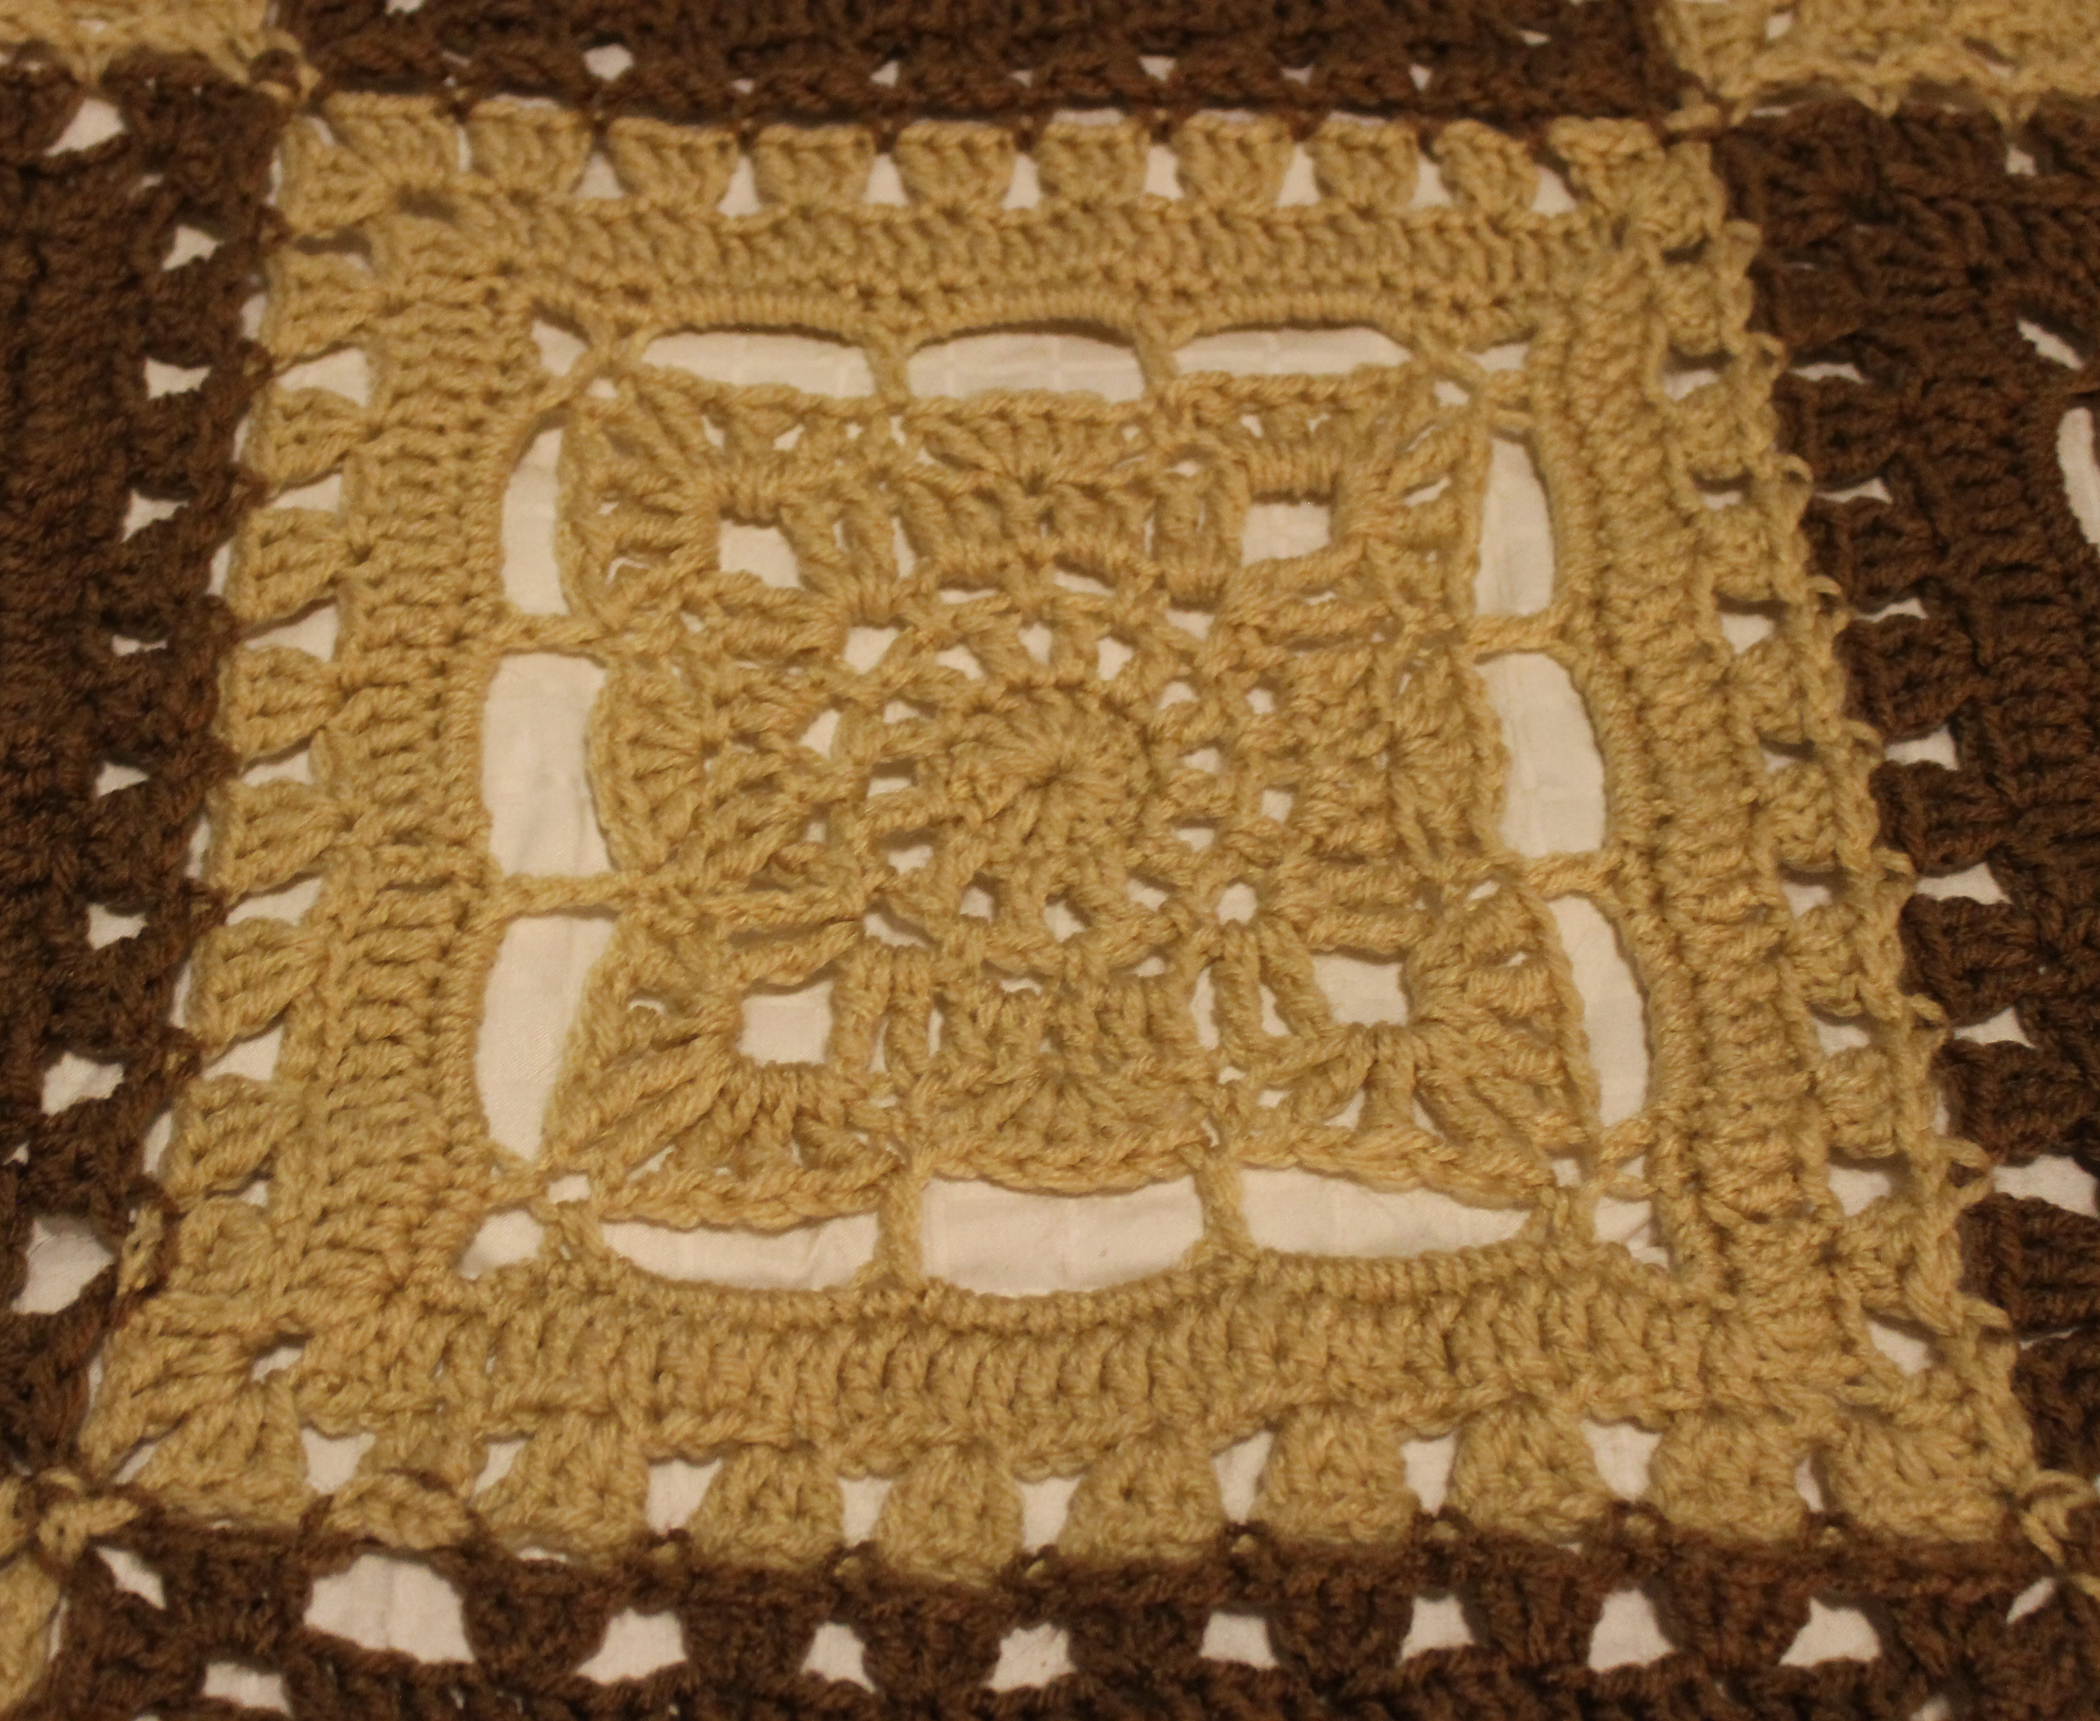
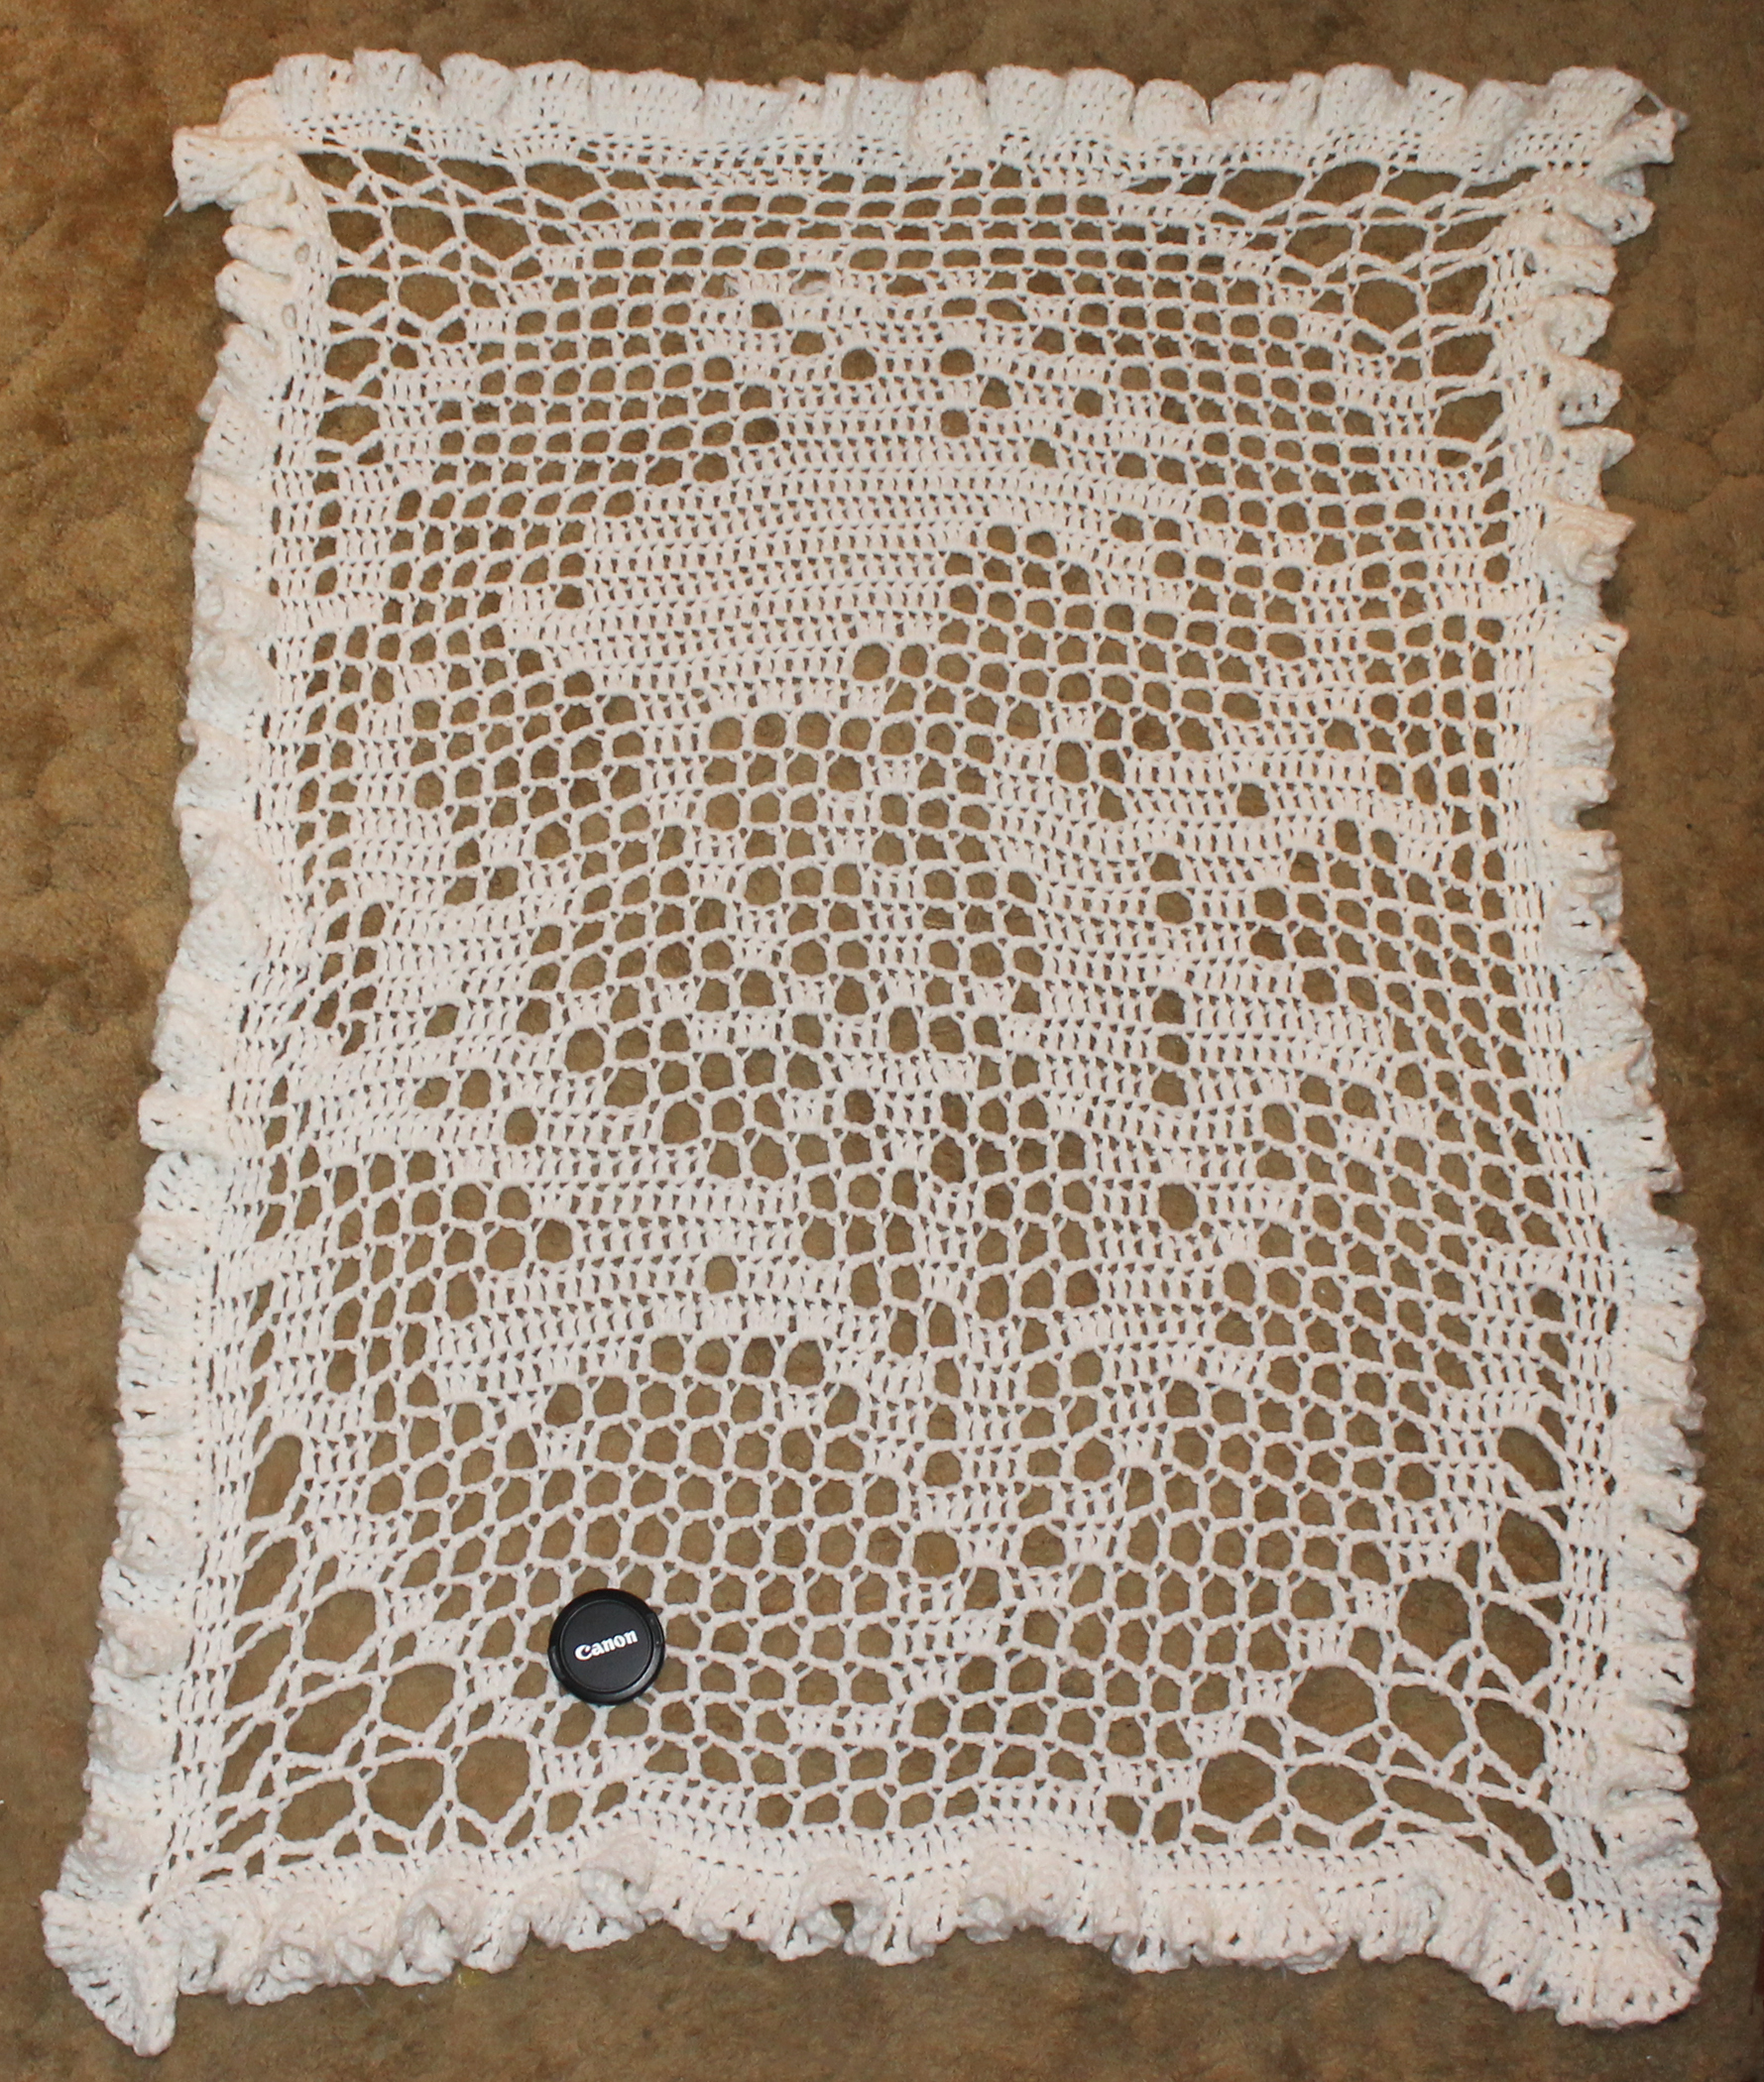
My sweetie likes the look of the reverse side and wants me to make one for him. I guess that will just be plain Catherine Wheels. I’ll probably just make it rectangle and work it back and forth, rather than in rounds. I think that would be easier.

I have been having some trouble finding a baby booties pattern that I like. Most patterns out there are really geared towards either male or female. There are some super-cute patterns and I can’t wait to find out the gender of the baby…

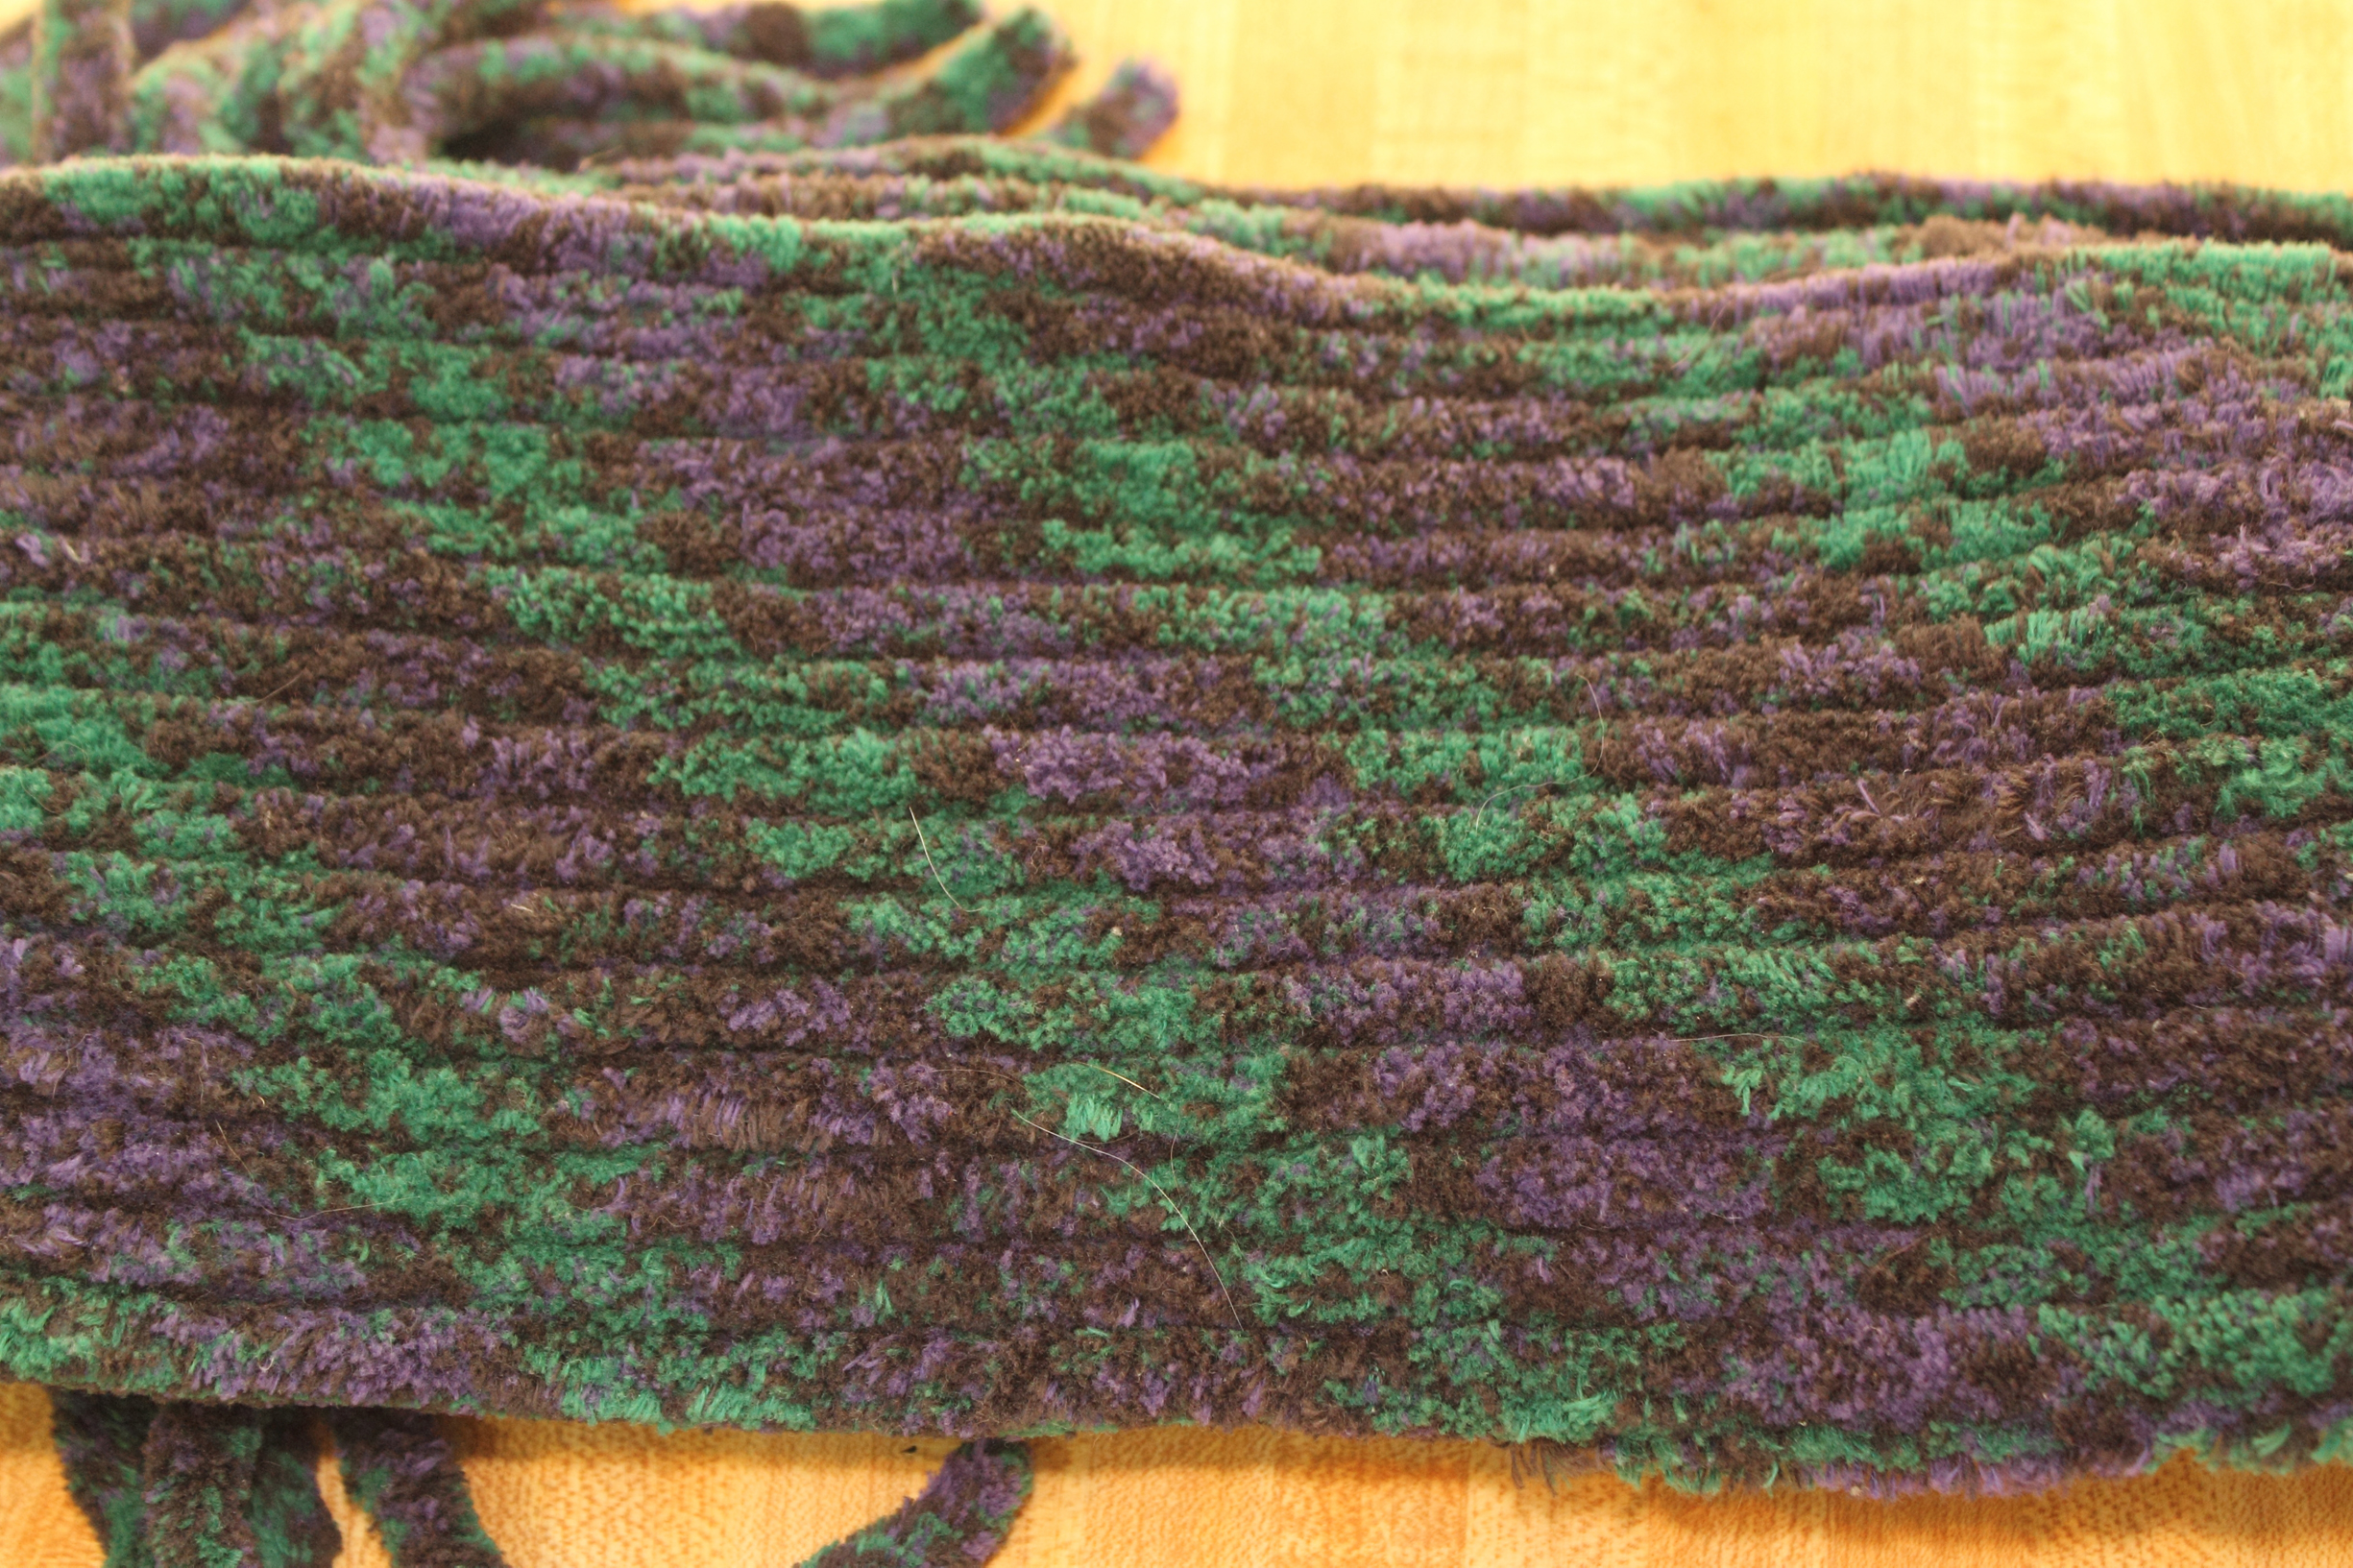
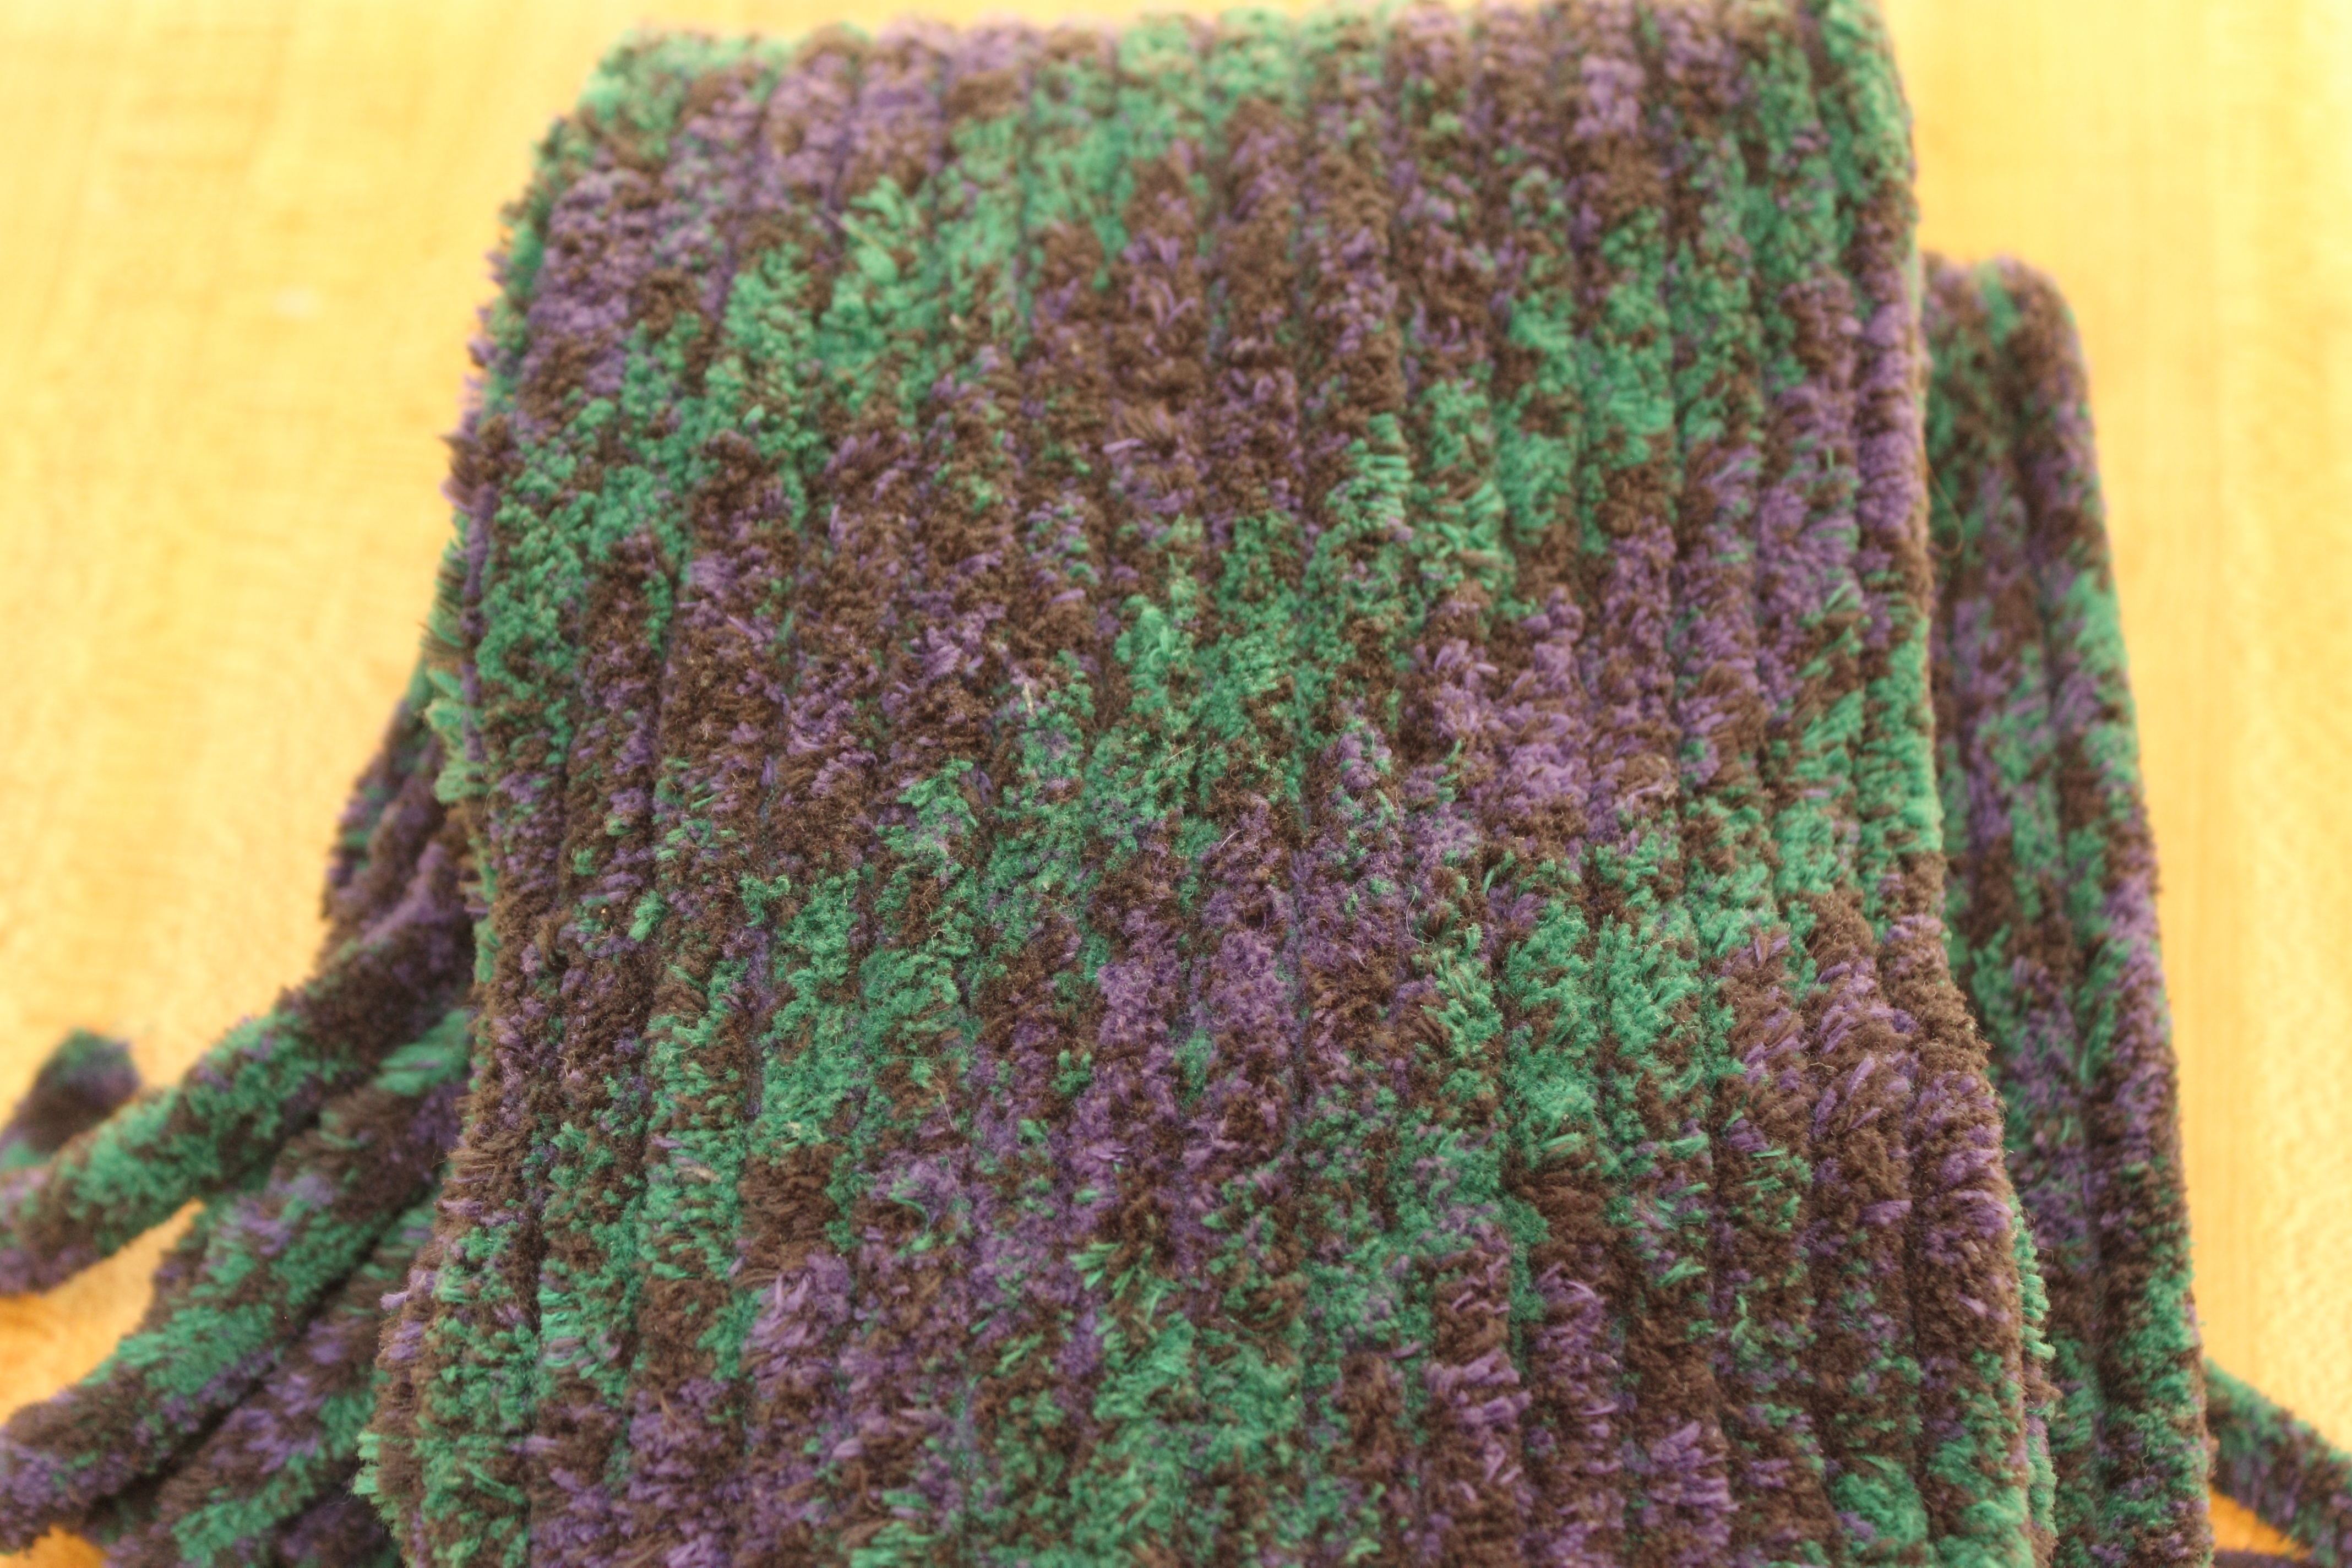
I found a pattern that met my preferred criteria: crochet, worked flat, and uses big yarn. Not that I’m completely opposed to knitting in the round with sock yarn… I’m just a slow knitter/knooker.

And, the kids brought me my Christmas present when they visited and it included a skein of Bernat Baby Blanket yarn (in the Pink/Blue colorway). I know that I don’t have the proper size knitting needles or knook to use this yarn and I knew it had to be turned into booties.

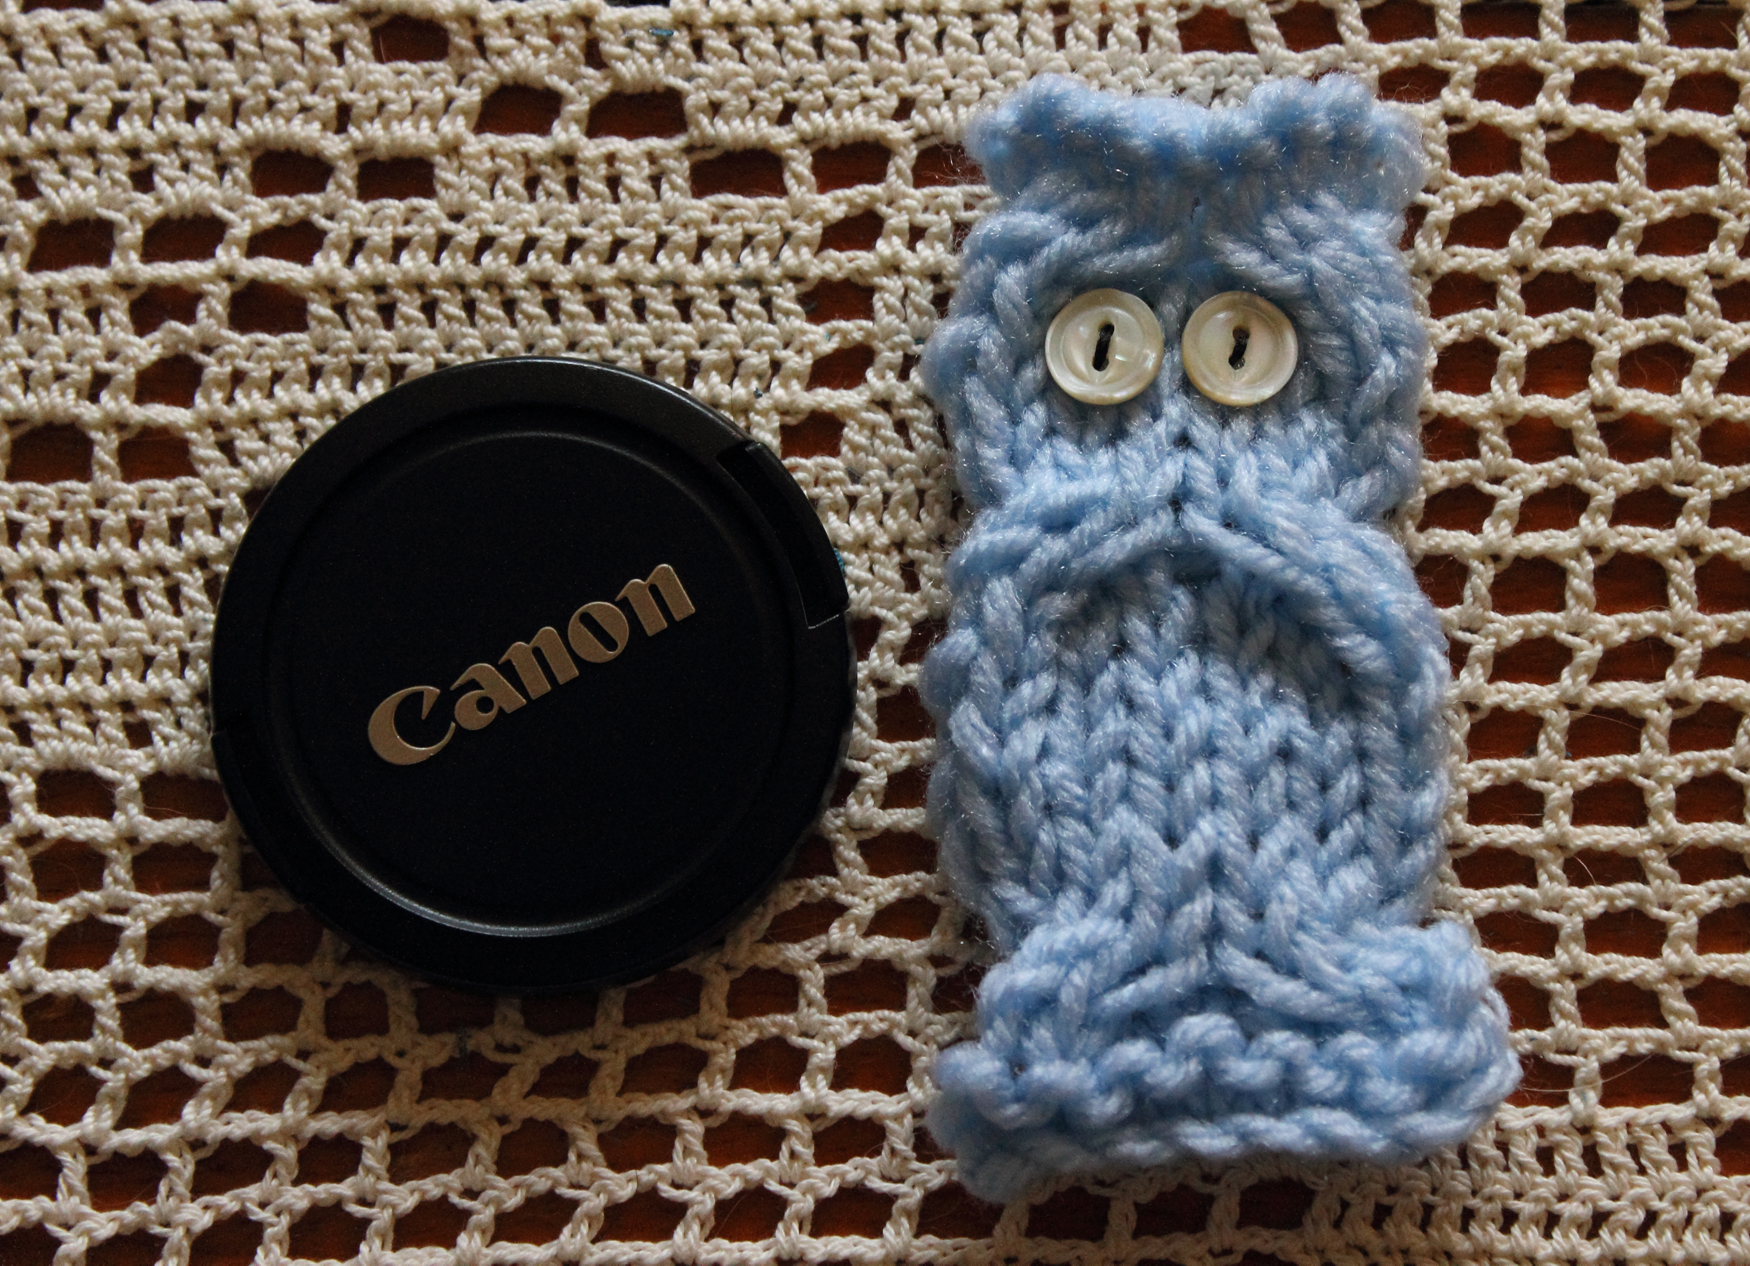
You may recall my previous experience with this yarn… I’m not a fan. Though, at least this time, the yarn doesn’t smell weird. This skein is the 100% polyester version and I wonder if the last stuff I used was the 100% nylon… This yarn is still stretchy and I still had a hard time identifying my stitches half the time. But, it took me less than an hour to make a set of booties (even with this difficult yarn), so that’s a huge plus!

The pattern is Bev’s Baby Cloud Booties. I like Bev’s patterns; they are simple and usually pretty quick to make.

Baby Booties 2

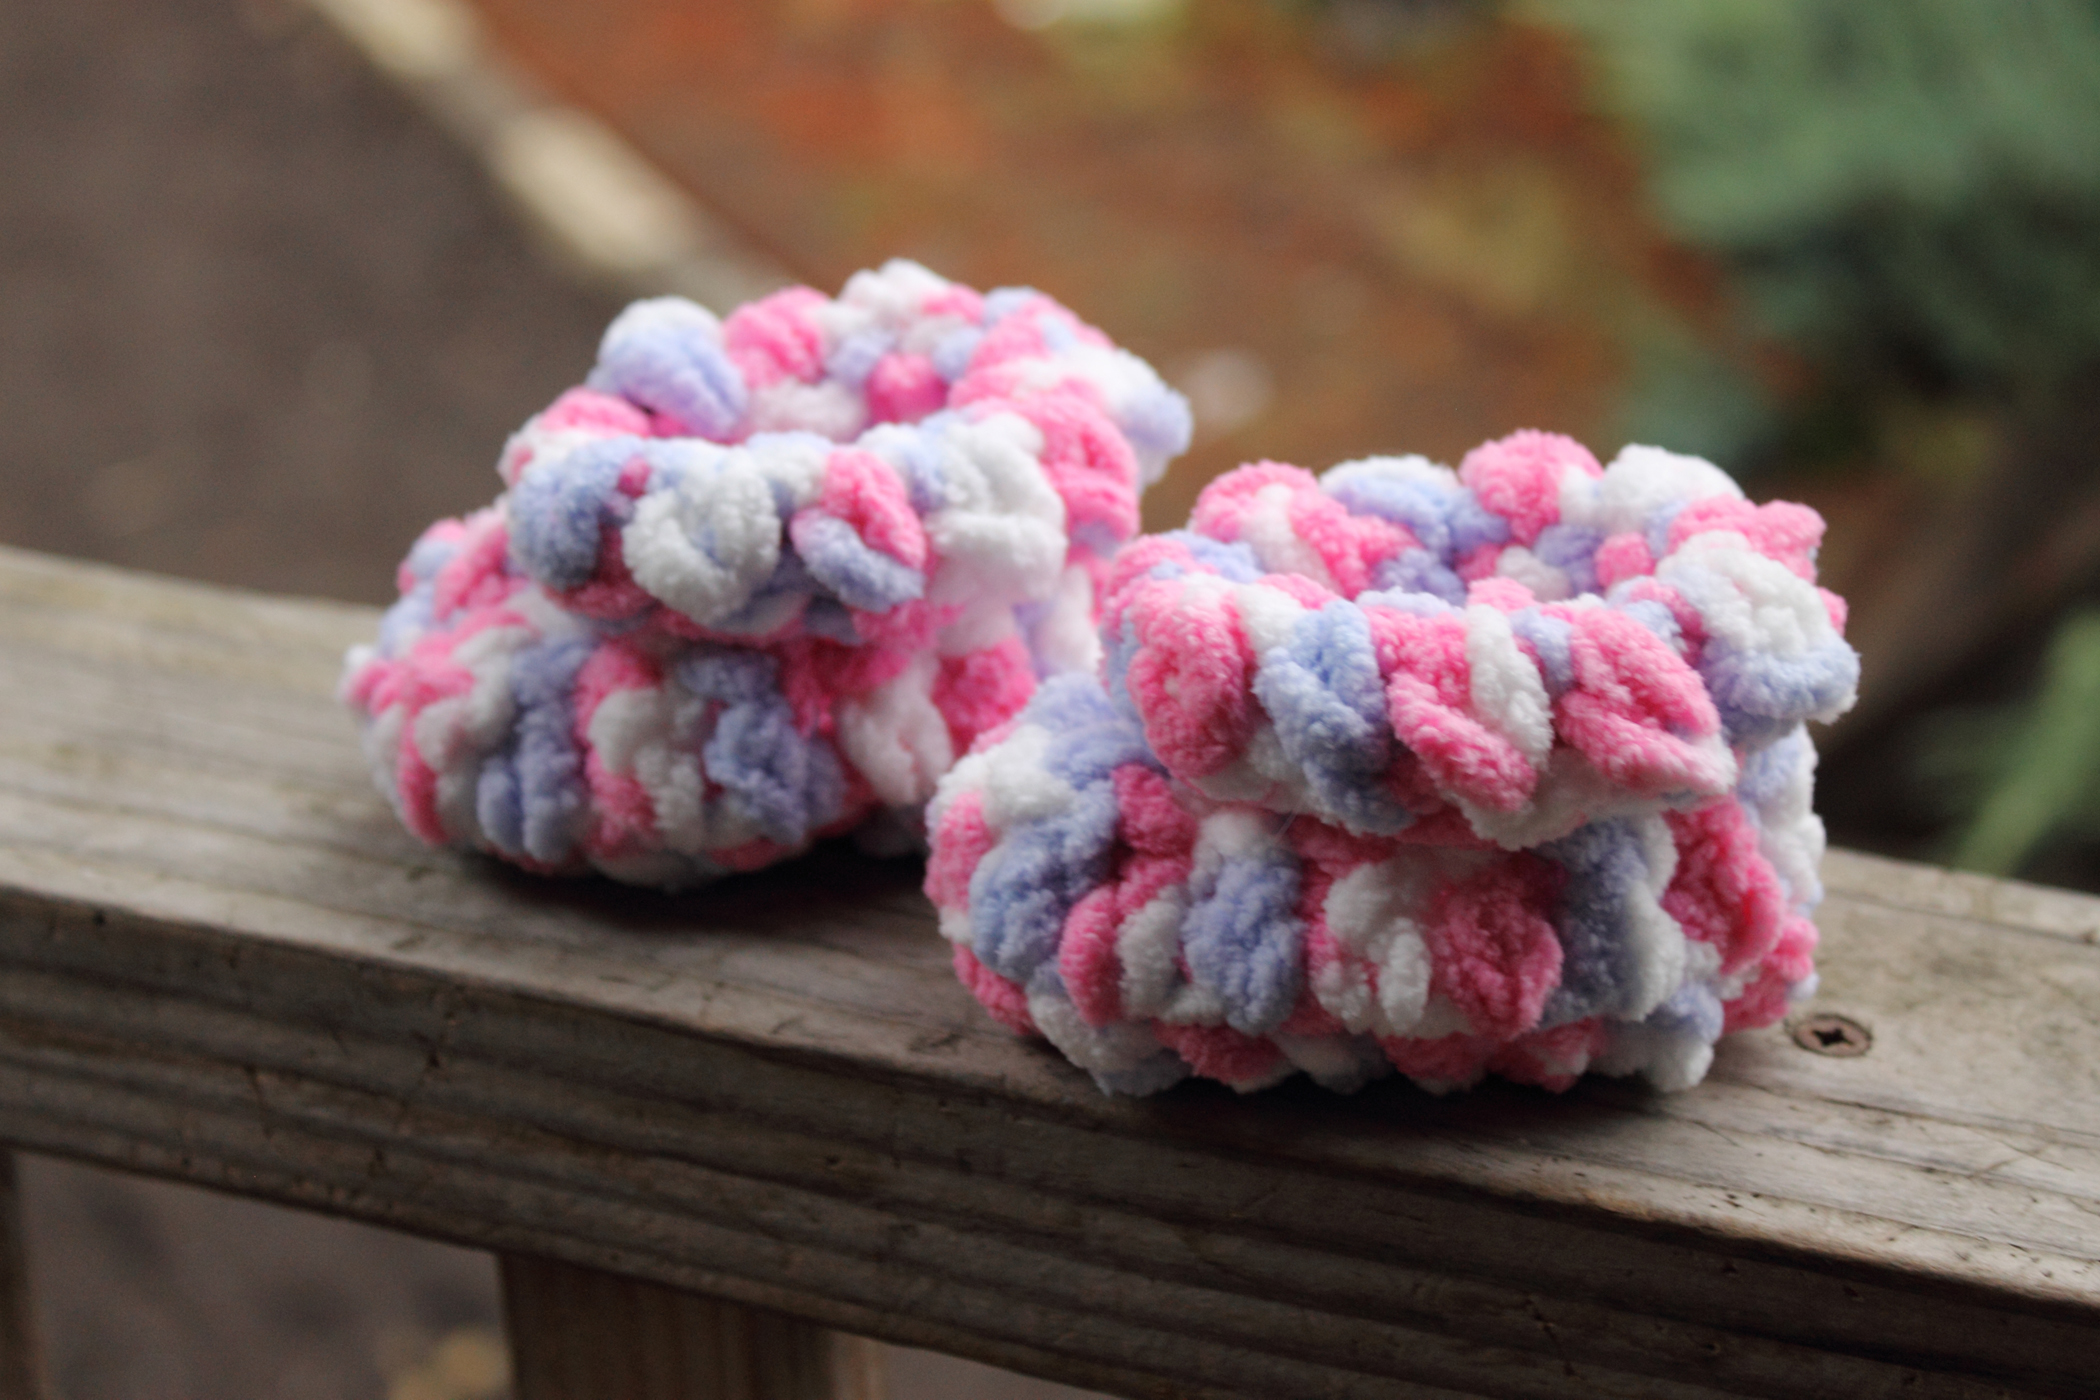
I think next time I make these booties, I will just hold a few strands of a different yarn together.

Knooking Tutorial

I have been crocheting for many years; but I’ve only learned to knit in the last few.

I’m beginning to get arthritis in my hands and knitting with two straight needles is pretty painful. I discovered circular needles and that was better – but still a bit painful.

Part of the problem is that I have some needle insecurity issues going on. I’m afraid that my knitting will slip off the needles and I will lose my work. In my experience, this is a valid concern, as it has happened to me several times. In order to compensate for this insecurity, I keep a death grip on the needles. This causes me pain and makes knitting a not-so-fun-and-relaxing experience.

Also, I have always found executing knit stitches and purl stitches on needles to be awkward and un-intuitive. I blame this on the fact that I’ve been crocheting for a long time.

A couple of years ago, I discovered knooking. This is actual knitting, but using one modified crochet hook rather than two needles. This is better for me, as the tool is familiar and it doesn’t cause me near as much pain. I’m not forcing my aging joints to learn new motions.

Unfortunately, when I was first learning to knook (using YouTube videos) the experience was still quite awkward. Forming the stitches took a lot of effort and it was very challenging. As a result, I ended up putting the knook away and just resigned myself to no more knitting.

I did acquire a couple of knitting machines and those are great, but not quite the same as working by hand.

Recently, I decided to give knooking another try. I found a Leisure Arts video on YouTube: click here for video. Evidently, this was a different method of making the stitches and (happily!) I have found it to be much easier than my earlier efforts. This method is called “western” and it is more akin to crochet and most crocheters find this to be the easiest method for them to learn.

Because I bounce back and forth between knooking and crochet, I found that I was forgetting how to form the knit and purl stitches; so I made myself a mini tutorial that I can refer to whenever I need a refresher.

Knooking for right-handed folks:

Getting started: cast on (crochet chain) desired number of stitches, then pick up stitches (working right to left, pull loop through each chain stitch, leaving each loop on the hook). Slide stitches off of hook and onto cord. Turn your work so that the hook is on the right and you’re working right to left, just like in crochet.

Knit Stitch:

Yarn held in back.

Insert hook from left to right.

Knook Knit Stitch 1

With hook above working yarn, grasp yarn and pull through stitch.

Knook Knit Stitch 2

Purl Stitch:

Yarn held in front.

Insert hook from right to left.

Knook Purl Stitch 1

Wrap yarn over top of hook, grasp and pull through.

Knook Purl Stitch 2

After all stitches have been worked, slide stitches off hook and onto the cord. Turn your work and continue as per pattern.

Binding Off:

Knit the first stitch (one loop on hook).

*Insert hook into next stitch (now there are two loops on hook), wrap yarn around hook and pull through both loops on hook (back to only one loop on hook).* This feels like a single crochet, but it is actually just doing a slip stitch two together.

Continue * to * until all stitches have been done.

Cut yarn, weave in ends.

I hope this helps all of you who are interested in learning. Feel free to contact me if you have any questions or need clarification on any of my instructions.

🙂

Hello!

Well, it has definitely been a long time since I’ve posted anything. There hasn’t been much to report…

The kitchen remodel stalled due to health and financial constraints. However, laying of the new floor has begun. Nothing else has been accomplished on the island, but sweetie says he intends that to be his winter project.

I’ve been employed and and am once again unemployed. But really, I’m actually enjoying being home.

I’ve been doing some crochet and knooking.

I finished this crocheted item back in September:

Four Roses Centerpiece

It is 42-inches wide. I intended it to fit one of my coffee tables, but it is much bigger than expected. I’ll need to make something else for that purpose. This will look lovely on my black-lacquer dresser, or as a centerpiece on our dining table. BTW, I have no idea what’s up with the alignment on this paragraph, but no matter what I do, I can’t fix it…

I’ve been re-learning to knook (knitting with a crochet hook) and I learned a different technique. The Leisure Arts way works best for me. I made a mini photo tutorial for myself (being a crocheter I need reminders of how to create the knit and purl stitches because it is similar to crochet) and I’ll make a separate post for that – just in case anyone reading this is interested in learning how to knit with a hook.

I have joined a mystery one-skein knit-along on ravelry. I have no idea what we’re making, but so far this is what it looks like:

One Skein KAL October 2014 2

I’m guessing that it is going to be a hat. Please excuse my imperfect stitches. I’m still learning tension control. I think that after blocking it will look much better.

Before starting the above-mentioned KAL, I knooked this little guy up real quick:

Owl

I absolutely adore him! I have no idea what I’m going to do with it… Just add it to the owl collection, I guess.

In addition to the KAL, I am also working on a crochet project. Here is the chart:

Pricilla Filet Peacock Chart

This thread beast is going to be huge. This photo was taken after the first ball of thread was gone:

Peacock First Ball

Unblocked, it measures 53-inches wide. I believe that the unblocked finished object will fit our dining table. I’m going to finish it and decide whether or not I want to block it. I will post photos with each ball of thread used.

I hope this post finds you and yours well. I’m off to make a knooking tutorial!

Injury, Illness and Productivity…

Well, it’s been over a month and I figured I’d better post something…

My dad got the island shell finished and we got it into the kitchen. Here’s a picture. Please excuse the mess, we don’t have anyplace to put anything at the moment.

Island Shell

You may be able to tell, we added another cabinet on the end (the left side of picture). It just wasn’t quite long enough. It is now 10-feet long.

One evening, right after my last blog post as a matter of fact, we decided to put it in its permanent spot on the floor. I was on the left end, walking backwards. Sweetie said that was a good spot and so I let the cabinet drop. It landed on the big toe of my right foot!

I’m still not convinced that the toe hadn’t been fractured. I couldn’t walk for several days and only this past week and a half have I been able to wear something on my feet other than my snow boots.

I thought I was going to lose the nail on that toe, but I haven’t yet. Thank goodness! The thought of that just really gives me shivers!

The week I was home with my toe, sweetie came down with the flu. He promptly gave it to me and then he developed pneumonia. I developed a serious sinus infection and ear infection and have been off work ever since. My boss won’t let me come back until my symptoms are gone. So, basically, I’ve been off work for a month. This is seriously painful for the bank account! I went to the doctor about two weeks ago and he gave me antibiotics. They didn’t work. I go back again on Tuesday. That too hurts the bank account, because I don’t have insurance.

Well, one positive thing about being off work and not feeling like doing much is that I have plenty of time to play with yarn!

I finished up the afghan that I started months ago…

The afghan block is called Arches and it is available here.

Dark Square

Light Square

Complete Afghan

It’s the perfect size for me to use on the couch. Sorry I didn’t get any pictures that show the size, but after putting it through the washer and dryer to block, the squares are 10 inches. I used Red Heart Super Saver yarn in the colorways Buff and Cafe Latte. It is soft, squishy and oh-so comfy! Acrylic yarn really has come a long way since I first learned to crochet in the 80’s!

Next up, I made this shrug… I needed a cover-up to wear over tank tops at work (tanks aren’t allowed to be uncovered) and I was tired of wearing the same old, plain cardigans. I designed this simple shrug myself. The only pattern I used was this stitch pattern: My Picot #2049.

FoF Back

Starting chain 99 + 1 (tripled pattern horizontally). Repeated 13-row stitch pattern 3 times to create large rectangle. Single-crochet border around raw edges. Sewed 20 stitches up sleeve. After sewing it up, I did 3 more single crochet rounds around the cuffs and edge. Hand washed, dried in dryer. It took me about 10 hours to finish this project. I used Red Heart Super Saver acrylic yarn in White. Again, it washed up nice and soft.

And my most recent project comes from a booklet that I inherited from my mother in law. It’s the Coats & Clark Pineapple Doily A-1067. This can be found in the Learn to Crochet booklet.

Doily A-1067

This is my first pineapple project. It took me about three days to finish.

Well, that’s about it for now!

Another Cowl and Other Things

So, I made another cowl. Big surprise there, eh? I don’t know why I’ve been in such a cowl-making mood…

Avery Cowl

It is crocheted with Red Heart Soft yarn in the Turquoise colorway.

Avery Cowl 4

I just love that yarn. The color is lovely and it is wonderfully soft, if a bit splitty to work with.

Avery Cowl 3

The pattern can be found here. I changed the pattern in that rather than making another chain to work into for the second half of the pattern, I just used the foundation chain. This allowed me to not have a visible line bisecting the main flowers.

I made the small version of this cowl and it is a bit too long for my tastes. But, it is very pretty and I’ll wear it when warmth isn’t the goal.

The kitchen re-do is coming along nicely. My father finished the island shell and it is in the house. Next weekend we will be facing it with the blue and buggy and then it will be on to the top! We found a gas cookstove (as opposed to a range that includes both the cookstove and an oven – this is just the stovetop portion) that we are going to install after we get the tile laid. We decided that we would prefer gas to cook with and are going to get a big propane tank for it. We may need to convert it from gas to propane, but I doubt it. Natural gas is very rare in our area and we got the stove – used – from our local ReStore.

I finally got around to starting to process last spring’s fleeces. Well… I made a mistake and they felted. I was pretty upset. Sweetie told me that next time, I’m sending them out for processing.  *sigh*  At least I tried.

Long Time No See!!!

Sweetie has been doing a small kitchen remodel. He’s taking out the L-shaped wall that separates the kitchen from the living area and replacing it with an island. I joke that the only way he can get rid of the yellow walls (which he truly hates, BTW) is to tear them down. But, half of the kitchen walls are still intact. Haha!

Kitchen Demo

The studs on the left are now gone. My father has the plywood and is building the island’s shell, as I type this. Once we get the shell in – probably next week sometime – we will face it with some blue and buggy that was salvaged from James’ grandparent’s house when it burned down. We are going to use the classic white-and-gray marble floor tiles for the top. And the countertop’s trim will be cobalt-blue ceramic.

After the island is in, we’ll update the floor with vinyl tile. We already bought some for the project, but now I’m rethinking the pattern. We may end up going with something else and using the tiles that we’ve purchased elsewhere.

I still haven’t done the second coat of white paint on everything (or the first coat on the drawers). I should probably get on that…

On the crafting side of things…

I’ve been kind of obsessed with cowls, lately. They are great projects for me… They work up quickly (great for one such as myself who has startitis). They are quite useful in our area. And they don’t use a whole lot of yarn.

Cowl

This was fun to make. I like the front-post stitches. I used Cotton-Ease yarn, which is a mixture of cotton and acrylic. It’s my new favorite yarn. I made simple one out of this yarn for sweetie, but I didn’t take pictures. The pattern for this cowl can be found here. This cowl turned out a bit too long for my taste. It wasn’t long enough to wrap twice and it was too long to do much good. I ended up giving it to my niece.

Granny Stripe Cowl

This was just a simple granny stripes cowl using Red Heart Earth and Sky yarn. No pattern involved. I really like it, but unfortunately I have to pull it on over my head. Since I usually wear my hair up, this can be a bit of an issue. I made one of these in the Red Heart Pink Camo colorway, but it wasn’t tall enough. I gave it to my niece, too.

Cowl Cap

I found the pattern for this button-up cowl to wear when my hair is up and I don’t want to pull something over my head. It’s really cute, but I need to move the buttons; they are too close to the edge and as such gaps are created.

I’ve also made a couple of doilies in the last couple of days:

tOctoberfest Doily

As you can see, I made this one from yarn rather than thread. It is called Octoberfest and the pattern can be found here. I’ve never done a spiral like this before and it was fun to watch it materialize.

Five Point Century Snowflake

I stayed up late last night and made this one for sweetie. I chose it for the cute little hearts. He much prefers doilies made from thread. He’s pretty much the only person for whom I will crochet with thread. I very much prefer tatting with thread rather than crocheting with it. This pattern can be found here.

Still in the works are the kitchen curtains. A few weeks ago I had a very frustrating experience with them and have walked away. Now that there’s no wall to hide the kitchen, I get a daily reminder of how unattractive bath towels hanging over the windows are.

And here are some gratuitous critter pictures:

Excuse Me

Ray and Metal Manger

Dolly and Tank

Gratuitous Hound Photo

WIP – Pineapple Lace Curtains

This is a sneak peek at my current work in progress. I am making curtains for my kitchen windows. Now that snow is here, we need to retain all the warmth we possibly can and bare windows let out a lot of heat.

I found a simple pineapple lace motif pattern and wanted to do the curtains in this with some sort of sheer panels as a backing. But, sweetie wants me to make solid panels instead. I see his point, solid panels provide more privacy and hold in more warmth.

I started out making simple DC panels, but I soon realized that it would take forever to complete them that way. So, I’ve switched it up with TC. Hopefully that will make it go faster. I will change up with DC, SC and some color.

I’ll use the pineapple lace to make a valance and some long side panels.

Kitchen Curtain Lace 1

This is the motif. Please excuse how messy it looks, it is unblocked.

Now, my kitchen has yellow walls and white cabinets and ceiling. It has blue accents. I thought that including some color would be nice.

Here are my messy Photoshop examples:

Kitchen Curtain Lace Kitchen Curtain Lace Blu Yell Kitchen Curtain Lace Yell Blu Blu Kitchen Curtain Lace Yell Blu Yell Kitchen Curtain Lace Yell Blu

I haven’t decided which version I want to go with. No matter which one I choose, it will mean a whole lot of non-stranded color work. That fact alone makes me think that maybe I won’t do color within the motifs. I know that I want to do some blue stripes in the panels and a blue ruffle. Perhaps I’ll just do a blue ruffle on this portion, as well.

To be continued…

Thistle Flower Filet Crochet Panel

I had been wanting to do this project for quite some time. The original pattern is written for the use of thread. But, since I really don’t like working with thread, I decided to use worsted weight yarn instead. I was also thinking that it would end up being a good size to use as a curtain in one of my bathrooms. Well, it ended up being much too long for the window, but it will do for now.

Thistle Flower Curtain Panel

Filet crochet is essentially a DC mesh with blocks of DC creating the picture. It is easy to do and, I must say, quite fun. This is my first filet project and I am quite pleased with how it turned out. Well, besides it being too big for the window.

This is the only photo I took, so it’s hard to tell how big it is. That is my 55mm lens cap sitting in the bottom left. This would almost make a good lap blanket for me. It covers my legs.

It’s worth noting how much yarn this took. I used Red Heart Super Saver for the entire project. The filet portion took one full skein and part of a second. The ruffle took the rest of the second skein and part of a third. Definitely a yarn eater.

Clan MacLean Hunting Tartan Sewing Machine Cover

Ever since I created the Clan MacLean Hunting Tartan chart, I had been itching to make something. I decided to use a portion of the chart and make a sewing machine cover.

This is made by crocheting a DC mesh in your desired colors and then weaving crocheted chains into the mesh. With plaid, the stripes you make in one direction, you copy in the other direction.

Tartan

This is a photo of the completed square. I didn’t take any in-progress pictures, but if you google “crochet plaid” you will find examples and directions. I would like to link to the page that helped me, but WordPress is being difficult and not allowing me to post links.

Tartan 2

This photo was taken to try to give you, my dear readers, some sense of size.

Single Crochet Two Edges

I tied the chains together to secure them and then trimmed their ends. Next, I did a simple, white, single-crochet border on the two sides that were not being sewn together.

Folded in Half and Sewn Up Edges

I decided which side was the outside, folded it in half inside out and using white yarn, did a single crochet to sew up the sides. This picture shows it sewn up, inside out.

On Sewing Machine

Then, I turned it right side out and placed it over my sewing machine. Voila!

It took me longer than I expected to finish this project. My project notes say 10 days, but I wasn’t working on it every day. I would say that it took me probably 10 hours to finish.

This project was simple, but oh-so tedious. One of the reasons it took me so long to finish is because I kept procrastinating. I would like to make an afghan, but I would seriously have to mentally prepare for it. Overall, I like the results, but I really didn’t enjoy the process.

Nottawholelotta

Hello All!

I know I’ve been absent for quite a while. But, I haven’t had much to report…

I got a new sewing machine for my birthday. It’s a Singer Heavy Duty 4423 and I love it! I haven’t tried sewing anything thick with it yet, but I did test it on Rayon. I figured that if anything, a heavy-duty machine would have the hardest time with thin fabric. It didn’t have any problem at all. I was quite impressed! It fed the slippery stuff without any issues and not once did it try to eat the fabric. It has a drop-in bobbin and I’m loving that, as well.

Ironically, a few weeks before I got my new machine, I signed up for a sewing class. Since the only working machine I had at the time was my little Brother, I had to order the (very expensive!) walking foot for it. The class was a week after my birthday. So, I took the Brother – determined to get SOME action from that special foot. The class was for learning to make a chenille scarf. Basically, you take layers of a woven fabric cut on the bias (I used a very thin flannel, but non-flannel fabric works well too), sew lines, cut the fabric (all but the base layer) between the sewn lines and wash. This makes all those cut places fluff up. It took me about 4 hours and I am quite pleased with the result:

Scarf and Fabric Scarf Closeup Scarf Fabric Scarf Fringe Scarf Wide Scarf

Next on my list has been a Clan MacLean tartan project. It’s still a work in progress, so I’ve no pictures yet. This will be a crocheted tartan panel that will be made into a cover for my new sewing machine. It is made by first creating a mesh and then using strips of chain woven into the mesh. I’m about 2/3 of the way finished; so, to be continued!

Other than that, friends, there really isn’t anything to report. Life has been blissfully mundane here in our neck of the woods!